Online Reimbursements via ICICI Bank
Until now, the Finance team members of our customers were only able to mark a report as reimbursed and take up the reimbursement outside Zoho Expense. Now, they can reimburse employee expense reports right from the interface of Zoho Expense, using the ICICI integration.
Note: Reimbursement via ICICI Bank can be done only in the Indian edition of Zoho Expense.
Enable the Integration
Reimbursers who are also Admins can enable the integration by following the steps mentioned below:
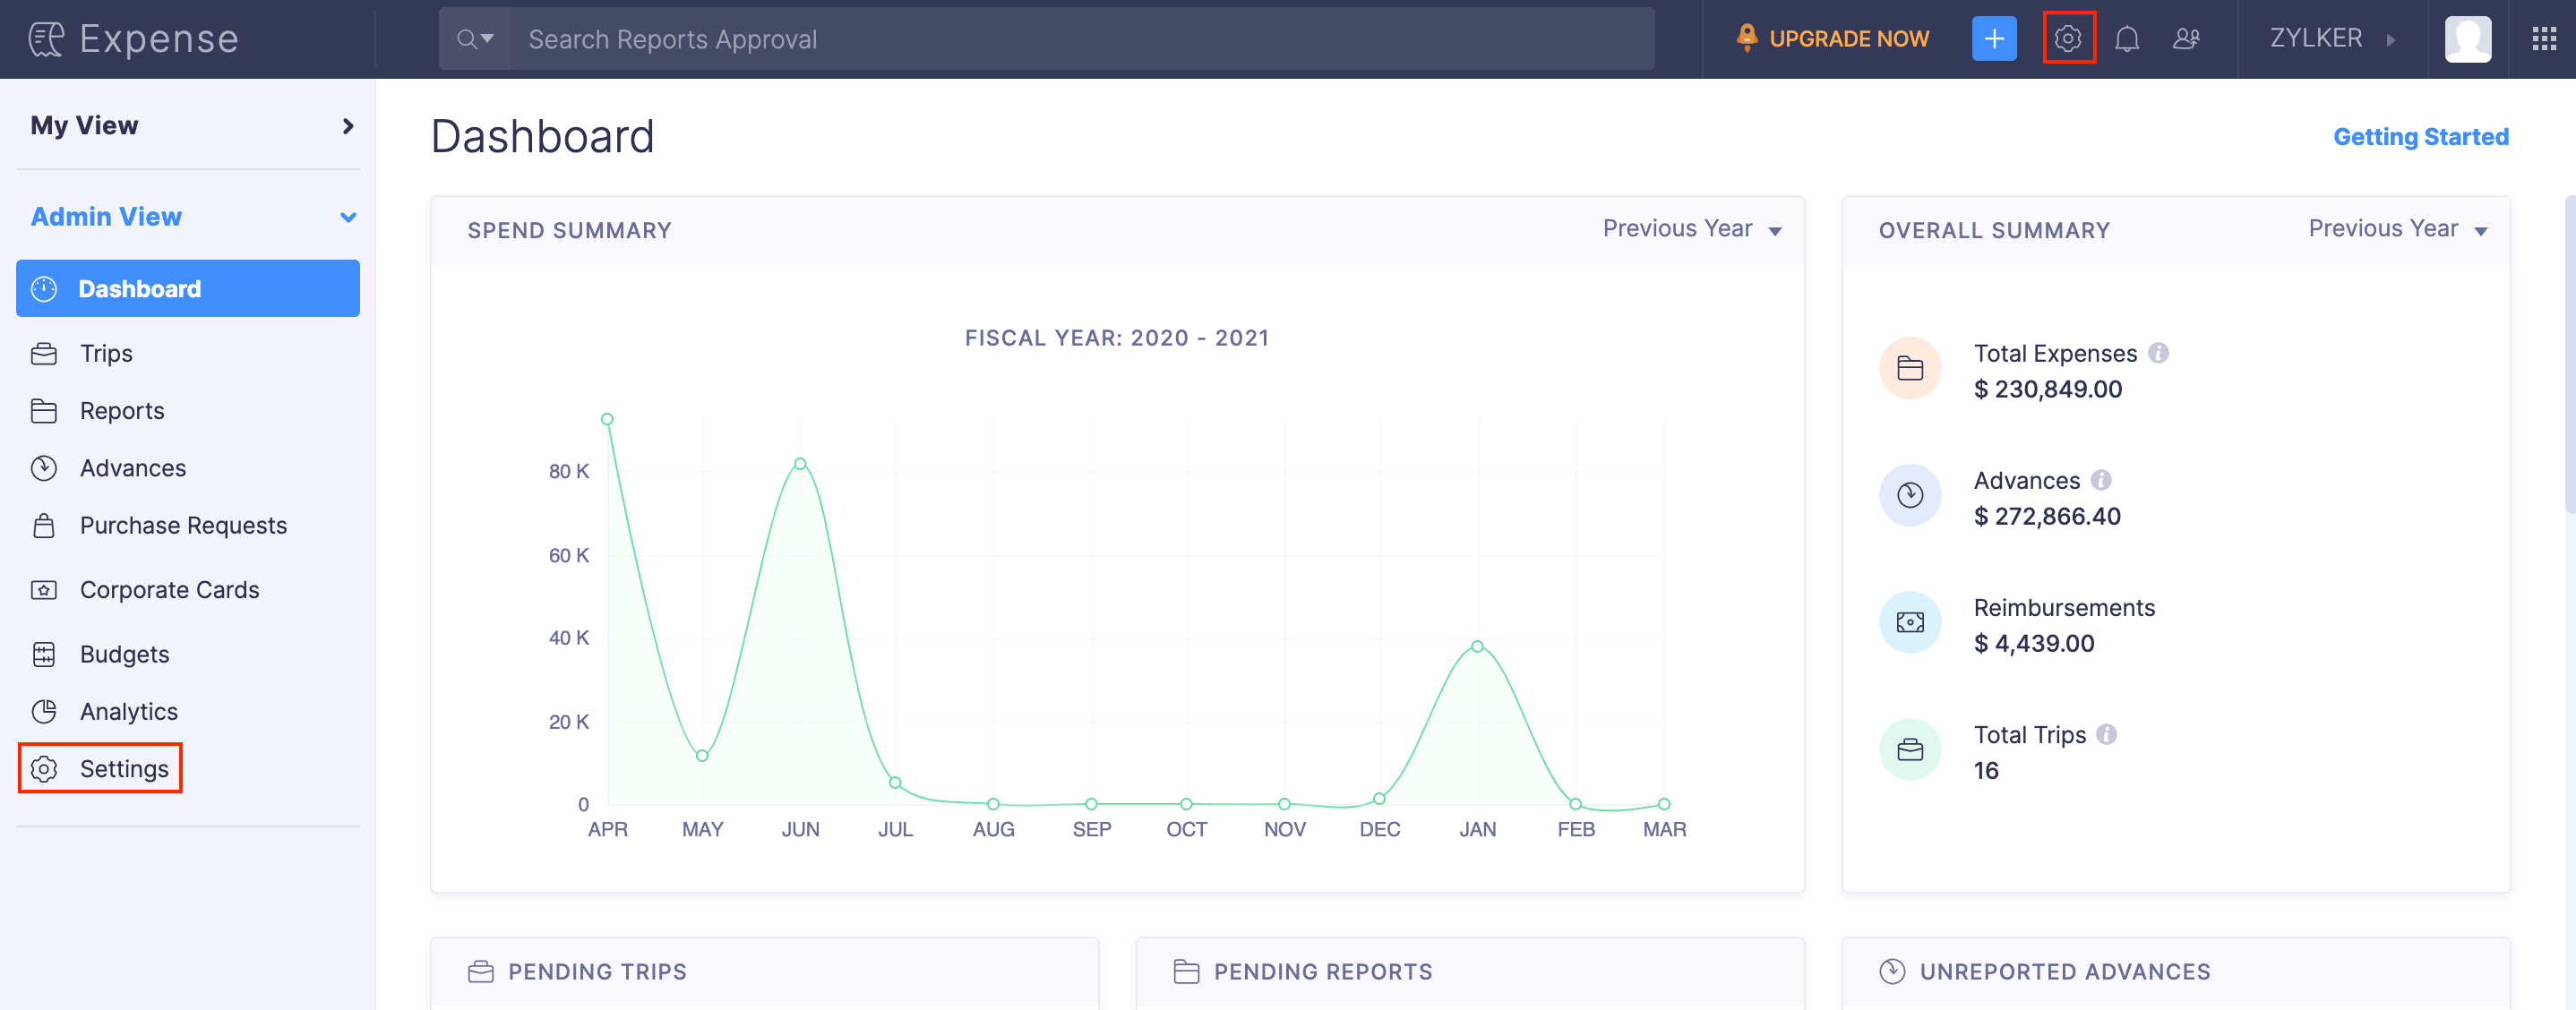
- Click Admin View.
- Click the
Gear icon at the top right side.
(OR)
Go to Settings on the left sidebar.
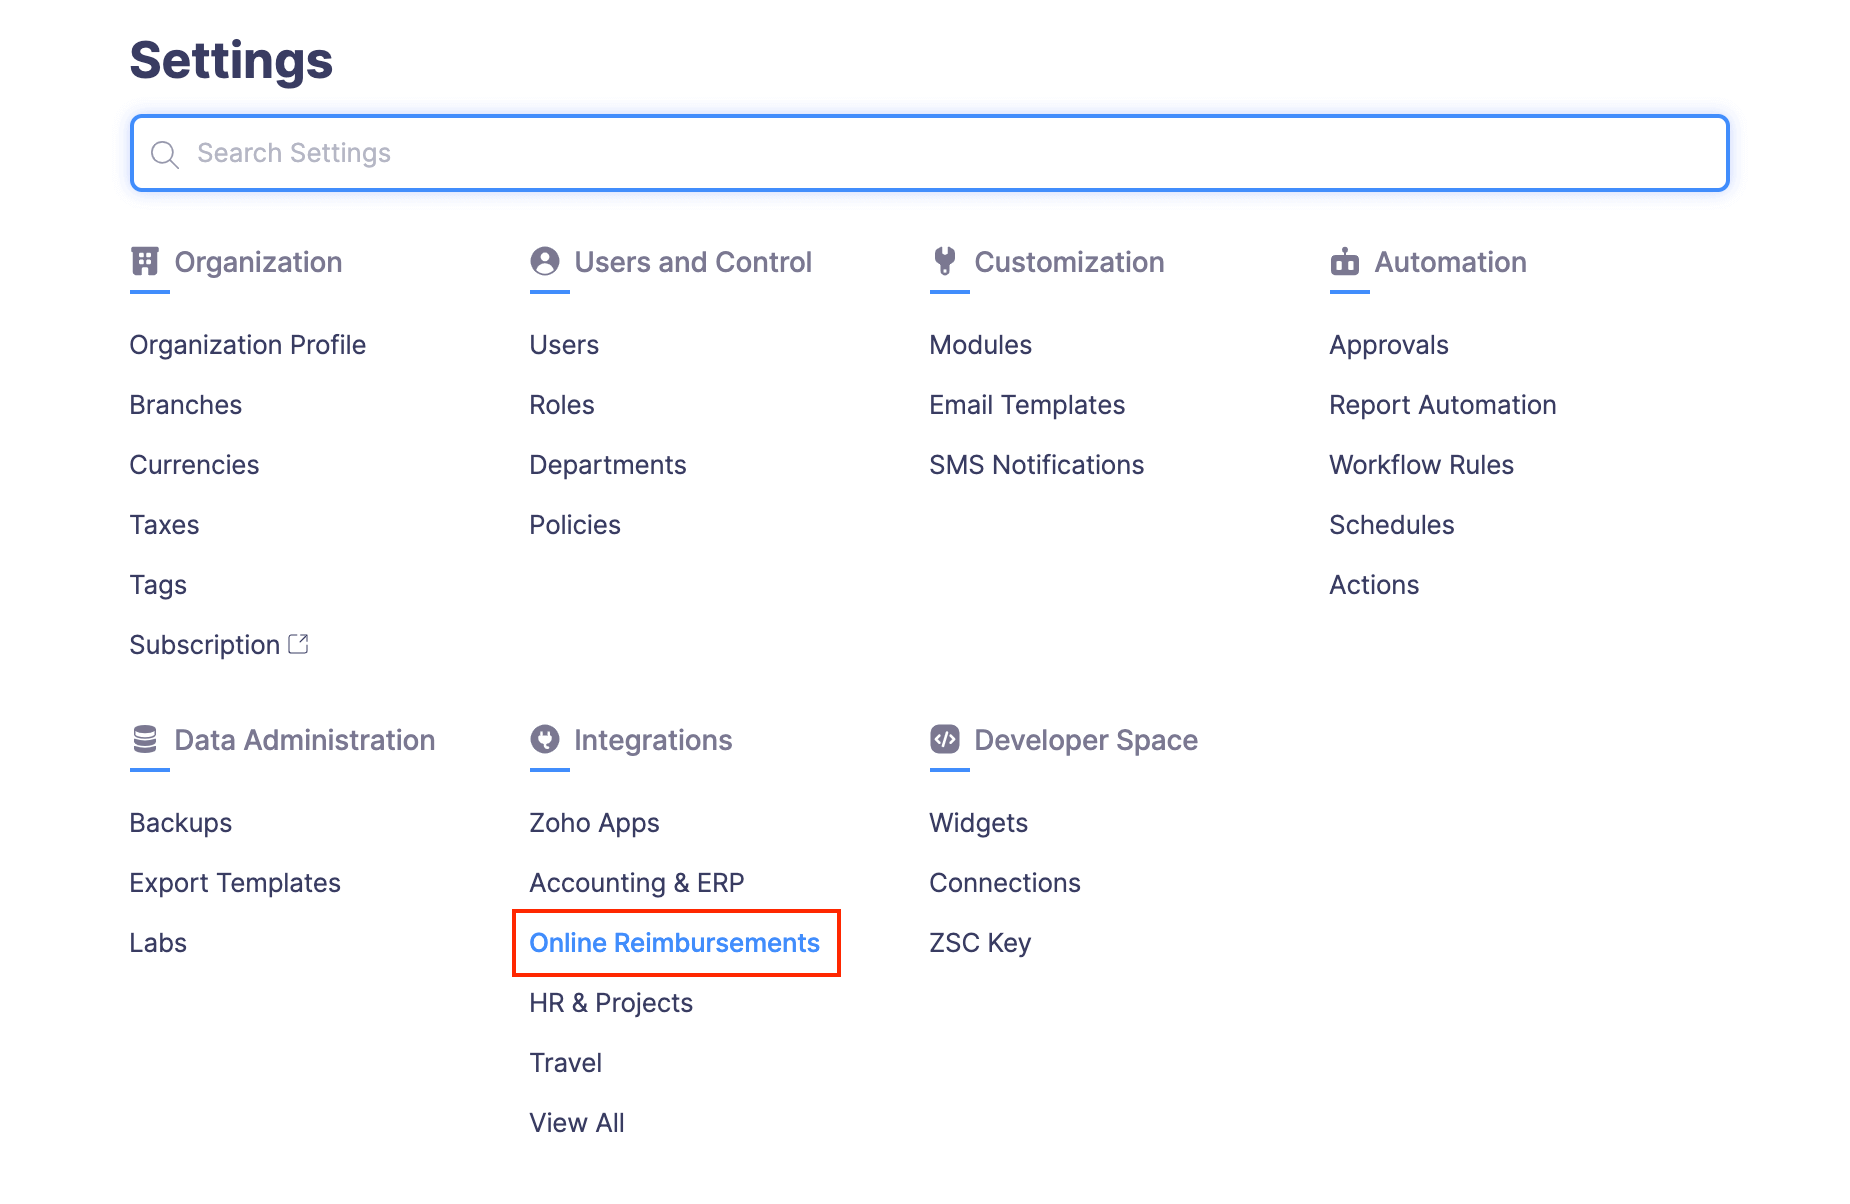
- Go to Online Reimbursements under Integrations.
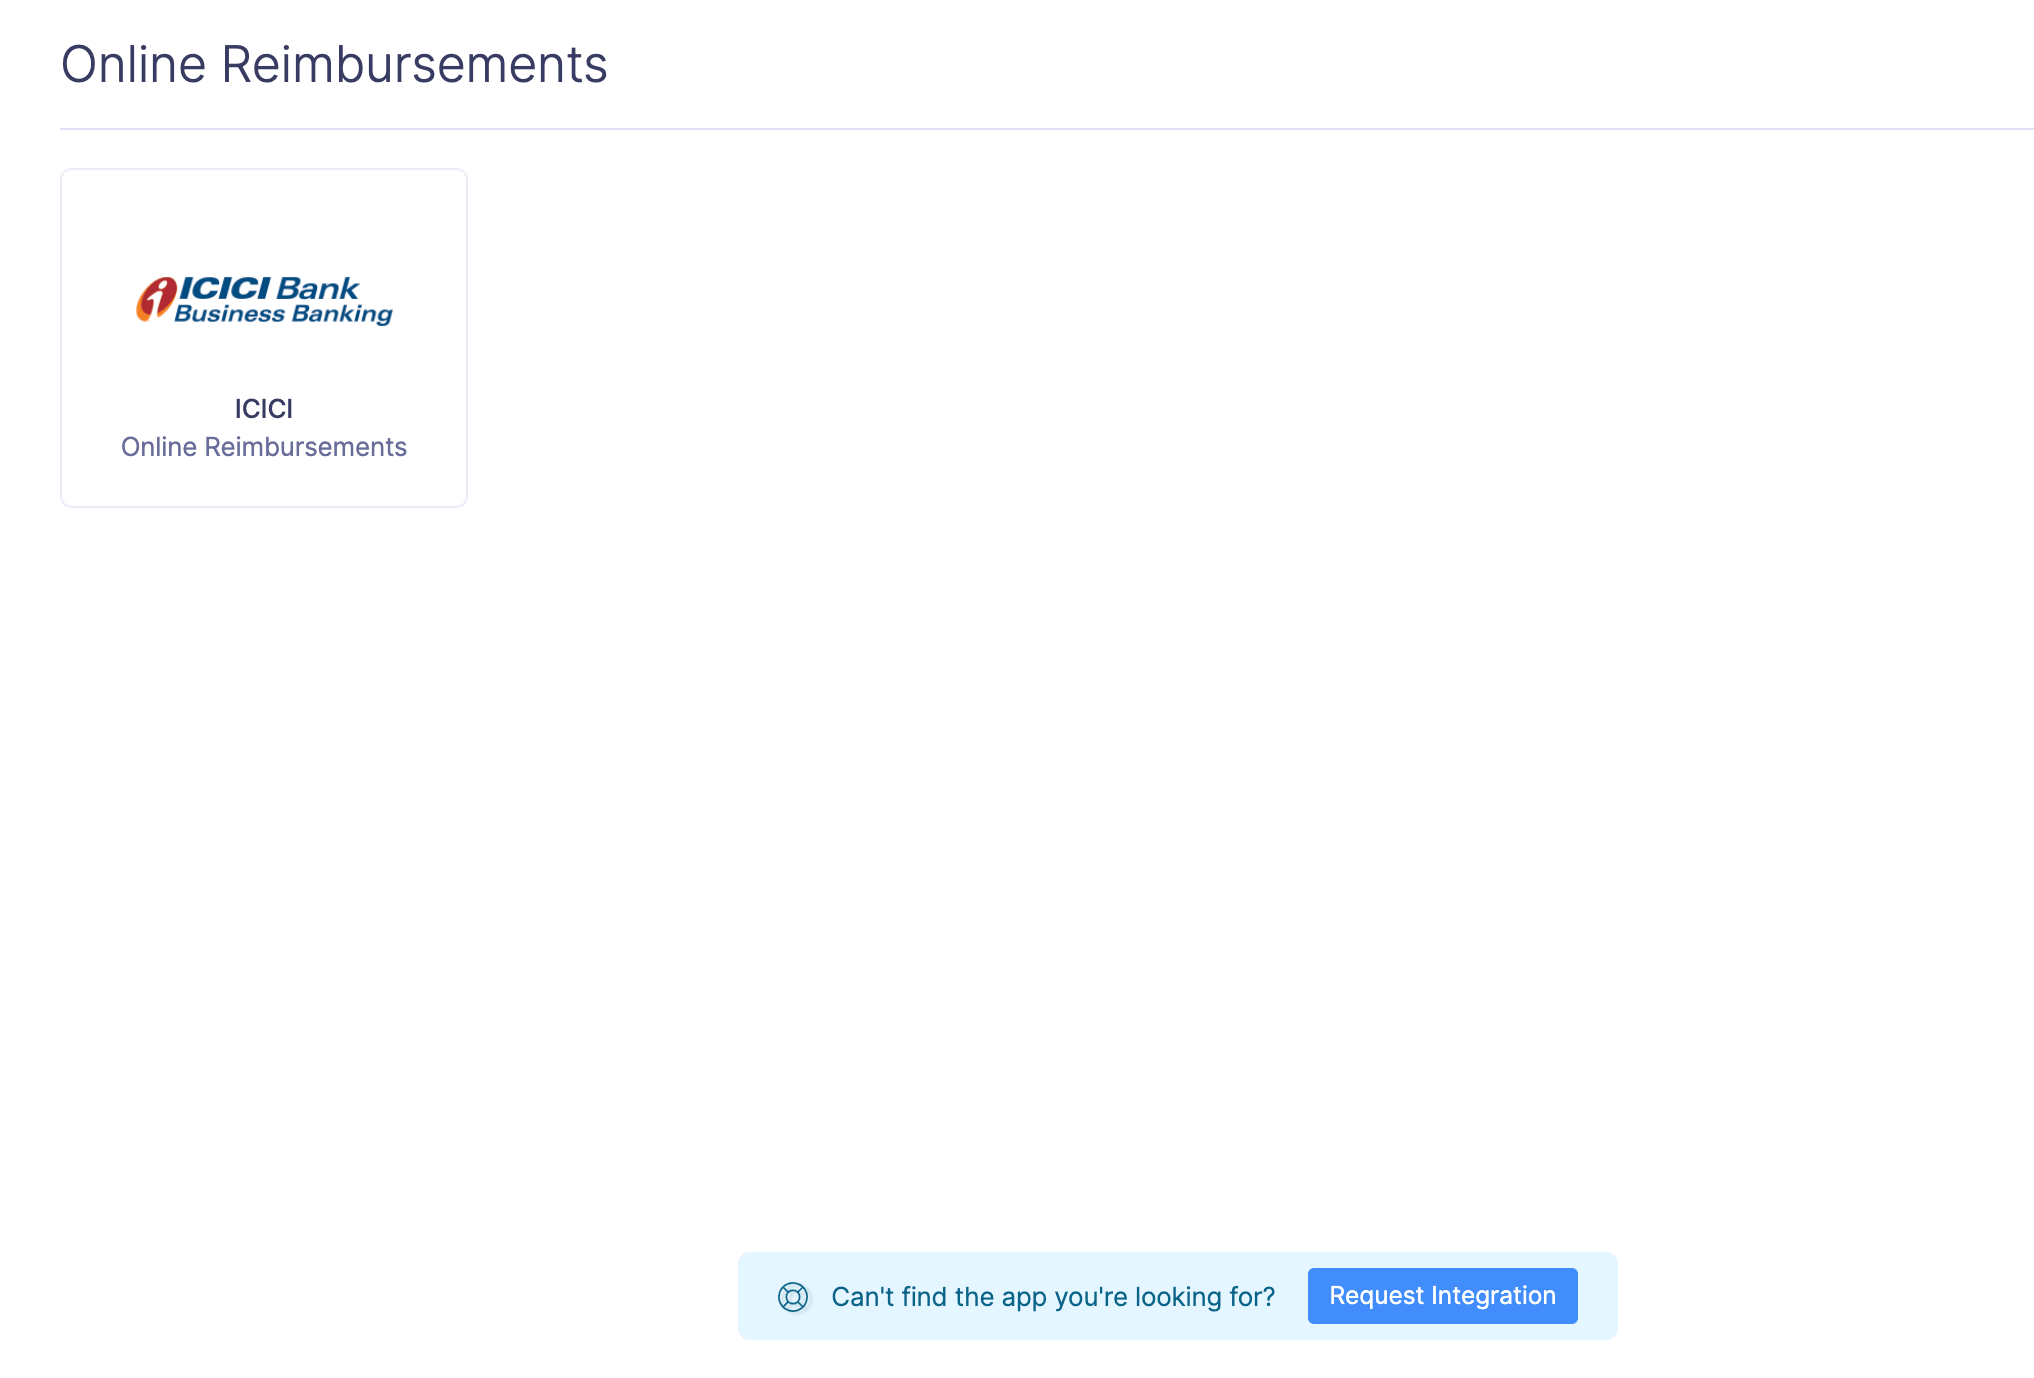
- Click ICICI.
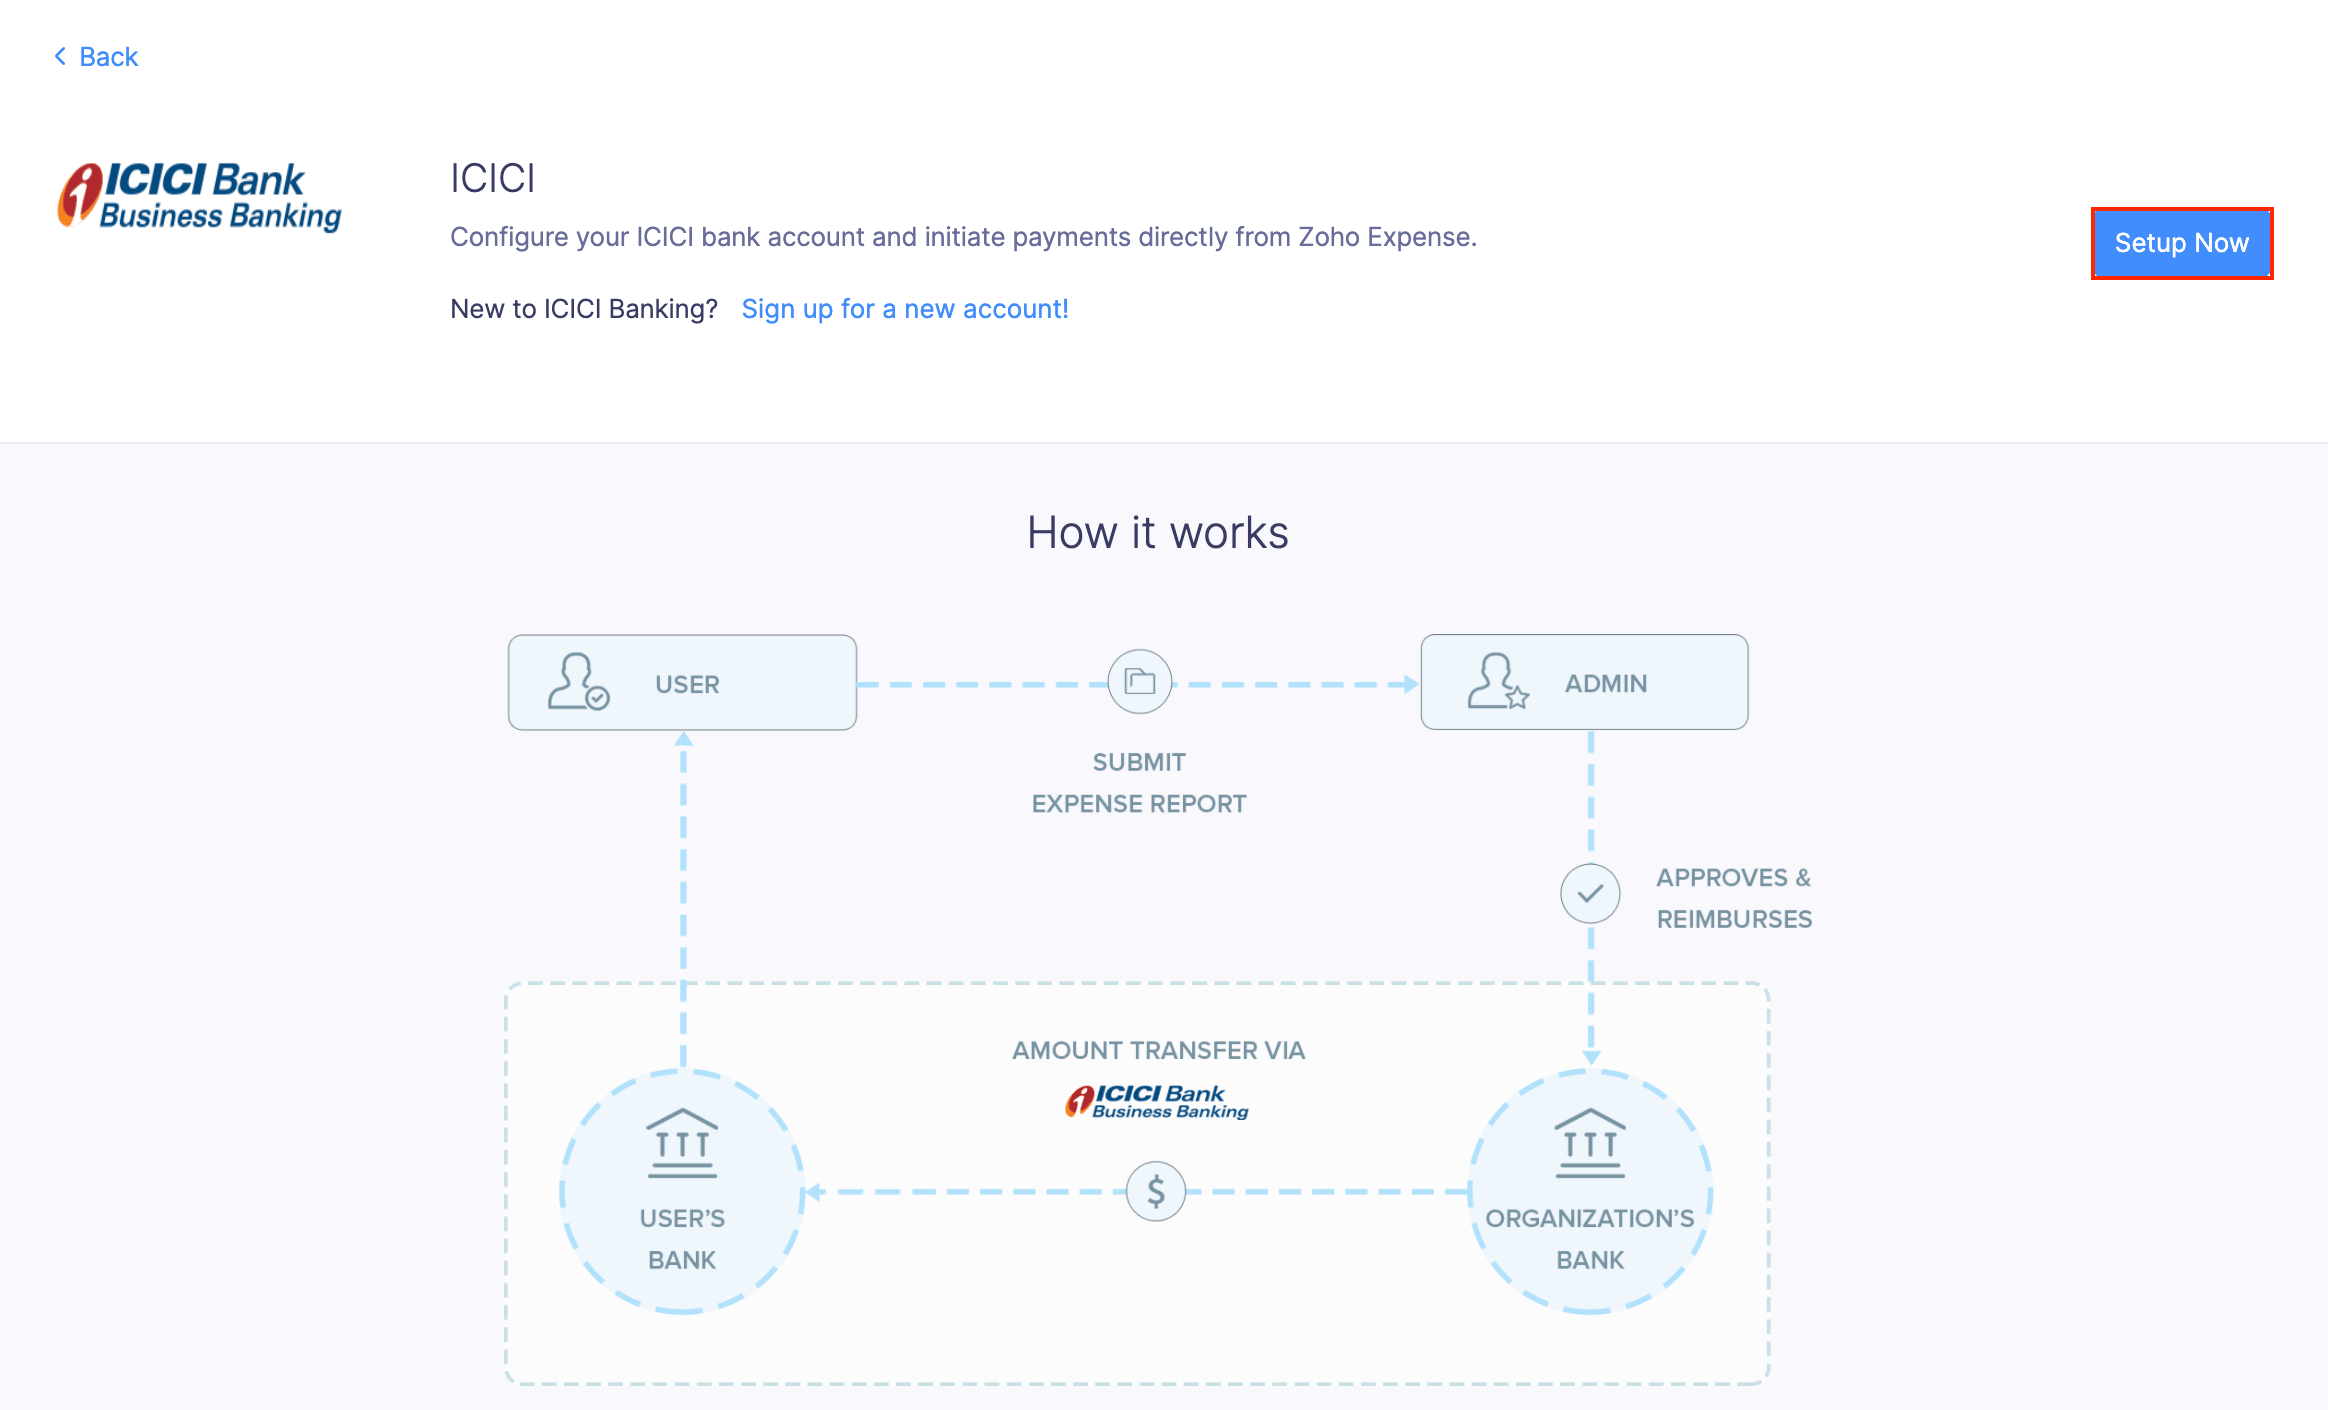
- In the page that opens, click Setup Now.
- A popup will appear, and you can enter the Corp ID and User ID of your organization’s ICICI account.
- Click Save.
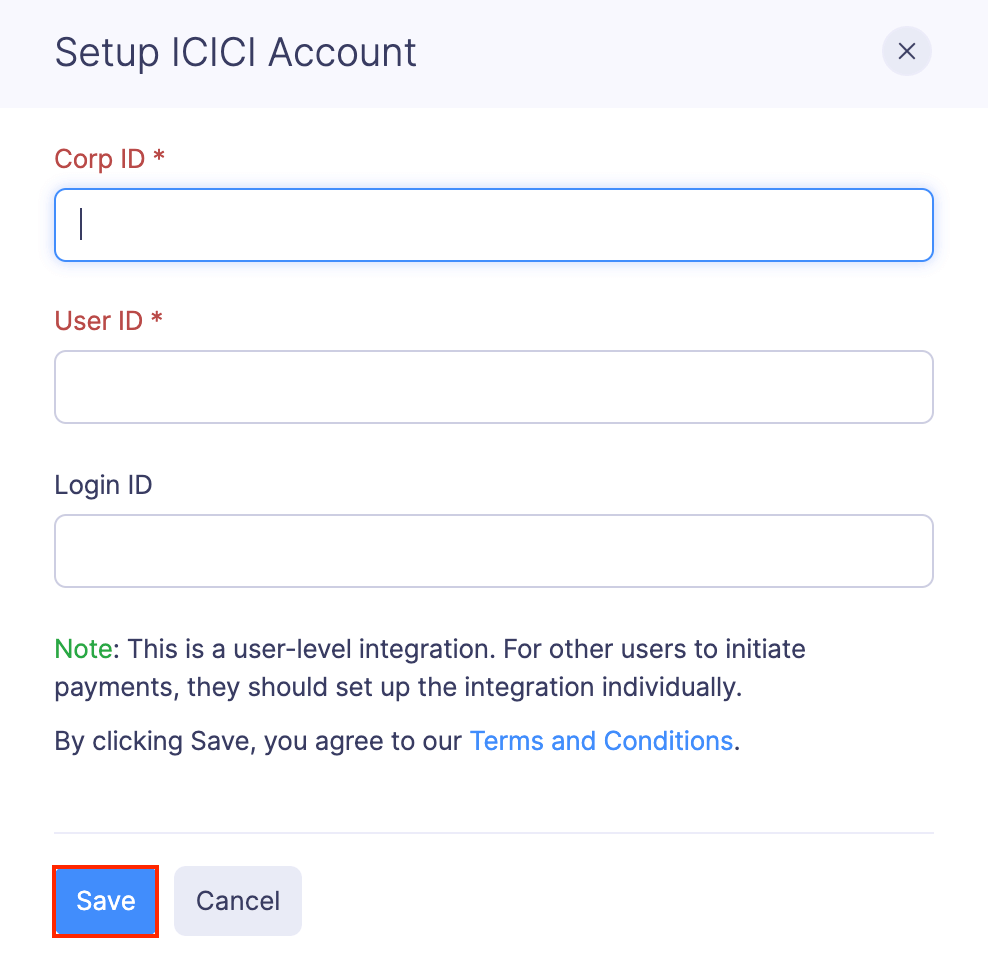
Note: Make sure to approve the integration request in your ICICI CIB portal once you save your Corp ID and User ID in Zoho Expense. You can find it under the Aggregator approval section.
Reimbursers who don’t have Admin access permissions can also set up their ICICI corporate account.
Add Bank Accounts
Once you have enabled the integration, employees will be able to add their bank accounts.
To add your bank account details:
- Go to My Settings on the left sidebar.
- Under the Basic Information tab, click Add Bank Account.
- Enter the details and click Save.
Reimburse your employees
After enabling the integration and adding the bank accounts, admins and the users with reimbursement permissions will be able to reimburse the approved reports via ICICI Bank.
