
Customer Portal - Overview & Setup
The Customer Portal also known as Client Portal is a self-service portal for your customers, which they can use to view their sales orders, pay for invoices, check the status of their shipments, update their information, and much more.
Note: Your customers cannot add items and place orders directly from the customer portal. However, you can integrate with Zoho Commerce, Amazon, or Shopify to display items in your online store enabling your customers to add items and place their orders online.
This page explains the basic steps you need to do to set up the Customer Portal in your organization. You can learn more about the functions in the Customer Portal, as well as the preferences that you can configure to make the portal work just the way you need it to.
Note: Customer portal is available only for certain plans of Zoho Inventory. Visit the pricing page to check if it’s available in your current plan.
Enabling the Customer Portal
The Customer Portal is enabled for your organization by default, and the URL to access it is auto-generated based on your organization’s name. To let your customers or their contact persons access the Customer Portal, you will have to send each of them an invite. You can view the portal URL and change it if necessary, before inviting your customers to the portal.
Prerequisite: Your customers must have an email address associated with them to access the Customer Portal.
Insight: If your admin has enabled the preference Allow customers to sign up to the Customer Portal, your customers can sign up by themselves and access the Customer Portal using the link shared with them.
There are two ways to invite customers to the Customer Portal:
- Enable the Customer Portal for existing customers
- Enable the Customer Portal while adding new customers
Enabling the Customer Portal for Existing Customers
To enable the Customer Portal for existing customers and their contact persons:
- Navigate to Customers under Sales from the left sidebar.
- Select a customer.
- Click the More dropdown in the top right corner and select Configure Customer Portal.
- Select the contact persons for whom you want to enable the customer portal.
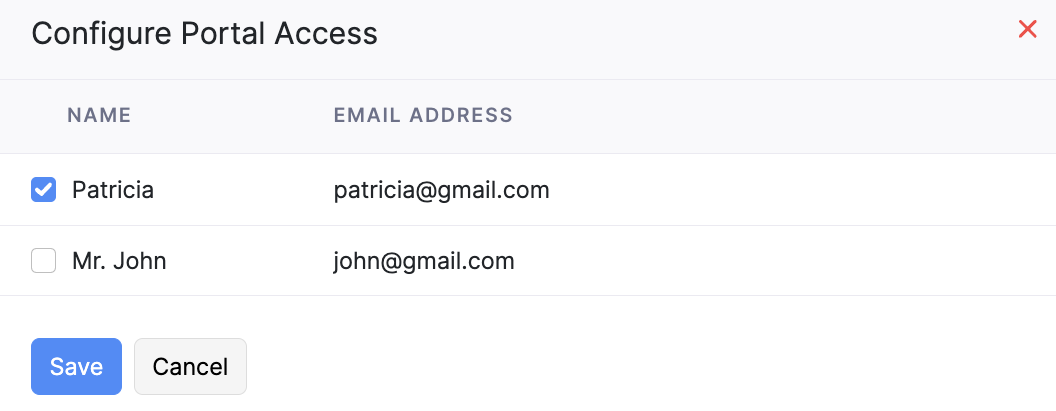
- Click Save.
Enabling the Customer Portal for New Customers
To enable the Customer Portal while creating new customers in Zoho Inventory:
- Navigate to Customers module under Sales from the left sidebar.
- Click + New to add a new customer.
- Enter the details as required.
- Mark the Allow Portal access for this customer option in the Other Details section.
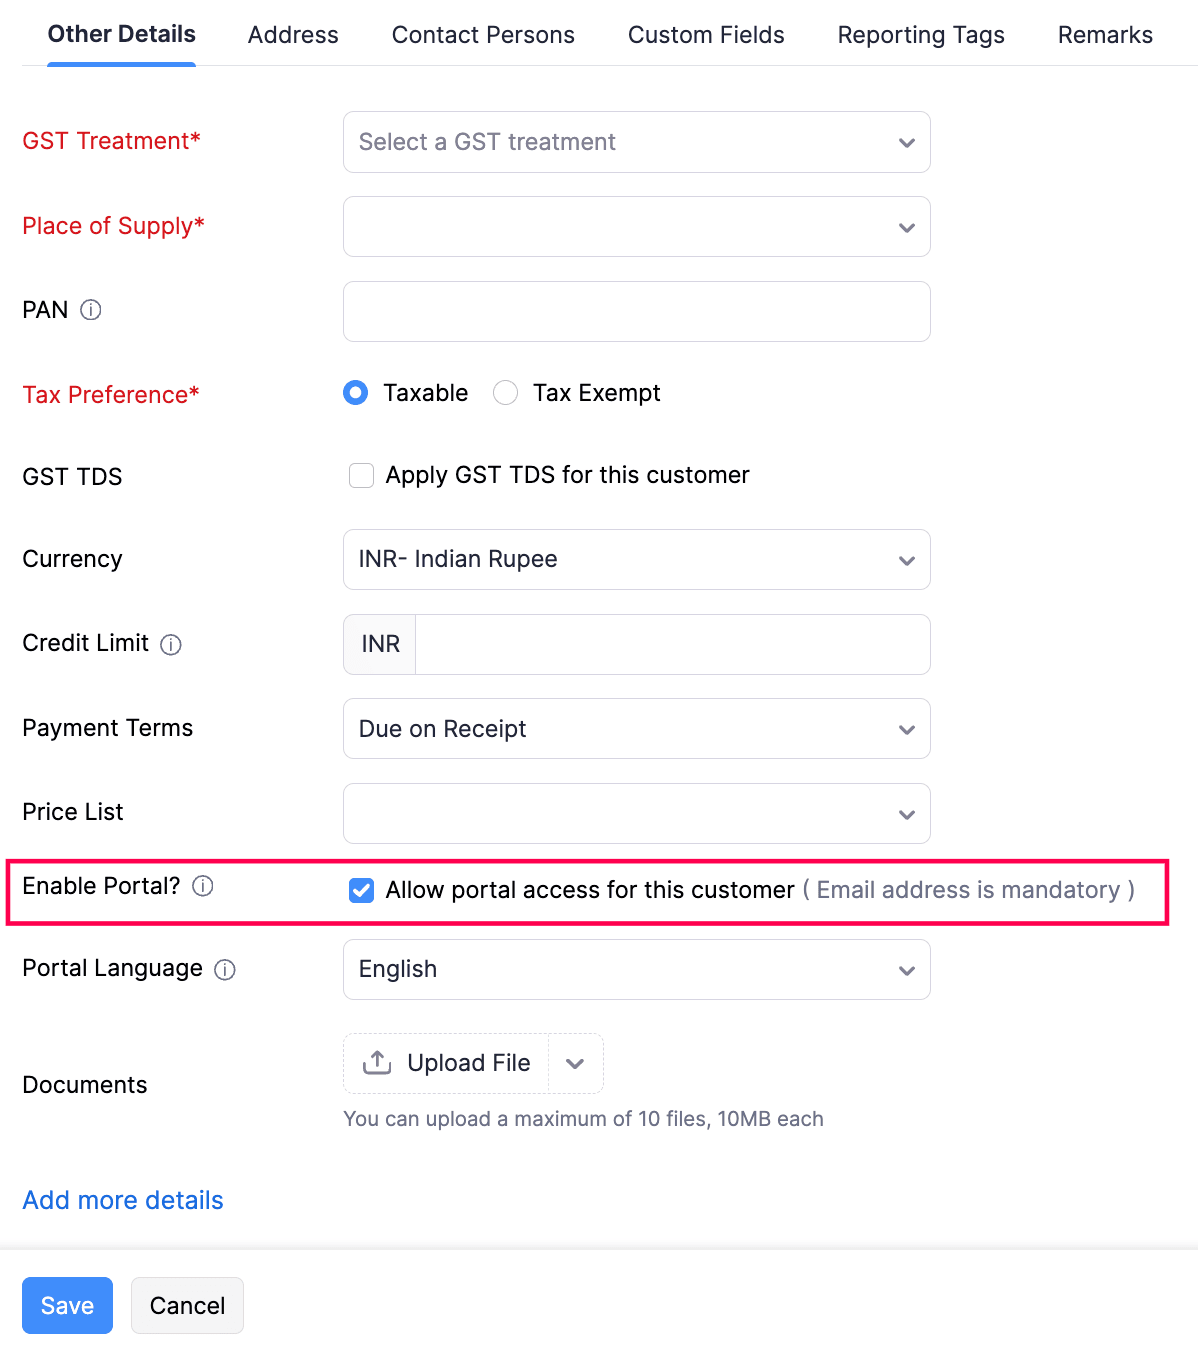
- Click Save.
An invite email will be sent to your customer, which they can use to access the customer portal.
Pro Tip: You can invite multiple customers to the Customer Portal at the same time using Bulk Actions. To do this, go to the Customers module and select one or more customers from the list view. Click Enable Portal from the More Actions dropdown. Now, an invite email will be sent to the Primary Contact of the customers that you had selected.
Configuring the Customer Portal Language
You can also configure the language that’s used in the Customer Portal for individual customers. Here’s how:
- Navigate to Customers under Sales from the left sidebar.
- Select a customer.
- Click Edit button in the top right corner.
- Select a Portal Language in the Other Details section.
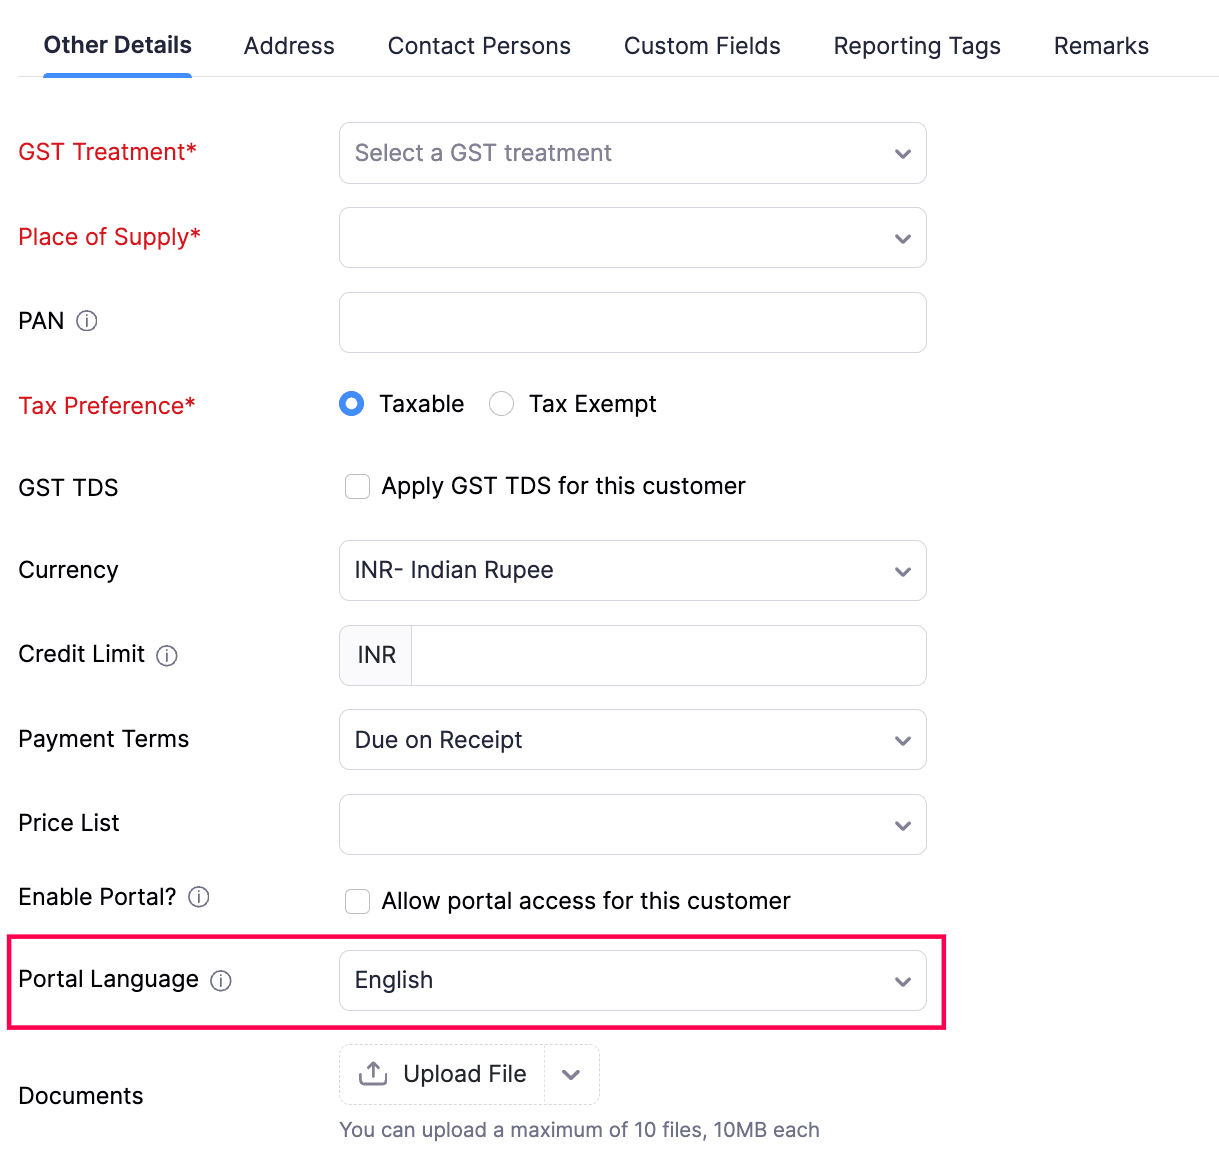
- Click Save.
The portal language will be changed to the one you’ve configured for that customer.
Accessing the Customer Portal
After you’ve invited your customers, they can use the invitation email to log in to the Customer Portal. The invitation email will contain the following:
- The URL to access the Customer Portal.
- Your customer’s username for the portal.
- An Accept Invitation button, which your customer must click to log in to the portal for the first time.
You can check whether the customer has accepted your invite by going to the Customers module and selecting the customer. The invitation status will be displayed in the Overview screen.
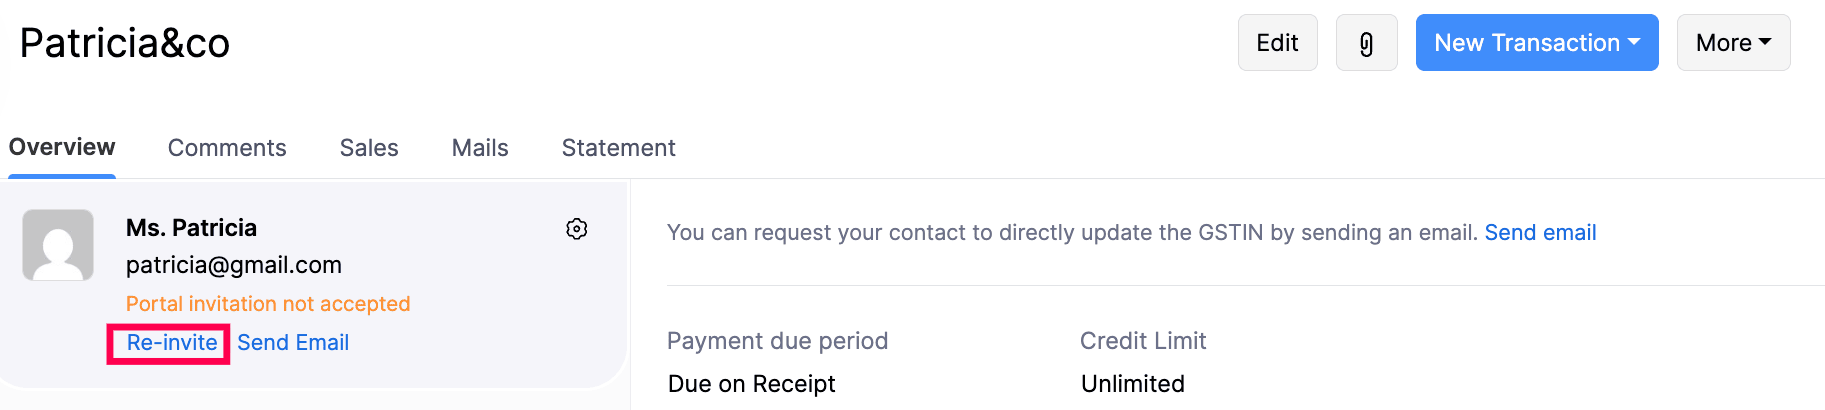
The Re-Invite option can be used to resend the invitation email to your customers when they have missed the email or couldn’t find it.
Customer Portal Activity Updates
Your customers can use the Customer Portal as a way to communicate with you. Here’s how:
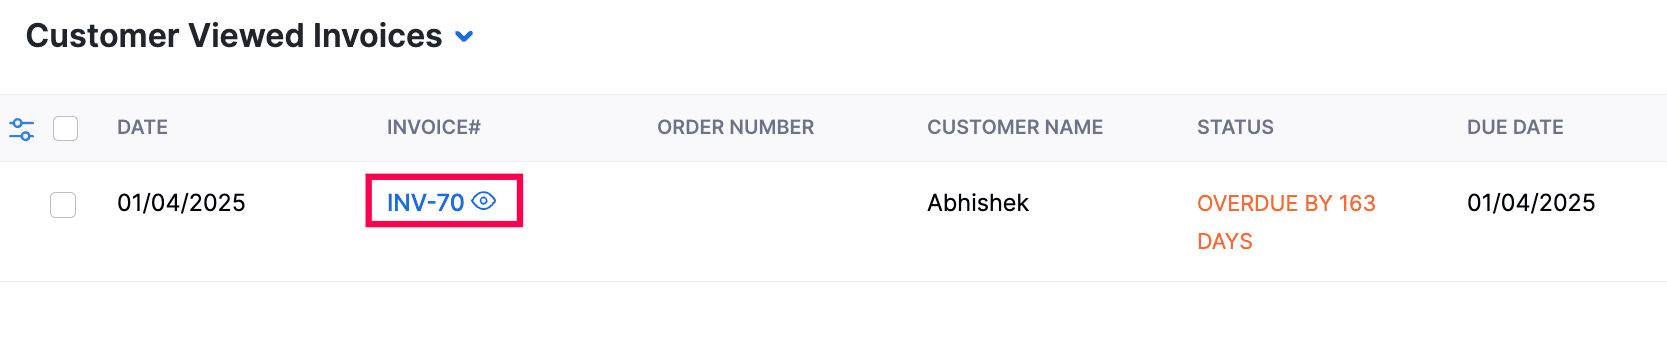
When your customers view an invoice for the first time in the Customer Portal, you will get an in-app notification, and Zoho Inventory will also show a Viewed (eye) icon near the invoice.
Pro Tip: You can also apply Customer Viewed as a custom view in the list view page to check which customer has viewed and which customer has not.
Apart from invoice updates, you will also receive in-app notifications for other important customer activities that take place in the portal, such as making payments and adding comments. You can choose whether you want to be notified about these events via email through the Customer Portal Preferences.
Disabling the Customer Portal
To disable the Customer Portal for a customer:
- Navigate to the Customers under Sales from the left sidebar.
- Select a customer.
- Click the More dropdown in the top right corner and select Configure Customer Portal.
- Unselect the contact person for whom you want to disable the Customer Portal.
- Click Save.
Now, the unselected contacts will no longer be able to access the Customer Portal.