
Retainer Invoice Preferences
In the Preferences section, you would be able to assign default terms and conditions and notes to your customers. Also, you can add additional fields to your credit notes by using our Custom Field option.
Terms & Conditions and Customer Notes{#t&c-notes}
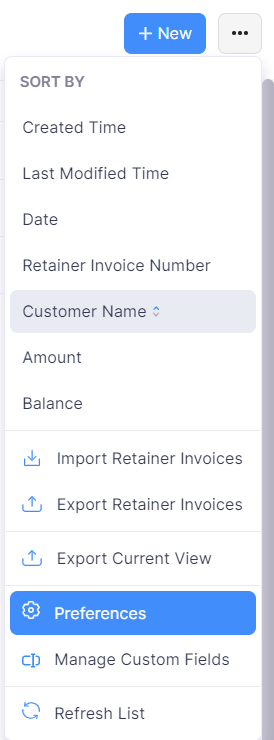
- Go to the Retainer Invoices module on the left sidebar.
- Click the Gear icon on the top-right corner of the page and select Preferences.
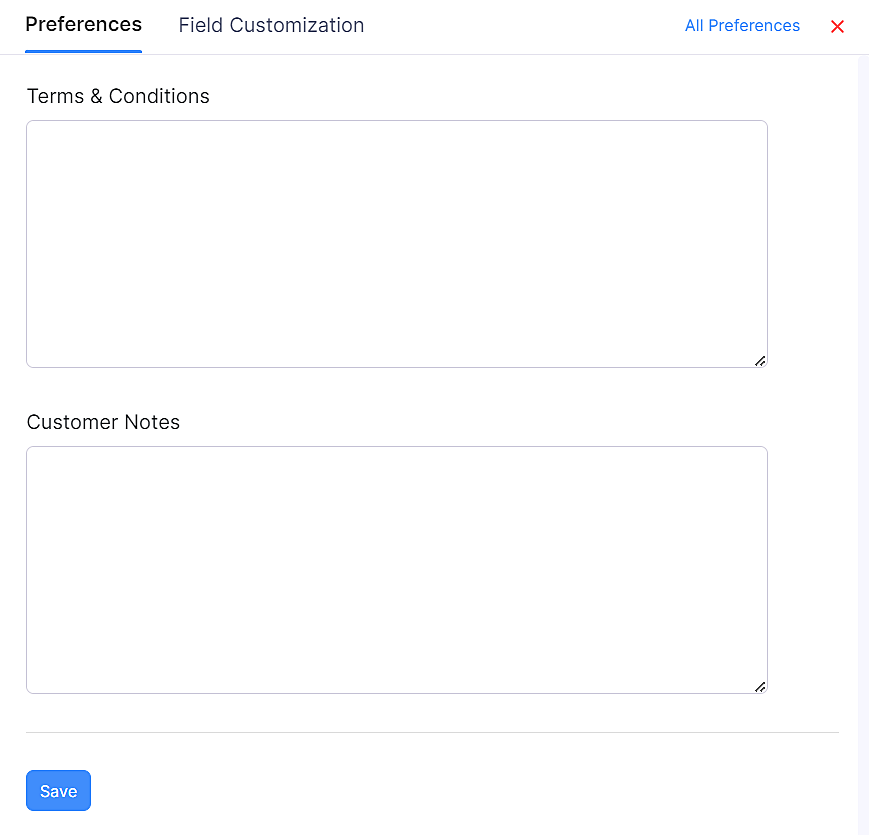
- Terms & Conditions, Customer Notes: Enter the terms & conditions and customer notes to be displayed in your retainer invoices. This will be displayed in all the retainer invoices created unless you change the content at the time of creating the retainer invoice.
Alternatively, you can also click the Gear icon on the top-right corner and choose Preferences > Retainer Invoices to access the preferences of the Retainer Invoices.
Custom Status
ENTERPRISE EDITIONThe Custom Status feature allows you to create your own status for the retainer invoices you create. You must select a default status as your parent status and create a new status. Here’s how:
- Go to Settings on the top right corner of the page.
- Select Retainer Invoices under Sales.
- Navigate to the Custom Status tab.
- Click + New Custom Status.
- Choose the parent status and enter the name of your custom status.
- You can set your preferred label color and click Save.
To mark the custom status:
- Go to Retainer Invoices under Sales on the left side bar.
- Select a retainer invoice which has the parent status you set for your custom status.
- Click the More icon to view and mark the custom status.
Custom Fields
Custom Fields in Zoho Billing lets you store additional details relating to your retainer invoices.
To create a Custom Field:
- Go to Settings > Preferences > Retainer Invoices.
- Select the Field Customization tab.
- Click the + New Custom Field button in the top-right corner.
- Fill in the details and click Save.
Learn more about Custom Fields.
 Yes
No
Yes
No
Thank you for your feedback!