
Importing Data
You can import bulk data from your hard-drive into any of the modules within Zoho Inventory. This saves you a lot of time from manual entry.
In the following steps we will demonstrate the process of importing invoices. The import process involves three steps:
Step 1 - Configure
Log in to your Zoho Inventory account.
Navigate to the Invoices module or any other module.
Click the More icon button on the top right corner.
Select Import Invoices option from the dropdown.
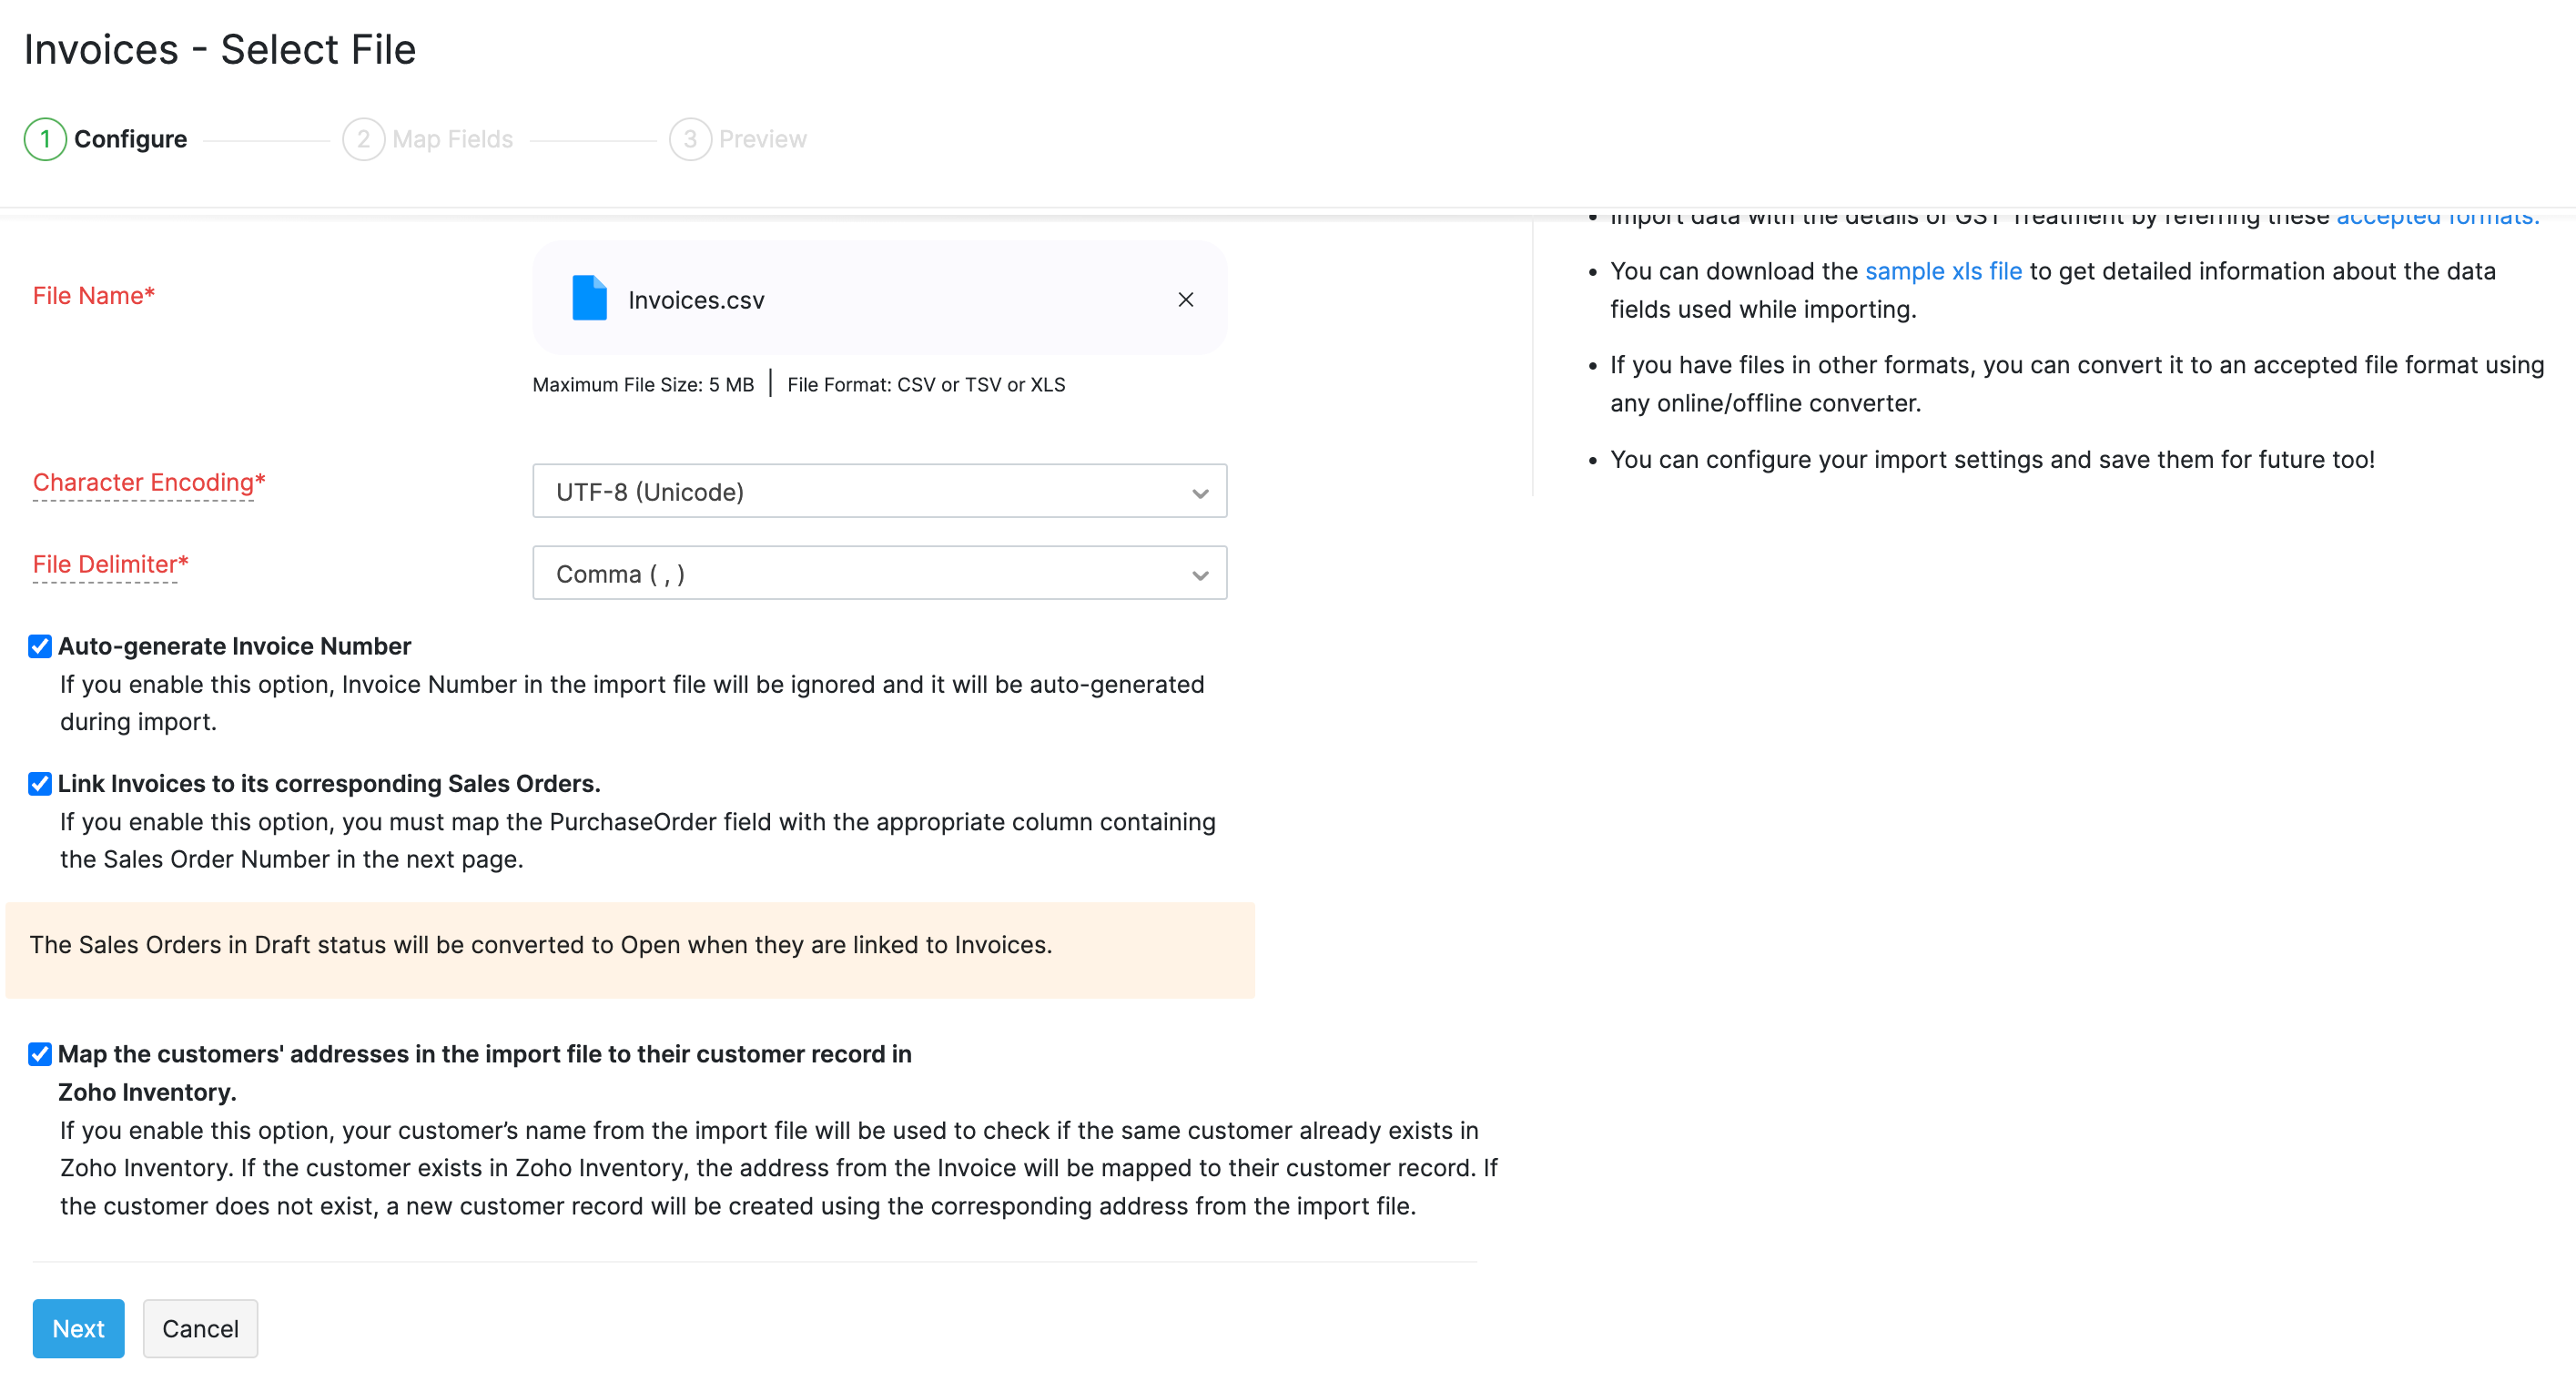
Upload the relevant .csv or .tsv type file from your device. You can download and refer the sample file from this page to prepare the data on your import file.
Choose the character encoding involved from the dropdown. By default, the character encoding is UTF-8(Unicode).
Choose the File Delimiter(comma or semicolon). By default it will be comma for a .csv type file.
Click Next to proceed to mapping the fields.
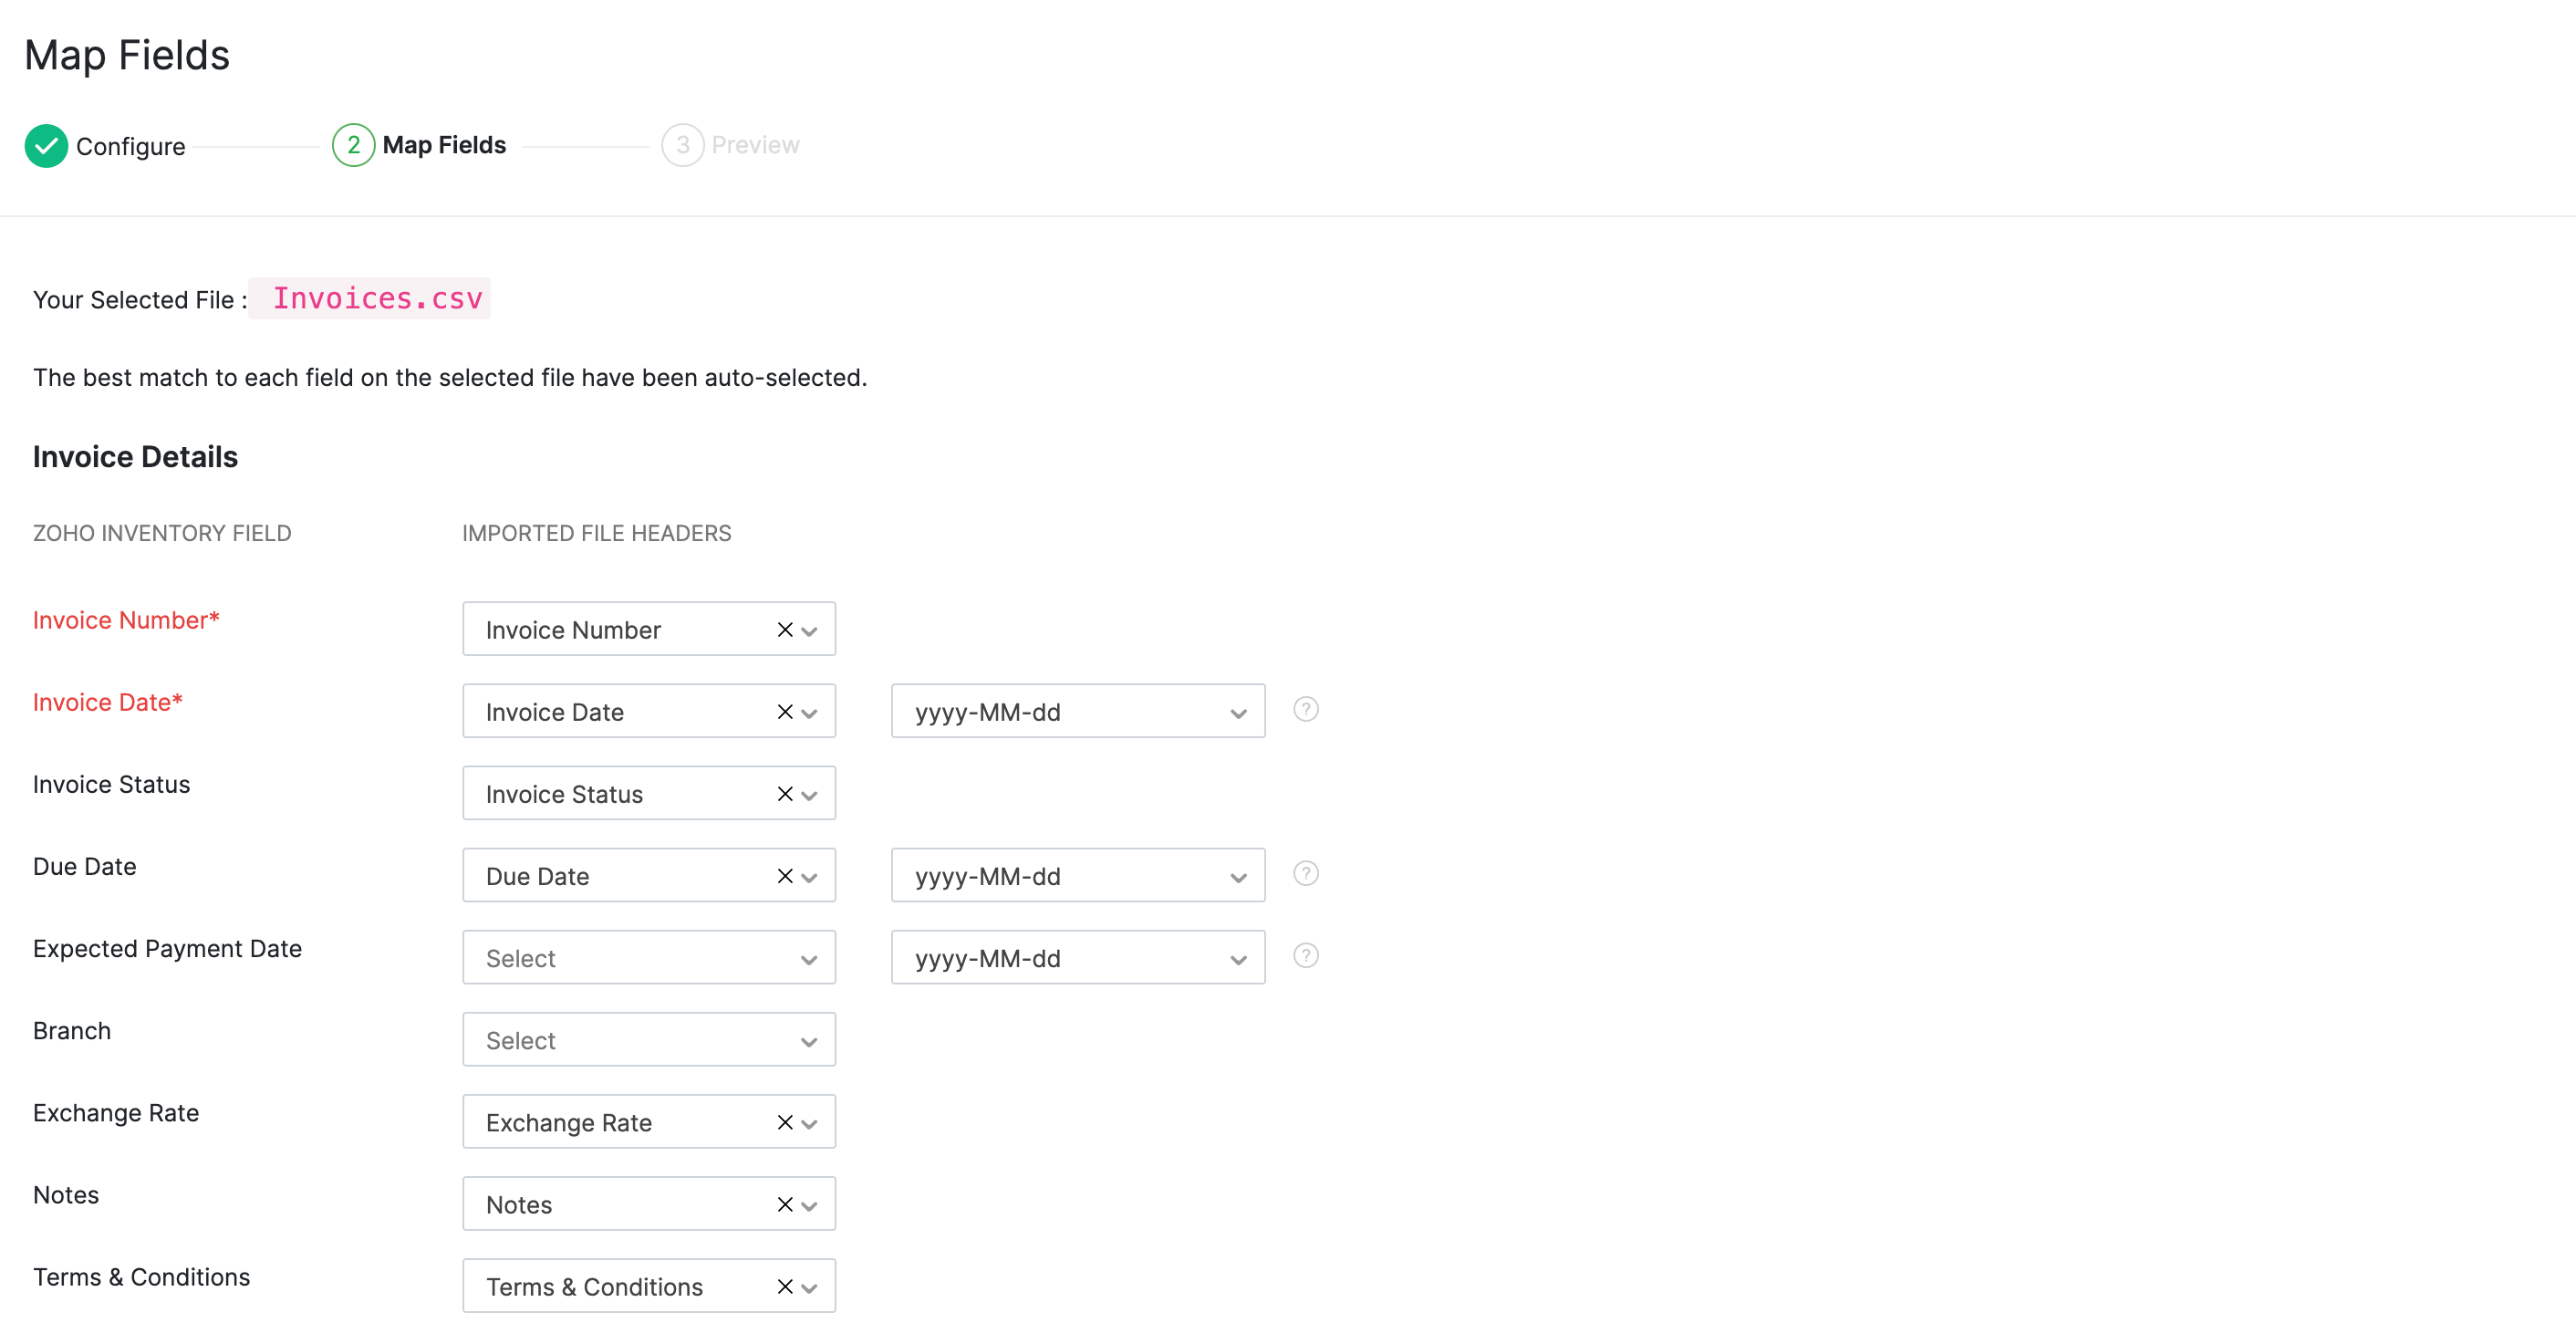
Step 2 - Map Fields
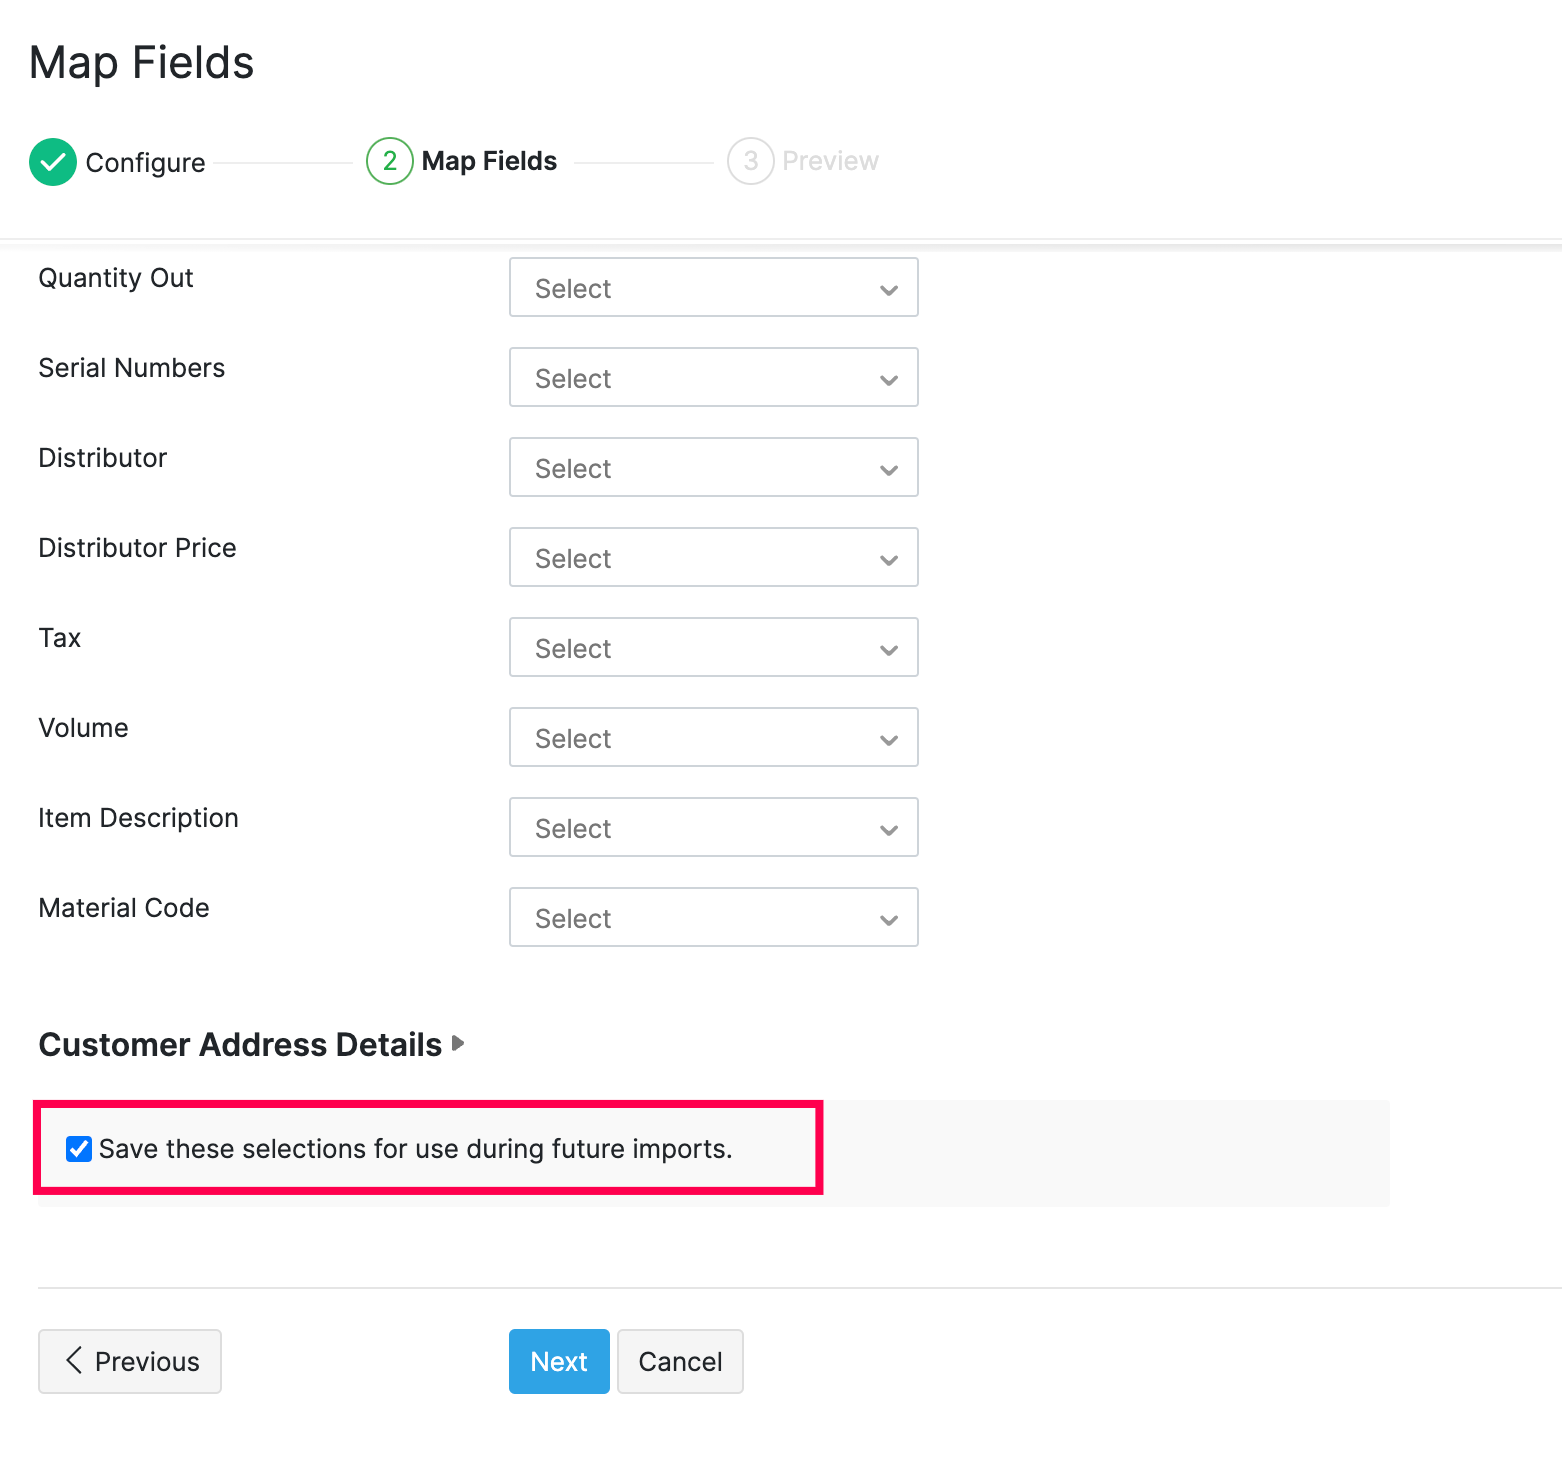
Zoho Inventory finds similar fields and maps them automatically. You can make changes, if needed.
Check the box near the Save these selections for use during future imports option to automate mapping for future imports.
Click Next to proceed to the Preview window.
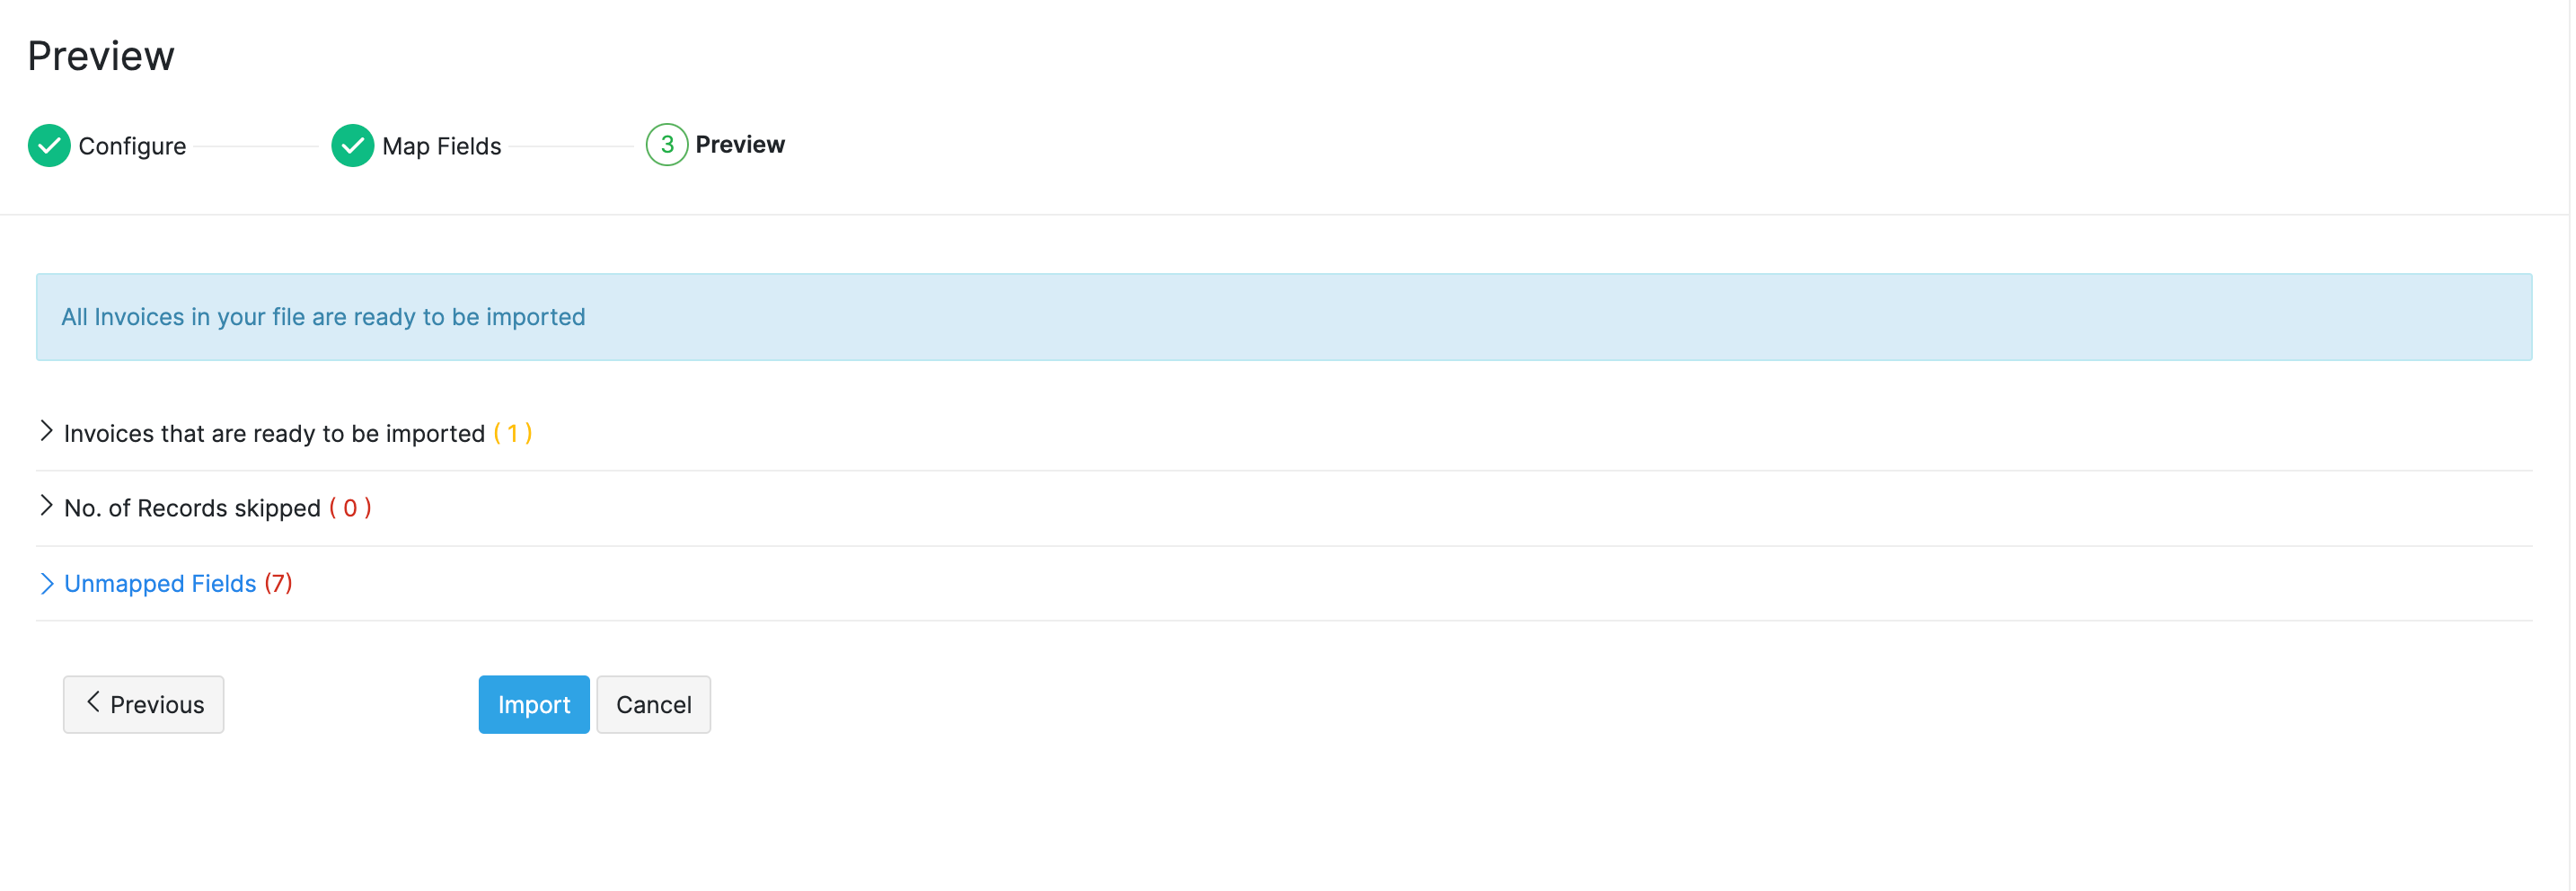
Step 3 - Preview
Here a summary of the number of invoices ready for import, number of skipped records and unmapped fields will be shown.
Click Previous to make changes.
If everything is ready, click Import.
Similarly, you can swiftly upload large volume of data into the other modules in Zoho Inventory.