Integrate Zoho Cliq MCP server with MCP clients
Now, you can connect your MCP Server to your MCP Client with the MCP URL. To connect your Zoho MCP server with your MCP Client, ensure you have:
Created your Zoho MCP Server
Collected your MCP URL endpoint
Connecting Zoho Cliq MCP with Claude
Link Claude with Zoho MCP to facilitate real-world workflows in Zoho Cliq through a secure and simple setup within your conversation window.
Setting up Zoho Cliq MCP in Claude
Note: Only a Claude organization admin can complete these steps. Once connected, the integration is available to everyone in your Claude organization. However, only the admin can manage which tools are linked to the Zoho MCP instance.
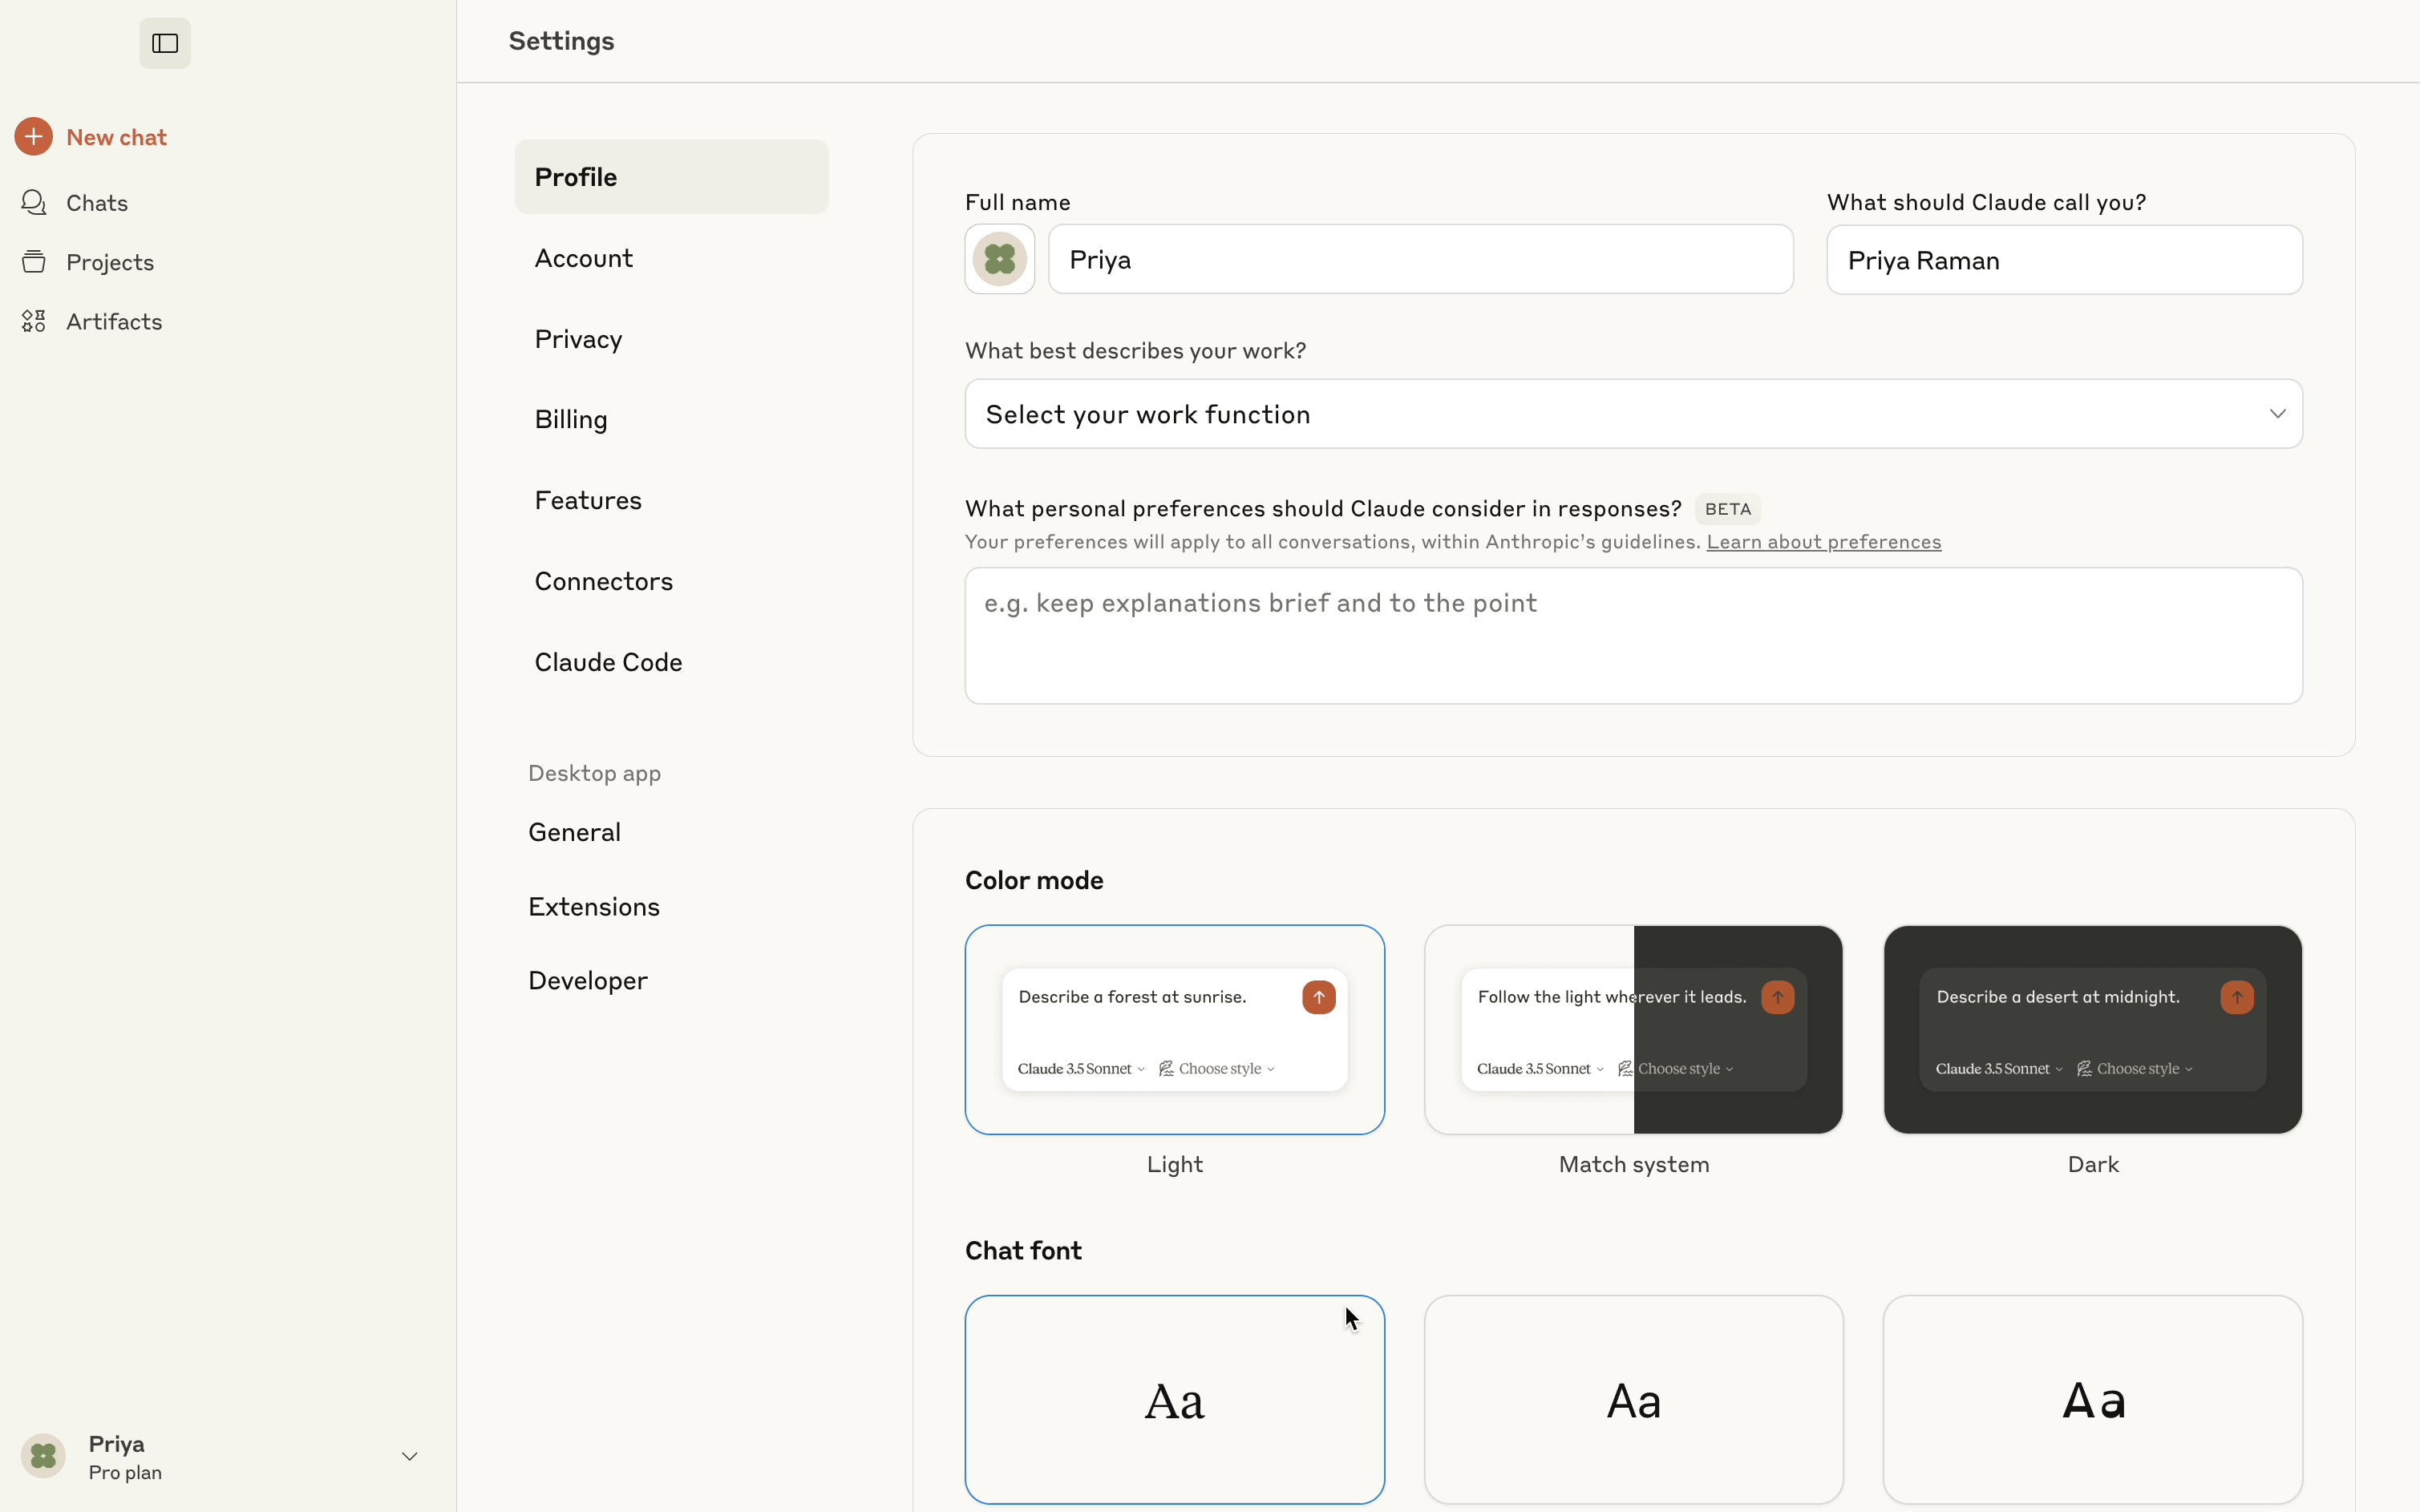
- Navigate to the bottom right corner of the Claude desktop and click on your profile.
Then, go to the Settings. Alternatively, you can open this link directly in your browser: claude.ai/settings/connectors.
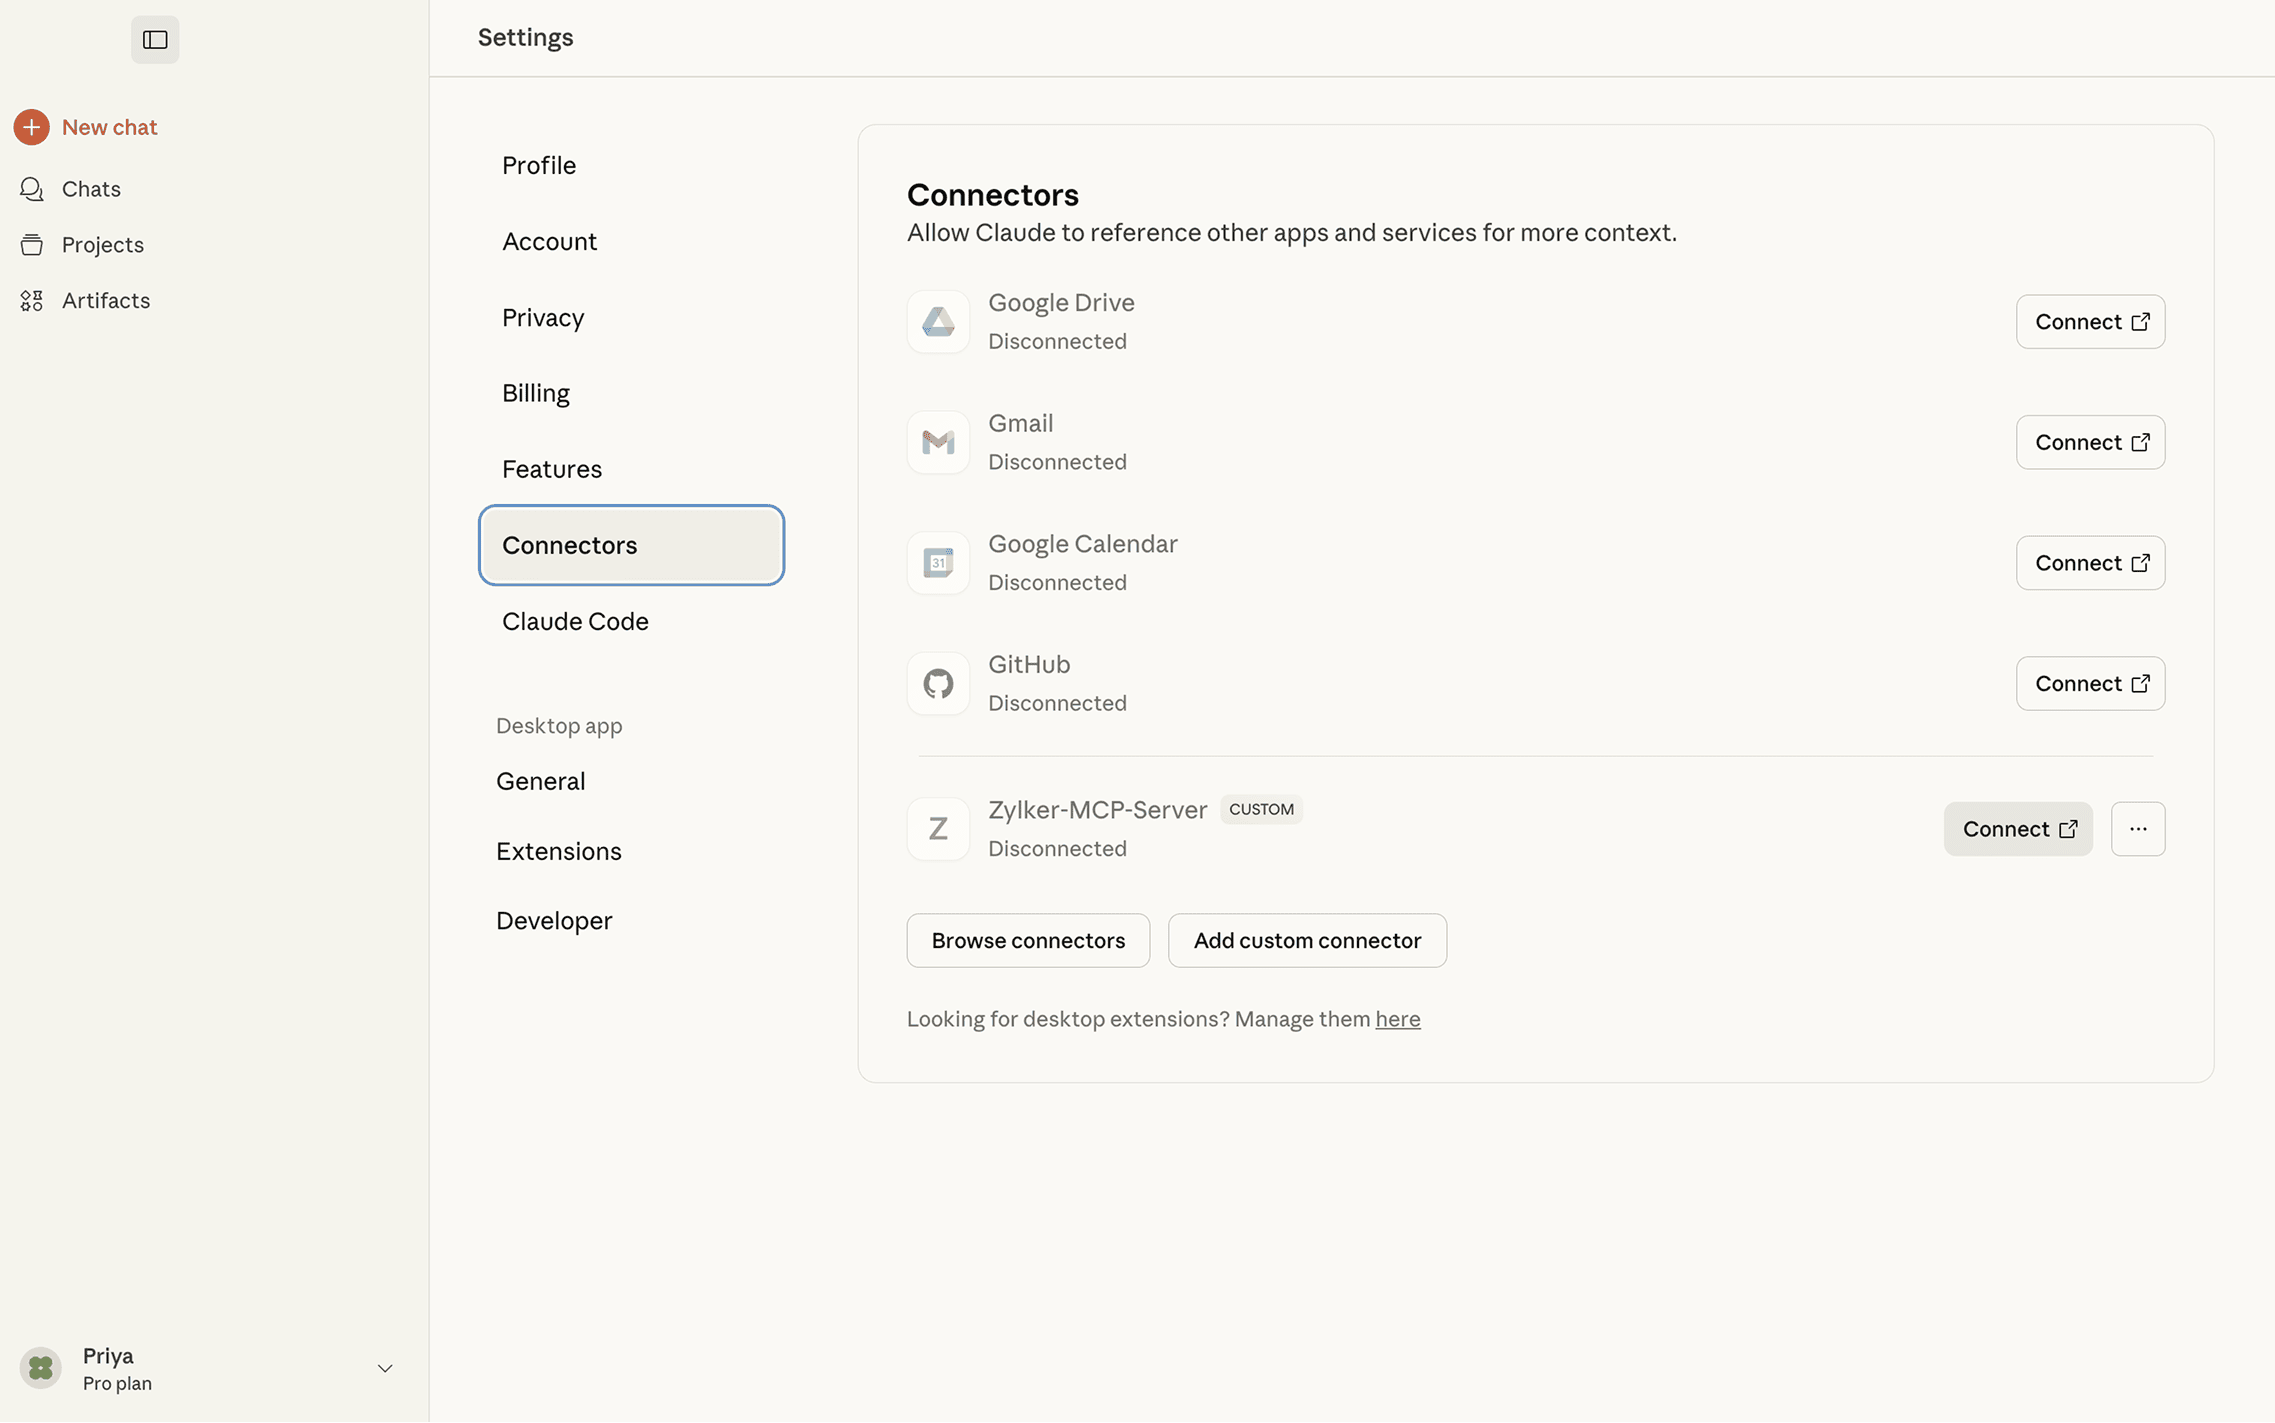
- Click "Connectors" and select "Add Custom Connector" to create a new connector.
- In the Name field, enter a descriptive title for the connector (e.g., Zylker-Cliq-MCP).
Paste the MCP URL provided by your Zoho MCP setup.
- Click Add.
The MCP service will now be integrated into your MCP Client. Click Connect to authorize the connector.
You will be taken to an OAuth screen that details all required permissions. Click Allow.


You will now be able to perform actions in your required services, as your MCP Client is now linked with the Zoho MCP server.
Accessing Zoho MCP tools in Claude
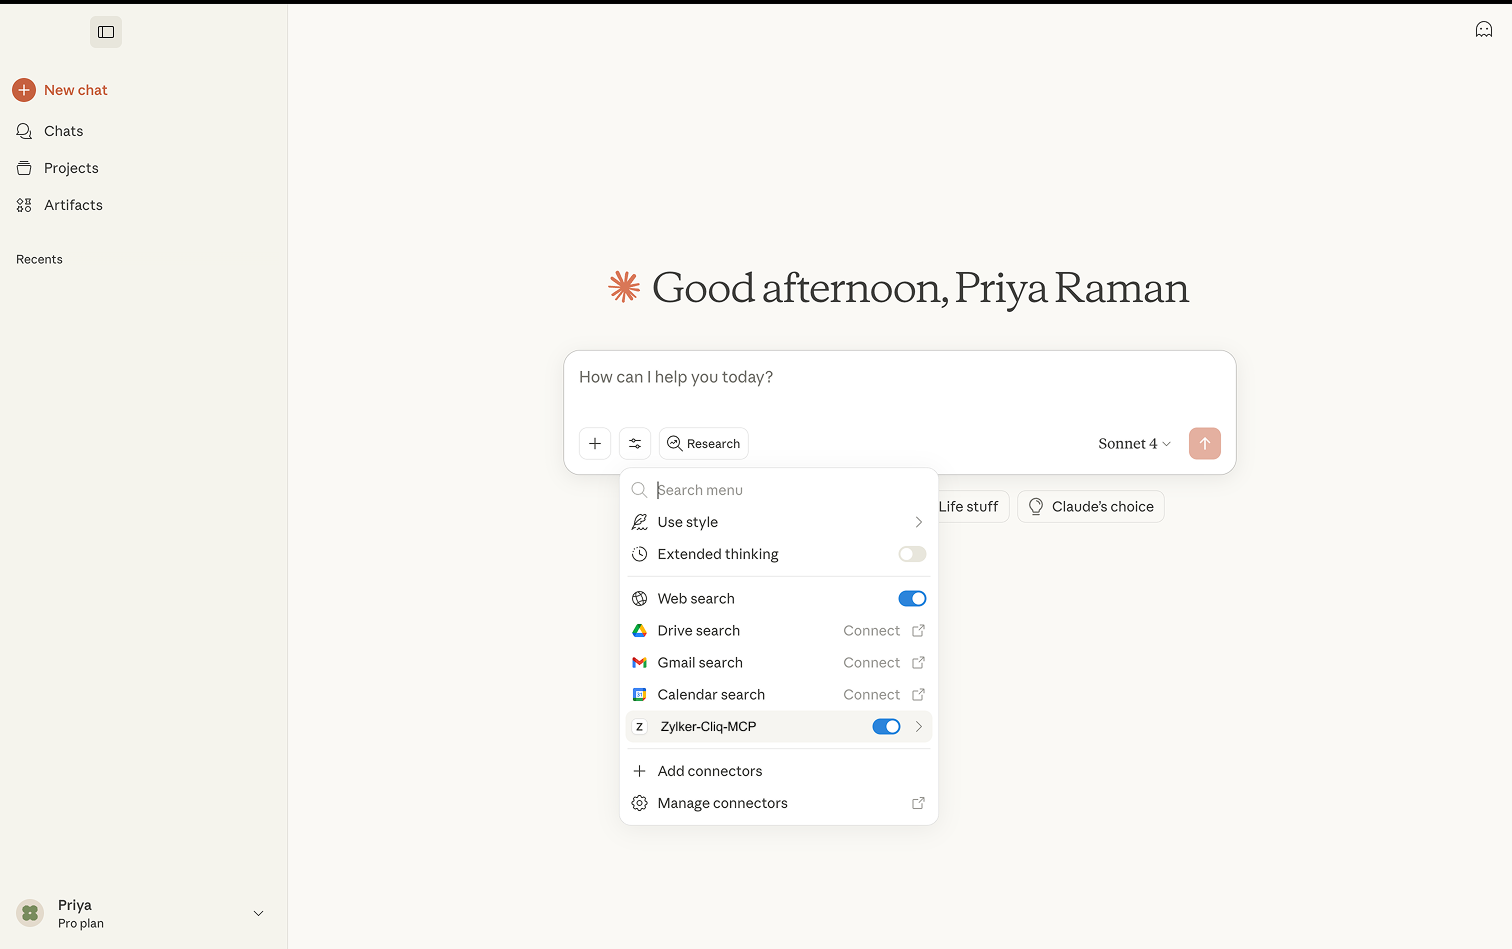
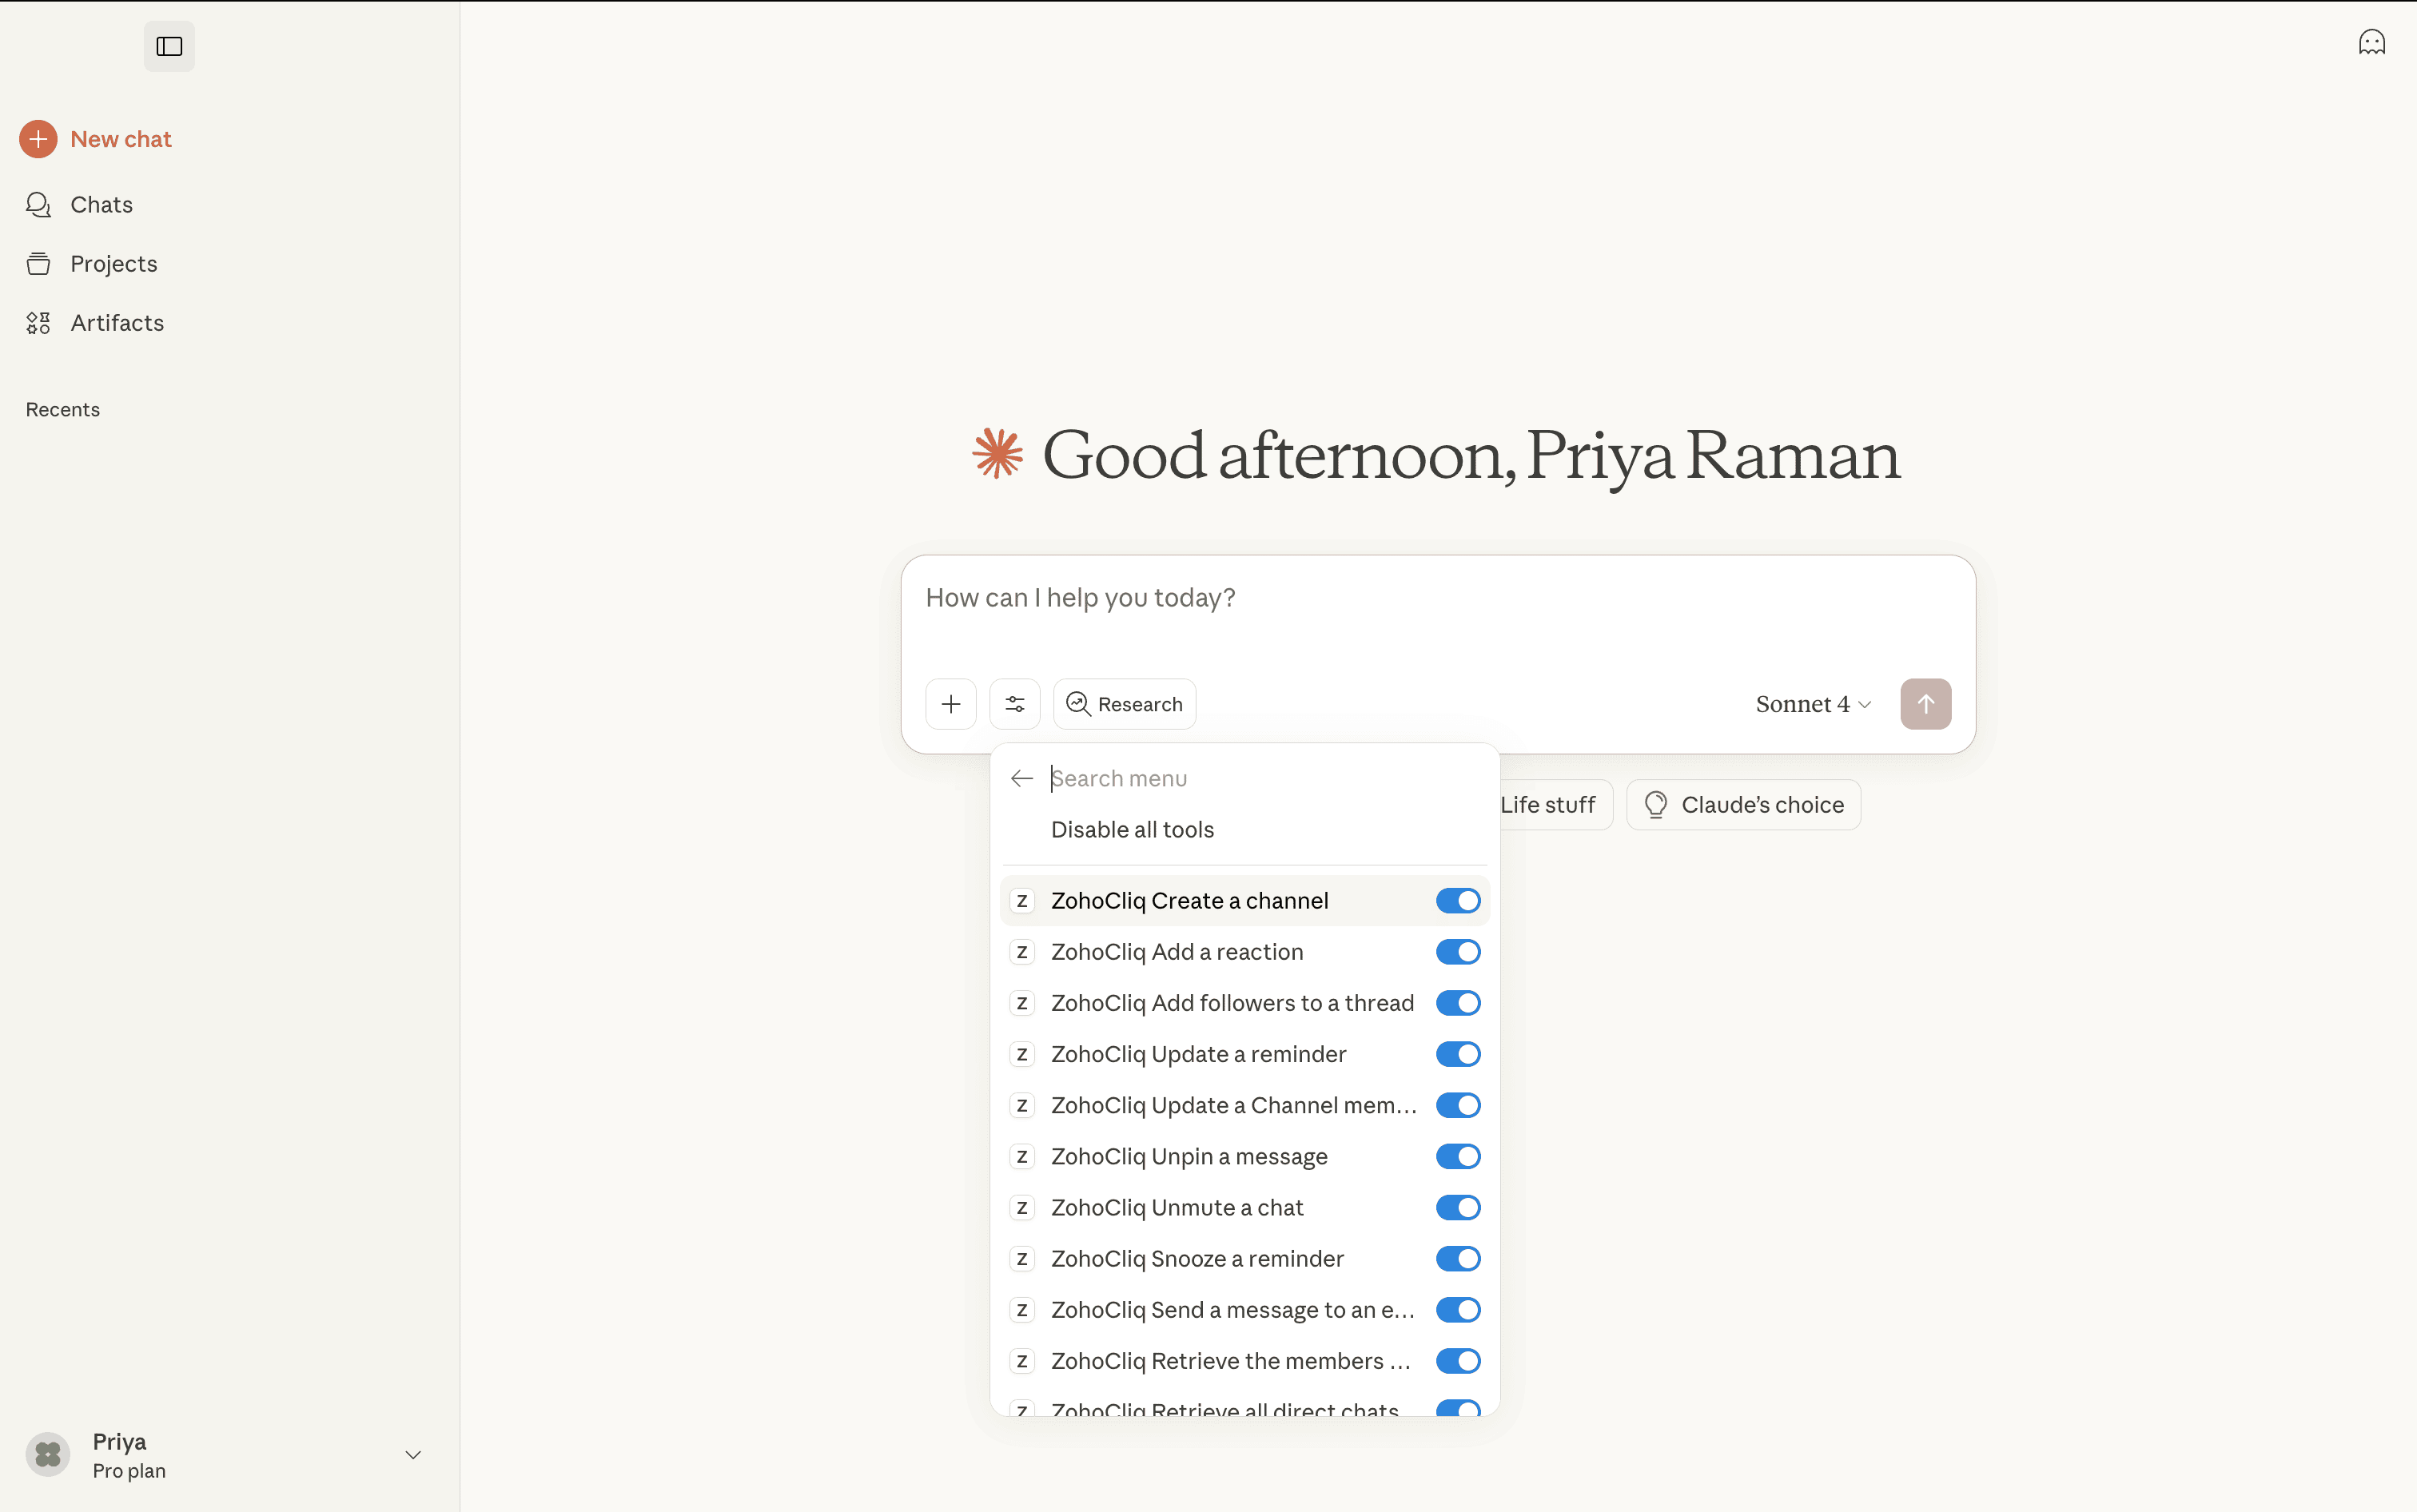
You can also find a list of tools you have configured in your MCP service by clicking the expand icon toggle.
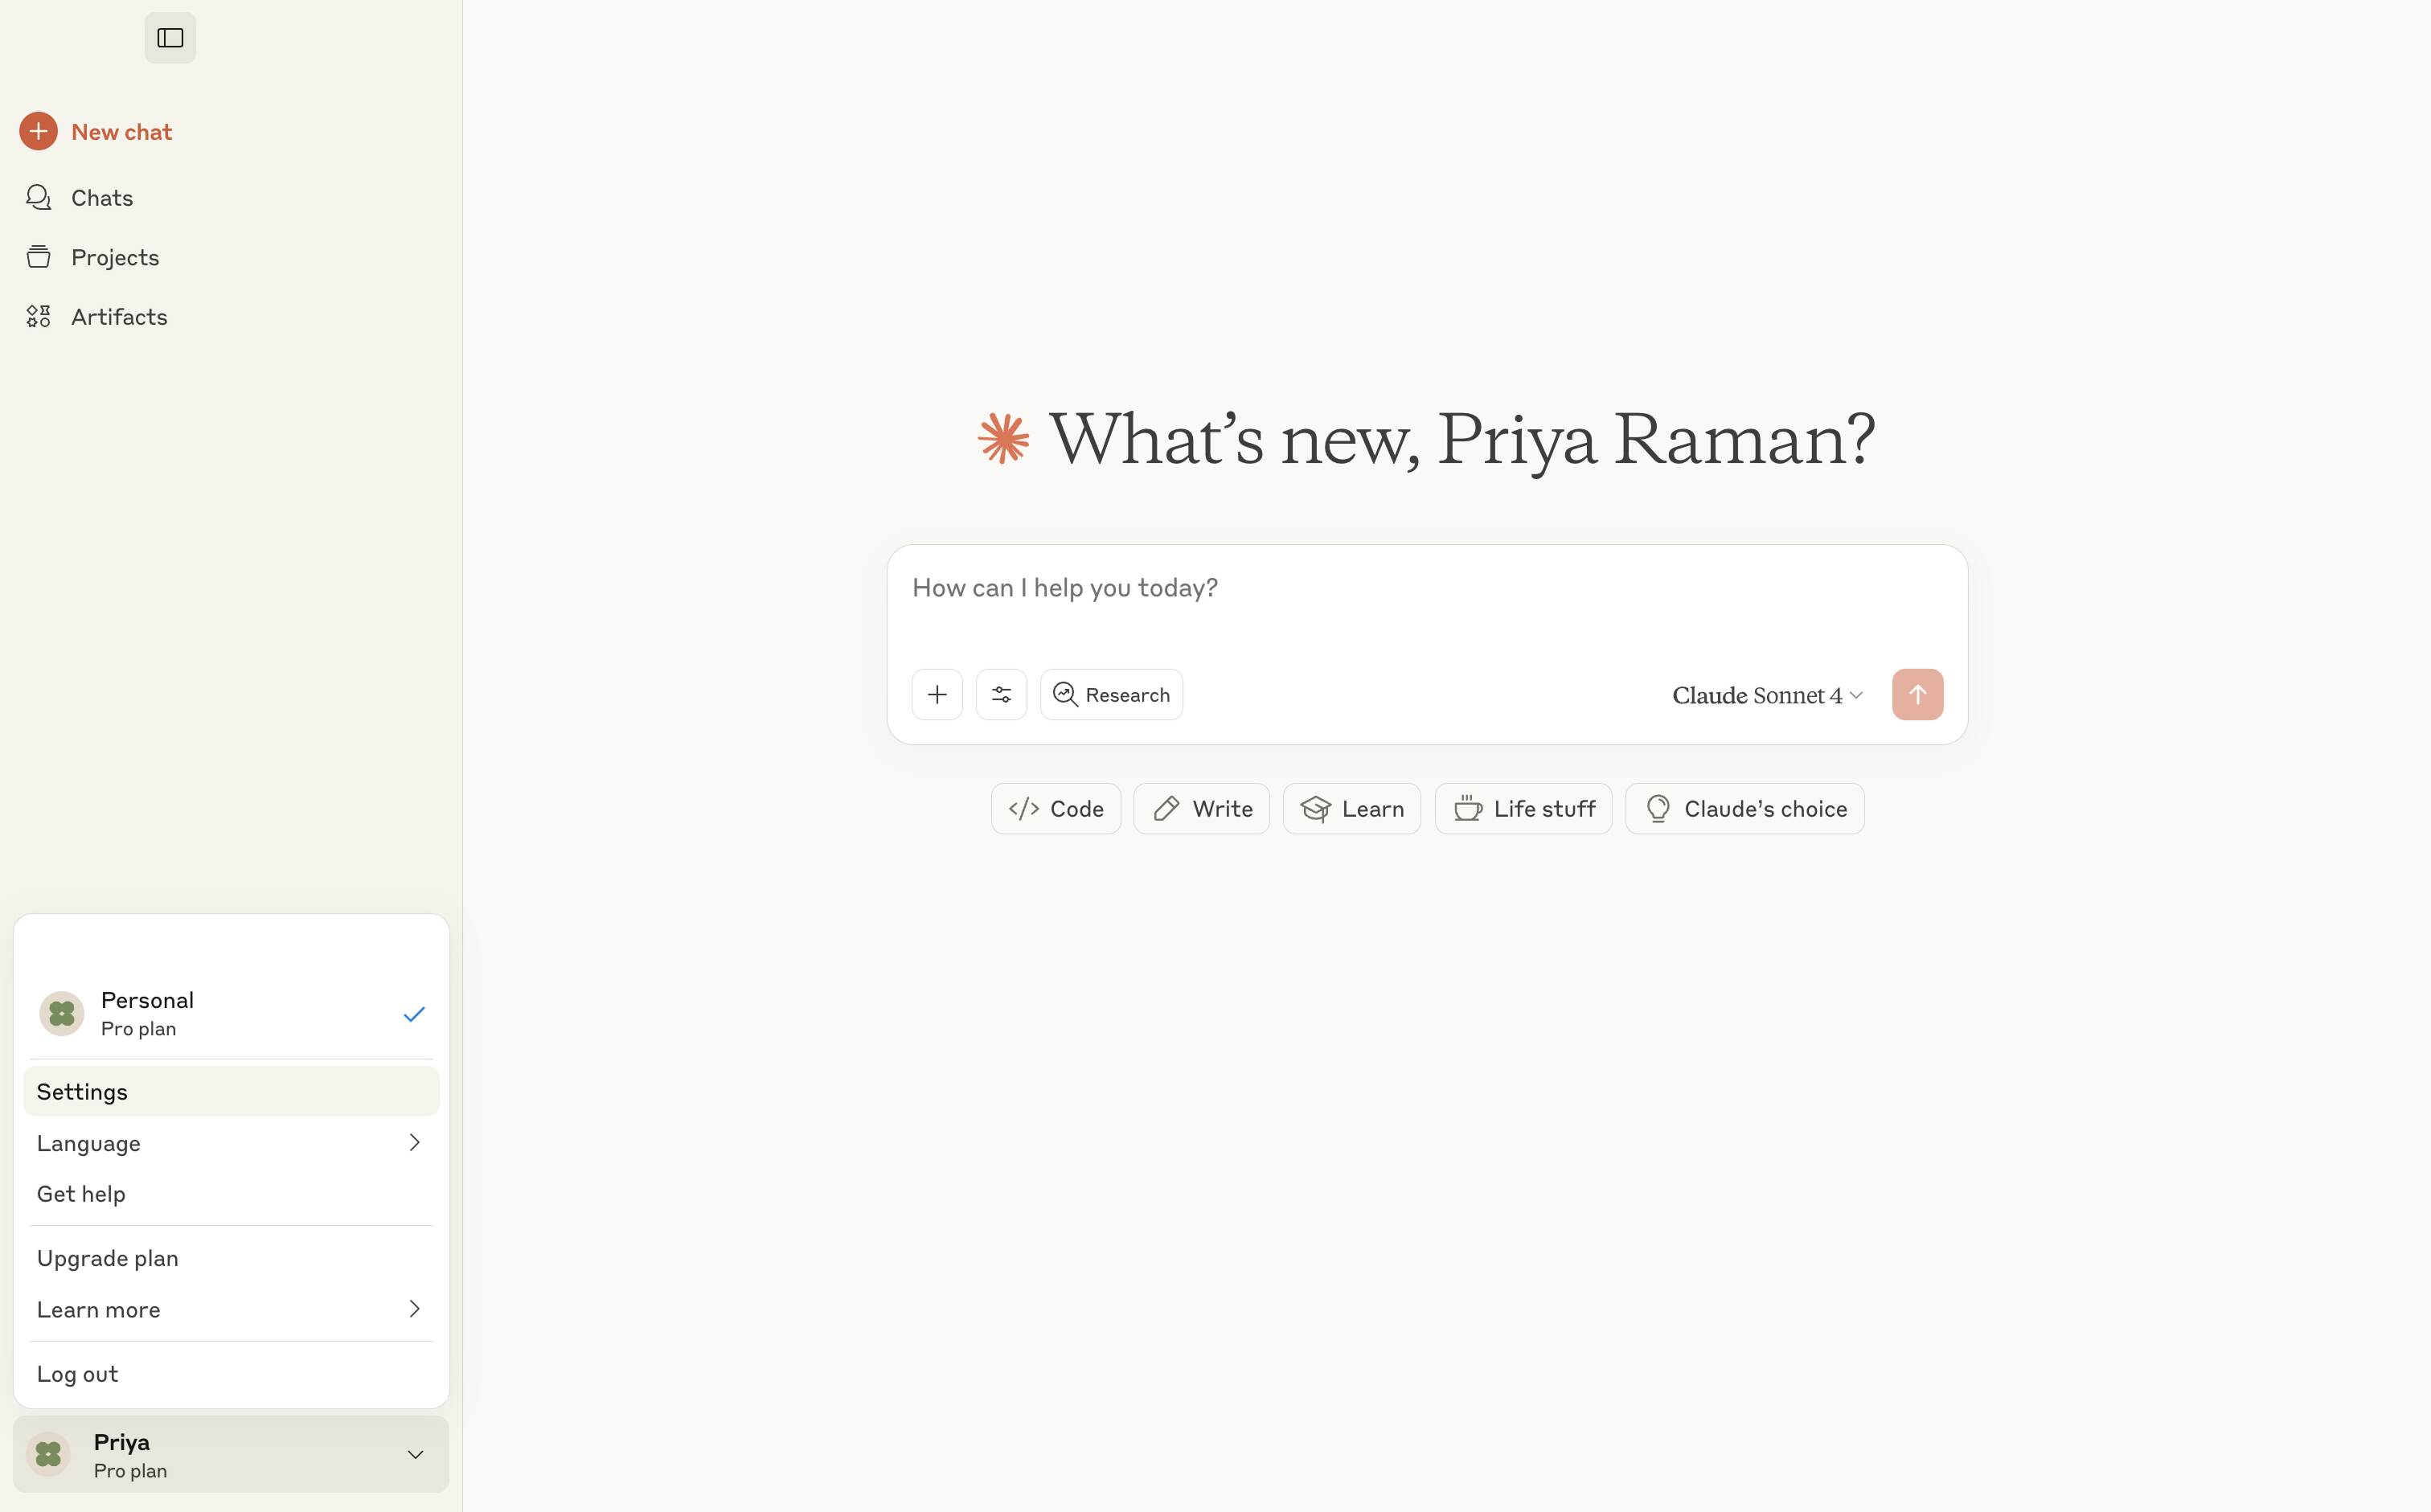
- Open a new chat in Claude.
Select the Search and Tools button located in the lower-left corner of your chat interface
Choose the Zoho MCP connector that you have already set up (e.g., Zylker-Cliq-MCP).
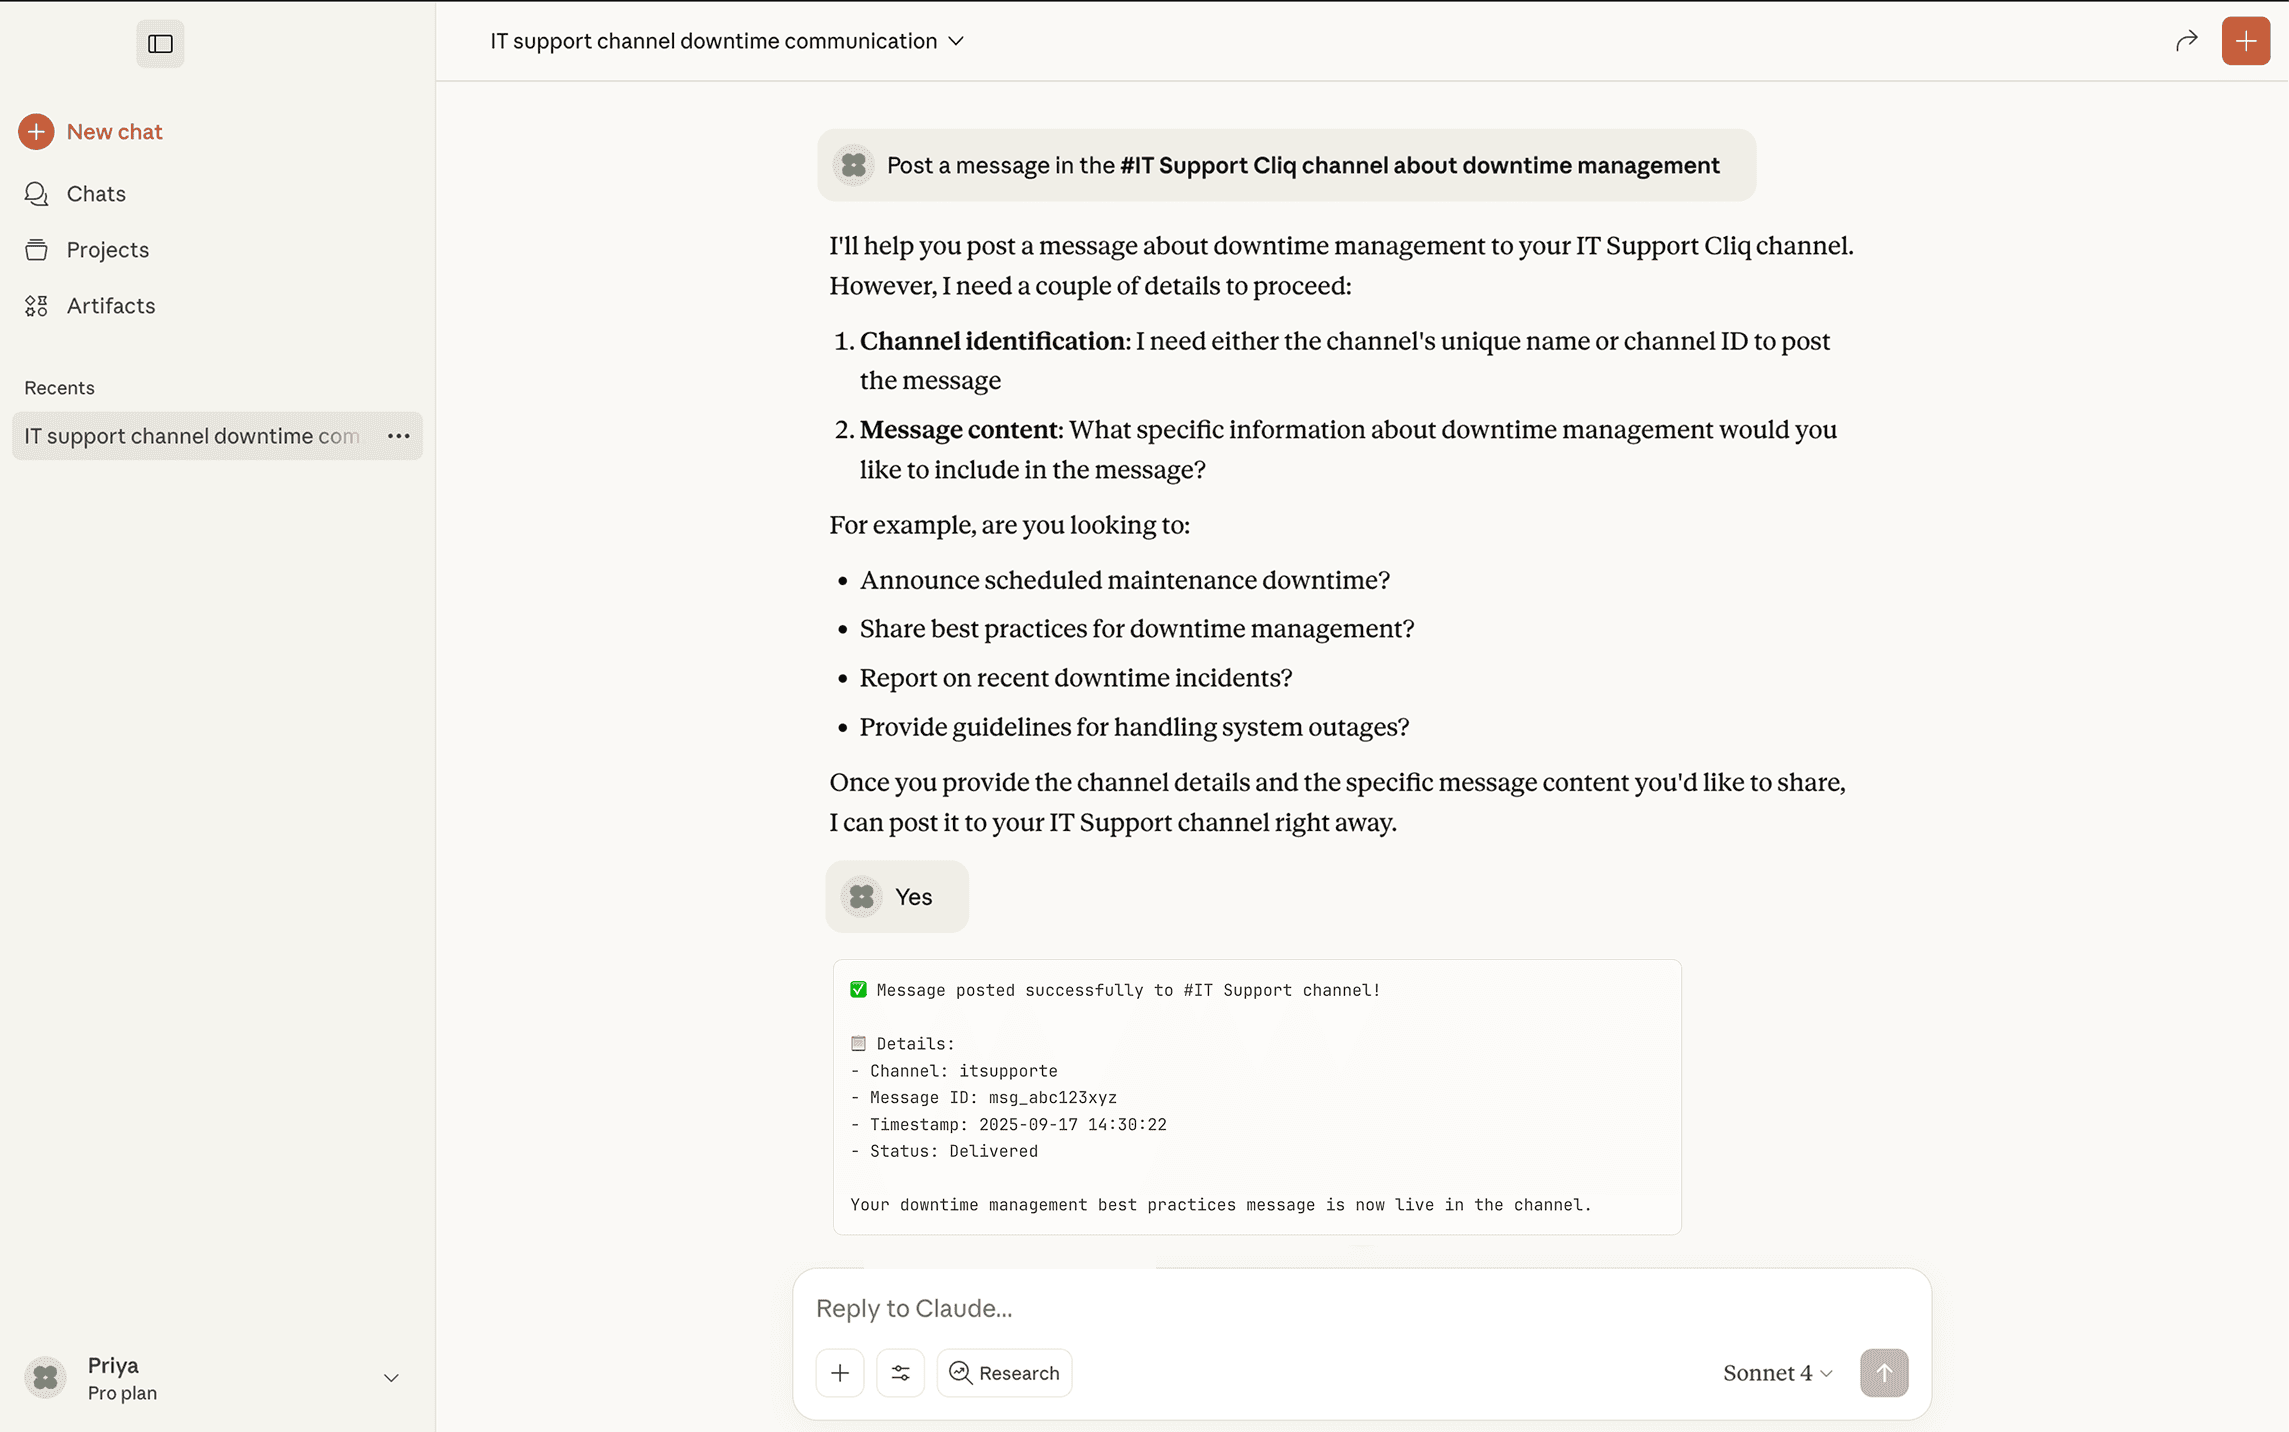
Select the Zoho Cliq tools you want to use in this chat, such as posting messages in a channel or sending direct messages.
Ask Claude to perform actions using the selected tools.