Configure LDAP to enable user sync from your directory
Table of Contents
1. Overview
2. Setting up LDAP by adding domain controllers
3. Configure groups based on domain controllers
4. Manage domain controllers and groups
4.1. Sync once, edit, and delete domain controllers
4.2. Edit and delete groups
5. Points to note
6. Related topics
1. Overview
The LDAP configuration allows Zoho Creator On-Premise to integrate with your directory service, enabling seamless synchronization of user data and roles. By connecting Creator On-Premise with your LDAP server, you can efficiently manage directory-related information within the on-premise application.
2. Setting up LDAP by adding domain controllers
Set up a one-way bridge from LDAP to Creator On-Premise for regular user synchronization by adding domain controllers. You can then create groups that enable application sharing according to the permissions assigned to the users included in them.
1. Navigate to Account Setup from your Creator On-Premise dashboard.
2. Click LDAP under the User Management section and click Add Domain Controller.

3. Enter a domain name for the current domain controller configuration. This will help locate this specific domain controller when configuring groups.

Note: Domain Name can contain only:
- 1 to 30 characters
- The special characters _ * @ \ / ! : | ~ and &
4. Choose a protocol for the domain controller from the listed options LDAP and LDAPS (LDAP Secure).

5. Enter the service endpoint, that is, the IP address and port number of the target domain controller.
6. Select your directory from the LDAP Server Type dropdown.
- The listed directories are Microsoft Active Directory, OpenLDAP, and Novell Directory.
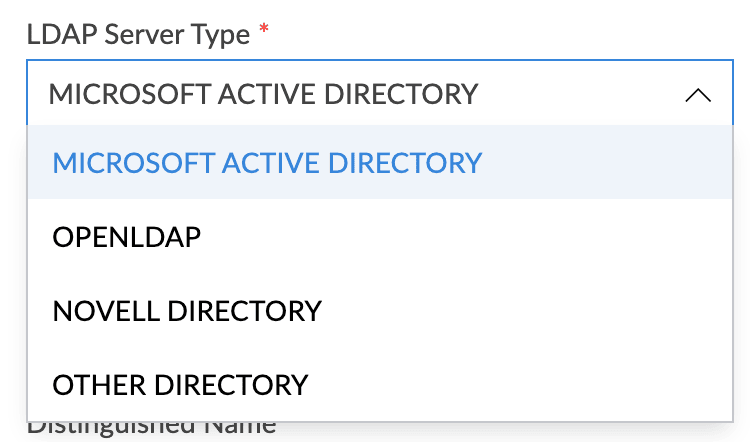
- If your directory is not listed in the dropdown, select Other and enter your directory's name in the input box.

Note:
- By default, Microsoft Active Directory is selected.
- If a directory other than the listed options is specified, the Distinguished Name Attribute Label and Mail Attribute Label must be entered manually.
7. Specify the directory values for Distinguished Name Attribute Label and Mail Attribute Label, which represent the unique identifier of a user and store the user's email address, respectively.
- Labels will be auto-populated and disabled if any of the listed server types (Microsoft Active Directory, OpenLDAP, and Novell Directory) are selected in the previous step.
- The labels must be entered manually if you've specified a directory other than the listed server types in the previous step.
8. Enter the username of the authenticating account in the directory. This account needs to have 'Read' permissions configured in the directory to retrieve user information such as user names, email addresses, and so on.

Note: The username can be of different formats depending on the directory being linked. For example, "sam@zylker.com", "cn=sam, ou=users, dc=zylker, dc=com"
9. Enter the password associated with the authenticating account in the directory. This is required to fetch user details from the directory to Creator On-Premise while the sync is in progress.
10. Tick the Use SSL checkbox to verify the SSL certificate from your directory's server. This ensures that the data that is being synced from your directory to Creator On-Premise is encrypted and securely transferred.
11. Select the type of authentication for the users trying to sign in to Creator On-Premise, after they've been synced to Creator On-Premise. The possible choices are LDAP, Local Authentication, and SAML.

Note: SAML will only be listed as an authentication option for a domain controller if it has been configured previously. The mapped bind user must complete this configuration in the SAML Configuration module on 'accounts.zoho.com'.

12. Enable Sync Schedule to regularly sync user additions and removals from your directory to Creator On-Premise. Choose an interval for this sync schedule and specify the date and time when the initial sync should take place.

Note: Every sync will be stored for a period of one year from its schedule. Refer to the 'Points to note' section to know how and where to check these logs.
13. Click Add to successfully add the domain control and establish a one-way bridge from your directory to Creator On-Premise for seamless data synchronization.

The domain controller is successfully added and listed in the Domain Controllers tab. You can now create LDAP groups based on the added domain controllers.
3. Configure groups based on domain controllers
You can create groups that let you enable application sharing according to the permissions assigned to the users included in them. Each group must be associated with a specific domain from which users can be added.
1. Navigate to Account Setup from your Creator On-Premise dashboard.
2. Click LDAP under the User Management section and navigate to the Groups tab.
3. Click Add Group and enter a group name to identify this specific set of users.

Note: Group Name can contain only:
- The special characters _ * @ \ / ! : | ~ and &
- 3 to 30 characters
4. Select the previously added domain name from which the users need to be included in this group.
5. Specify the base domain from which the users will be synced. This helps Creator On-Premise locate the users within the broader domain structure.
6. Choose a search scope which determines the level from which users need to be synced from.
- One-Level: Users are synced only from the base domain level, meaning only users directly within the specified base domain will be included in the group.
- Subtrees: Users both from the base domain and also from any child domains or subtrees beneath it will be included in the group.
7. Provide a description to help identify the group by mentioning its purpose and unique configuration.
Note: Group Description can contain:
- A maximum of 200 characters
- Only the special characters _ * @ \ / ! : | ~ & ( ) . and ,
8. Select a User Inclusion setting to specify which users from the base domain should be added to the group.
- All users - Every user from the specified search scope
- Users matching the criteria - Users from the search scope who match a specific criteria.
9. Click Add to create a custom group successfully. Such groups can be used to share Creator On-Premise applications to a specific lot of users effortlessly.

4. Manage domain controllers and groups
4.1. Sync once, edit, and delete domain controllers
- Click Sync Now under the Actions column of the Domain Controllers tab to perform an immediate one-time sync from your directory to Creator On-Premise.
- Click Edit under the Actions column of the Domain Controllers tab to alter the configuration of the domain controller.
- Click Delete under the Actions column of the Domain Controllers tab to remove the domain controller's configuration from Creator On-Premise.
Note:
- If a domain controller is edited to change the service endpoint or base domain, it might lead to the addition/removal of users from the involved groups.
- A domain controller cannot be edited or deleted while an associated sync is in progress.
- When a domain controller is deleted, all groups created using it will be removed as well.
4.2. Edit and delete groups
- Click Edit under the Actions column of the Groups tab to alter the configuration of the group.
- Click Delete under the Actions column of the Groups tab to remove the group's configuration from Creator On-Premise.
Note:
- When a group's configuration is altered, new users might be added or existing users might be removed from the group to match the updated criteria. These changes will be saved during the next sync schedule.
- A group's configuration cannot be edited or deleted while an associated sync is in progress.
- When a group is deleted, the access to shared applications will be revoked for all the involved users.
5. Points to note
- A maximum of 10,000 users can be added from a configured domain controller. To add more users, you can set up an additional configuration using the same domain controller but with a different bind user.
- The log details of the sync schedules that take place from your directory to Creator On-Premise can be accessed using the following path:
C:\Zoho\ZohoCreator\logs\ldap
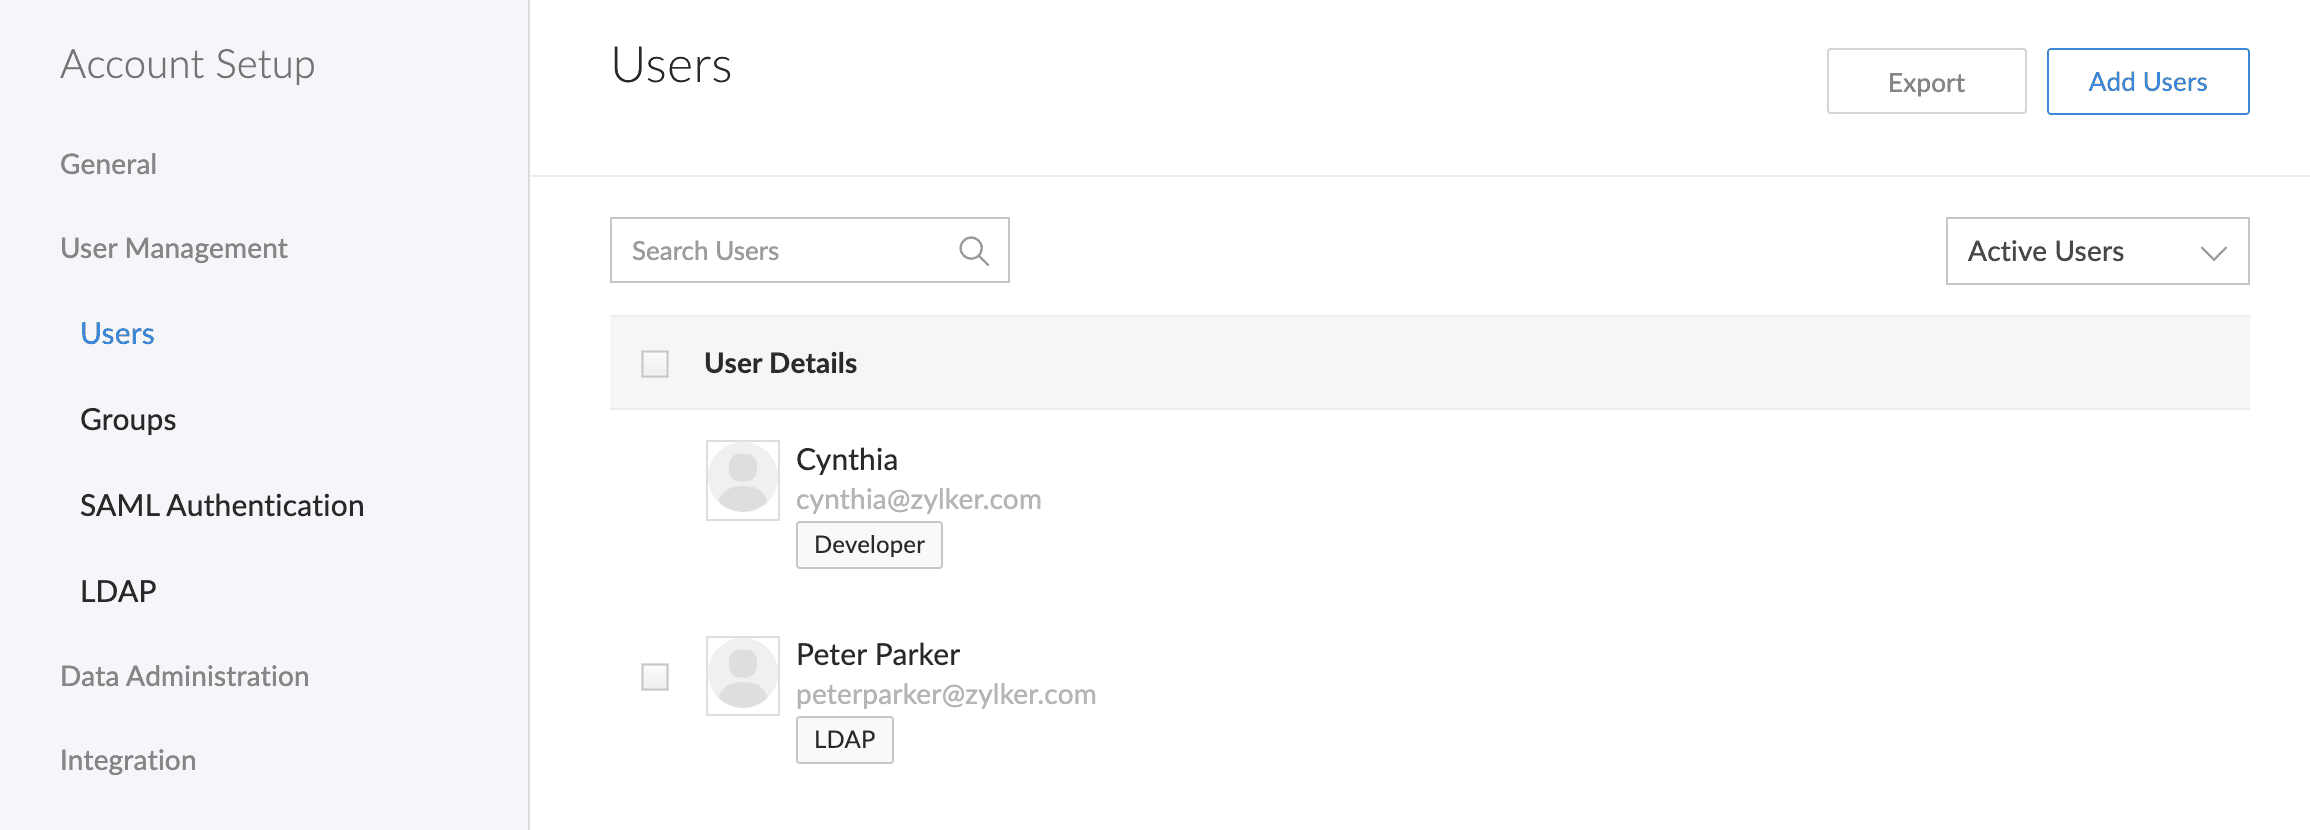
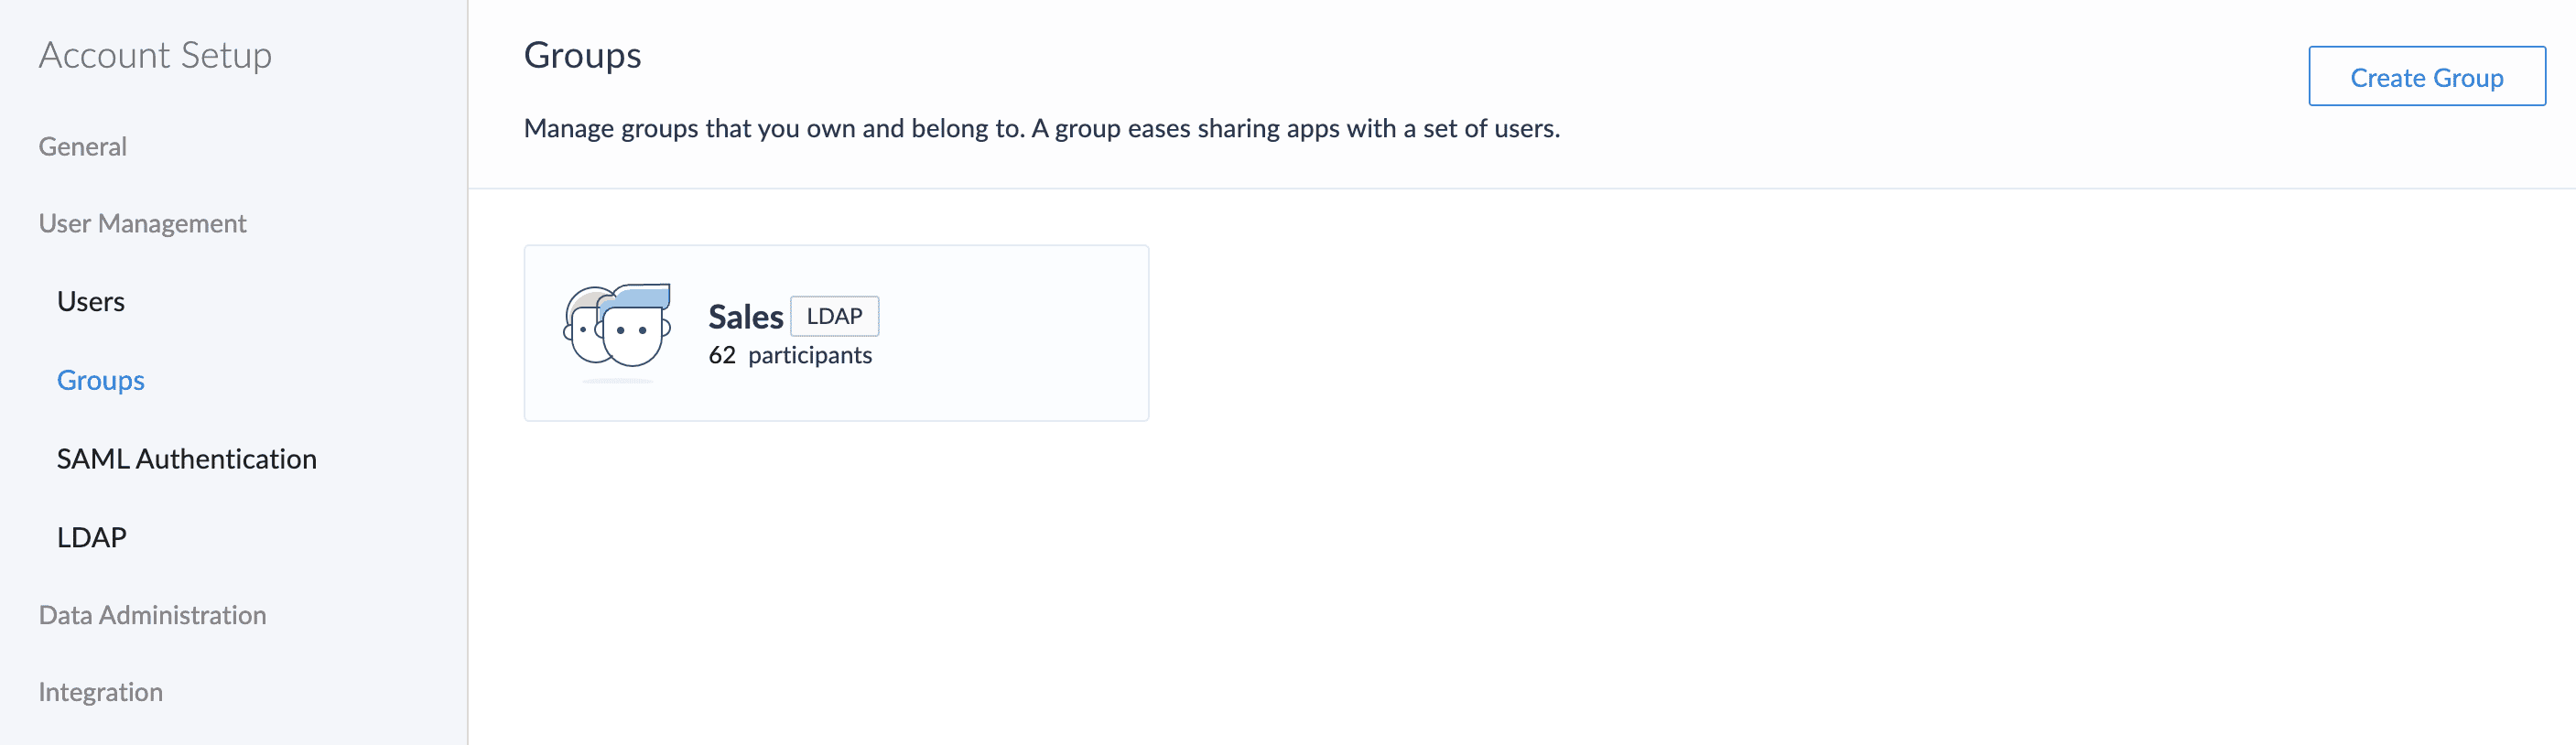
- The synced LDAP users and their associated groups (created based on LDAP attributes) are also listed in the Users and Groups modules in the left pane of Creator On-Premise. Both users and groups are marked with an "LDAP" tag for easy identification.