Backing up and restoring apps
To create a new backup:
- Navigate to your Zoho Creator home page.
Click the Setup icon near the top-right corner of the Home page.
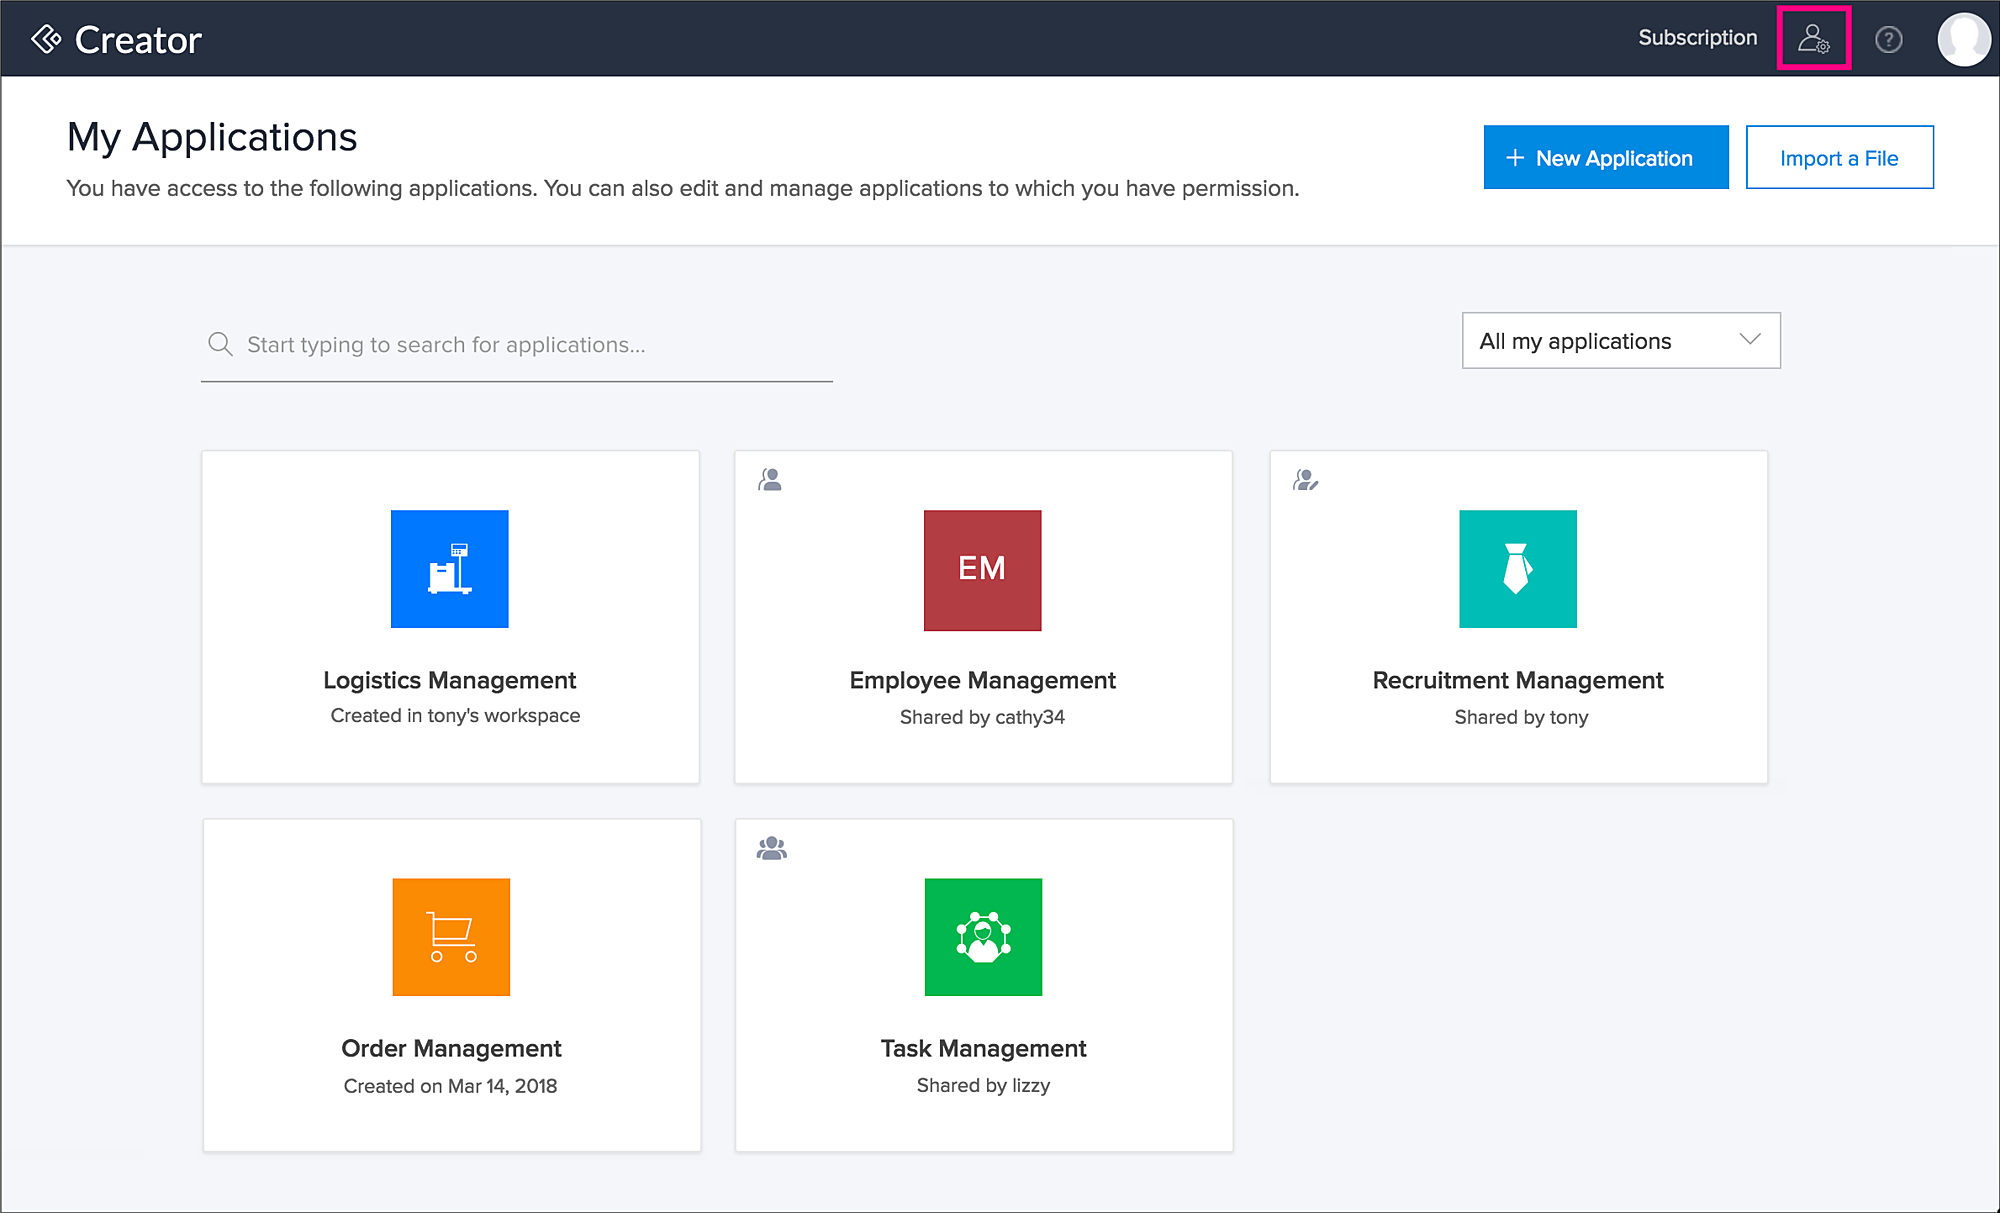
You'll be taken to the Account Setup page. Select Backup Apps under Data Administration in the left pane.
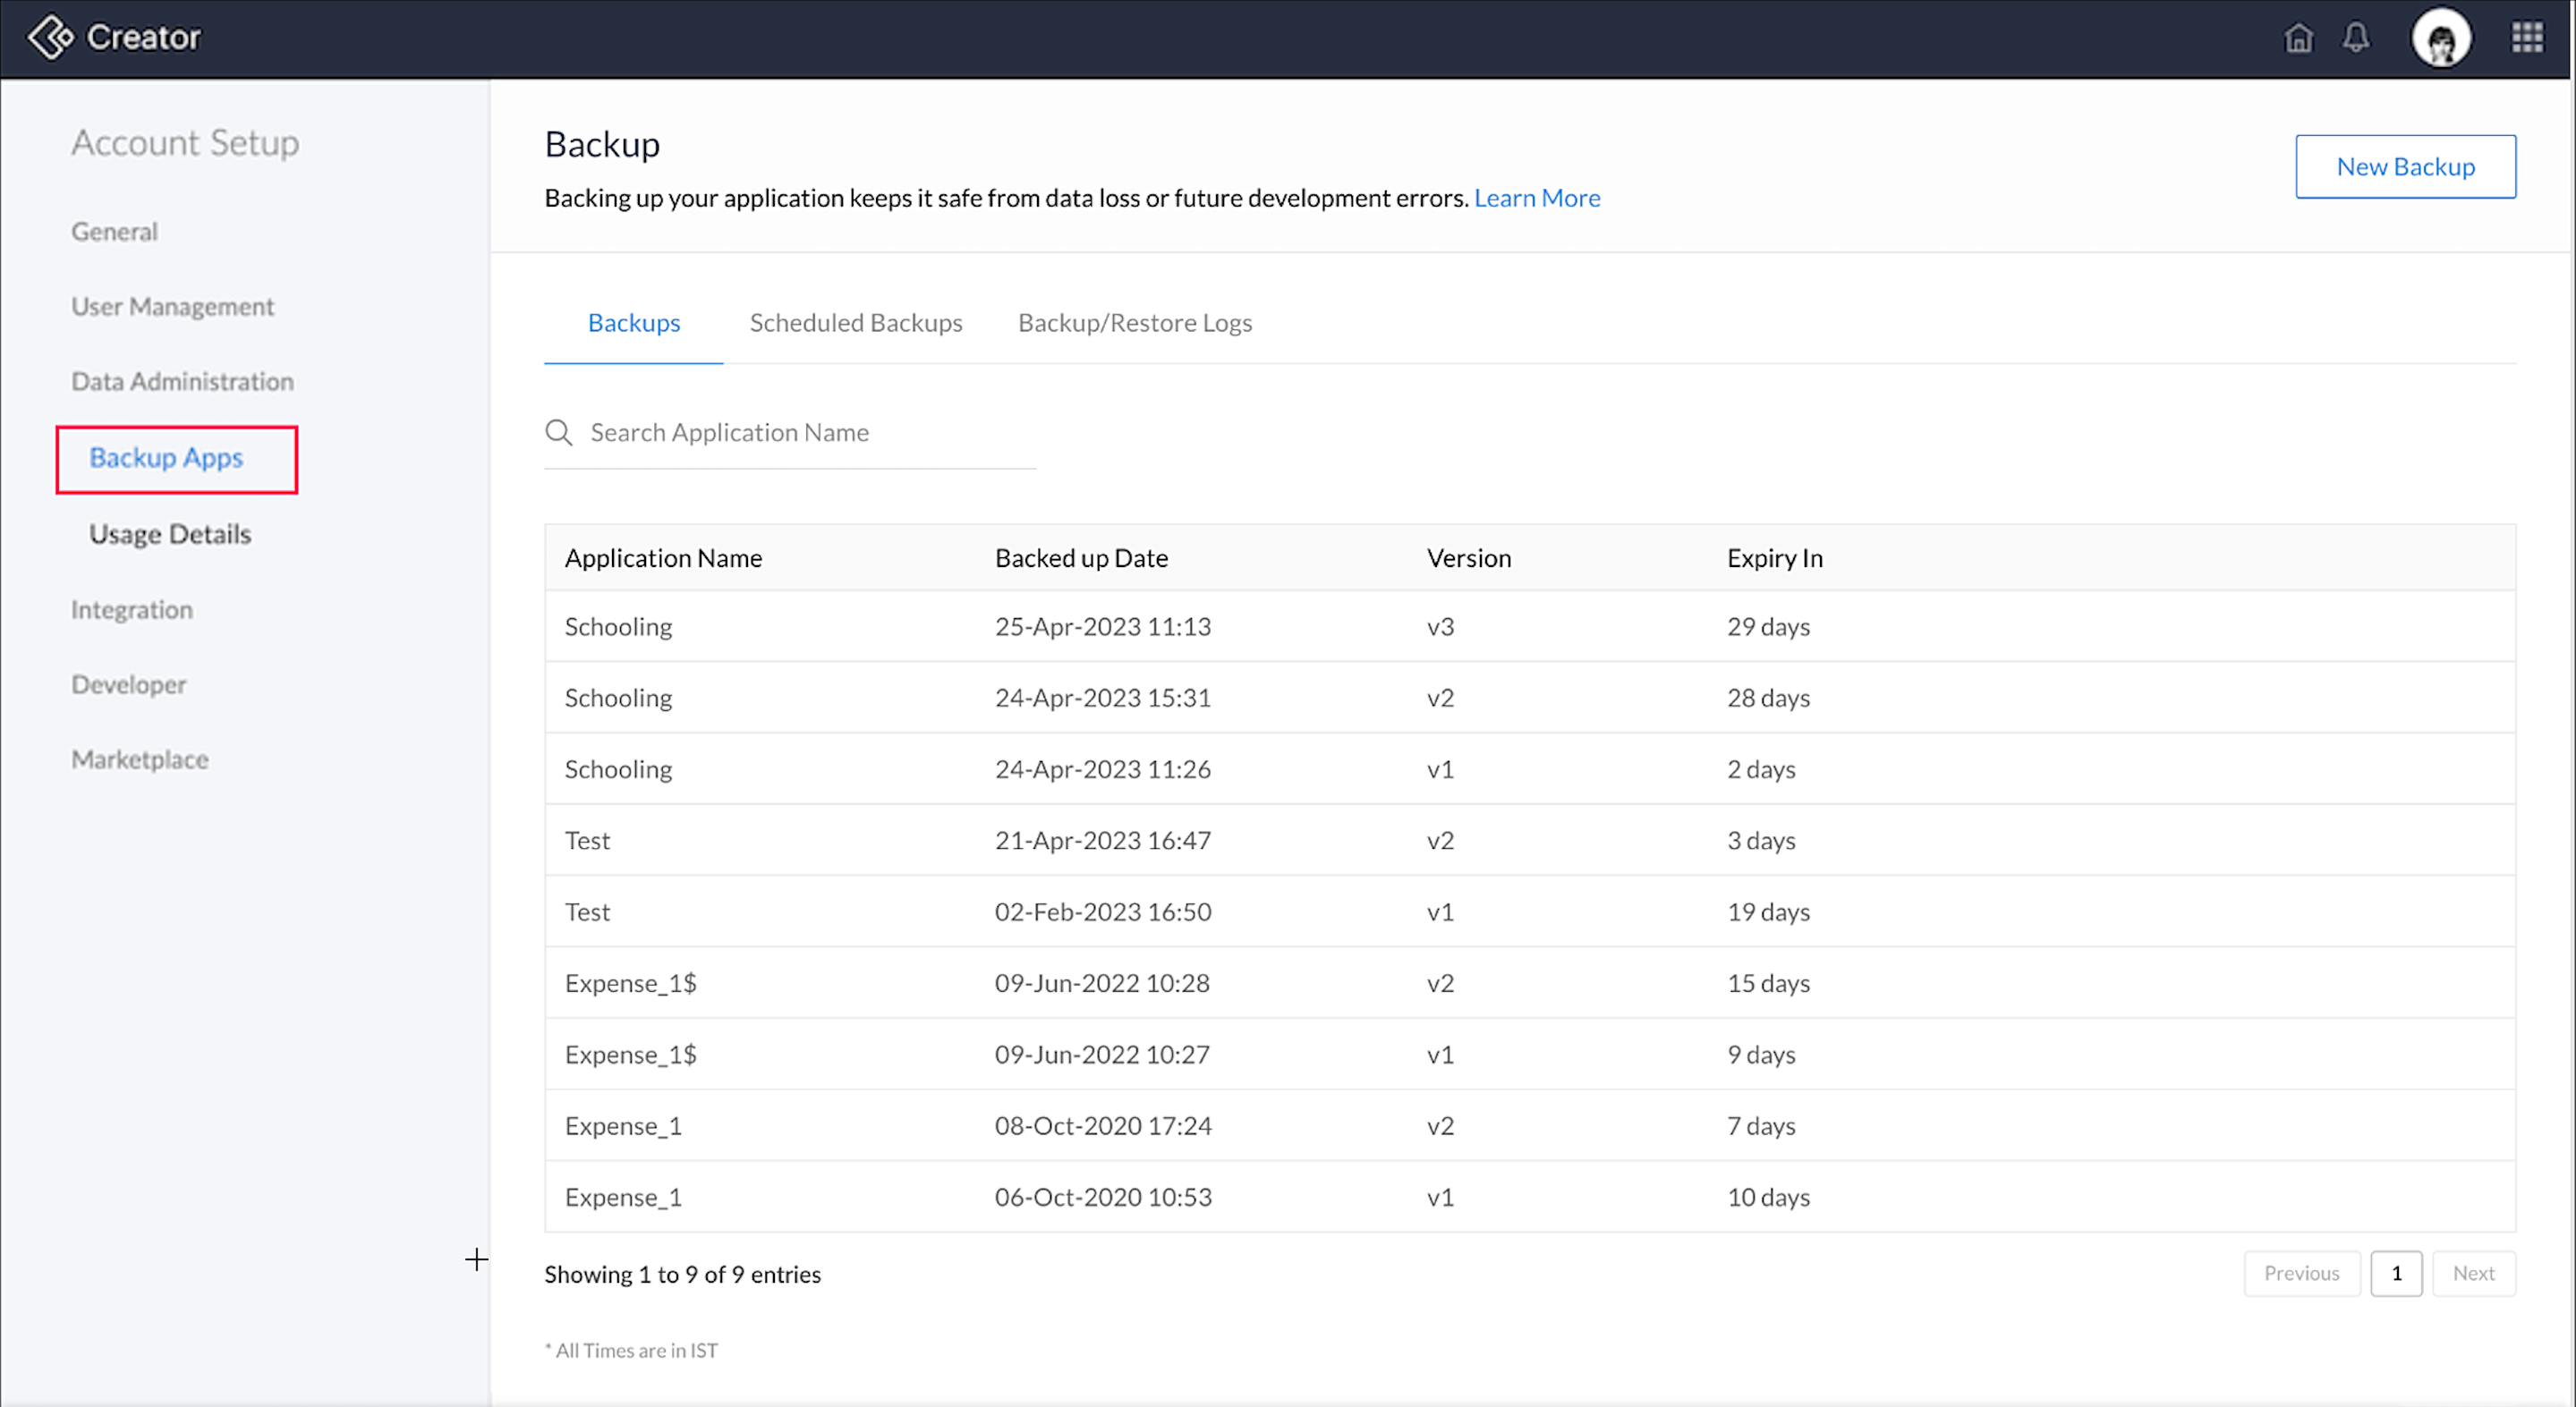
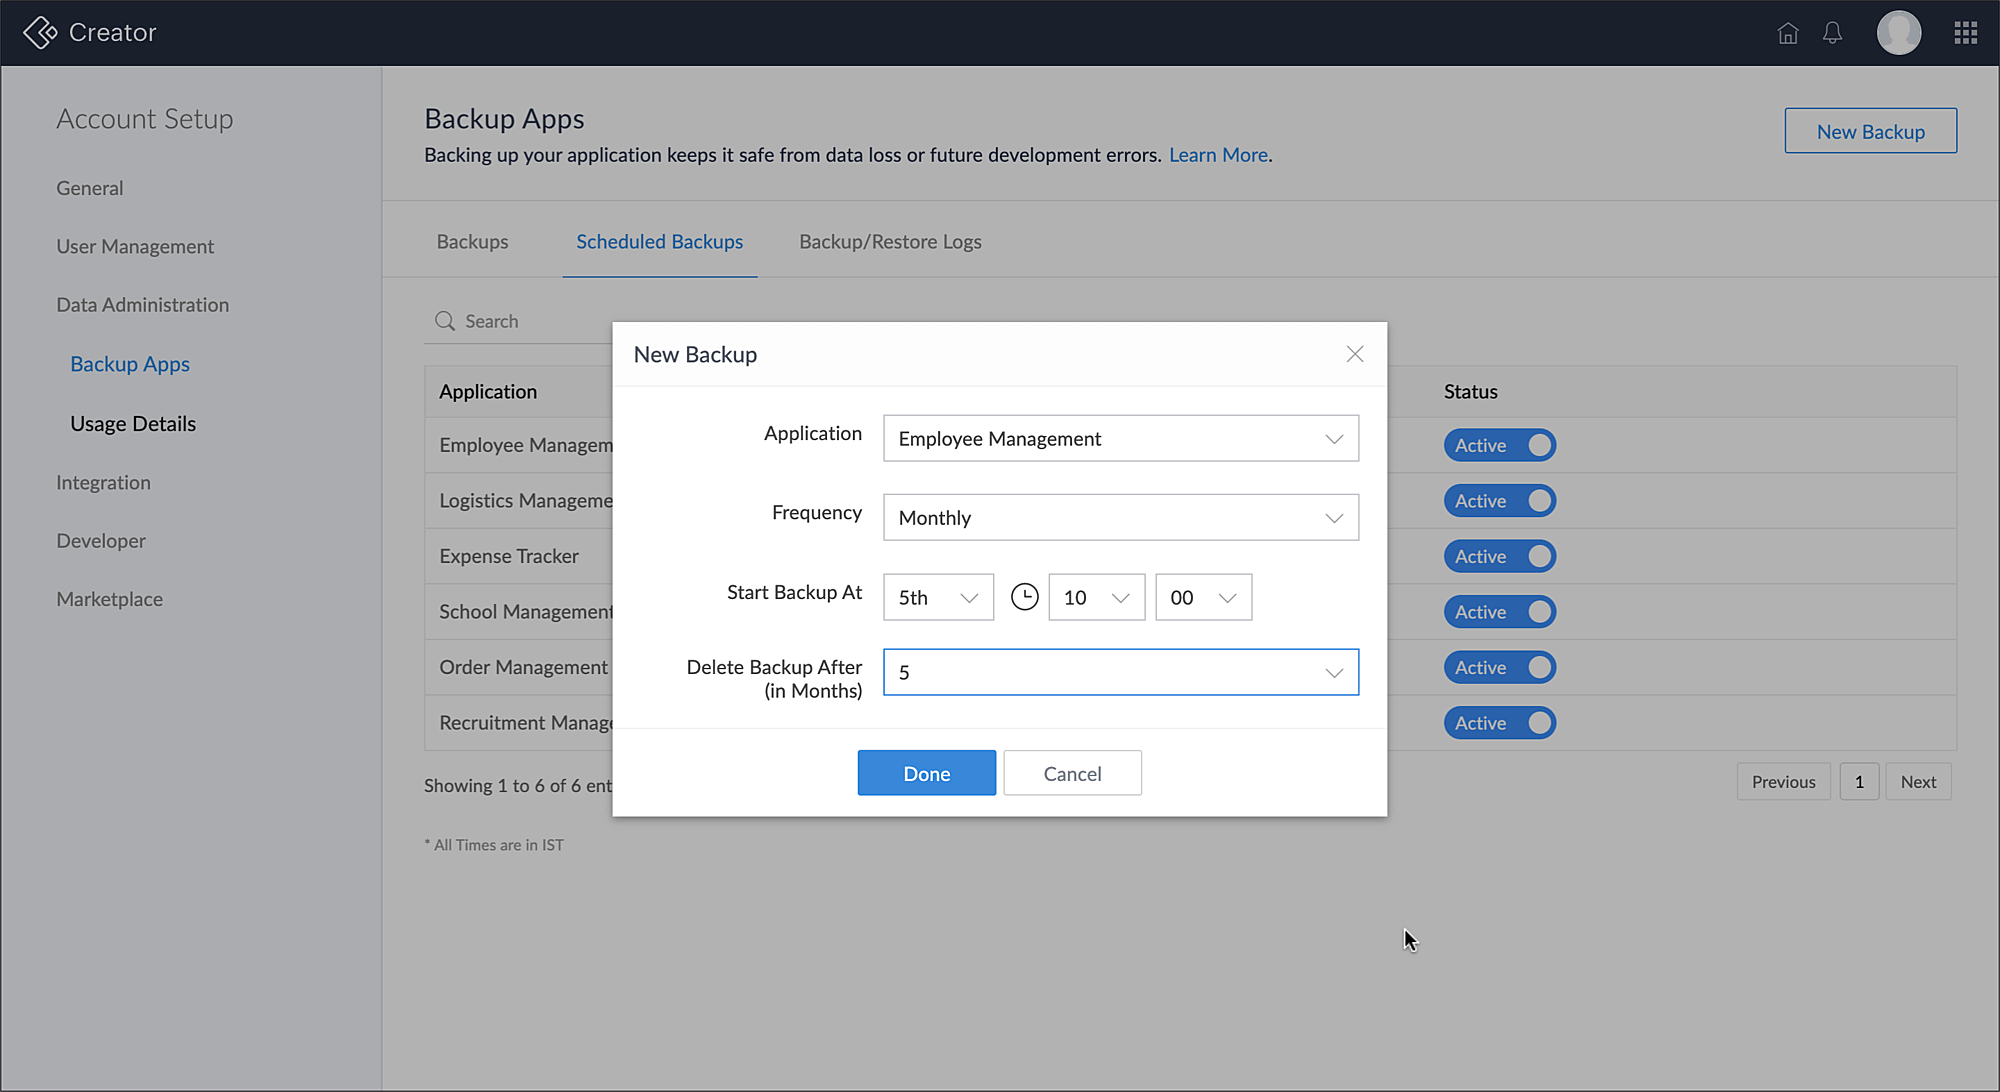
Click New Backup in the top-right corner. A popup window will appear.
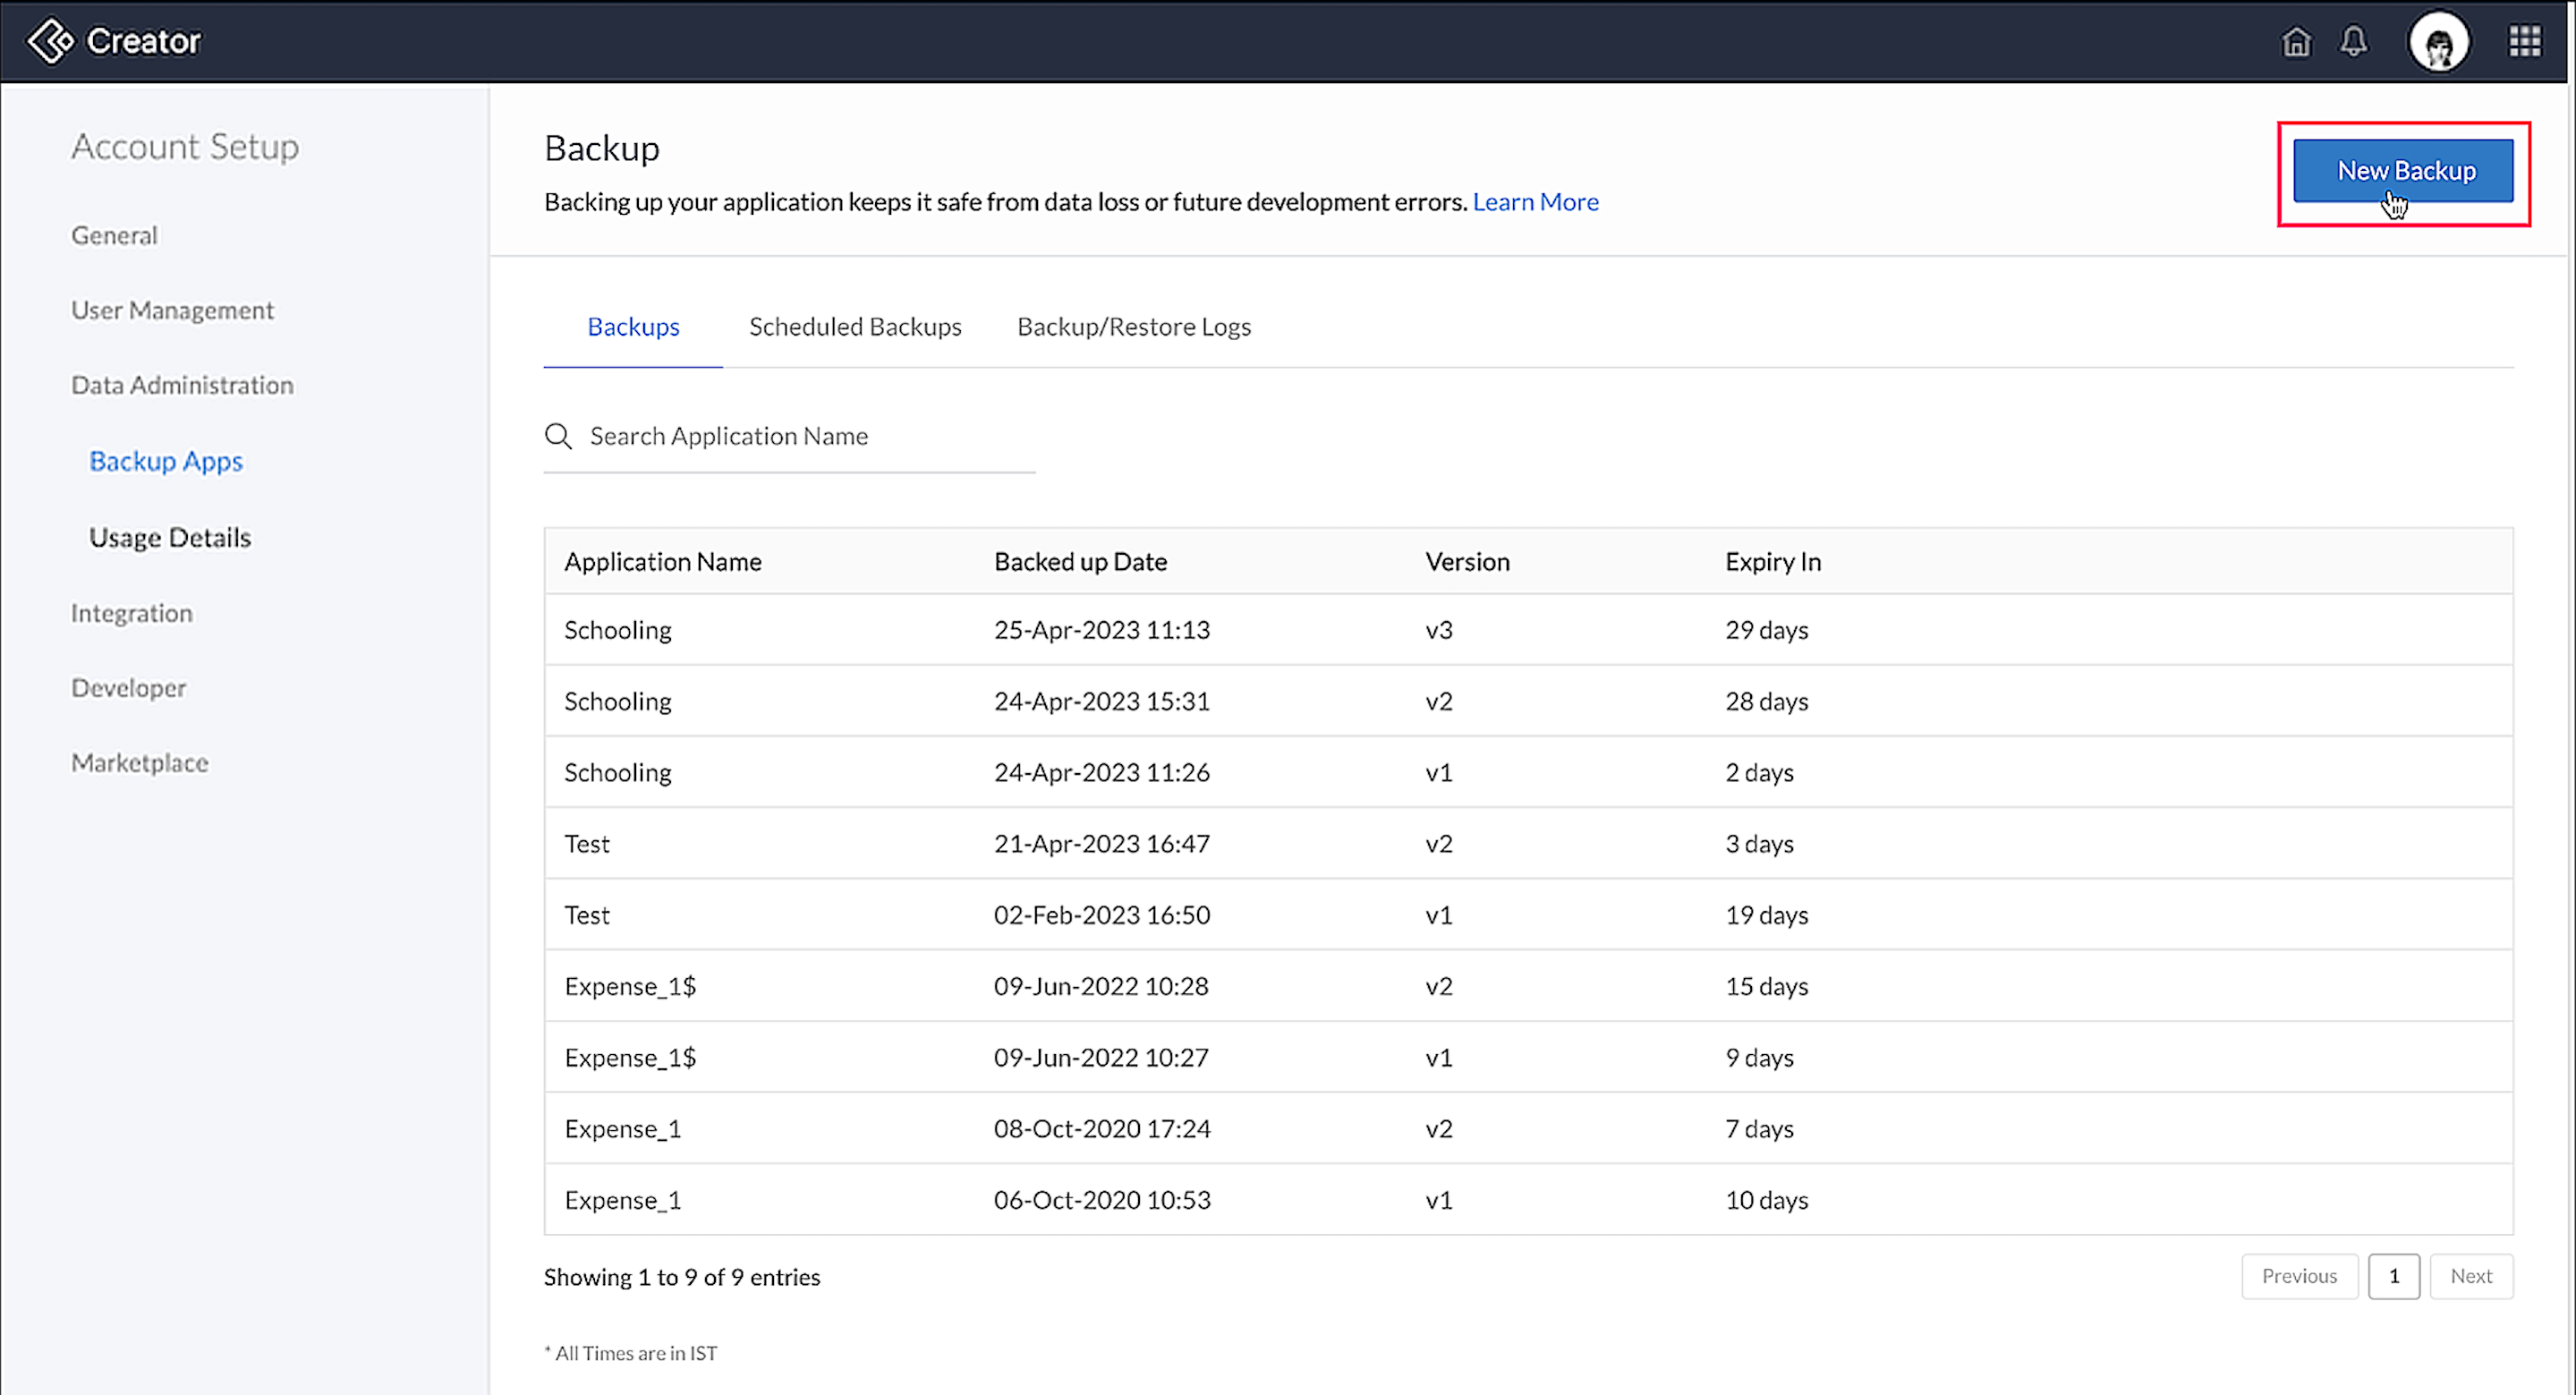
In the New Backup popup,
- Select the application to back up from the Application dropdown.
- Choose how frequently the backup has to take place under the Frequency dropdown.
- Under Delete Backup After, choose how long to keep the backup before it's deleted automatically.
- Click Done.
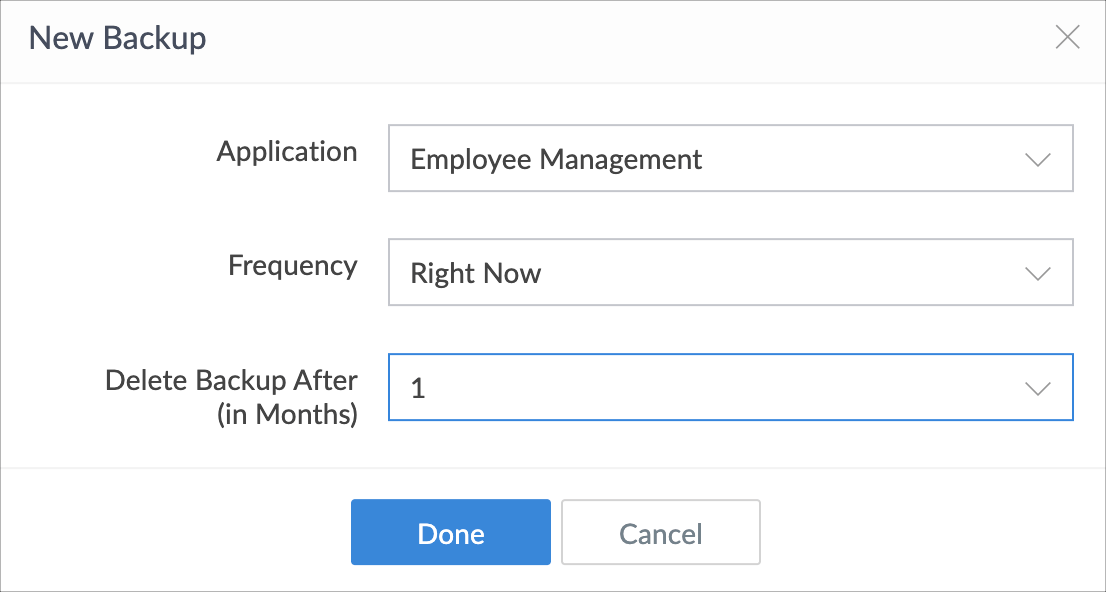
While the backup is in progress, the Backup/Restore Logs tab will show the status of the backup.

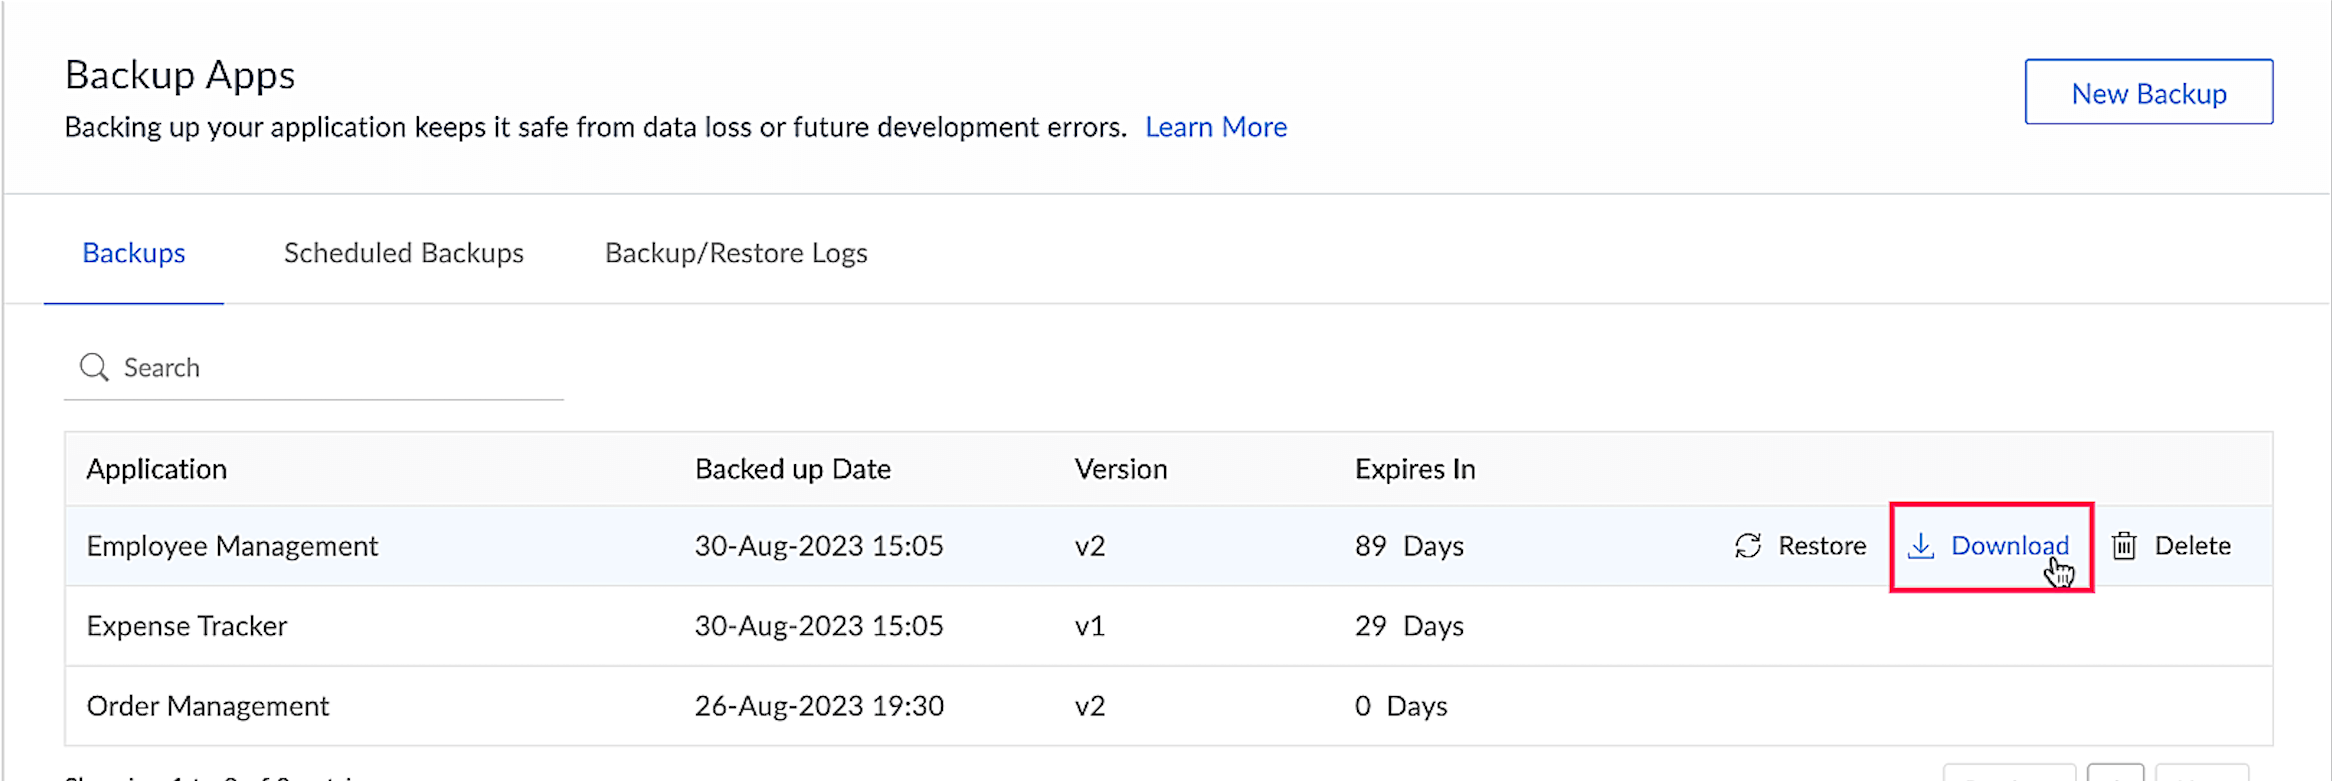
The backed up applications will be listed under the Backups tab, along with their version numbers, date of backup, and expiry time.

Expiry time for backups
Backups generated from previously configured scheduled backups will have an expiry time based on their corresponding frequencies, as shown in the table below.
| Backups | Frequency | Expiry time |
|---|---|---|
| Created before 01-12-2023 | Any | 6 months |
| Created after 01-12-2023 | Week | 6 weeks |
| Months | 6 months | |
| Year | 2 years |
The backups created from newly configured scheduled backups will have the expiry limit specified in the Delete Backup After option.
Managing the backup schedule
The Scheduled Backups tab contains the backups scheduled to take place according to their configured frequency. From here, you can:
- Create a new backup schedule
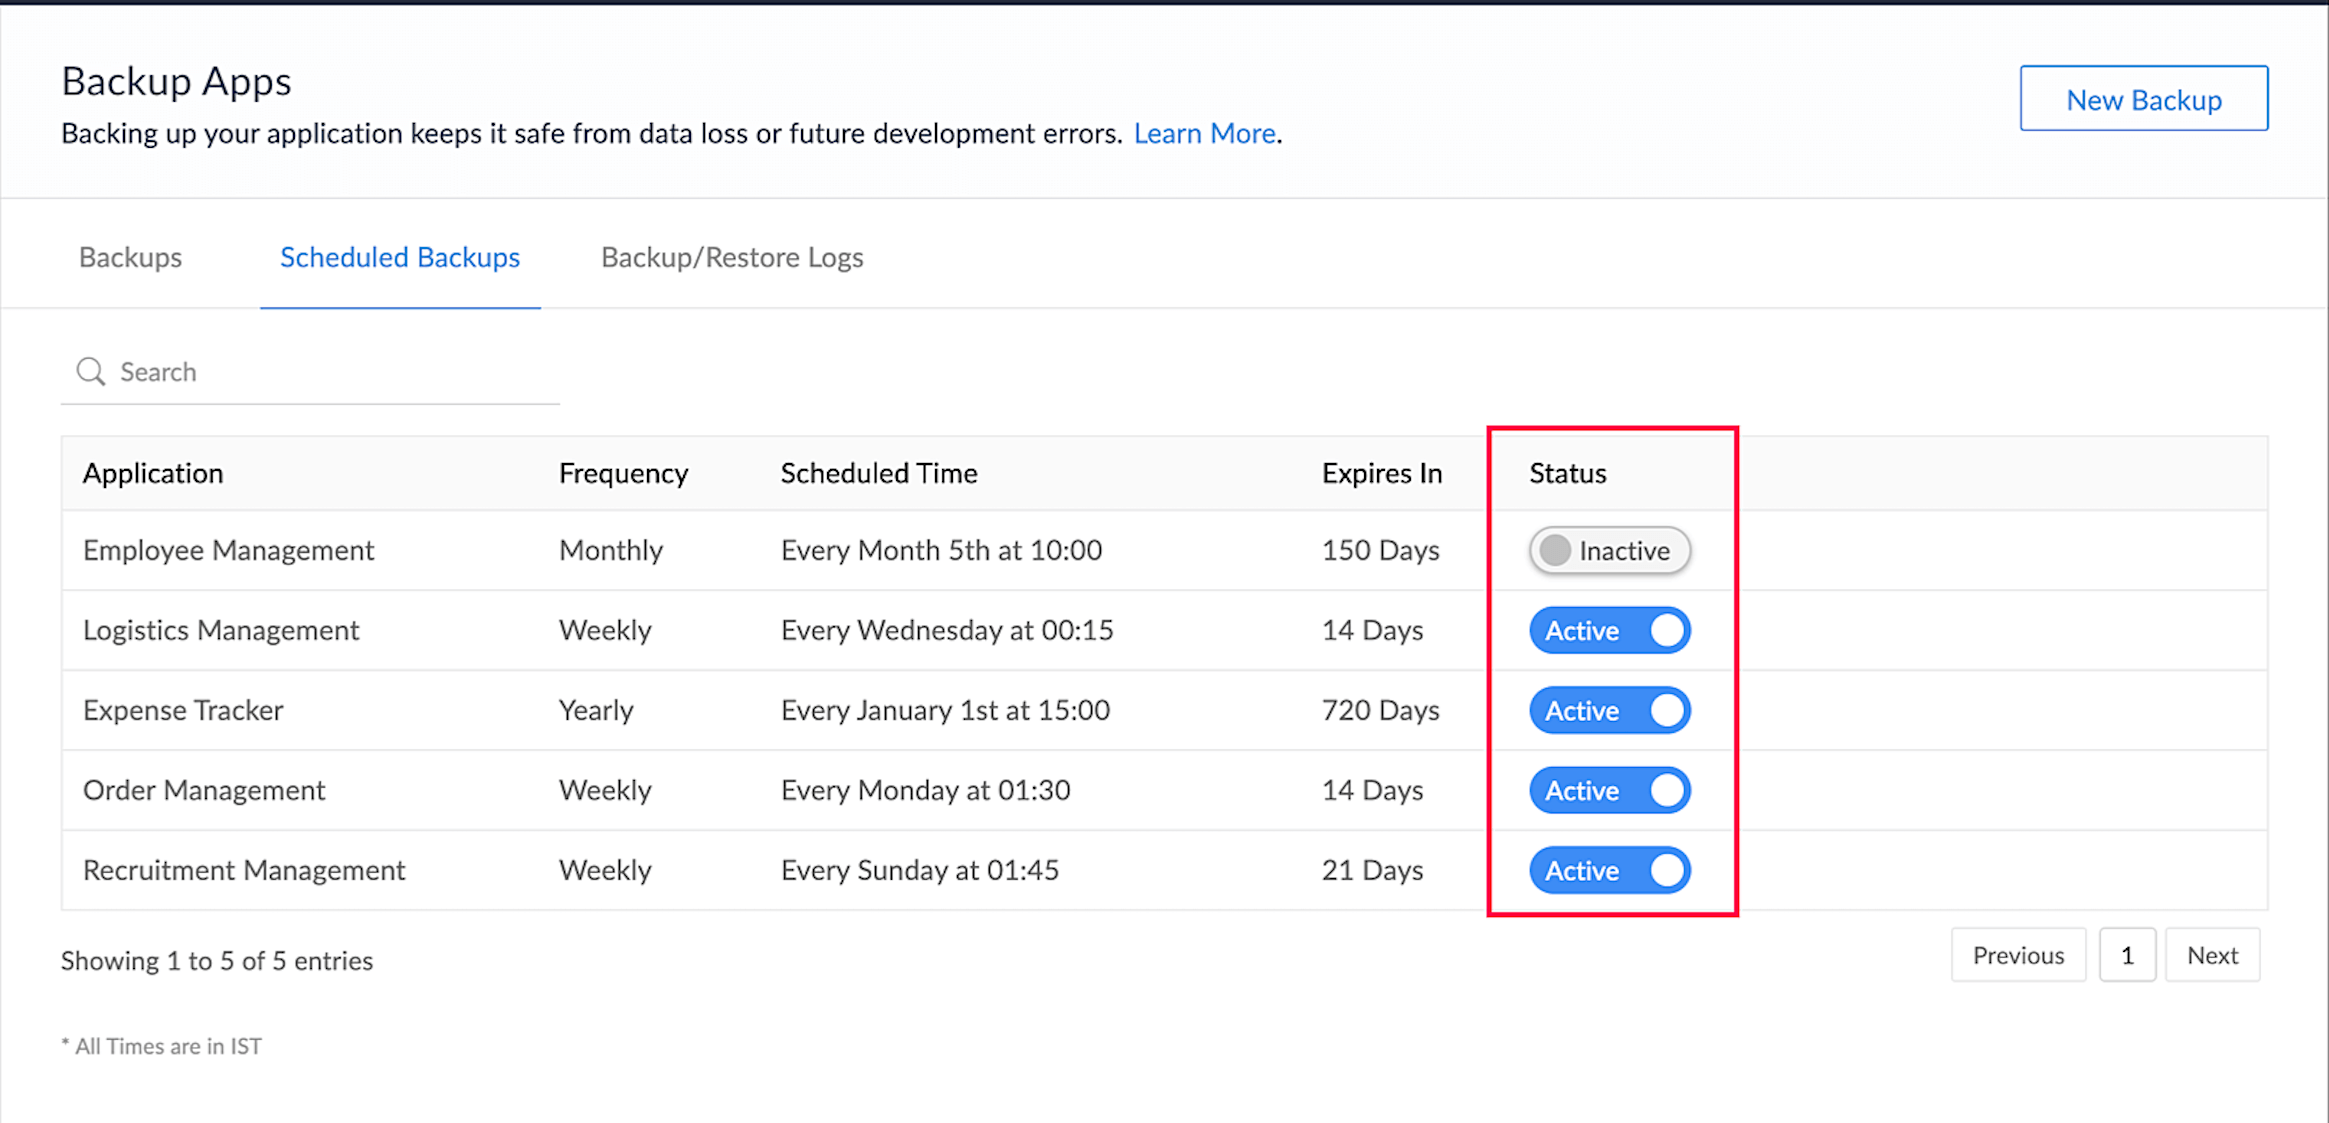
- Set the backup status as "Active" or "Inactive". When a scheduled backup is set as Inactive, it will not create backups until it is marked as Active.
- Edit the frequency of any scheduled backup
- Search for backups using search keywords.
To create a scheduled backup:
- Navigate to the Scheduled Backups tab.
Click New Backup in the top-right corner. A popup window will appear.

- Select the application to back up and its required frequency. Under Start Backup At, configure when you want to schedule your backups. Under Delete Backup After, choose how long to keep the backup before it's deleted automatically. It can be weekly, monthly, yearly.
Click DONE.
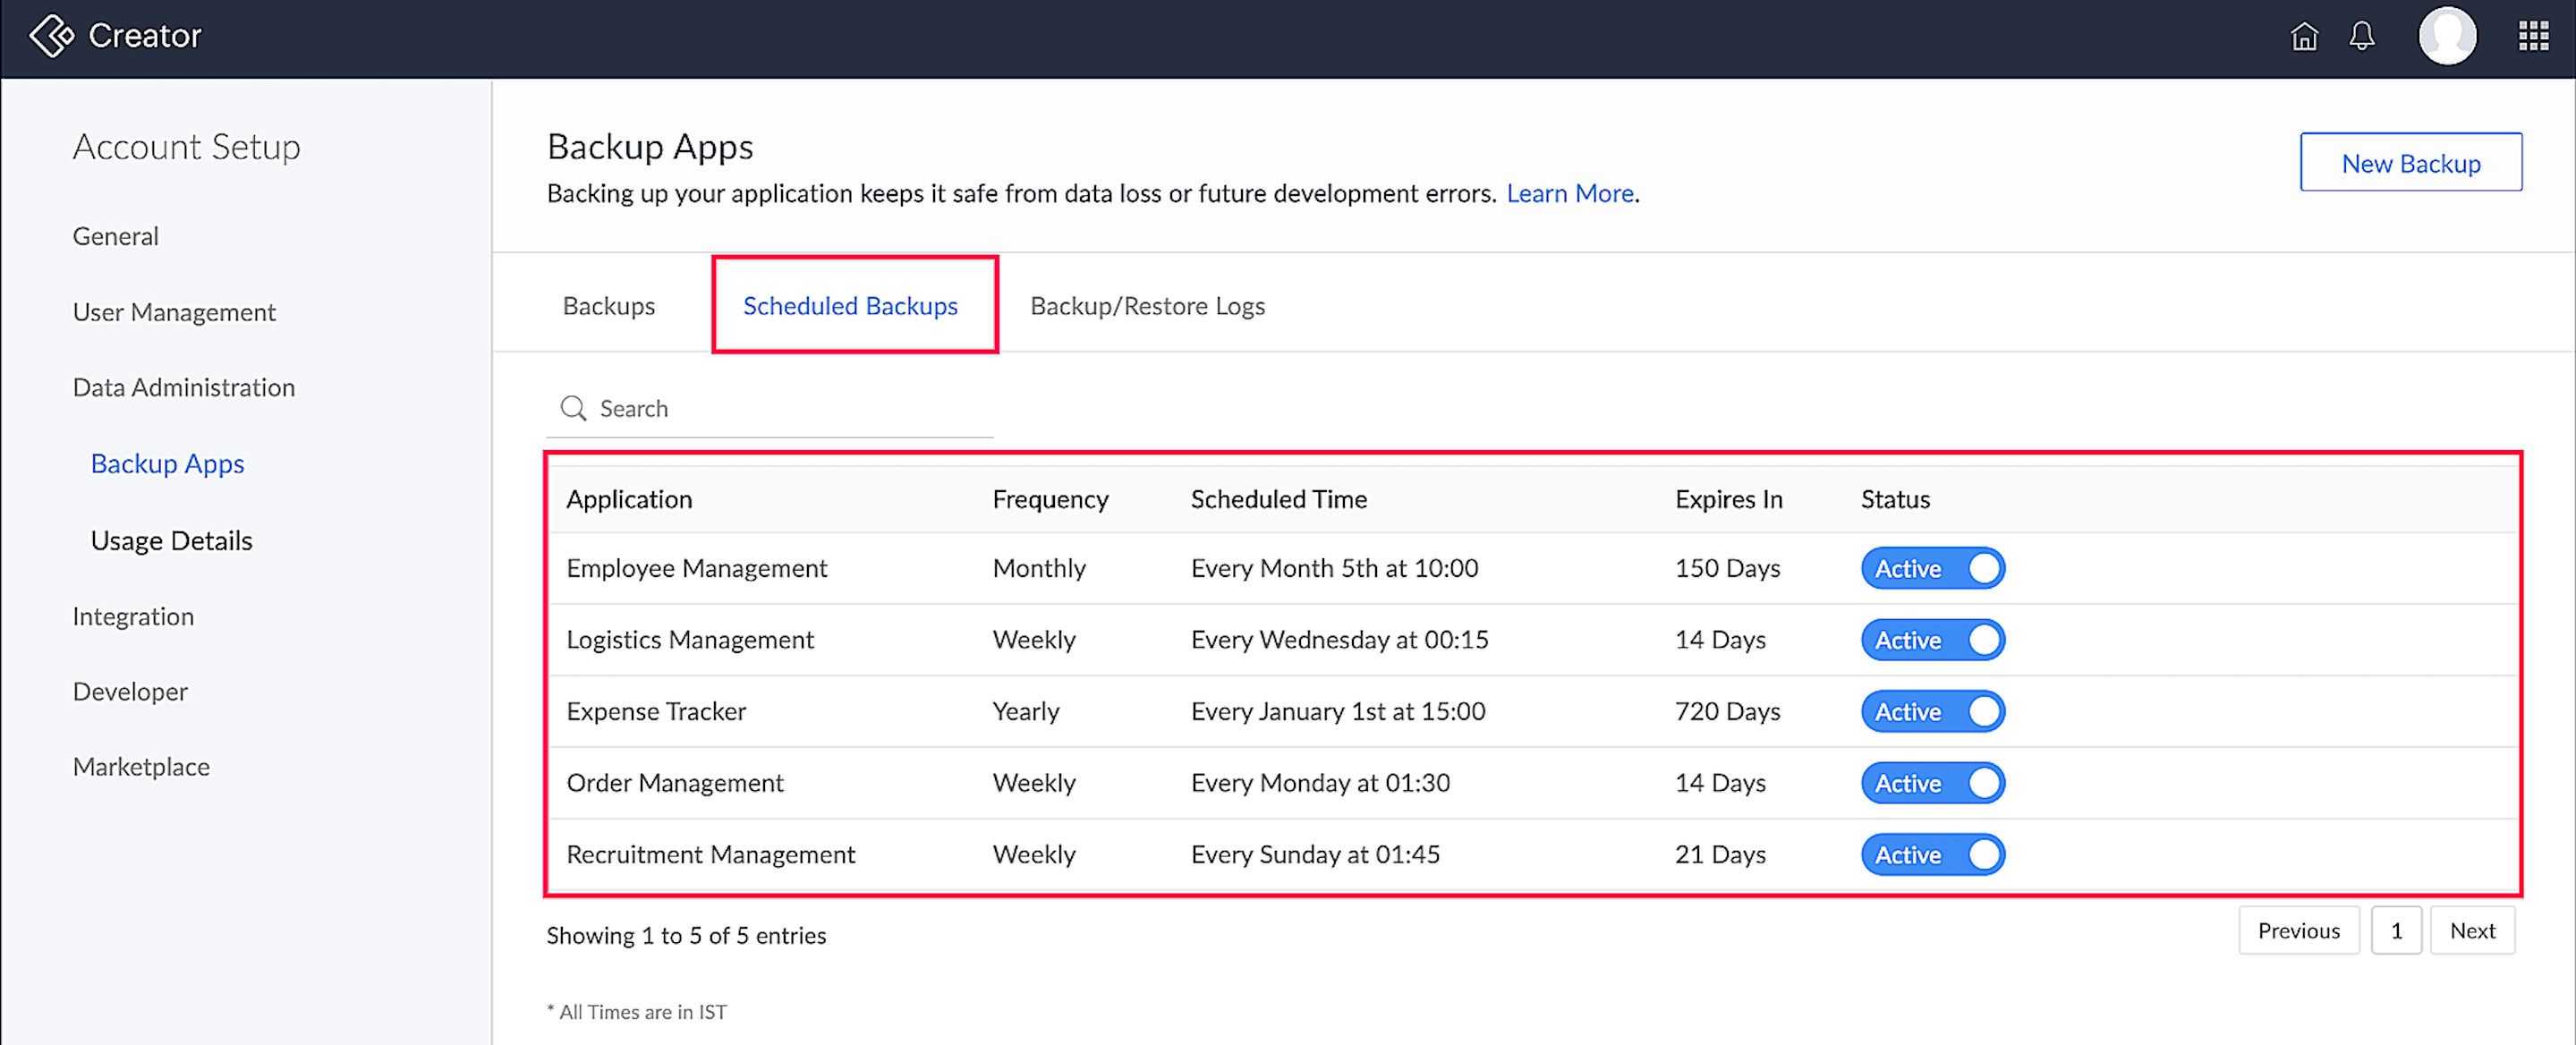
The backups that are scheduled will be listed under the Scheduled Backups tab, along with their frequency, scheduled time of backup, expiry time, and status.
You can change the status of scheduled backups by clicking the Status toggle beside the desired application. By default, the status is set as Active for scheduled backups.
You can also edit the frequency and expiry timeline of your backup by clicking Edit beside the desired application.

Restoring a backed up application
To restore an application:
- Navigate to the Backup tab.
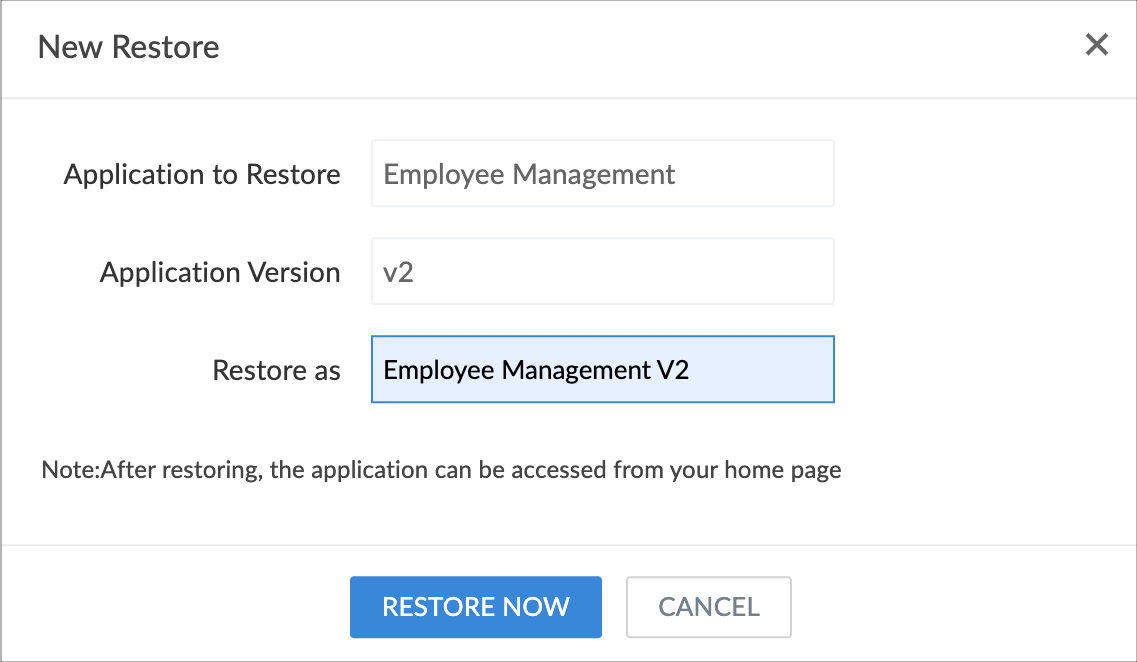
Click Restore for the application that you want to restore. A popup window will appear.
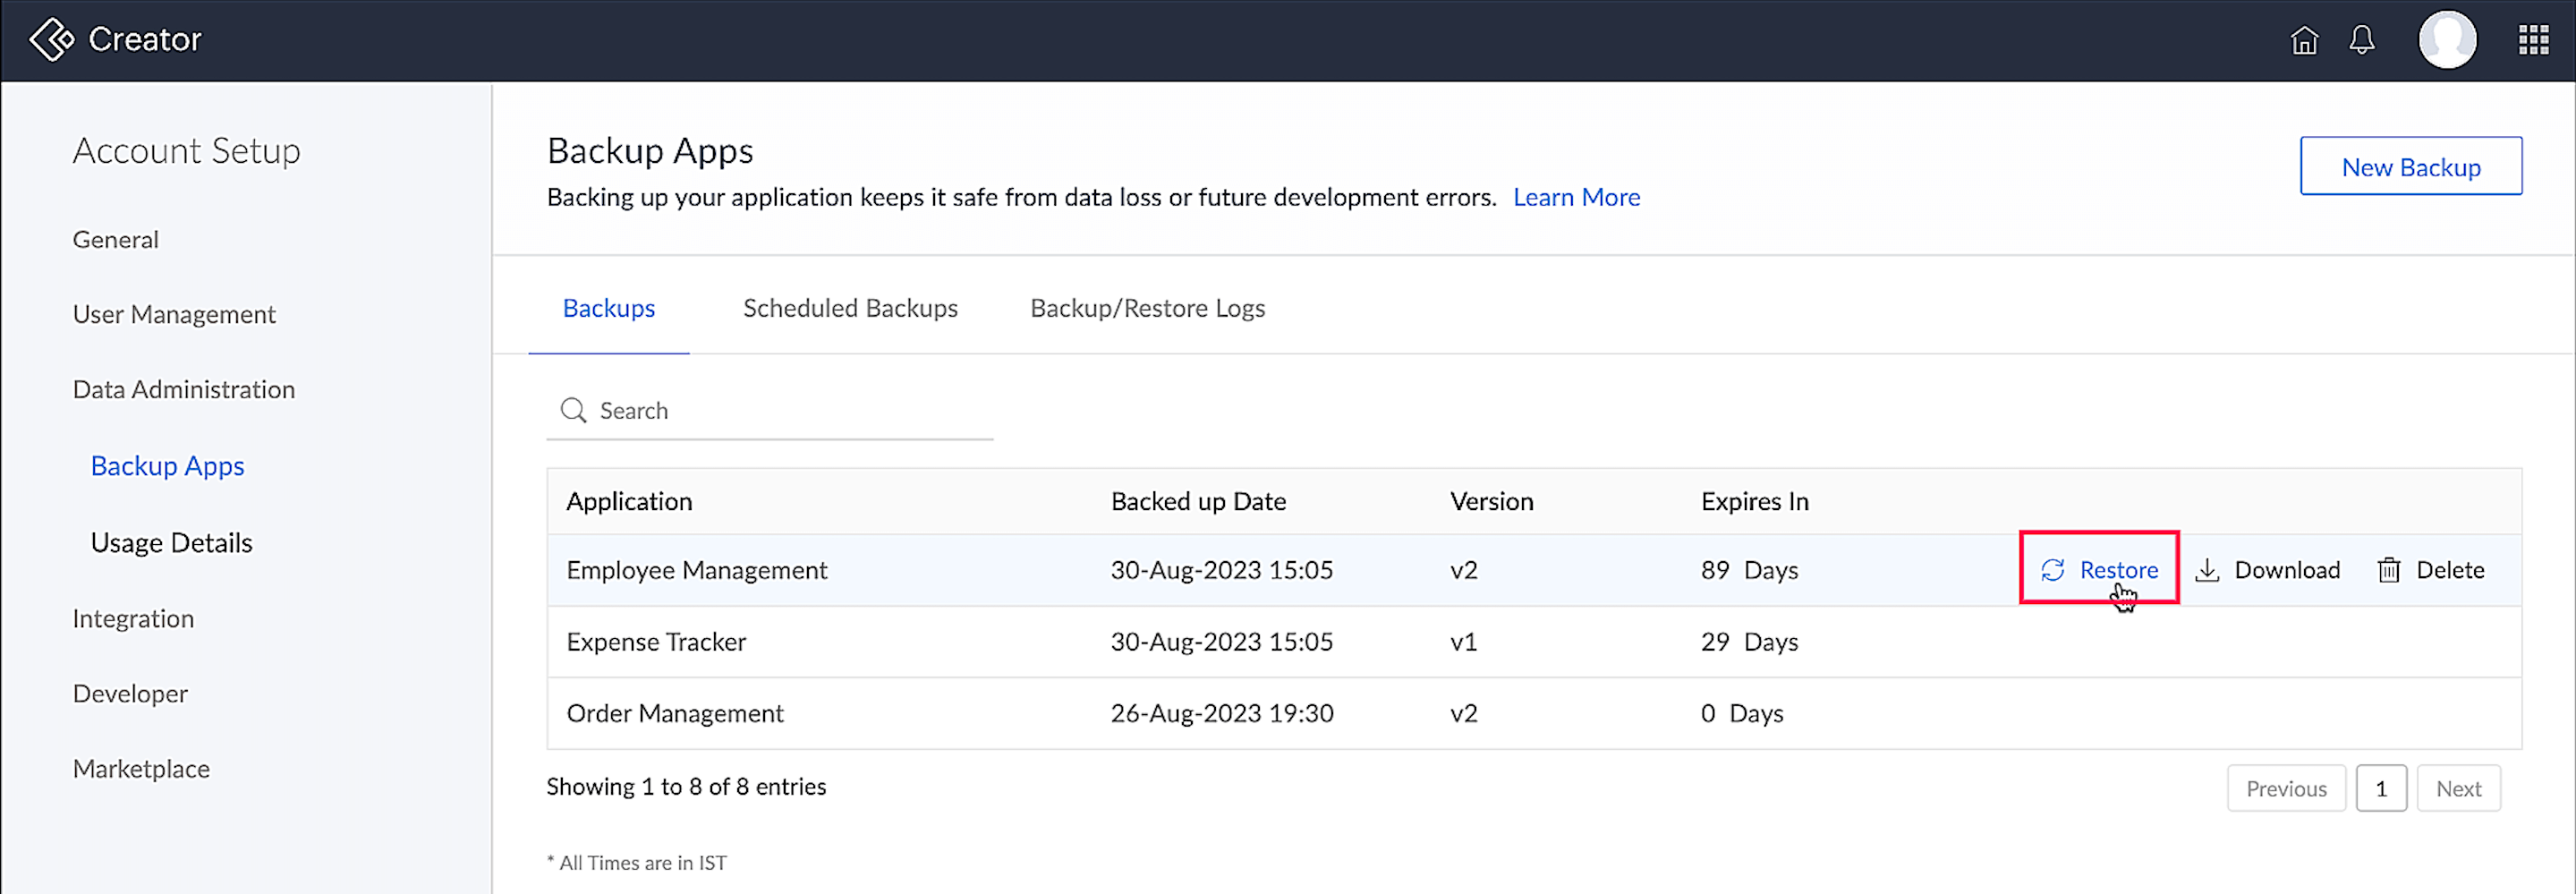
Check the details in the New Restore popup and click Restore Now. The restored backup will be saved as a new application with the name given here.
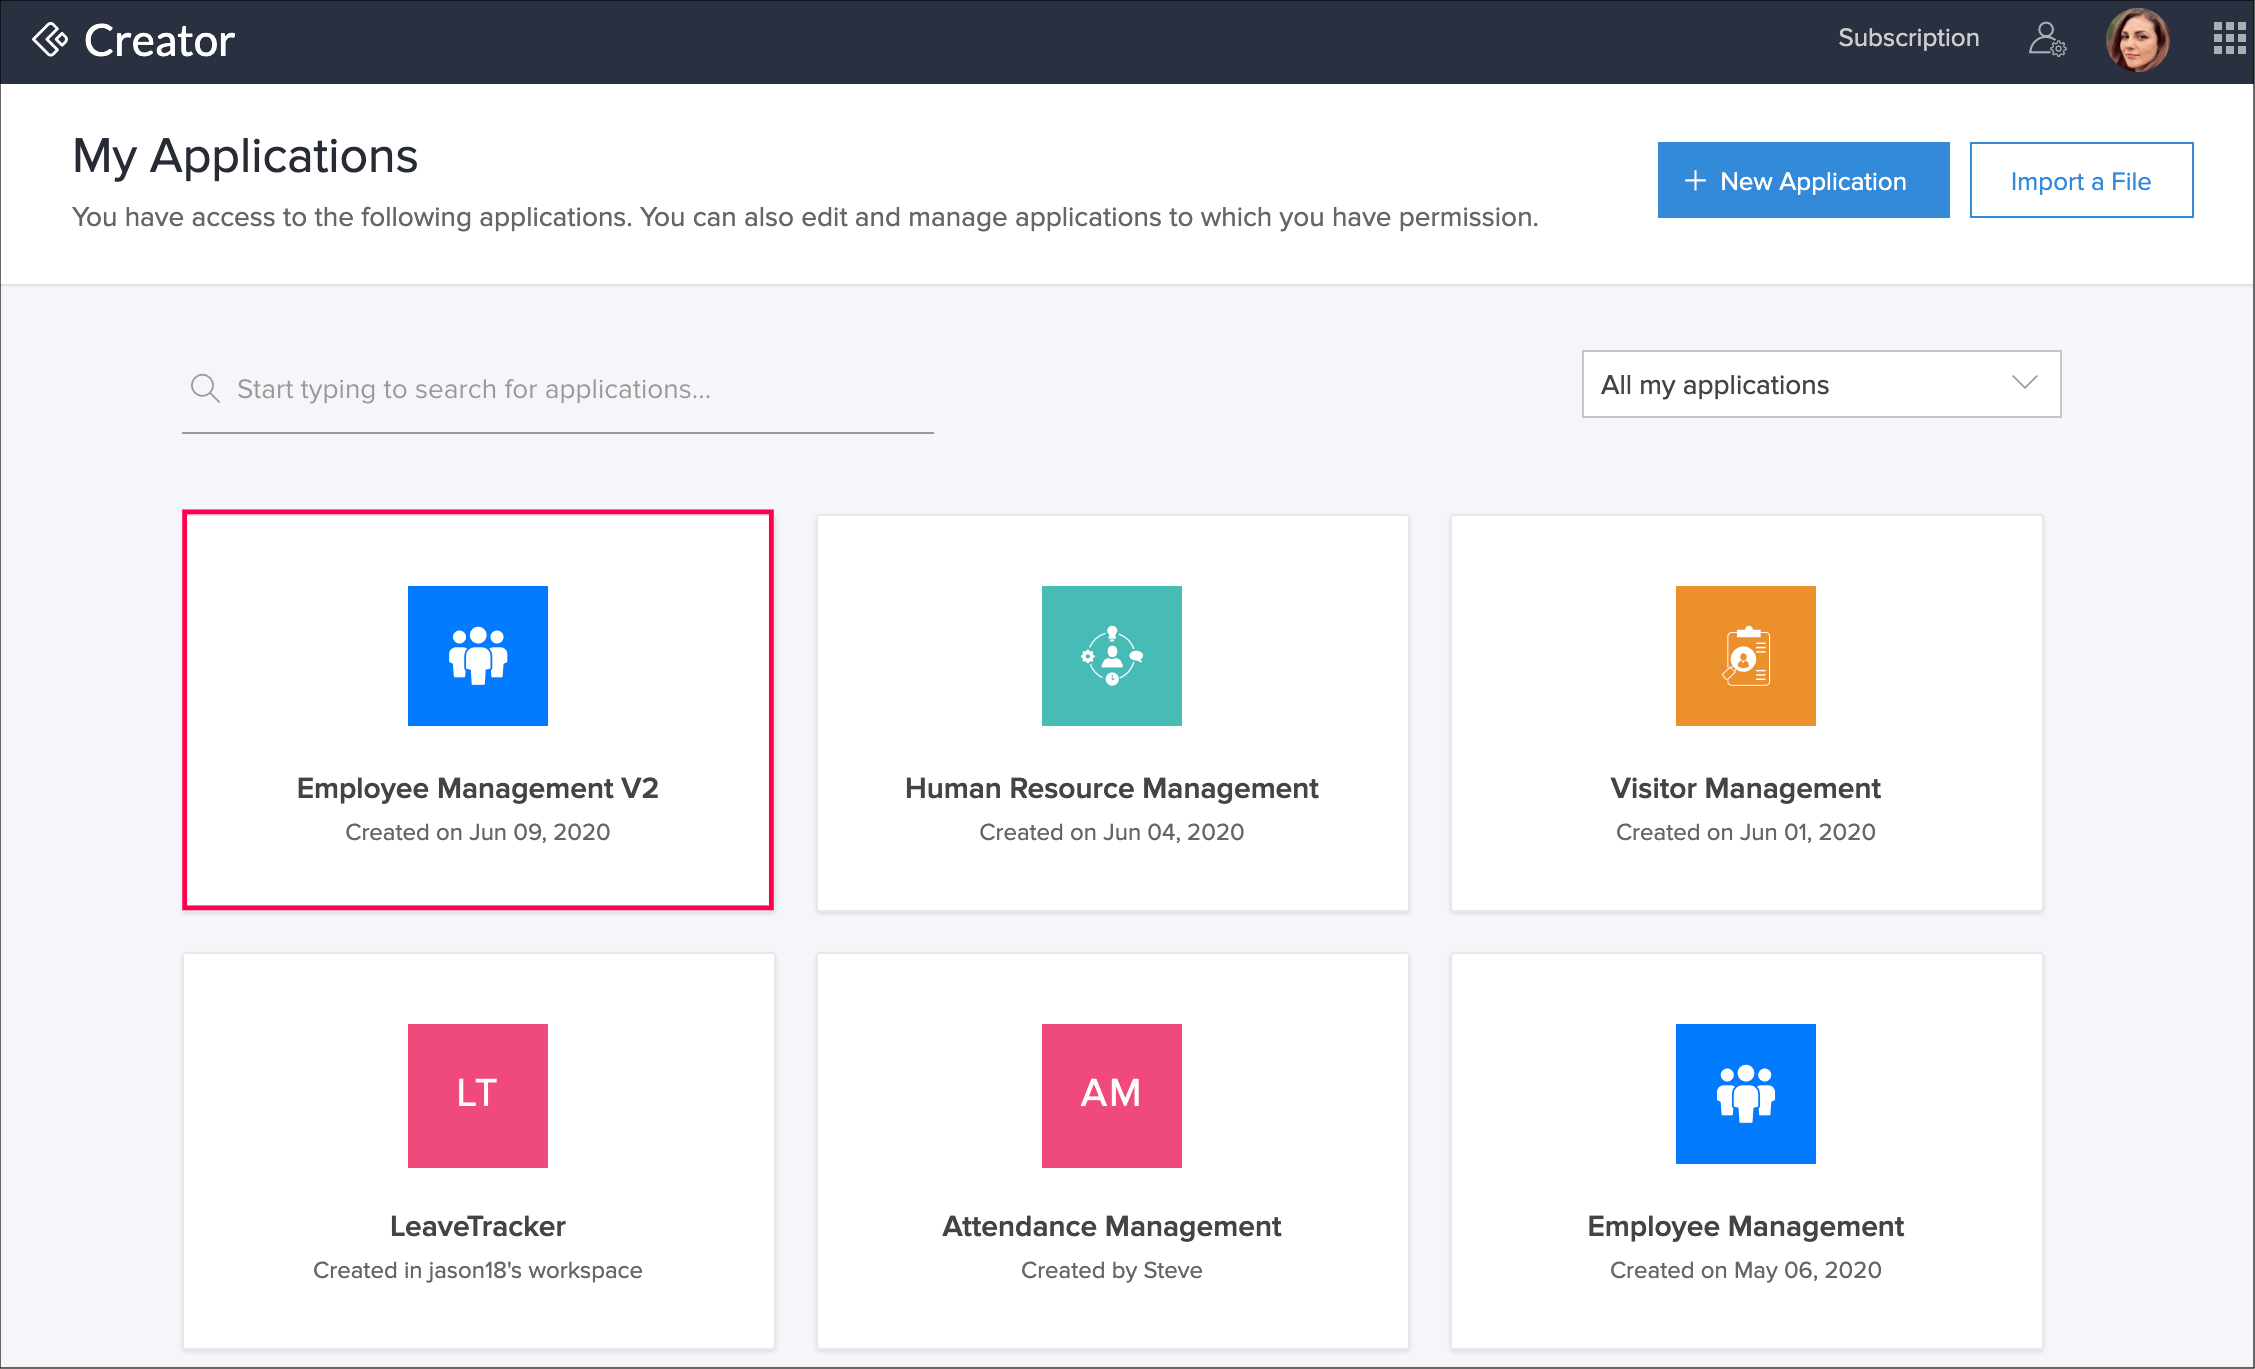
Your Creator homepage will list the restored application when the restore is complete. Employee Management V2 is now available as a new application as shown in the below image.
Download the backup file
- Navigate to the Backups tab.
Click the Download button beside the application whose backup you want to download.
- The downloaded backup file is a .zip file that includes the Deluge script file of the application structure (.ds file) and a set of .csv files containing the application data. The downloaded file contains the application's data. By importing this file, a new application can be created.


