Create and authorize connections
To integrate your Zoho Creator application with other cloud services, you need to configure a connection. This process of configuring a connection is twofold: The first step requires you to create the connection with the specified parameters. The next step requires you to authorize the connection for it to be functional.
Create and authorize connection
To create and authorize connection:
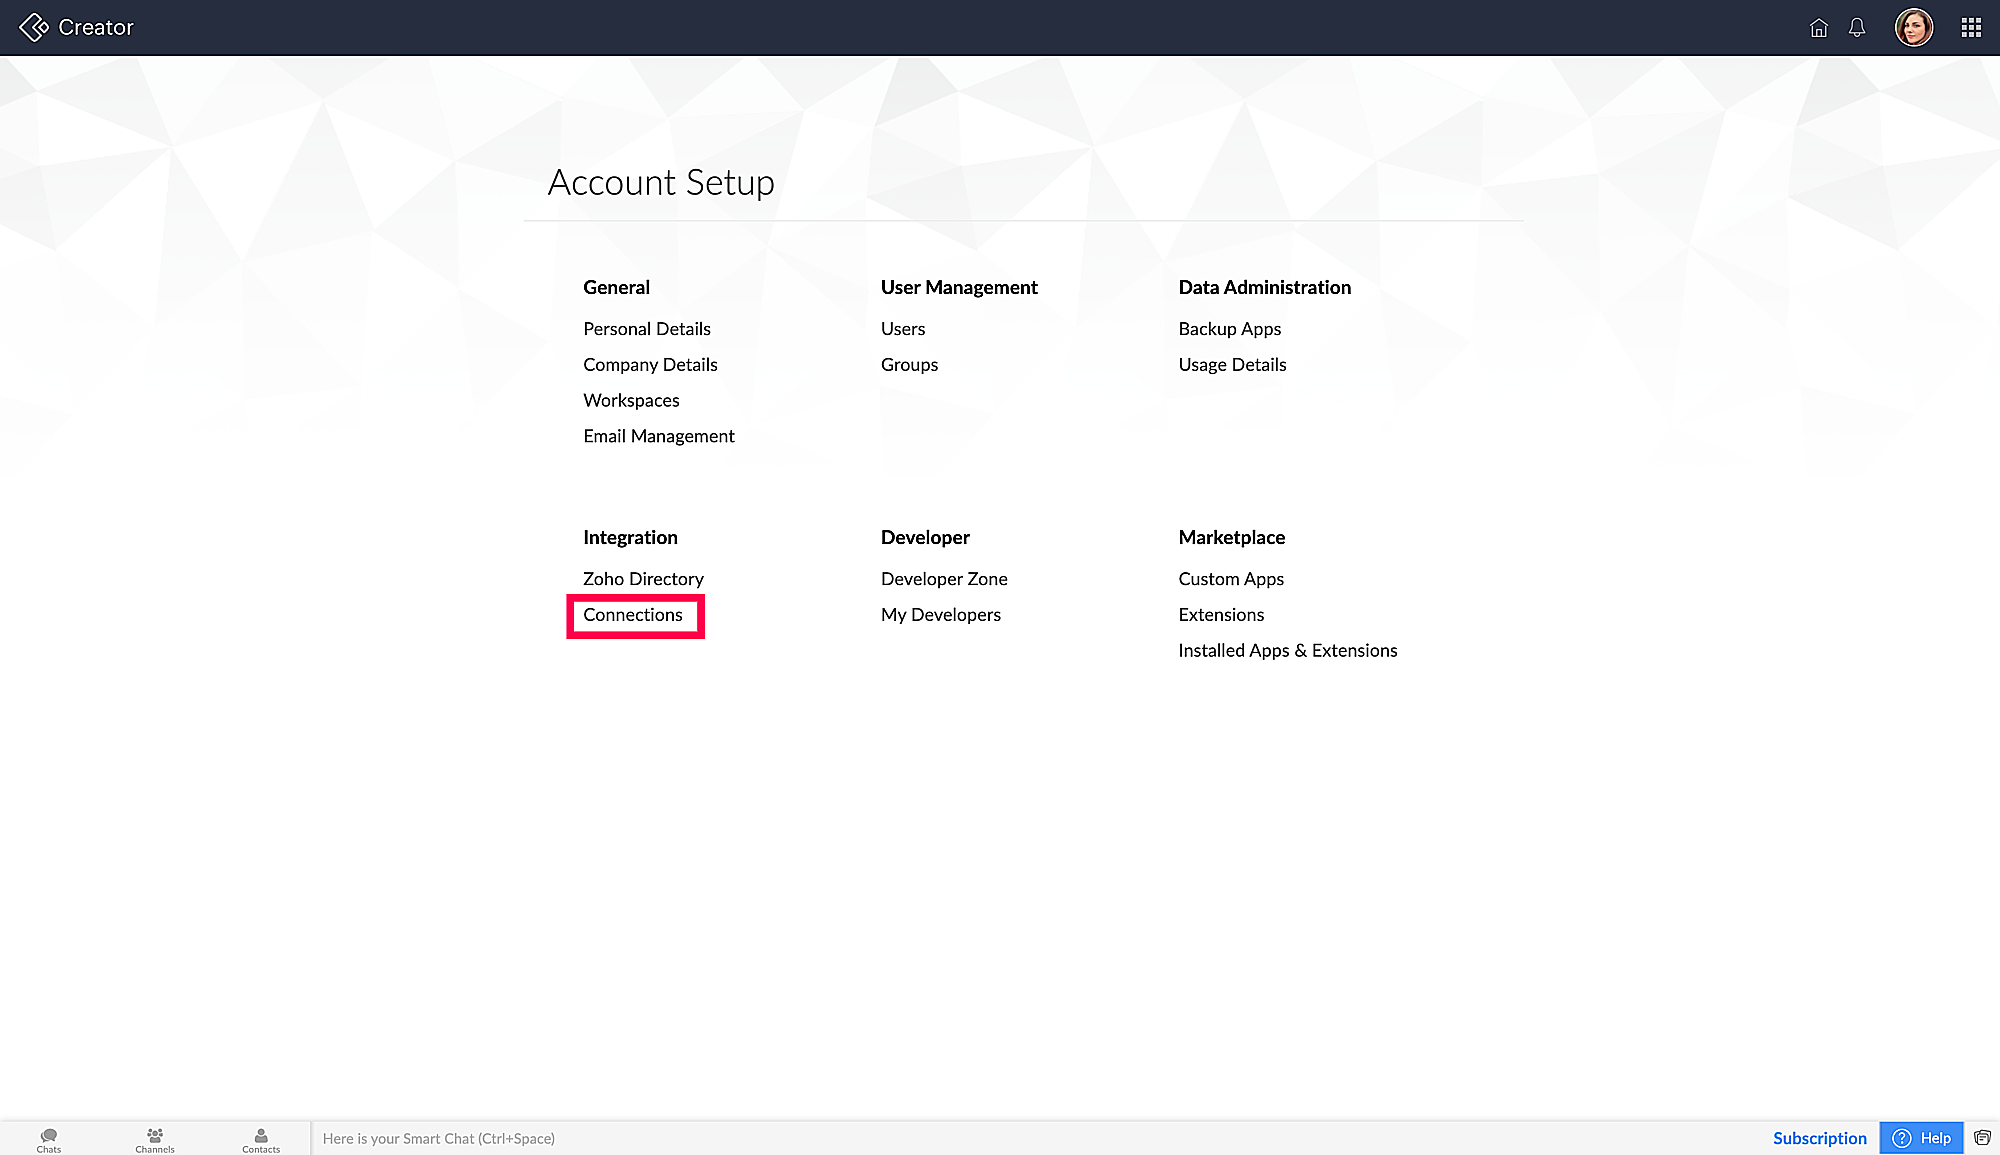
- Navigate to the Account Setup page and click Connections under integration.

- Click the Add Connection button. The list of services will appear as cards.

- Select the required service from the list for creating a connection.

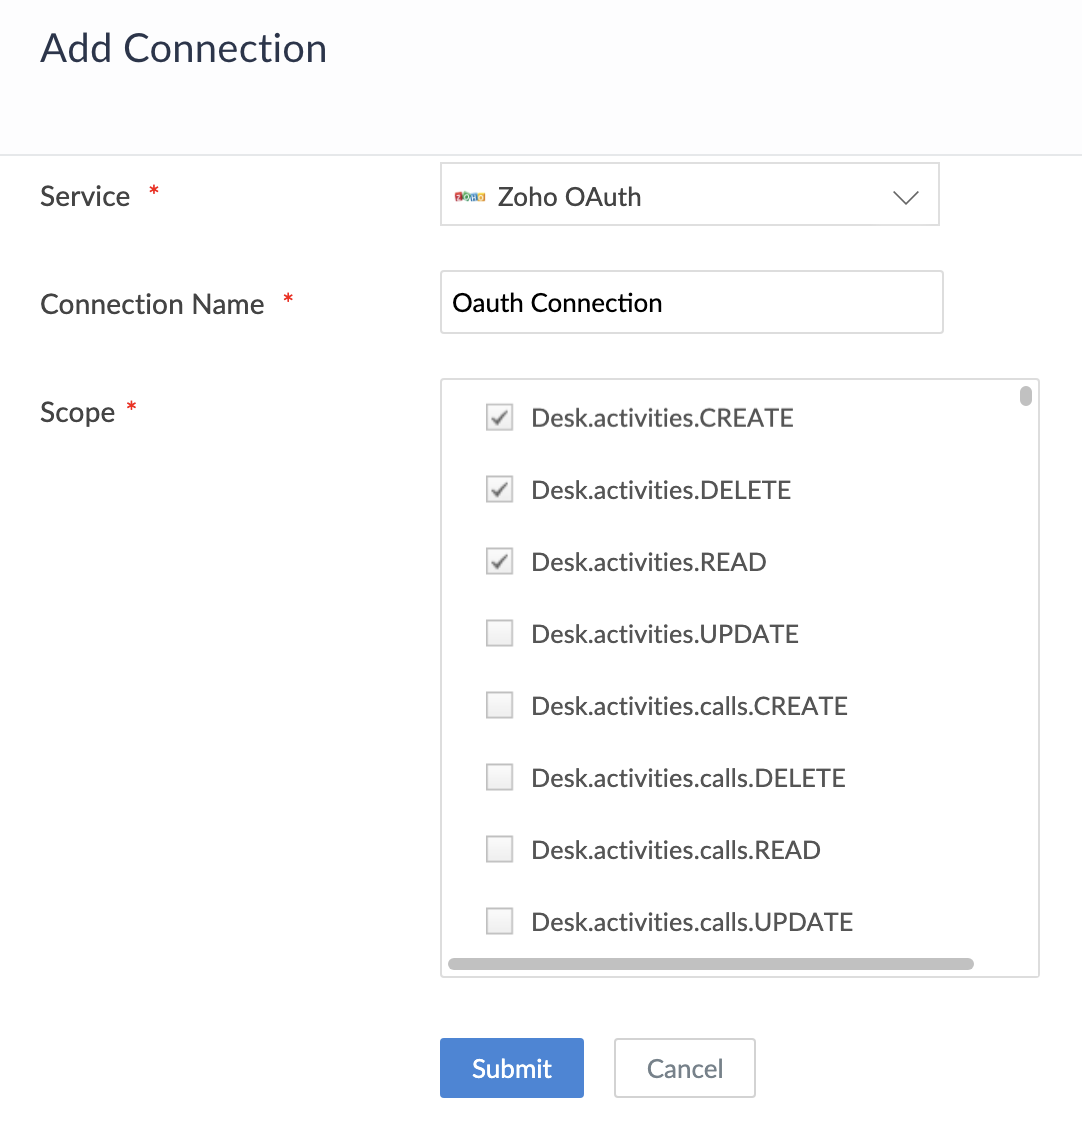
- Enter the Connection Name and select scopes. Scopes are the level of access given towards that service to perform Create, Read, Update, and Delete (CRUD) operations.

- Click the Submit button. The connection is created and prompts for authorization.
- Enter the Name of Authorizing Account to link the new account. (The name provided is used to identify the authorization.)

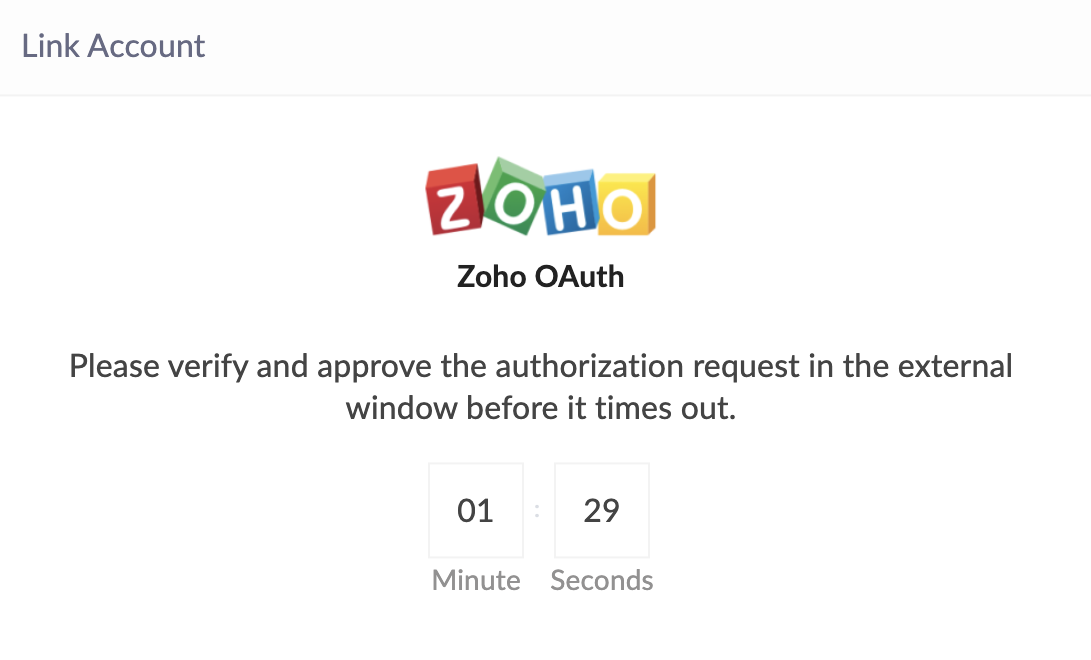
- Click Authorize button and proceed to authorize access to the selected service. For services with OAuth2 type authorization, a timer of 90 seconds will be triggered once you click Authorize. You will be redirected to the third-party service authorization page, where you need to enter your authorization credentials and accept the access permissions for the application before the time limit expires.

After authorization, the connection is ready to be used in your applications. The connection that you created is authorized to access the specified service.
Reuse authorization
Let's assume you have created a connection with a specific set of parameters and authorized it with an account name. When you try to create a new connection with the same set of parameters, you will be notified of the existing authorized account that you have previously used to access the service. You will be able to map the existing authorization that you have created.

Note:
- Connections created before the release of this feature do not have names for the authorized accounts. In those cases, the connection names are listed. On selecting them, users will be prompted to provide names for the authorized accounts.
- The reuse option appears only when the same user has previously mapped the same account to the service with the same set of configuration.
Reauthorize connection
Reauthorizing a connection enables you to link a new account to the connection.
- Click on the ellipsis icon in the connection card which you want to reauthorize and select Reauthorize.

- Provide the new account name and click Authorize.

Perform the subsequent steps (that depend on the third party authorization mechanism) to authorize. Following this, the existing authorization will cease to be effective and the new authorization will take effect.
Connection details
Connection details provides information on the connection.
You will be shown the following information:


