Manage Customer portal settings
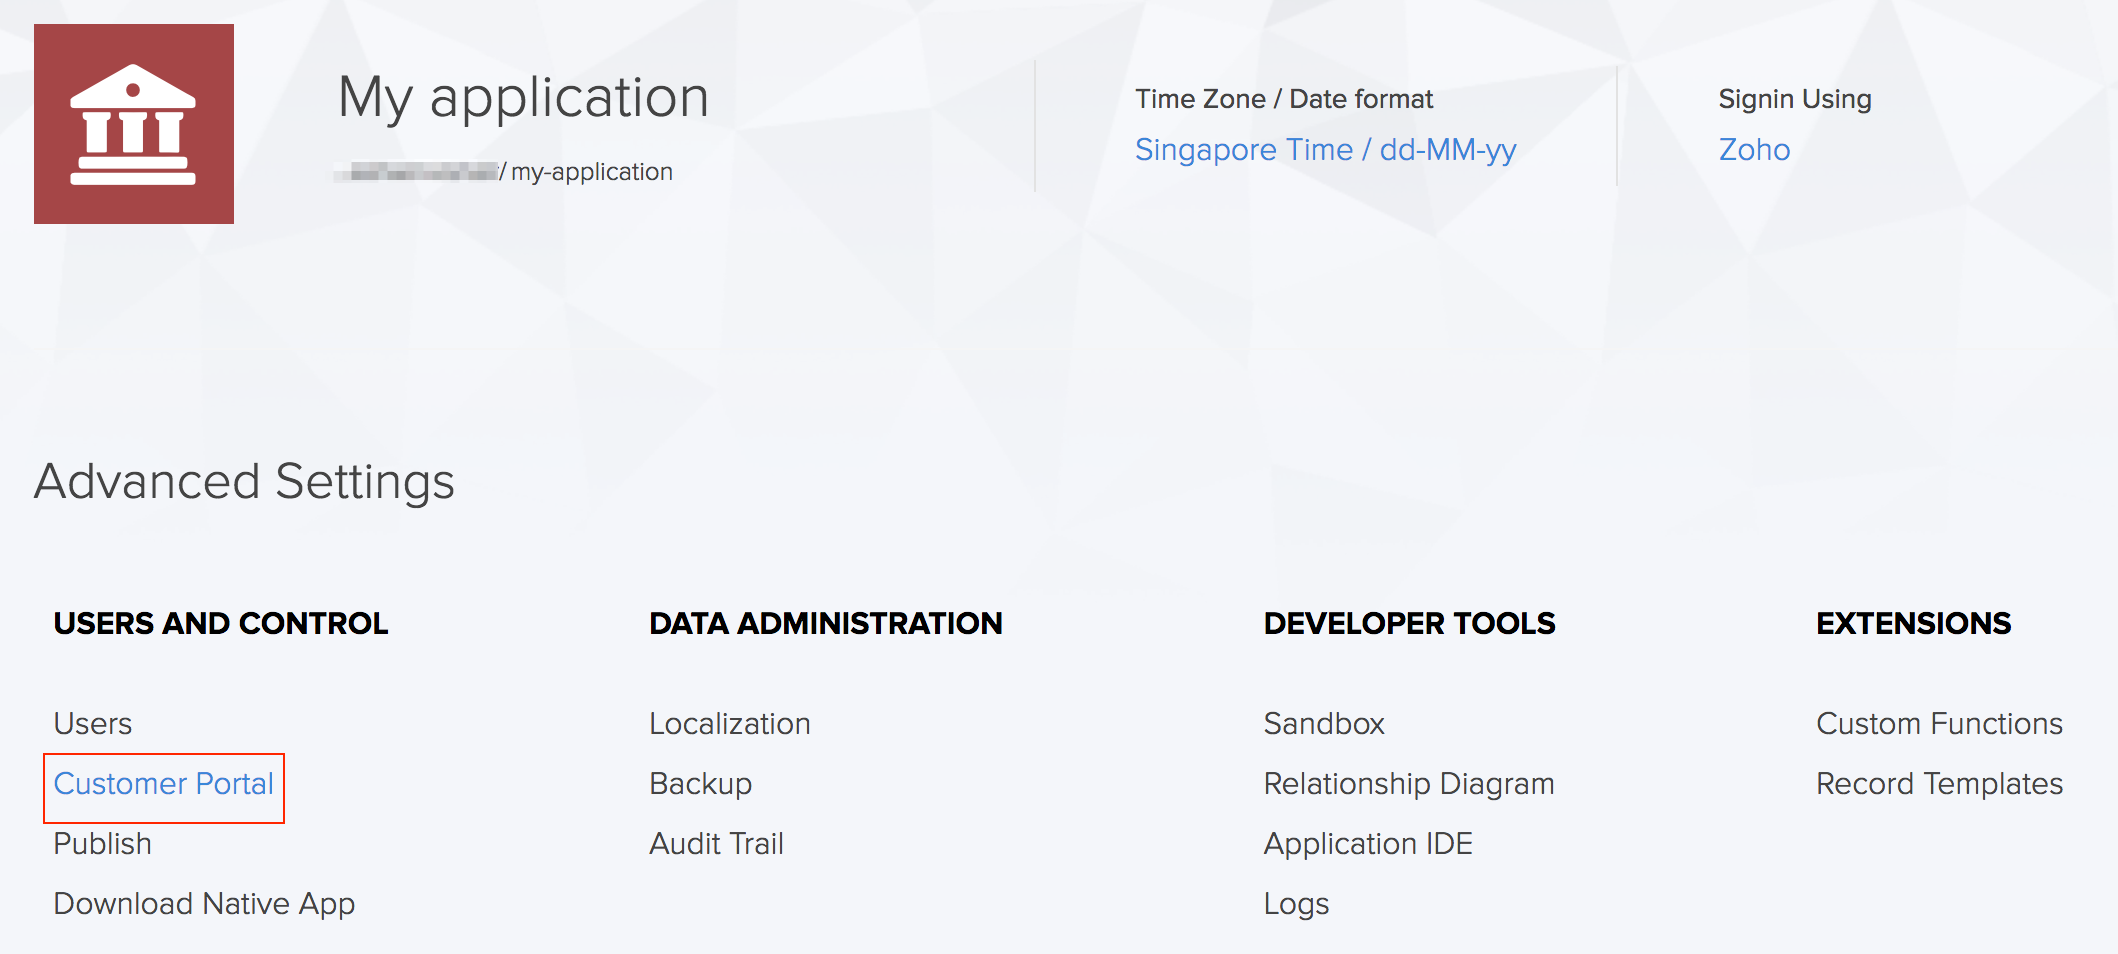
Click the Customer Portal option found under the Users and Control section in the Settings page.
The Customer Portal page will be displayed. Click on the Settings button on the top-right corner.
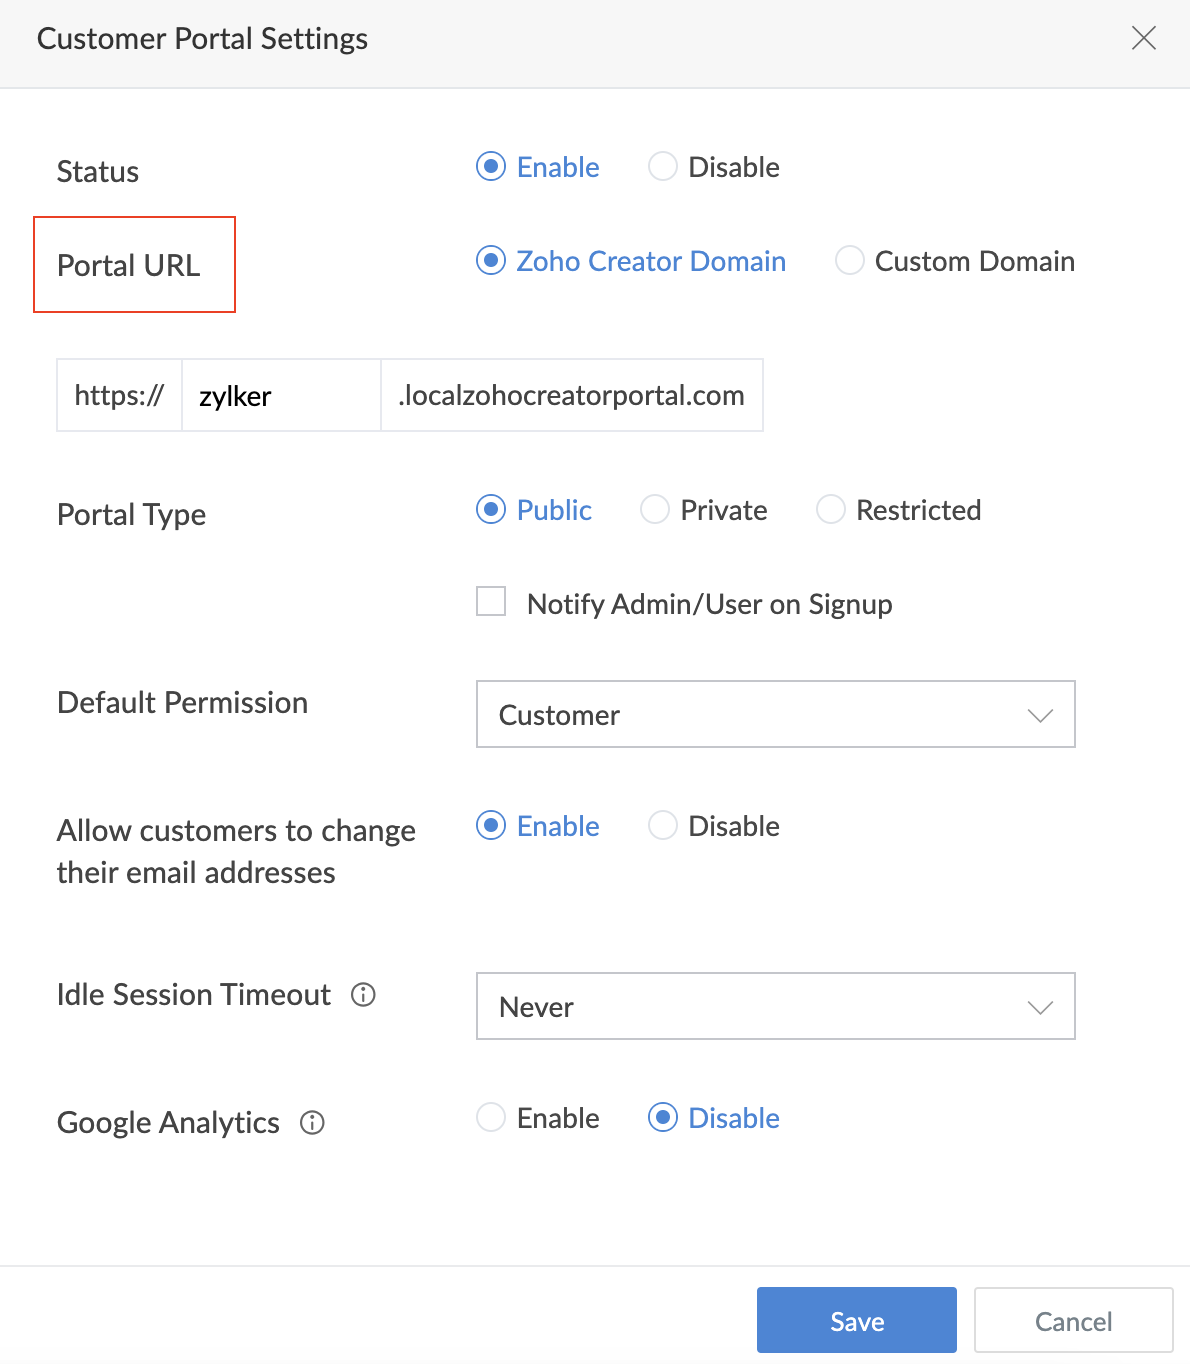
The Customer Portal Settings tab will slide in.


- To change Status in a portal
- To customize Portal URL
- To change Portal Type & Notifications
- To set a Default Permission
- To allow customers to change their email addresses
- To enable MFA for portal users
- To change Idle session timeout
- To setup Google Analytics for your Portal
To change Status in a portal
The status of a portal is used to allow or stop portal users from using the portal application. In some scenarios like when maintenance or upgrades are taking place, the need may arise to temporarily restrict access to your portal. In such cases, you can choose to disable the portal. Once done, the portal will remain inaccessible and a relevant message will be displayed. The users will not be able to access it until the portal is enabled again by the admin.
Under the Status section, click Disable.

You can enable the portal again by changing the status to Enable, under the Status section.
When a portal user tries to access the disabled portal, the following message will be displayed.


To customize Portal URL
Portal URL is used to access the portal application and you can personalize the URL through which your application will be accessible. You can choose a default domain where you can only edit the prefix of the URL or fully customize your portal application's URL.
Select Zoho Creator Domain in the Portal URL section to use the default Zoho Creator domain. Enter text in the subdomain (center) field.
If you've selected Custom Domain, specify your domain's URL. The custom domain will have to be verified. Learn more


To change Portal Type & Notifications
To provide controlled access to users using the portal application, select a portal type. You can also notify the user or admin when a portal user signs up based on the portal type. Let's consider the super admin of the Creator account in a company. By default, the super admin will be receiving all the emails when a portal user signs up. Instead, we can choose to send the emails to the relevant admins for example, the admin from the finance team will receive emails related to the Finance management application.
- Navigate to Portal type under Customer Portal Settings.
Select any of the three options under Portal Type.
- Public - Any user with the link to the customer portal can sign up and access it. Check the notification box to select users who will be notified for sign-ups.
- Private - Only users invited by the admin of the customer portal can access it. Users cannot sign up for the portal on their own.
- Restricted - Users have to sign up and get approved by an admin in order to access the portal. Check the respective notification boxes to select users or portal user for notification alert on sign-up. Checking Auto approve Zoho CRM contacts will let users in Zoho CRM Contacts be approved automatically.

Select the notification method according to the chosen portal type.
- Public - Check the notification box to select users who will be notified for sign-ups.
- Private - There will be no notifications that can be sent with the portal type is set to Private.
Restricted - Check the respective notification boxes to select users or portal user for notification alert on sign-up. Checking Auto approve Zoho CRM contacts will let users in Zoho CRM Contacts be approved automatically.


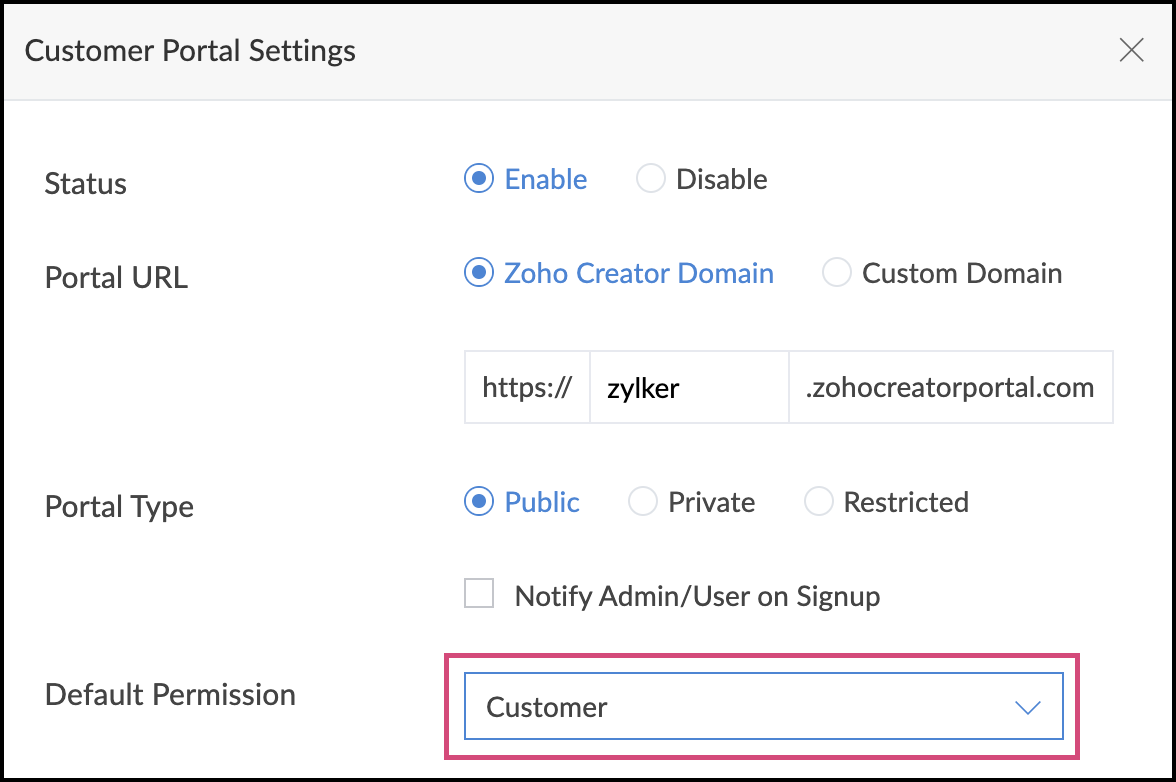
To set a Default Permission
Portal user permissions help provide controlled access to different types of portal users. The permission selected here will be assigned to users by default when they sign up. The permission set configured will be available as the default permission while adding portal users. You can add/edit/manage portal users permissions under Application settings.
- Select a Permission under Default Permission.

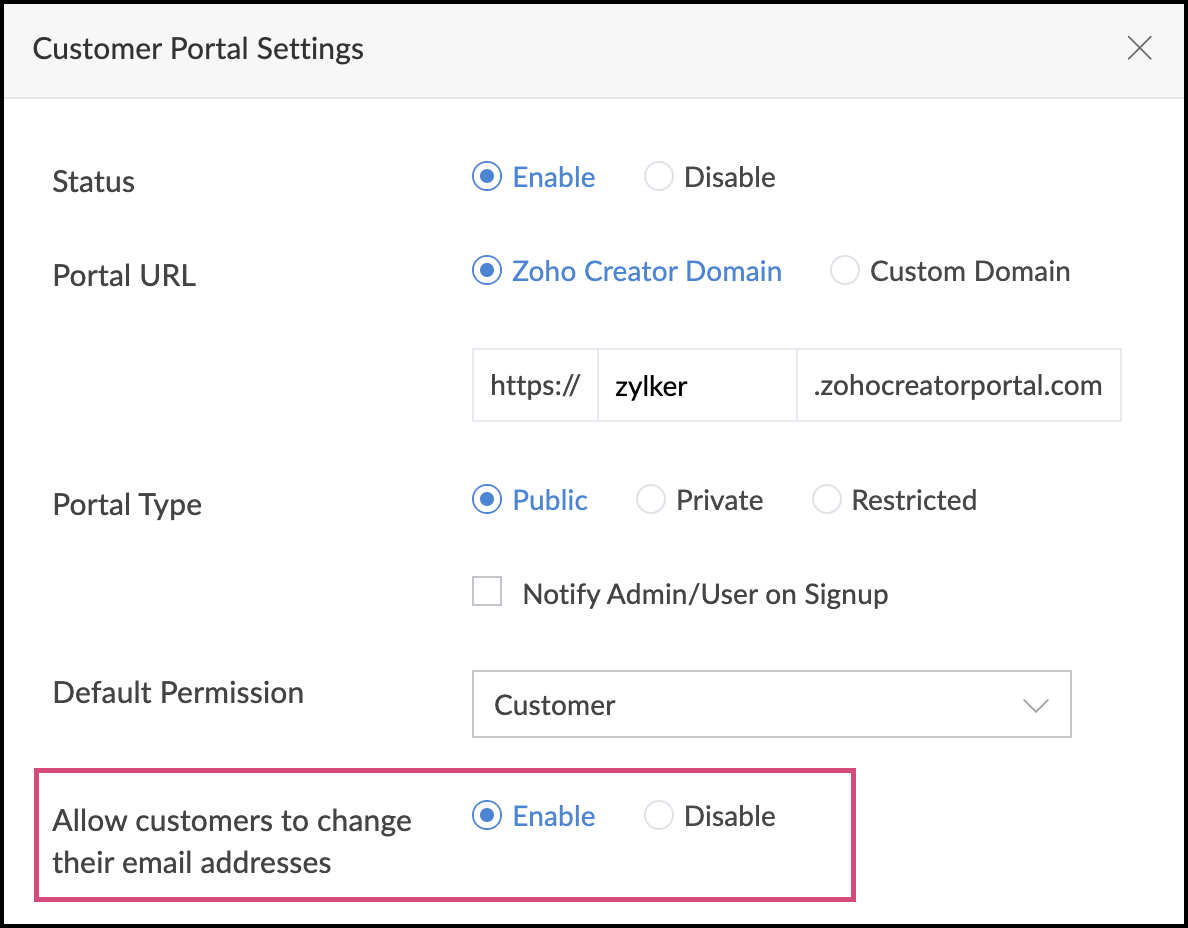
To allow customers to change their email addresses
Allow customers to change their email addresses that they use to access the portal application.
- Under Allow customers to change their email addresses , click Enable. You can also disable this by clicking the Disable option.

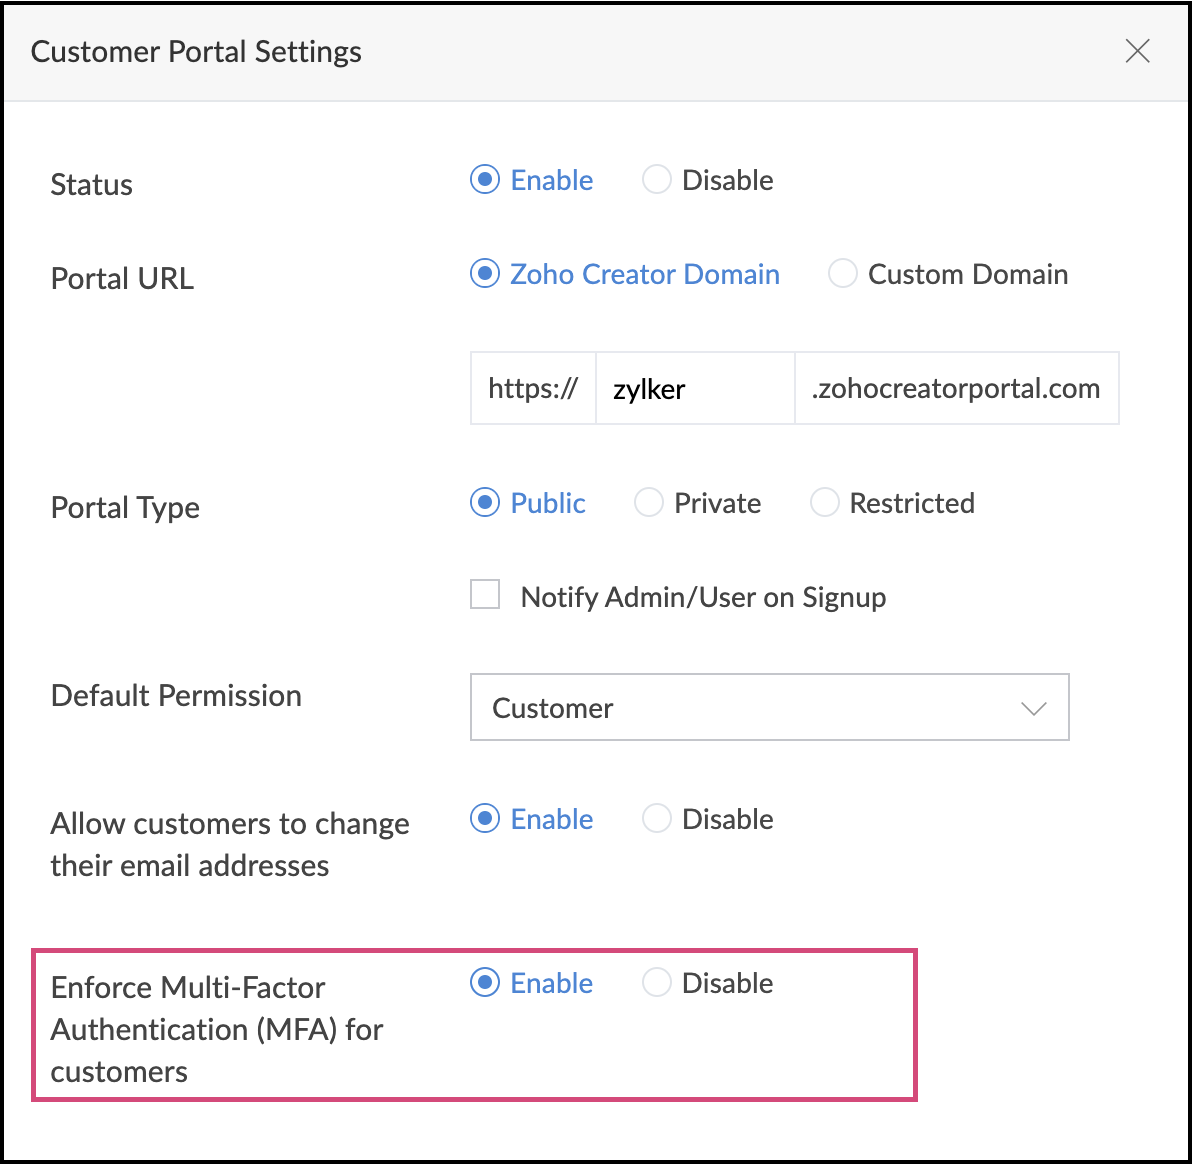
To enable MFA for portal users
When a portal user logs into your portal, they must verify their identity using their username and password. Multi-factor authentication (MFA) requires your portal users to additionally verify themselves via configured OTP authenticators while signing in. This enhances security by ensuring that only authorized users can access your portal, even if their passwords are compromised.
- Click Enable beside Enforce Multi-Factor Authentication (MFA) for portal users to enable MFA for your portal users. This will also be disabled by default.

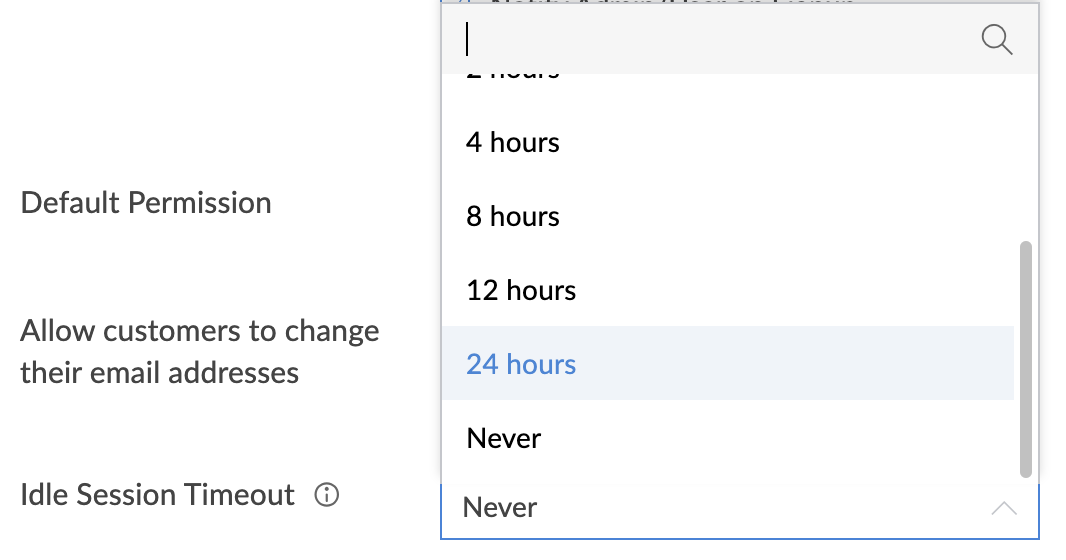
To change Idle session timeout
Portal timeout determines when a session should be terminated after detecting users' portal inactivity. By configuring custom time-outs you can enhance security in the portal and safeguard your portal users' accounts from potential misuse. After the time limit is over, the portal user will be automatically signed out of the portal. To continue accessing it, they will have to log in again.
Beside the Idle session timeout section, choose a time period after which the timeout will take place. By default, it will be set to Never.

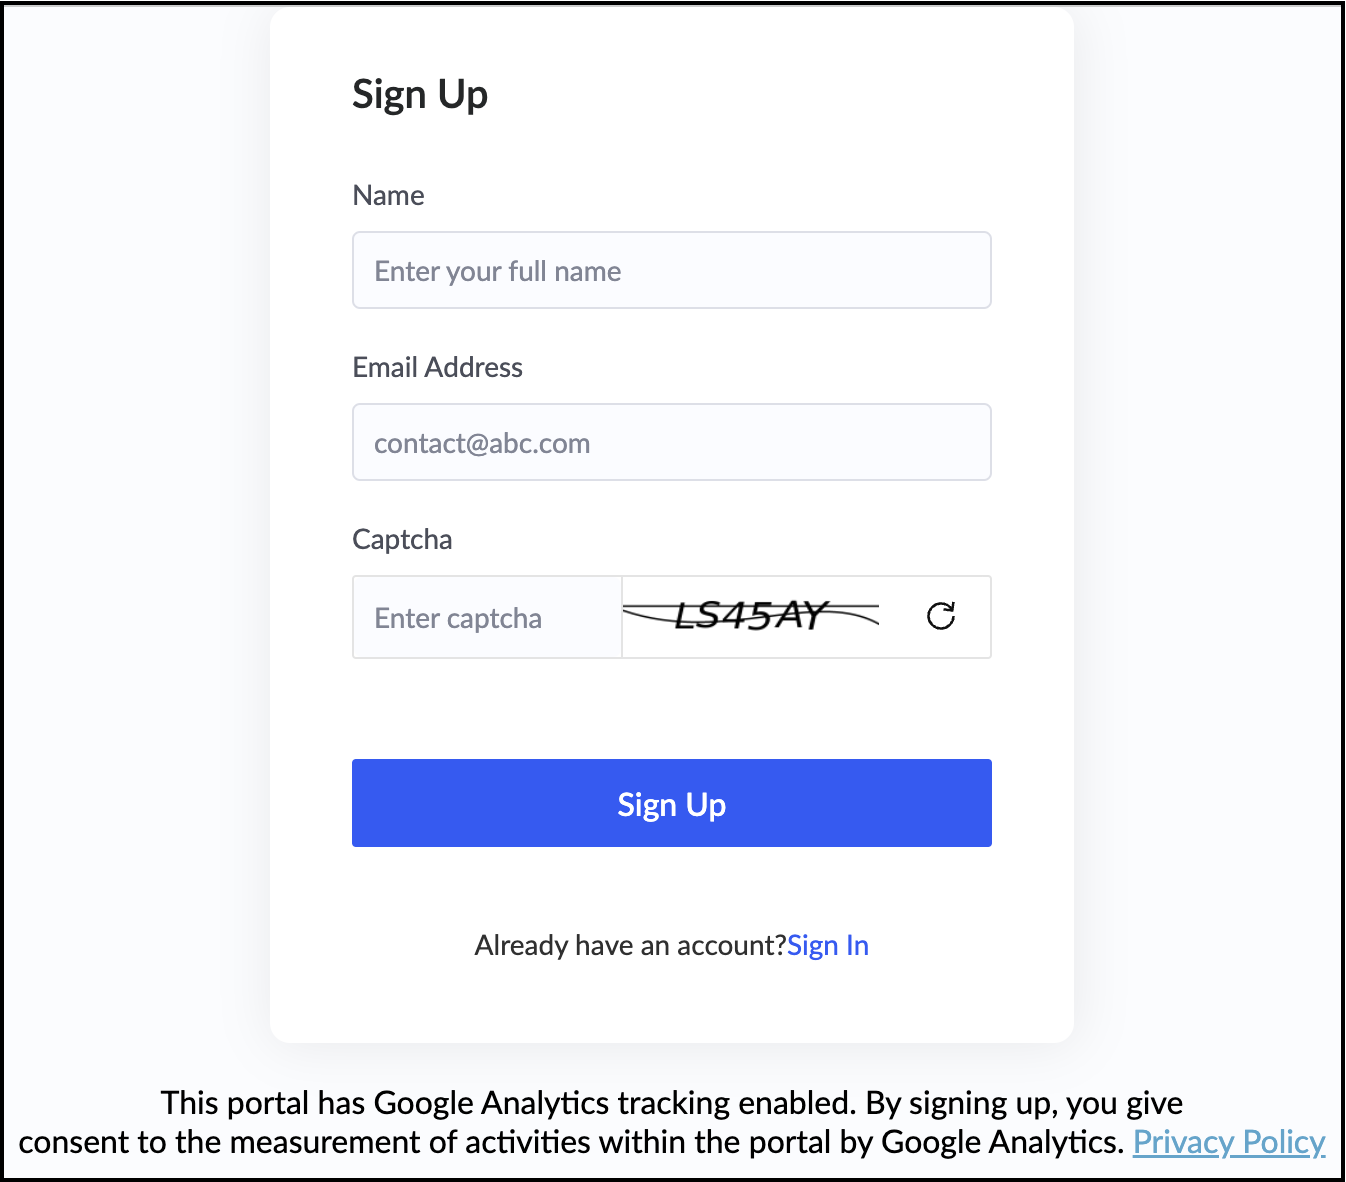
To setup Google Analytics for your Portal
Google Analytics helps you better understand your portal users and provides actionable information to serve them better. Associating a Portal with your Google Analytics account can help you to access reports and insights on user behavior, user engagement, traffic sources, conversions, and more. Google Analytics will provide insights based on behavior from four different Portal pages: Signup, Login, Reset password and Confirm password.
To configure Google Analytics:
- Visit analytics.google.com and sign in to your account.
Create a new property. Learn how
Note: We recommend that each portal should have one property in Google Analytics.
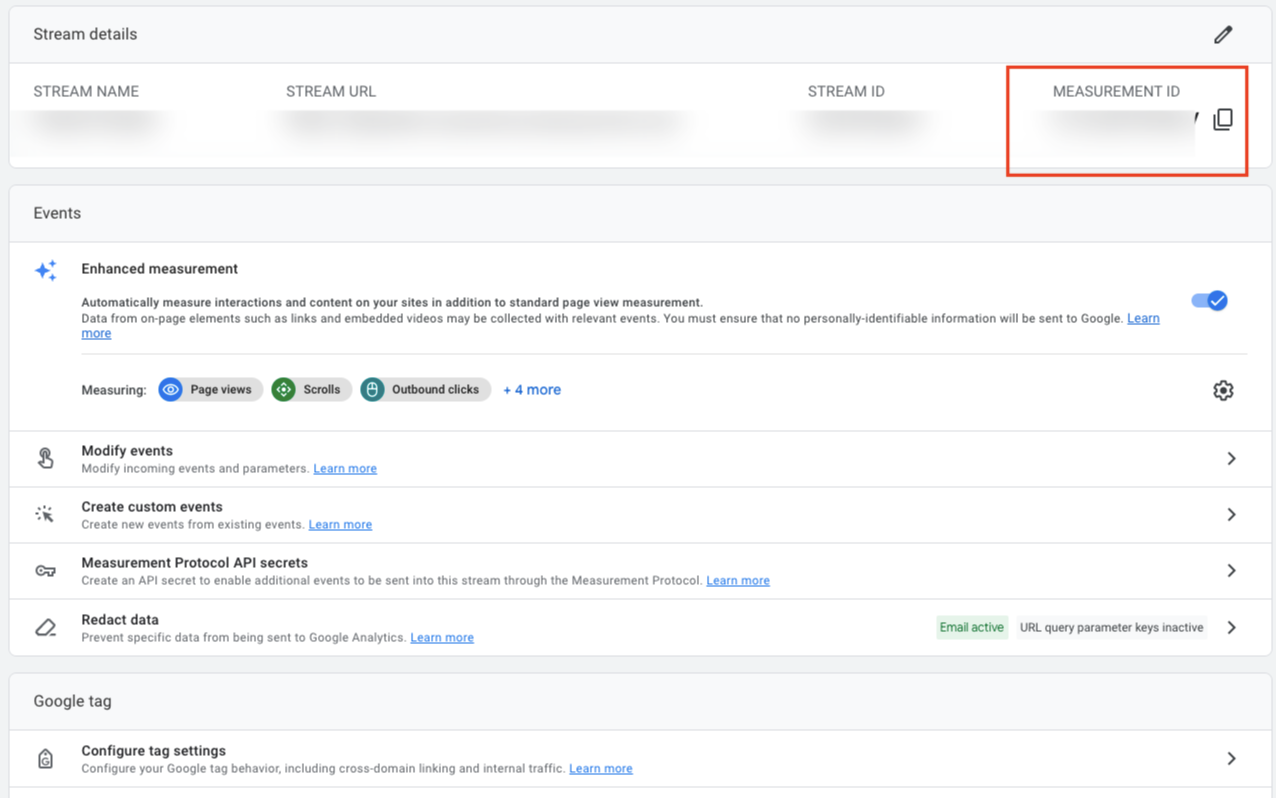
Find your Measurement ID. Learn how
- Switch back to Zoho Creator and navigate to the Customer Portal Settings pane of your required portal.
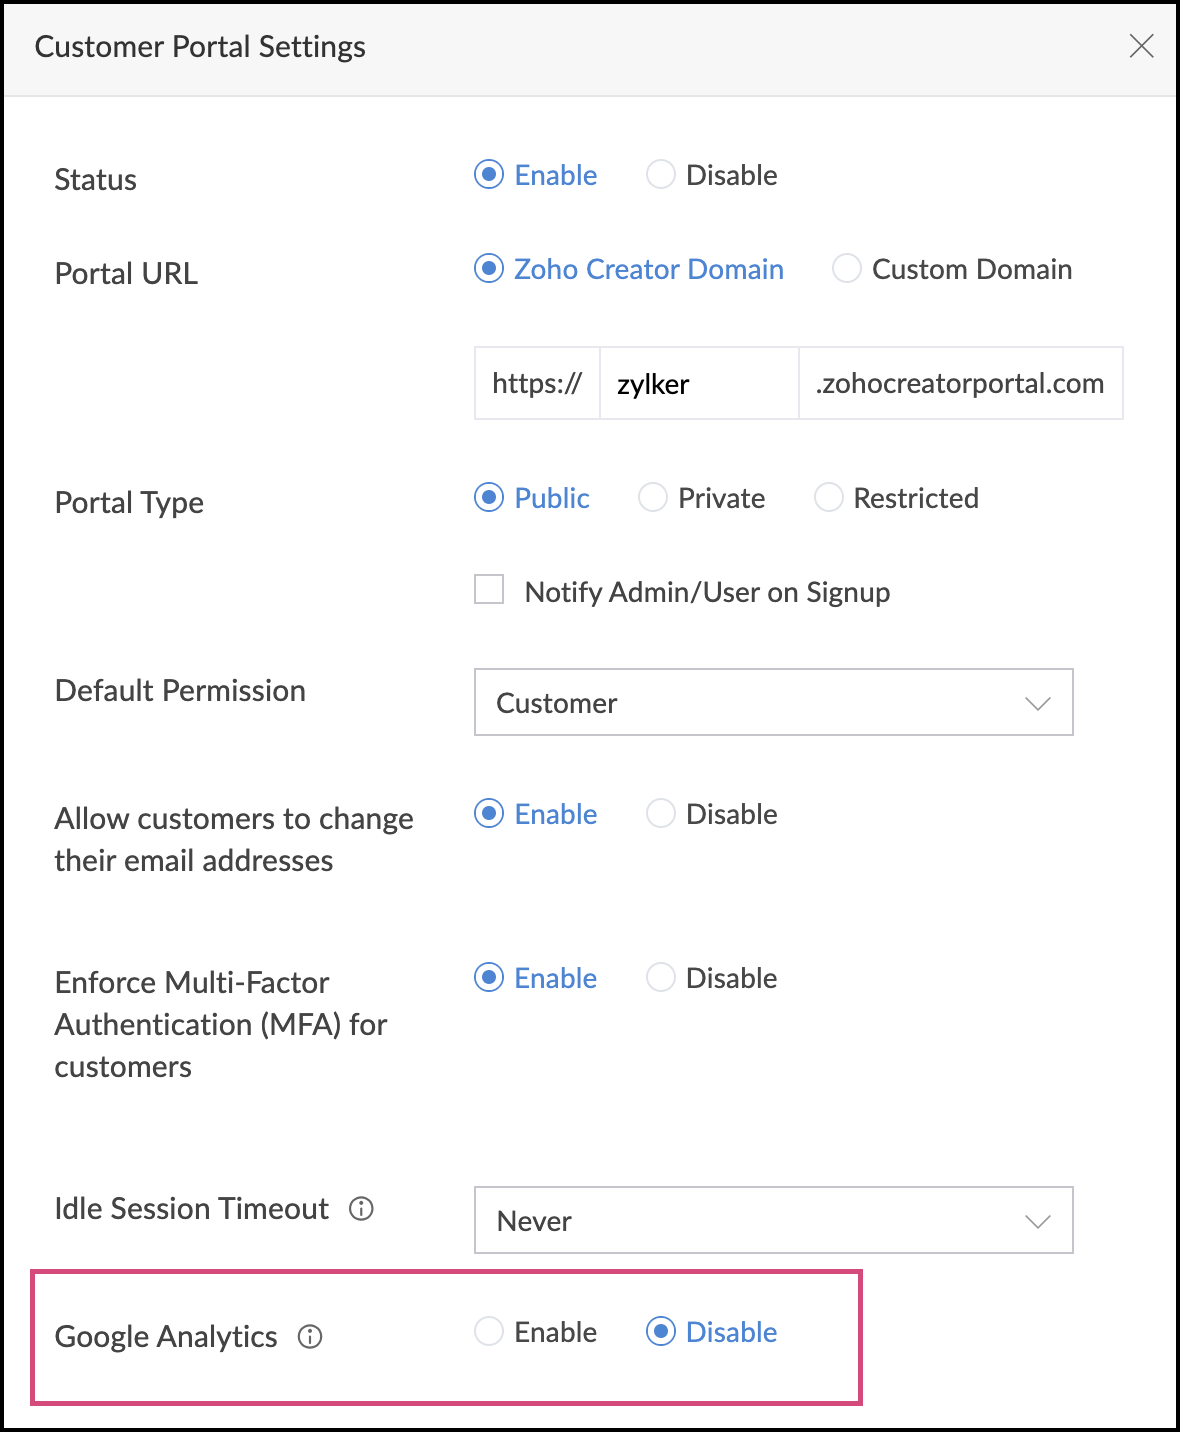
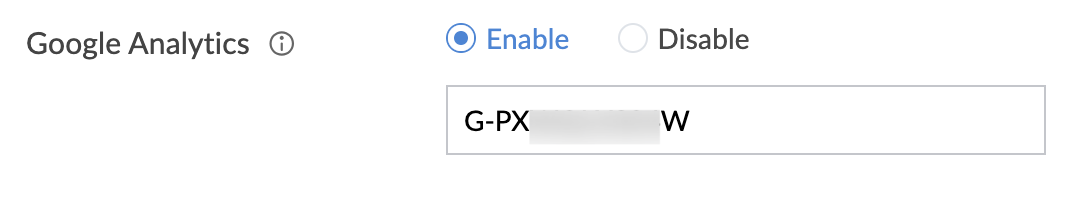
Under the Google Analytics section, click the Enable option. A popup displaying the Terms and conditions will be displayed. Click Accept and Continue to proceed further.

Paste the Measurement ID you copied from your Google Analytics account in this particular field.
- Click Save. You're all set now. Google Analytics will begin measuring the user engagement in your portal.
- Switch back to Google Analytics and navigate to the Reports Snapshot section to get detailed insights.


Points to note
- Google Analytics is a third-party service. Before setting up this integration, make sure you fully read the Google's terms and conditions.
- For implementing this feature, we've followed the process as recommended by Google Analytics. You can get more detailed information on its working here.