
Introduction - Customers & Vendors
Customers are the people you sell to, and vendors are the ones you buy from. In Zoho Books, you can add and manage both. Create sales transactions like invoices and sales orders for customers, and record purchase transactions like bills and purchase orders for vendors.
Create a Customer or Vendor
To create a customer or vendor:
- Go to Sales and select Customers, or go to Purchases and select Vendors on the left sidebar.
- Click + New in the top right corner.

In the New Customer or New Vendor page, complete the following fields:
- Basic Information:
- Type: Select Business or Individual (only for Customers).
- Primary Contact: Enter the name of the main contact.
- Company Name: Enter the business name, if applicable.
- Display Name: Enter the name to appear in transactions.
- Email Address: Enter the email address.
Note: Email Address is mandatory if you’ve enabled portal access for customers or vendors.
- Phone: Enter the phone number.
- Other Details:
- GST Registration: If the customer’s business is registered for GST, check the option and enter the GST number.
- Withholding Tax: Check this option if tax laws require you to withhold tax on payments to vendors or if your customers must withhold tax on payments to you. This ensures tax is deducted at the source and reported to tax authorities.
- UEN: Enter the 10-digit Unique Entity Number, if available. This is the official business identification number issued by the government.
- Currency: Select the preferred currency for transactions.
Note: You can set a different currency for a customer using Multi-currency Invoicing. This feature is available only in certain Zoho Books plans. Visit the pricing page to see if its available for your current plan.
- Opening Balance: Enter the starting balance.
- Payment Terms: Select when payments are due.
- Price List: Select a price list, if applicable.
- Enable Portal: Check the box to allow portal access.
- Portal Language: Select the portal language.
- Documents: Click Upload File to upload any required documents.

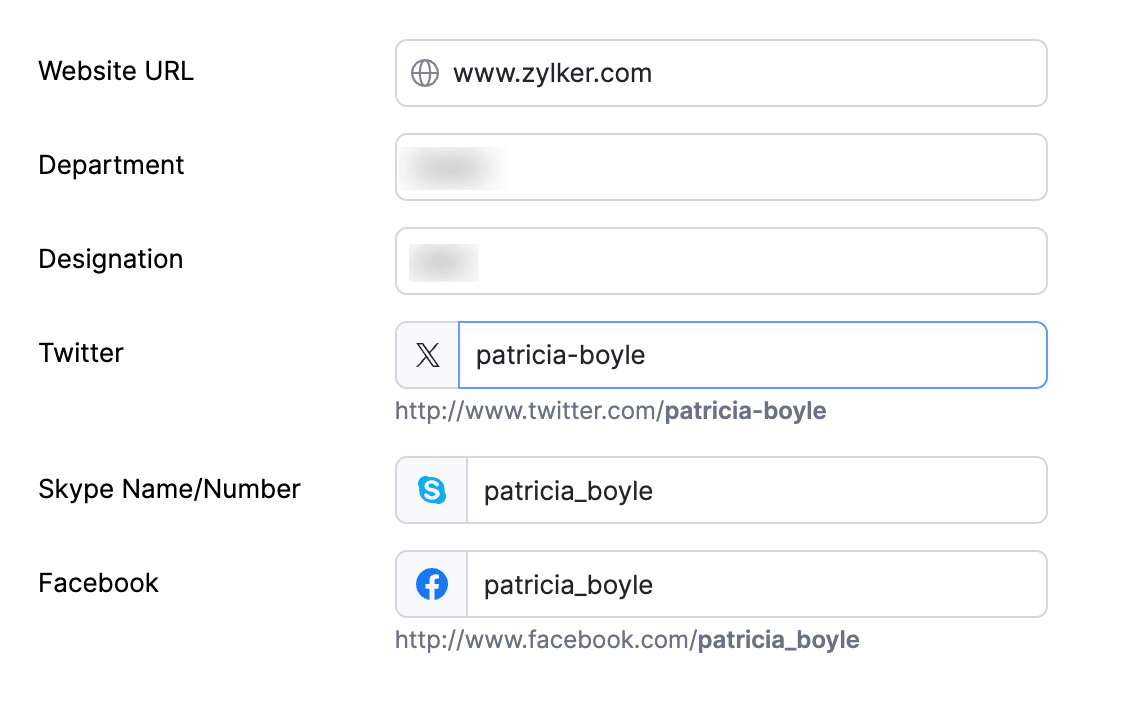
- Additional Information:
- Click Add more details to enter Website URL, Department, Designation, Twitter ID, Skype Name/Number, and Facebook ID.
Address:
- Enter the Billing Address and Shipping Address.
- Click Copy billing address next to Shipping Address to copy the billing address into the Shipping Address fields.
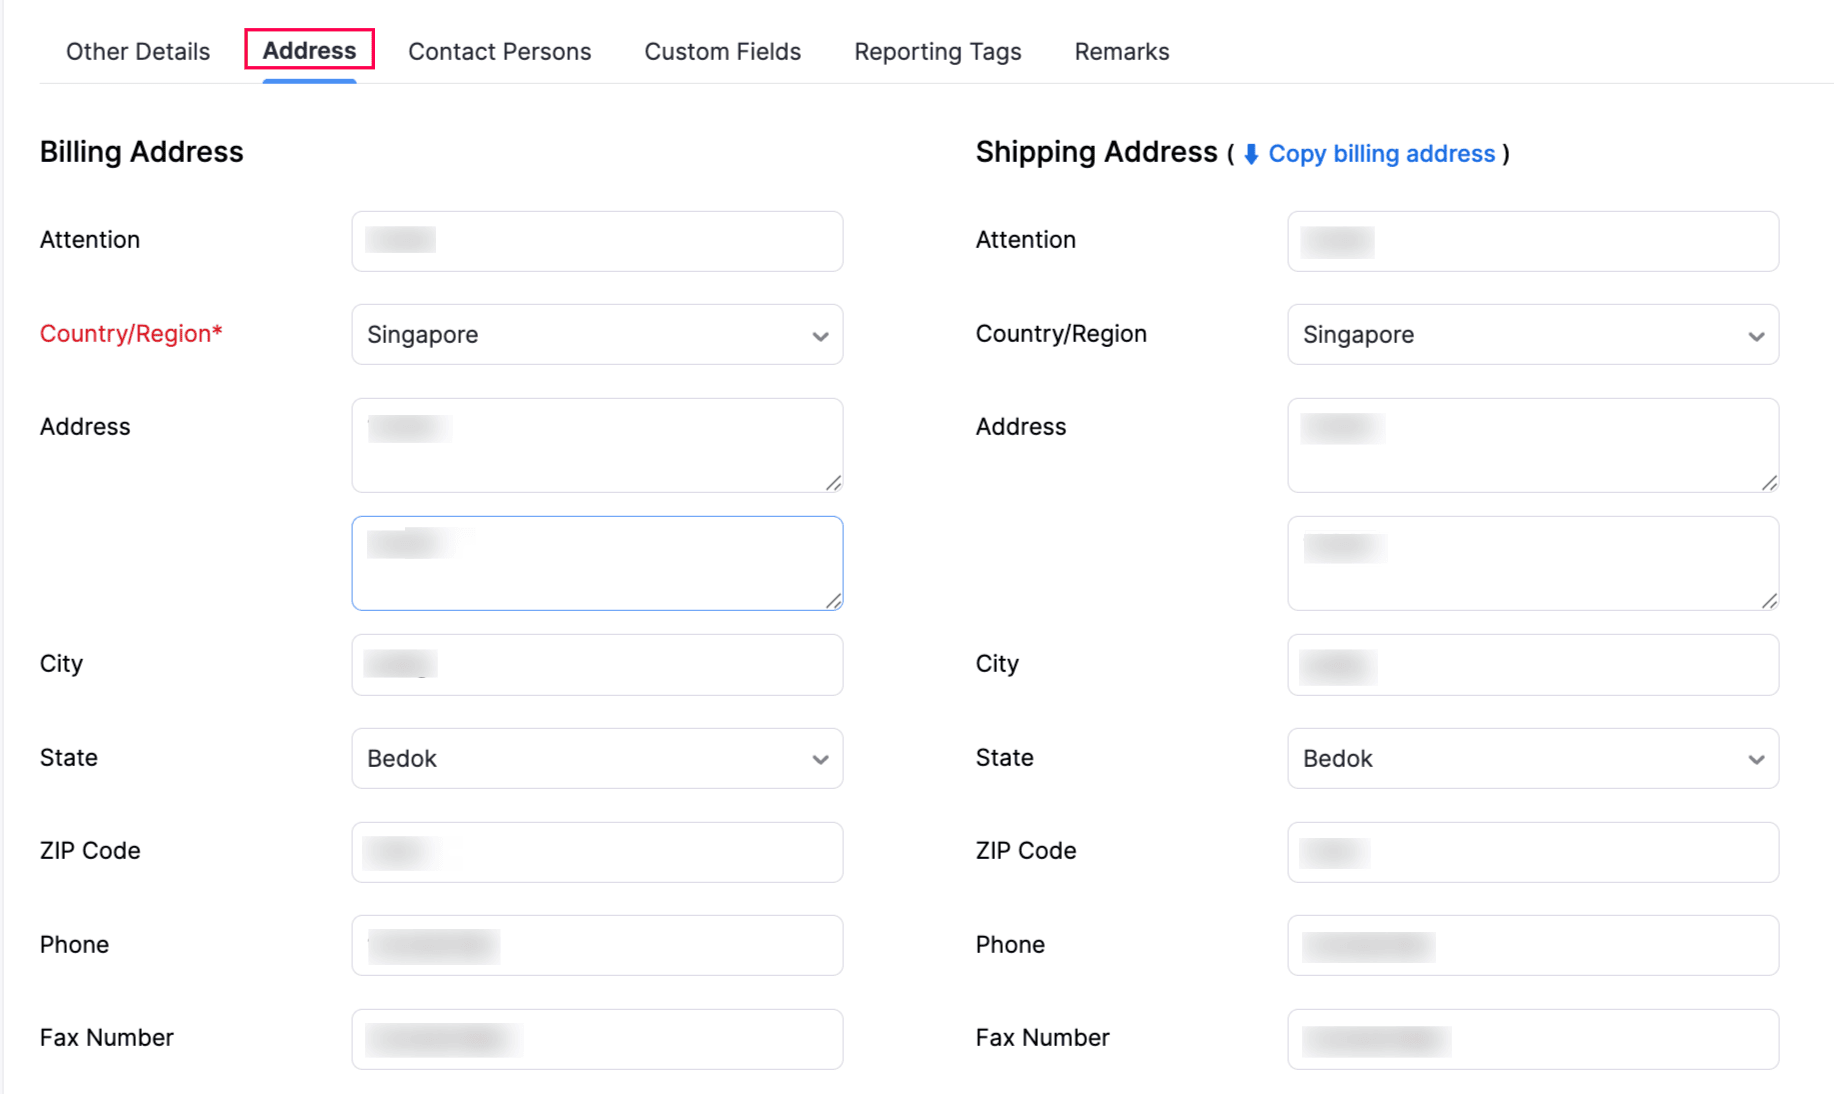
Note: If GST is enabled, select the Country/Region under Billing Address.
- Contact Persons:
- Add contact persons if required.
- Click + Add Contact Person to add more contact persons.

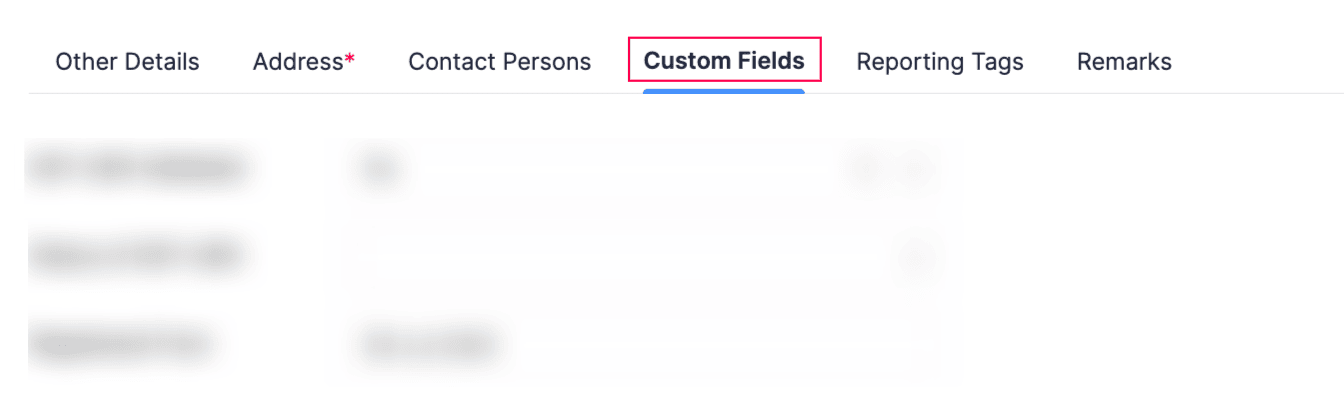
- Custom Fields:
- Fill in any custom fields configured for customers or vendors. Learn more about how to configure custom fields.
- Reporting Tags:
- Add tags to track transactions and generate reports. Learn more about how to create reporting tags.

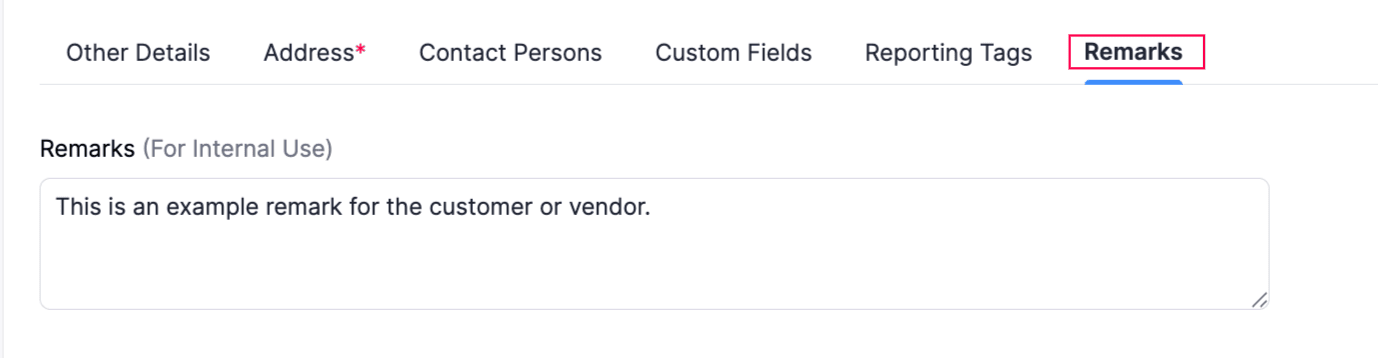
- Remarks:
- Add any internal notes or comments.
- Basic Information:
Click Save.
The customer or vendor will now be created for whom you can start creating transactions.
Import Customers or Vendors
Scenario: Zylker Inc is migrating from another accounting system and wants to import all the existing customers or vendors in bulk. Using the Import Customers or Import Vendors options, Zylker can import all the customers or vendors into Zoho Books effortlessly instead of having to add them manually.
If you’re migrating from another accounting system or already have a list of customers or vendors saved locally, you can import them into Zoho Books instead of adding them manually. Here’s how:
- Go to Sales and select Customers, or go to Purchases and select Vendors from the left sidebar.
- Click the More icon in the top right corner and select Import Customers or Import Vendors, based on what you’re importing.
- In the popup, select:
- Customers or Vendors to import only basic details.
- Customer’s Contact Persons or Vendor’s Contact Persons to import both main details and contact person.
- Click Continue.
- In the Import page, click Choose File and select the file you want to import.
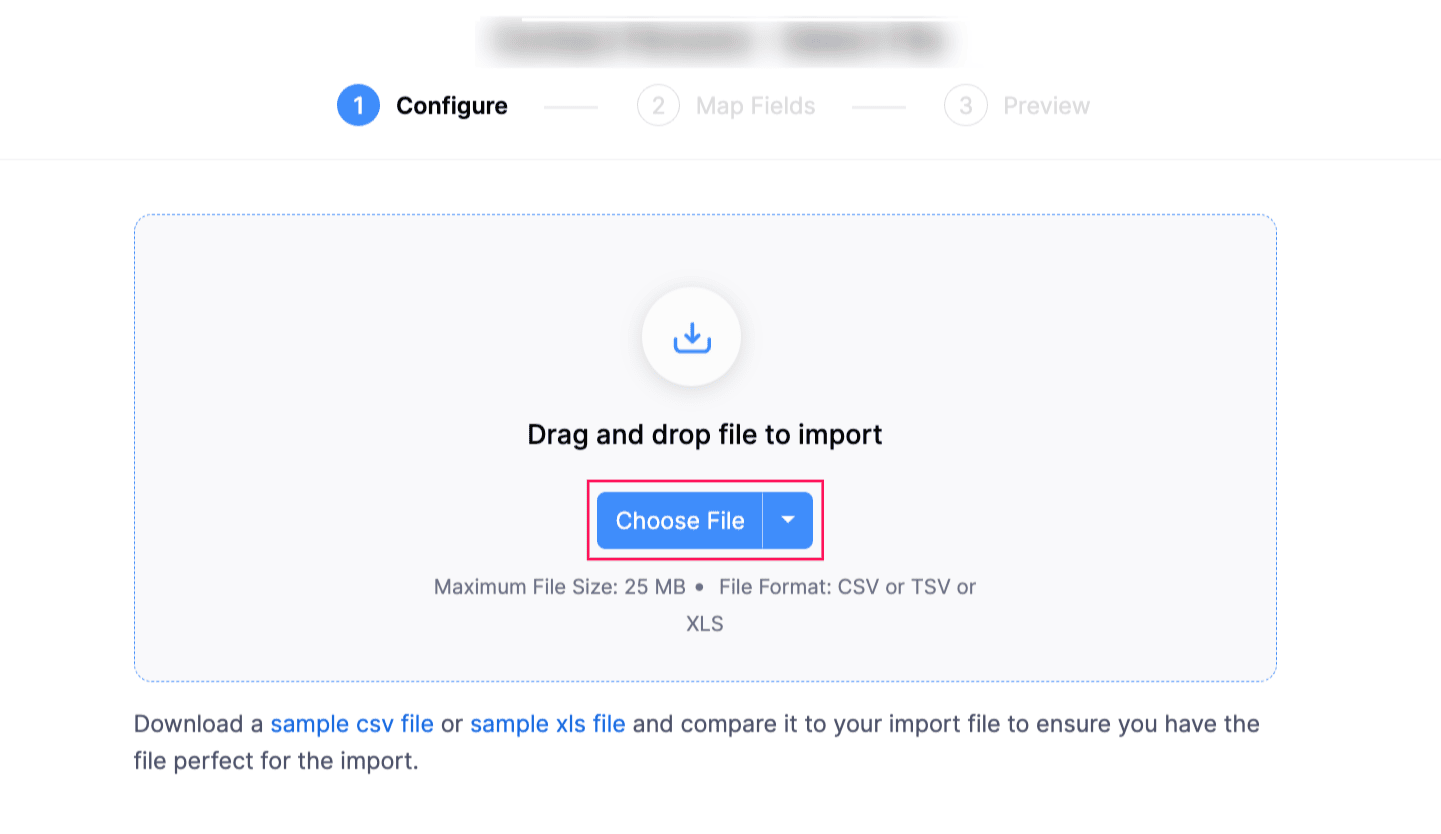
Notes:
- Supported file formats: CSV, TSV, XLS
- File size limit: 25 MB
Pro Tip: Download and refer to the sample file for the correct format. You can also fill in your data directly in the sample file to save time.
After you upload the file, under the Configure tab:
- Duplicate Handling:
- Skip Duplicates: Keep existing records, skip duplicates.
- Overwrite Customers/Vendors: Replace existing records with imported data.
- Add Duplicates as New Customers: (For Customers only) Add duplicates as new entries.
- Character Encoding: Defaults to UTF-8 (Unicode). Choose another if your file uses a different encoding.
- File Delimiter: Defaults to Comma(,). Change if your file uses another delimiter.
- Duplicate Handling:
Click Next >.
Under the Map Fields tab, complete the following fields:
- Default Data Formats: The default is 1234567.89. Click Edit if you need a different format.

- Map your file columns to Zoho Books fields.
- Check Save these selections for use during future imports if you want to reuse the same mapping next time.
Click Next >.
Under the Preview tab, review the fields you’ve mapped.
Click Import.
The customers and vendors will now be imported into Zoho Books.