
Other Actions for Timesheet
Let us have a look at the different actions available for timesheets.
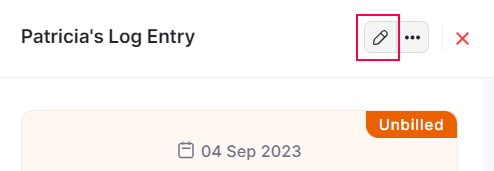
Edit Time Entry
To change the details of a time entry that you’ve created in Zoho Billing, you’ll have to edit it. Here’s how you can do it:
- Go to Time Tracking > Timesheet.
- Click the Gear icon on the right corner of the entry.
- Click Edit.
- Make the necessary changes and click Save.
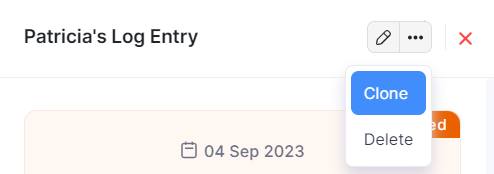
Clone Time Entry
If you want to create a time entry which has details similar to an existing time entry, you can clone the existing time entry. Here’s how you can do it:
- Go to Time Tracking > Timesheet.
- Click the Gear icon in the right corner of the entry.
- Click Clone.
- Go through the time entry details and click Save.
Comments & History
You can add comments to your time entry and collaborate with your users. However, these comments are only for internal use and the vendor cannot view them. Here’s how:
- Go to Time Tracking > Timesheet.
- Click the Gear icon in the right corner of the entry.
- Click Comments and History.
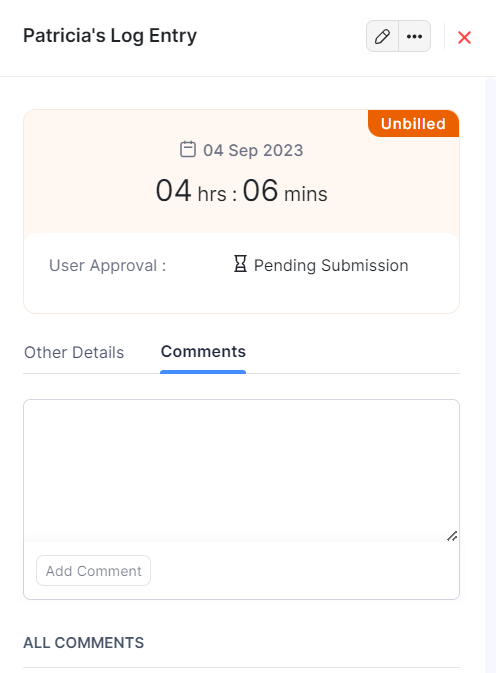
- Enter the comment.
- Click Add Comment.
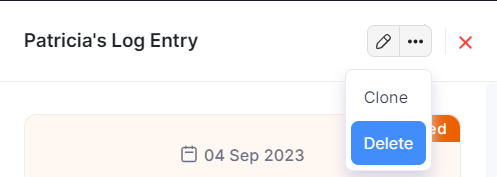
Delete Time Entry
You can delete a time entry if you do not want it anymore. Here’s how:
- Go to Time Tracking > Timesheet.
- Click the Gear icon in the right corner of the entry.
- Click Delete.
- Click OK to confirm.
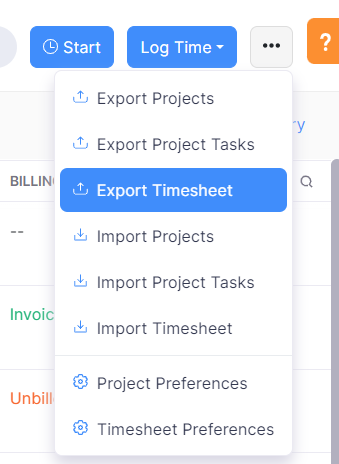
Export Timesheet
You can export the timesheet in Zoho Billing in the CSV or XLS format. Here’s how:
- Go to Time Tracking > Timesheet.
- Click the Gear icon in the top right corner of the page.
- Select Export Projects.
- Enter the necessary fields.
| Fields | Description |
|---|---|
| Select Module | By default, the Timesheet module will be selected. |
| Fields in Export File | If you want to export only certain fields, you can select a template under Fields in Export File. If you don’t have an export template, you can create a new one by clicking + Add New. |
| Export As | Select the format of your export. |
| Personally Identifyable Information (PII) | If you have any PII that you are exporting, mark the box Include Sensitive Personally Identifiable Information (PII) while exporting. |
| Password | Enter a password to secure your export. |

- Click Export.
Related
Ask Zia is powered by AI. Responses are helpful but not always perfect.
 Yes
No
Yes
No
Thank you for your feedback!