
Vendor Advances
Payment Statuses of a Vendor Advance
Depending on whether you’ve enabled approvals for payments or not, a vendor advance goes through the following statuses as it is recorded and processed.
| Payment Status | Description | Applicable When | |
|---|---|---|---|
| Draft | The vendor advance is created but not processed. | Approvals is enabled or disabled | |
| Pending Approval | The vendor advance is waiting for approval. | Approvals is enabled | |
| Approval Rejected | The vendor advance is rejected for approval. | Approvals is enabled | |
| Approved | The vendor advance is approved and ready to be marked as paid and applied to bills. | Approvals is enabled | |
| Paid | The vendor advance is partially or fully applied to bills. | Approvals is enabled or disabled | |
| Void | The vendor advance is marked as void and will not be processed. | Approvals is enabled or disabled |
Record a Vendor Advance
If you’ve given an advance payment to your vendor on which GST is applicable, you can record it in Zoho Books. To record a vendor advance:
- Log in to your Zoho Books organization.
- Go to Purchases on the left sidebar, and select Payments Made.
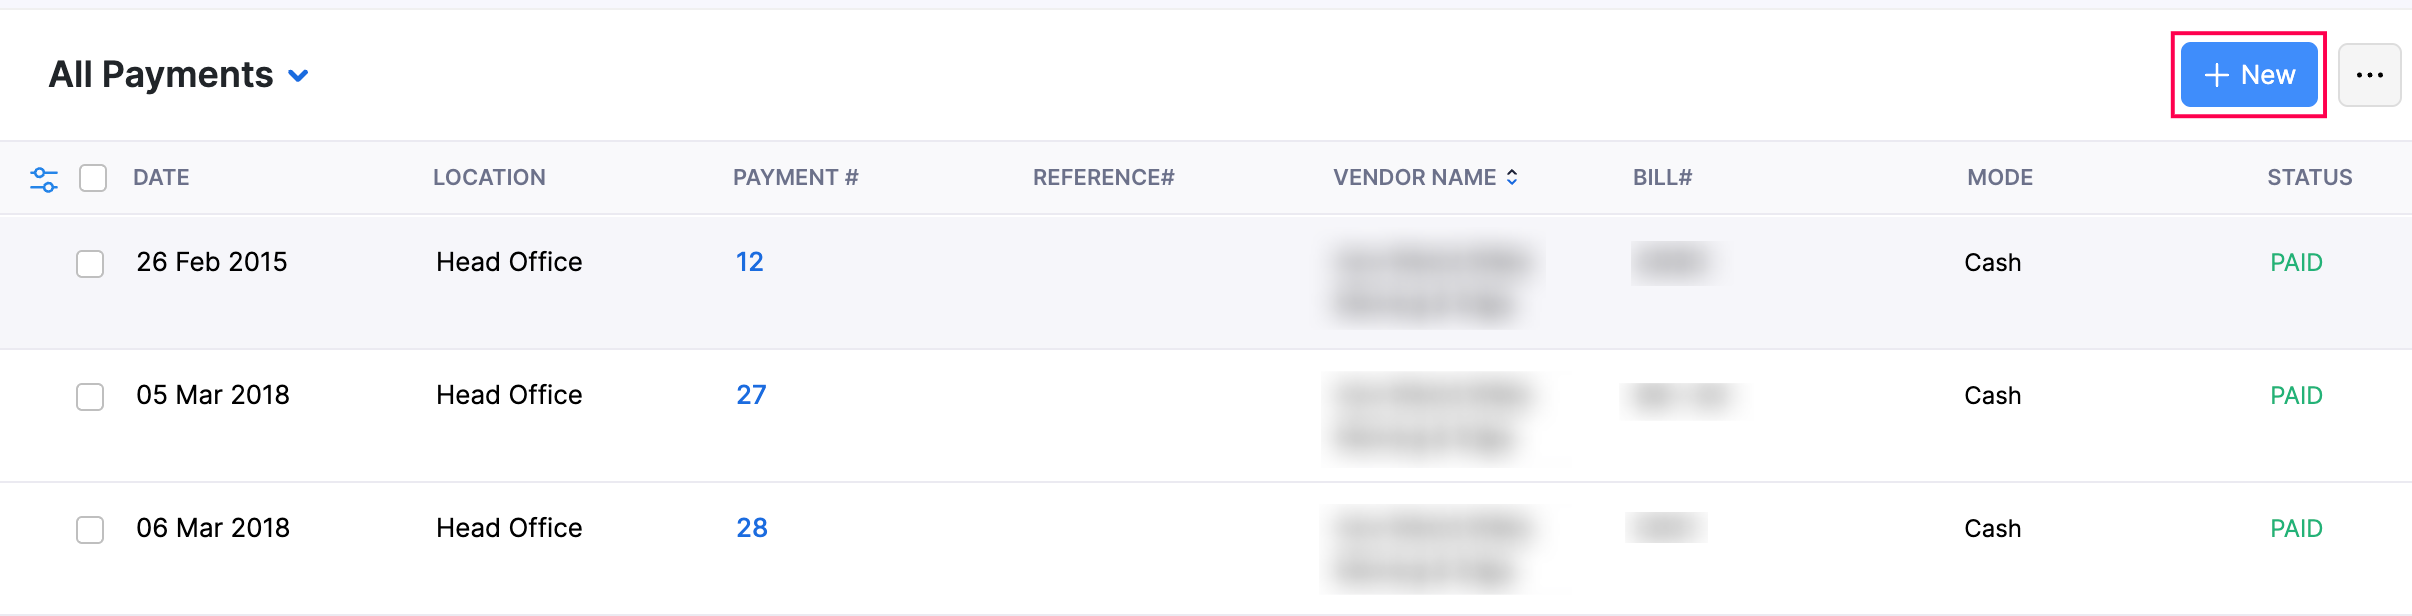
- Click + New in the top right corner.
- Select the Vendor Advance tab at the top, and complete the following fields:

- Vendor Name: Choose the vendor for the advance payment.
- Destination of Supply: Select the supply location to determine GST applicability.
- Branch: If you’ve enabled Branches, choose the branch from the dropdown.
- Location: If you’ve enabled Locations, choose the location from the dropdown.
- Payment#: If you’ve enabled auto-generation of payment numbers, this field will be filled in automatically. To enter it manually:
- Click the Settings icon to the right of the field.
- In the Configure Payment Number Preferences popup, select Add payment number manually for this payment.
- Enter a prefix and the payment number, and click Save.
- Description of Supply: Provide details of the goods or services. This appears on the payment voucher.
- Payment Made: Enter the advance amount you’ve paid.
Note: If the payment is in a different currency, the exchange rate appears below the Payment Made field by default. Click the Edit icon to change the rate.
- Reverse Charge: Check this box if the advance payment is subject to reverse charge. Once enabled, a Tax field will appear. Choose the applicable tax from the dropdown based on the reverse charge amount.
- TDS: Select the reason and percentage of tax deducted at source (if applicable). To edit the amount, click the Edit icon next to it.
- Payment Date: Choose the date for the payment.
- Payment Mode: Select the payment mode. Click + Configure Payment Mode from the dropdown to add a new payment mode.
- Paid Through: Choose the account used for the payment.
- Deposit To: Choose the account where the advance payment should be recorded.
- Reference#: Enter a reference number if needed.
- Notes: Add any notes if required (not visible to the vendor).
- Attachments: Click Upload File to add supporting documents.
- Click Save.
The vendor advance will now be recorded.
Apply Vendor Advance to a Bill
After creating a vendor advance, you can apply it to your vendor’s bills. To do this:
- Go to Purchases on the left sidebar, and select Payments Made.
- Choose the vendor advance you want to apply to a bill.
Note: If the vendor advance is saved as a draft, you need to mark it as paid. Click Mark as Paid to record the payment and apply it to the bills.
- In the Payment Details page, click Apply to Bills at the top.

- Next, in the Apply Credits from Vendor Advance popup, you’ll see all Open bills for the vendor. Under the CREDITS TO APPLY column, enter the amount you want to apply for each bill.

- Click Save.
The vendor advance will now be applied to the selected bill amount.
Note: If you’ve enabled reverse charge for the vendor advance, it will also be applied to the vendor’s bill.
Record a Refund for a Vendor Advance
If the vendor refunds part or all of the vendor advance, you can record it in Zoho Books. Here’s how:
- Go to Purchases on the left sidebar, and select Payments Made.
- Choose the advance payment you want to create a refund for.
- On the Payment Details page, click the More icon at the top and select Refund from the dropdown.
- In the Refund page, complete the following fields:
- Amount: Auto-filled with the full balance amount. Update the amount if you’re recording a partial refund.
- Refunded On: The current date appears by default. Change it if required.
- Payment Mode: Select an existing payment mode. Click + Configure Payment Mode to add a new one.
- Exchange Rate: If in a different currency, the rate is applied automatically. Click the Edit icon to adjust it manually.
- Description of Supply: Mention the details of the goods or services involved. This appears on the payment voucher.
- To Account: Choose the account to record the refund.
- Description: Add any additional notes if required.
- Click Save.

The refund will now be recorded.
 Yes
No
Yes
No
Thank you for your feedback!