
Custom Links
Custom links are external links that you can configure in Zoho Expense, which when clicked, will take you to external websites or resources in a new tab. You can also add placeholders in these links to redirect users to a specific record or page.
Scenario: Patricia uses an external software to refer the official details of her submitters for verification purposes in a different application. So every time she receives a report for approval, she opens the external application and navigates her way to look up the official details.
To simplify this, she creates a custom link in the Details Page Menu of the Reports module. By clicking this button on the Reports page, Patricia quickly opens the external link with the employee’s information.
Create Custom Links
Here’s how you can create a custom link:
- Click Admin View on the left sidebar.
- Go to Settings on the left sidebar.
(OR)
Click Settings in the top right corner of the page. - Select Modules under Customization.
- Select the module for which you want to create a custom link.
- Go to the Links And Buttons tab.
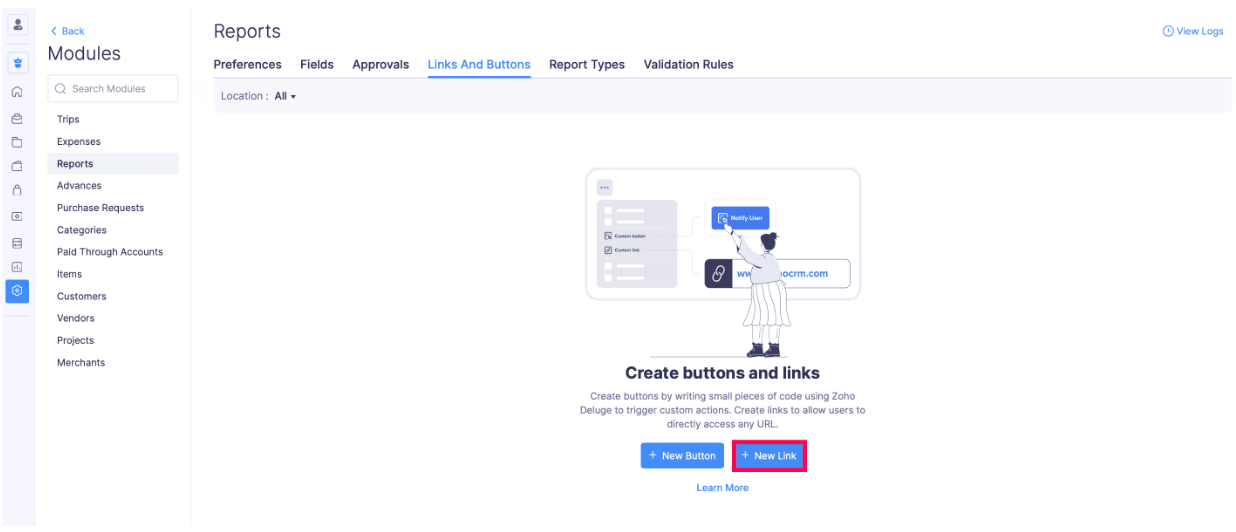
- Click + New Link.
- Enter a Name for the custom link.
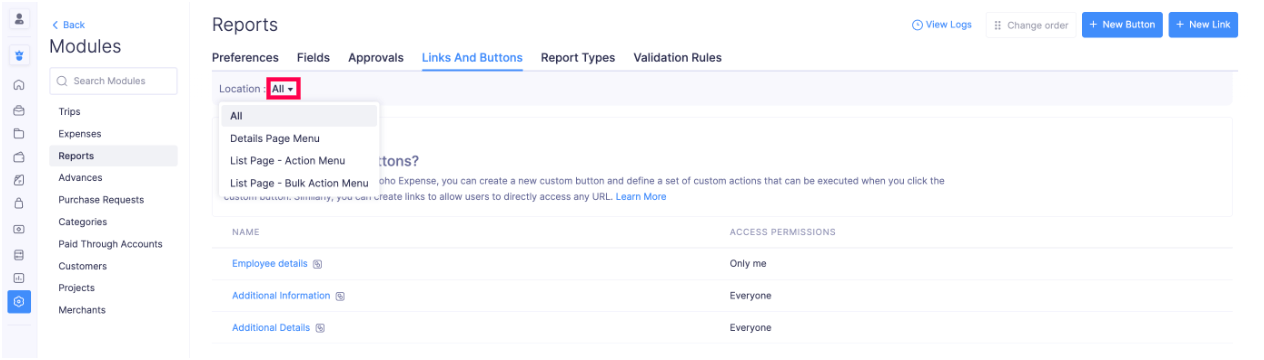
- Select the Location where you want to display this custom link.
Details Page Menu: Places the link on the Details page of the module.
List Page - Action Menu: Places the link on the List page of the module.
- Enter the URL of the external website and insert Placeholders if you want to look up for specific details in the page.
- Select who can view and use the custom link in the Share With field. You can choose from the following options:
Only me - Only admins can view and use the custom link.
Only selected users & roles - Only admins and selected users can view and use the custom link.
Everyone - All users of the organisation can view and use the custom link.
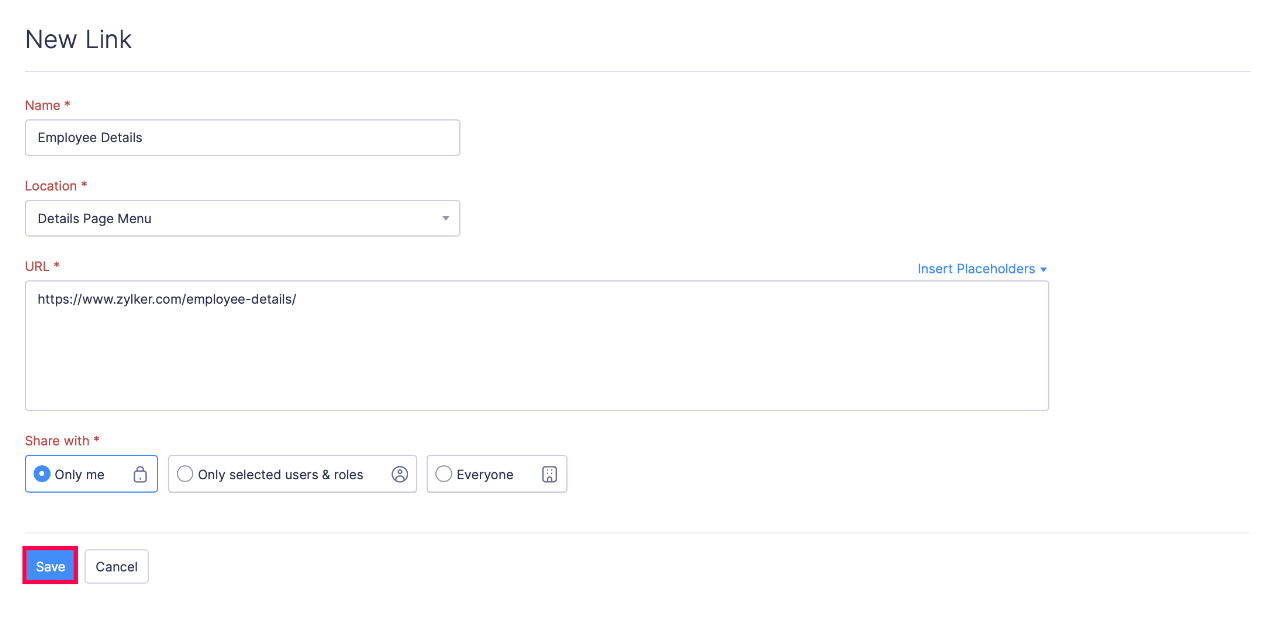
- Click Save to save the custom link.
Execute Custom Links
After creating the custom link, you can execute or test them. Here’s how:
- Click My View on the left sidebar.
- Click the module for which you have created the custom link.
- Select a transaction or record.
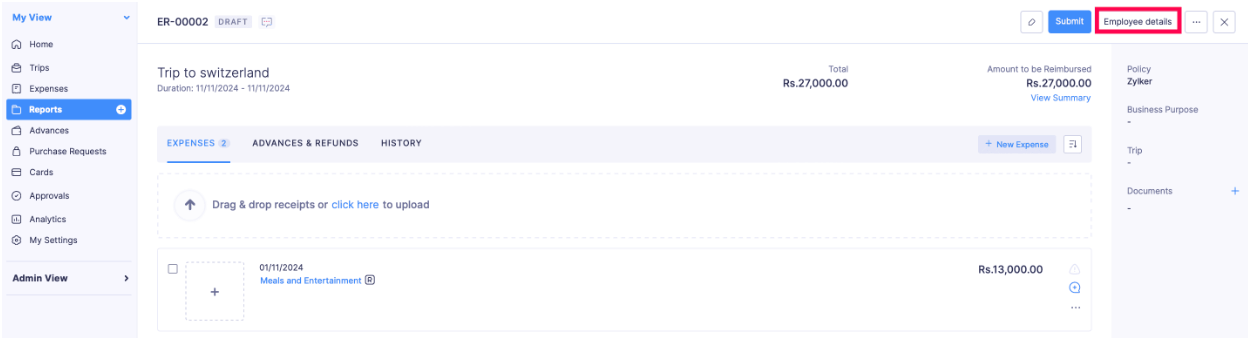
- Click the custom link you created.
Once you click the custom link, the link you had mentioned while creating your custom link will open in a new tab.
Edit Custom Links
You can make changes to a custom link you’ve created. Here’s how:
- Click Admin View on the left sidebar.
- Go to Settings on the left sidebar.
(OR)
Click Settings in the top right corner of the page. - Select Modules under Customization.
- Select the module.
- Go to the Links And Buttons tab.
- Hover over the custom link you want to edit and click the More icon.
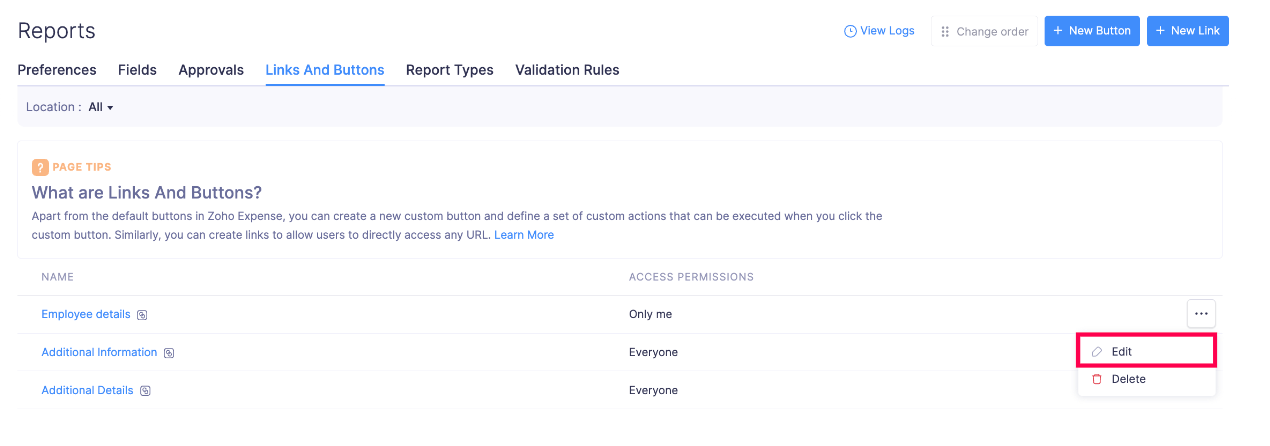
- Click Edit.
- Make the necessary changes and click Save.
Delete Custom Links
Warning: Once you delete a custom link, you will not be able to retrieve it.
You can delete the custom link you have created. Here’s how:
- Click Admin View on the left sidebar.
- Go to Settings on the left sidebar.
(OR)
Click Settings in the top right corner of the page. - Select Modules under Customization.
- Select the module.
- Go to the Links And Buttons tab.
- Hover over the custom link you want to delete and click the More icon.
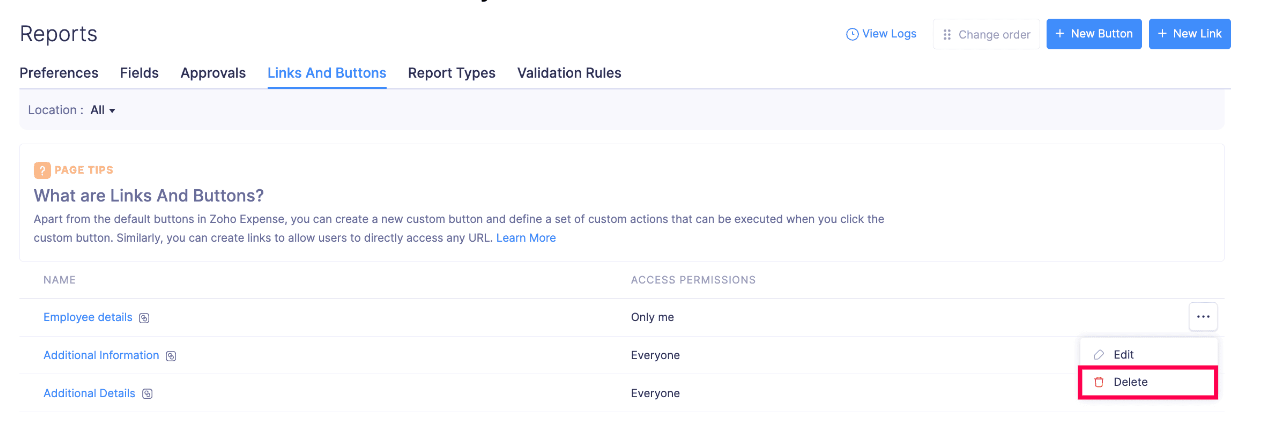
- Click Delete.
- Confirm your action by clicking Delete again in the Delete Link pop-up.
Reorder Custom Links
This feature allows you to change the sequence of custom links listed on the Details or List pages of a module.
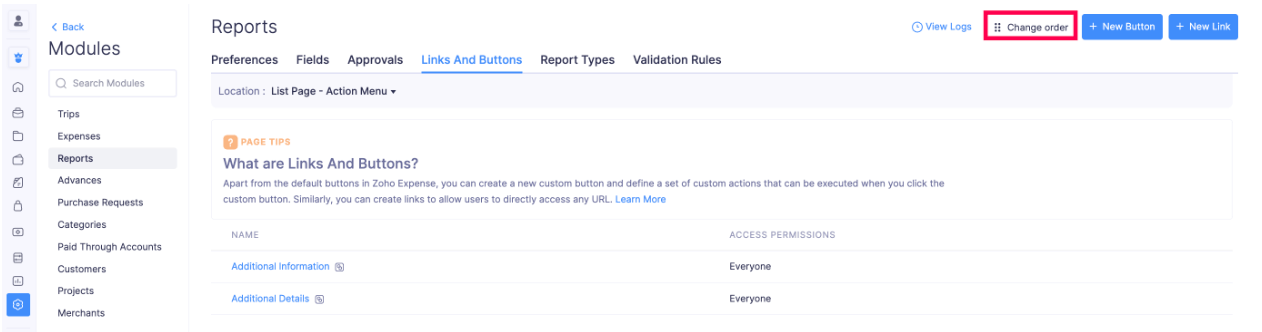
Prerequisite: You cannot reorder custom links when the Location is set to All. To reorder custom links, you have to select another location. For example, Details Page Menu.
Here’s how you can reorder the custom links created:
- Click Admin View on the left sidebar.
- Go to Settings on the left sidebar.
(OR)
Click Settings in the top right corner of the page. - Select Modules under Customization.
- Select the module.
- Go to the Links And Buttons tab.
- Change the Location from All to any of the other locations.
- Click Change Order in the top right corner of the page.
- Drag and drop the custom links to change their order.
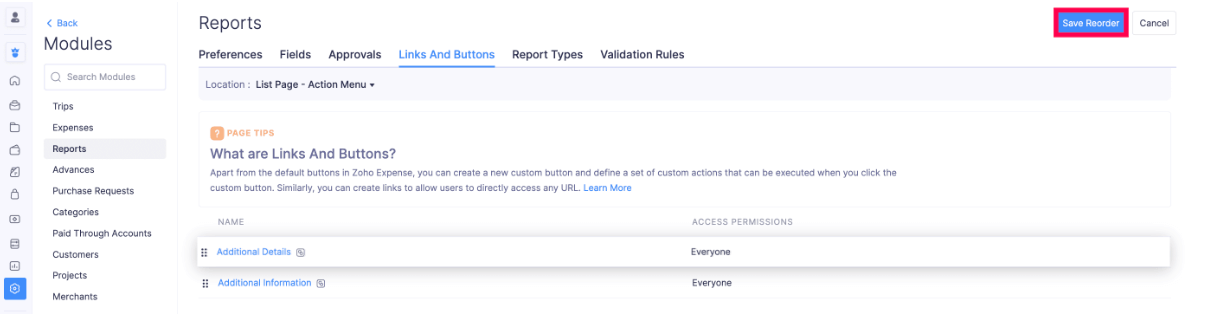
- Click Save Reorder after you have reordered the custom links.
Note: The first link in the order will be shown separately, and other links will be placed under the More icon. This allows users to make sure the priority action link is positioned as a distinct button.
The custom links will be reordered based on your preference.
 Yes
No
Yes
No
Thank you for your feedback!