
Customer Portal Preferences
Zoho Inventory provides a list of customizations that you can make to the Customer Portal as required by your business. To configure your Customer Portal preferences:
- Click the Gear icon in the top right corner.
- Go to the Organization Settings section.
- Navigate to Setup and Configurations and click Customer Portal.
Here, you can customize the following options:
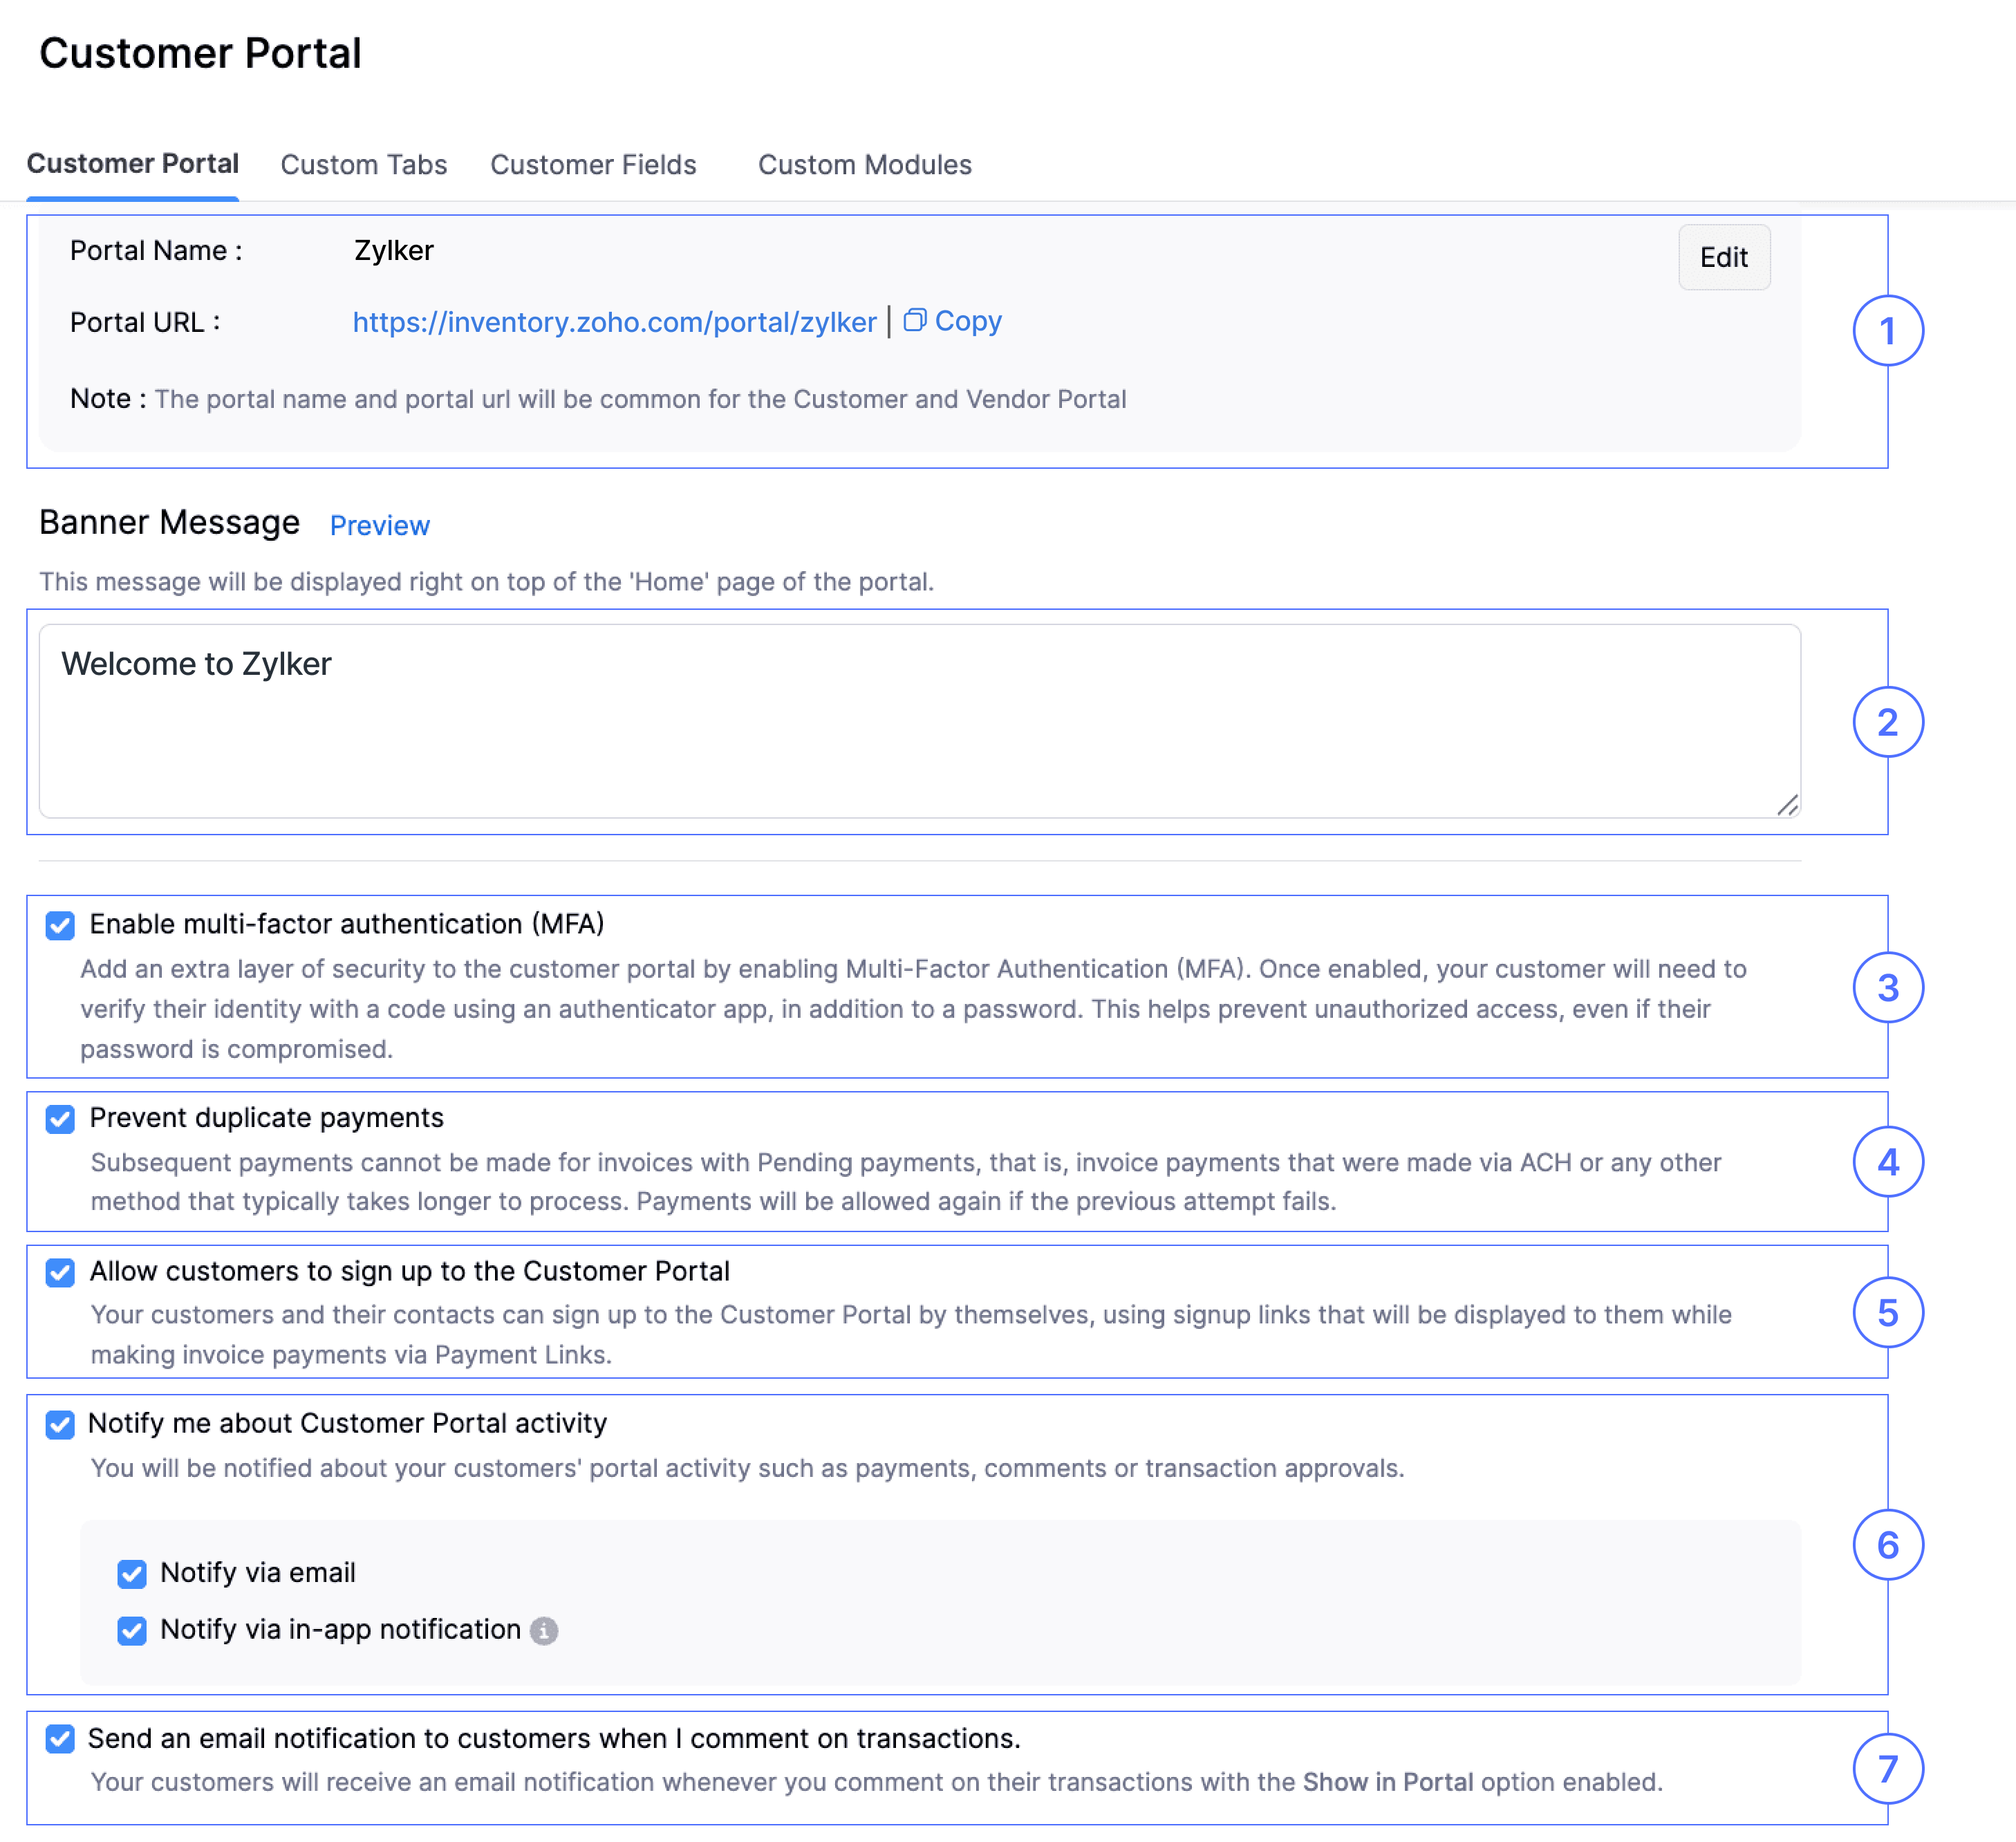
1. Portal Name
This is a unique identifier for your organization used in the Customer Portal URL. A default name is generated automatically, but you can modify it by selecting Edit. You can also copy the portal URL by clicking the Copy option
2. Banner Message
Enter a message to display on the Customer Portal homepage. You can also click Preview to see how it looks in the portal.
3. Enable multi-factor authentication (MFA)
Enable Multi-Factor Authentication (MFA) to enhance account security and protect them from unauthorised access. Your customers and vendors can configure MFA by scanning a QR code using an authenticator app, such as OneAuth or Google Authenticator. After configuration, they can use the Time-based One-Time Password (TOTP) received in their authenticator app and log in to their portal.
4. Prevent duplicate payments
Enable this to prevent duplicate payments by blocking additional payments for invoices with pending payments (like ACH). Payments will be allowed again if the previous one fails.
5. Allow customers to sign up to the Customer Portal
By enabling this, your customers can sign up to the portal using the links shown during invoice payments
6. Notify me about Customer Portal activity
By enabling this, you get notified about customer portal activities like payments, comments, or approvals via email or in-app notifications.
7. Send an email notification to customers when I comment on transactions.
If you enable this, your customers will get an email when you leave a comment on their transaction (if it’s visible in the portal).
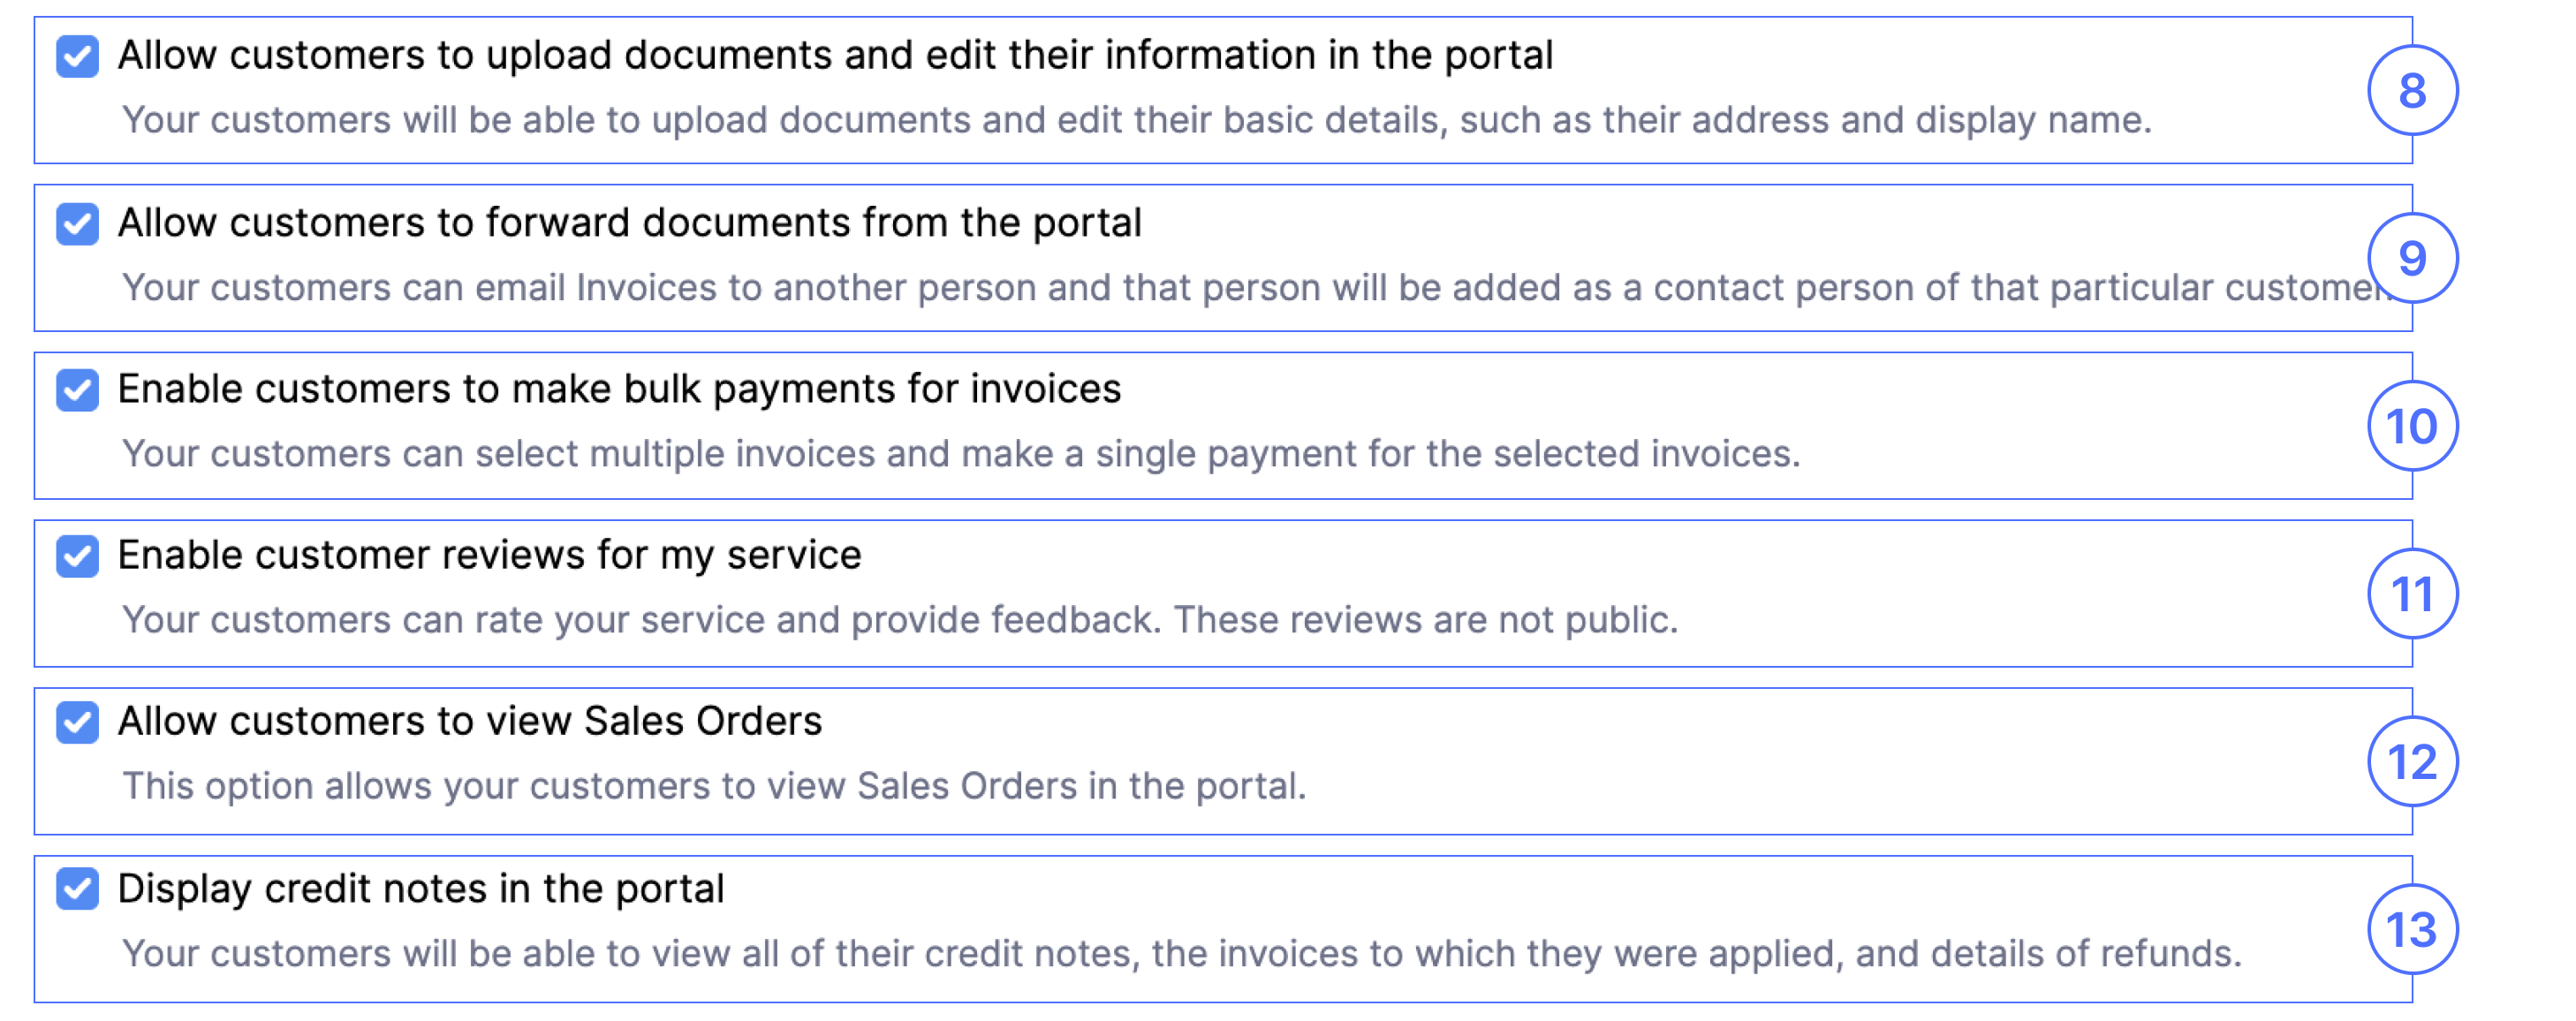
8. Allow customers to upload documents and edit their information in the portal
If you want your customers to upload relevant documents and edit their personal information, you can enable this.
9. Allow customers to forward documents from the portal
By enabling this, your customers can forward invoices via email. The recipient will be added as a contact under the same customer.
10. Enable customers to make bulk payments for invoices
Enable this option to allow your customers to pay multiple invoices at once with a single payment.
11. Enable customer reviews for my service
By enabling this, your customers can rate your service in the portal.
12. Allow customers to view Sales Orders
By enabling this, your customers can view their Sales order from the portal.
13. Display credit notes in the portal
If you enable this, your customer can view their credit notes in the portal.
Secure Public Links
14. Enable identity verification to view invoices and estimates
When you use the Send or Share via Public link options for invoices or retainer invoices to send PDFs through email, WhatsApp, or SMS, anyone with the link can access them. By enabling this option, customers will be able to view, print, or download the PDF only after verifying their email address or mobile number. This verification step helps protect your customers’ Personally Identifiable Information (PII) in the PDF and ensures that only the intended recipient can access it. Without verification, your customers will still be able to make payments for invoices and retainer invoices.

Note: This verification applies only when sharing documents through public links, not when viewing them in the Portal.
15. Allow customers to view subscriptions
By enabling this option, your customers can view their subscriptions and filter the invoices with respect to subscriptions.
Note: This option will be available only after integrating with Zoho Billing.
- Click Save once you’re done.