Zoho Inventory - Zoho Sign Integration
Digital signatures have come to be a great alternative to conventional signatures with pen and paper–especially for an online order management software like Zoho Inventory. Digitally signing a document can add a layer of authenticity as well as prevent unauthorized changes to them.
Zoho Sign makes the process of digitally signing documents as simple as it can get. Here’s what the integration with Zoho Inventory can do:
- You and your users will be able to sign invoices digitally in a single click before they are sent to your customers.
- You can restrict invoices from being sent to your customers unless they have been signed.
Set up Integration
To set up the integration with Zoho Sign:
- Go to Settings > Integrations > Zoho Apps.
- Click the Connect button next to Zoho Sign.
- Click Connect Now on the next screen.
Insight: If you do not have an organization in Zoho Sign, the Connect Now button will be replaced with a link to create a Zoho Sign organization.

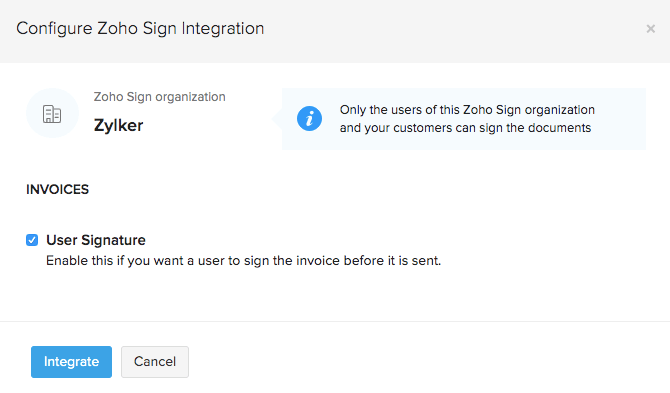
Configure the documents for which you require digital signatures.
- User Signature for Invoices: Enable this option if you want to restrict invoices from being sent unless they have been signed.
Click Integrate.

Now, the integration has been set up and you’re all set to digitally sign documents in Zoho Inventory.
Pro Tip: You will be able to modify these options after setting up the integration by going to Settings > Integrations > Zoho Apps. Click View Details next to Zoho Sign and then click Edit.
Sign Invoices
Only the admins and users with approval permission for invoices will have access to sign an invoice. Additionally, you will have to invite users to your Zoho Sign organization so they can configure their own signature, without which, they will not be able to sign invoices in Zoho Inventory–even if they have permission to do so.
The signature configured in Zoho Sign can be used to sign invoices in Zoho Inventory.
To do so:
- Go to the Invoices module from the left sidebar in Zoho Inventory.
- Open the invoice that you want to sign.
- Click Sign Invoice.
Insight: If you have configured multi-level approval for your sales transactions, then invoices can be signed only after they have been approved by the final approver.

If you have not enabled the signature block for your invoice, a pop-up will appear prompting you to enable the signature block on your invoice template.
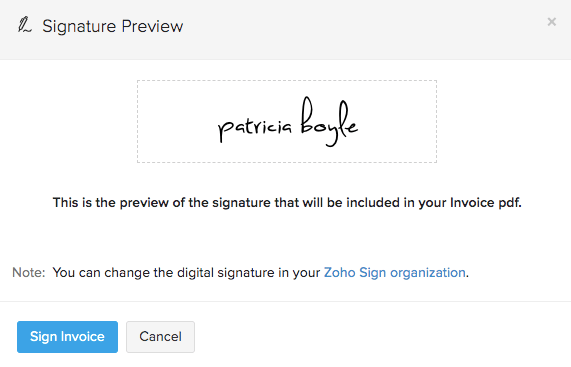
Check the preview of your signature in the pop-up that follows and click Sign Invoice.

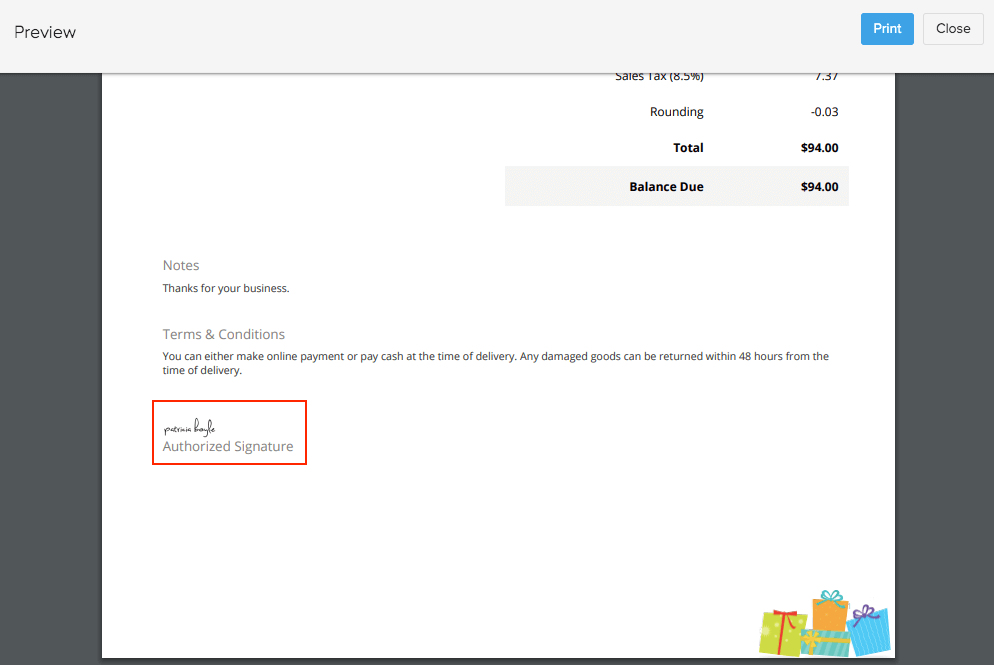
Now, the PDF copy of this invoice will be digitally signed. The signature will be placed in the ‘Signature’ section of your invoice template.
Pro Tip: If you’re using a custom template for invoices, add the %DigitalSignature% placeholder to include your signature in the invoice.

You will not be able to view the digital signature in:
- A PDF obtained by printing more than one copy of the invoice at a particular time.
- A PDF obtained by printing or downloading invoices in bulk.
- The preview shown on the invoice details screen.
Edit Signed Invoices
If you edit a signed invoice, you will not be able to perform the following actions unless you re-sign the document:
- Download a PDF
- Email the document
- Print the document
- Send Snail Mail
- Share the document’s link
- Notify via SMS
- Mark as Sent
To re-sign the document, follow the same steps as signing it.
Warning: Re-signing a document will be considered as signing a new document and will count towards the usage of your pricing plan in Zoho Sign.

Note: You can view the different PDF versions of a signed invoice from the Comments & History tab. These PDF versions will also be available in the Documents module of Zoho Sign.
Delete Integration
If you’d like to stop digitally signing documents in Zoho Inventory:
- Go to Settings > Integrations > Zoho Apps.
- Click View Details next to Zoho Sign.
- Click the Delete Integration button in the top right corner.
- Click Delete.

Now, the integration with Zoho Sign will be deleted. However, your digitally signed invoice will be available to download as PDF from the respective Comments & History section even after deleting the integration.


