Approving Advances
Approve Advances
Every approver receives a notification when an advance request is submitted to them. Approvers can scrutinize the advance request to approve them.
To approve an advance request:
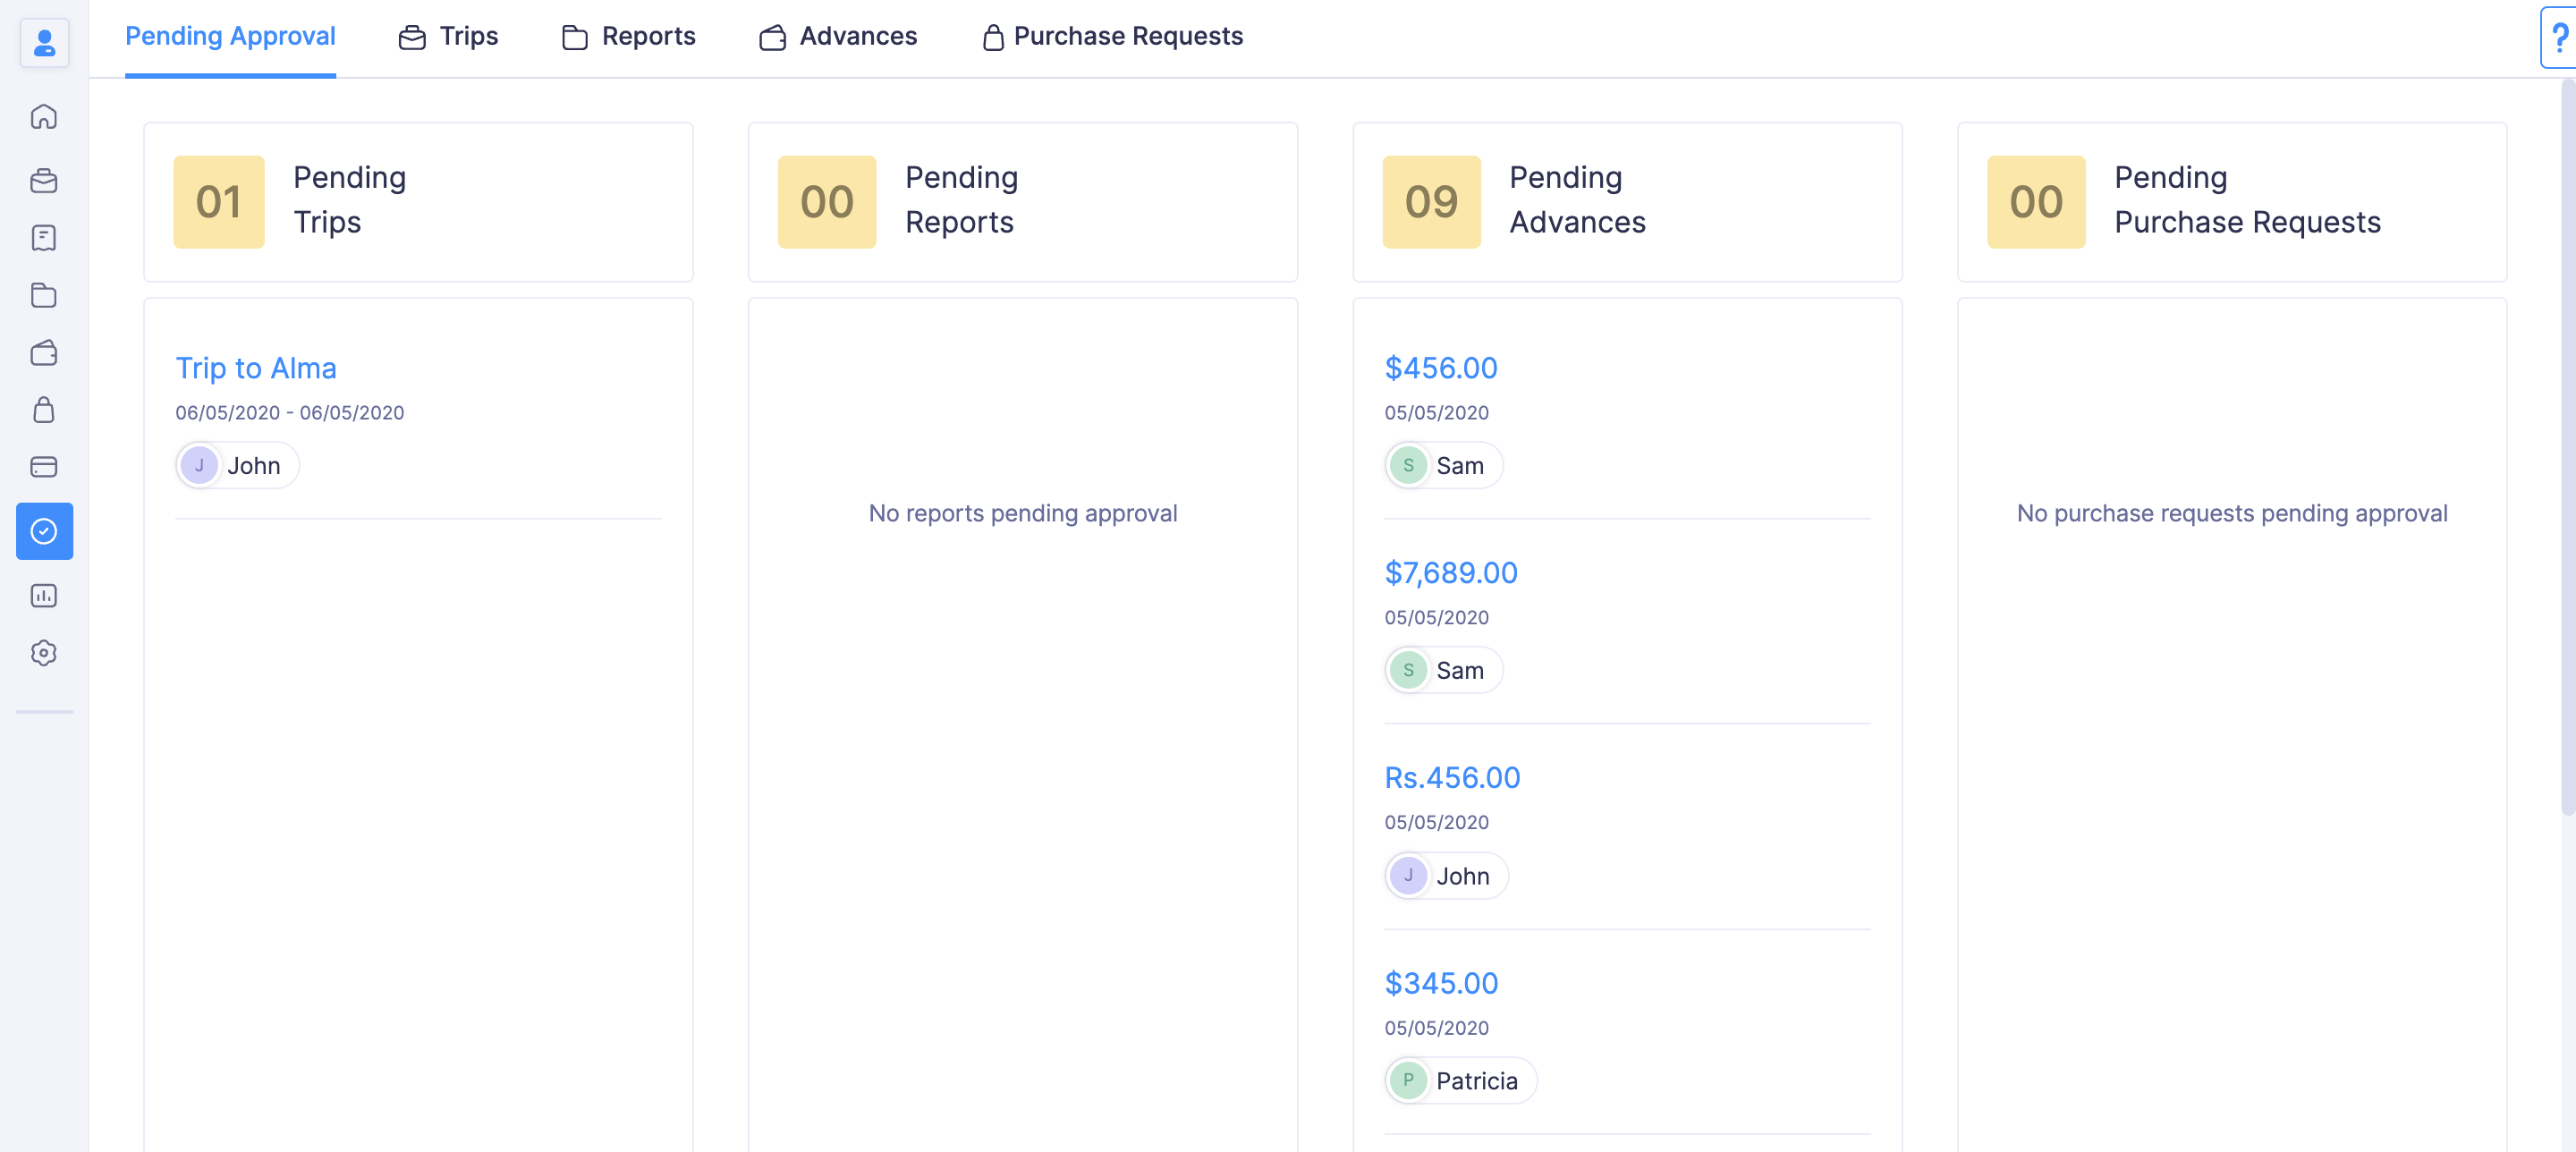
- Go to Approvals in the left sidebar. All your advances that are waiting for your approval will be listed in the Pending Approval tab.

- Navigate to the Advances tab.
- Click the request you would like to consider for approval.

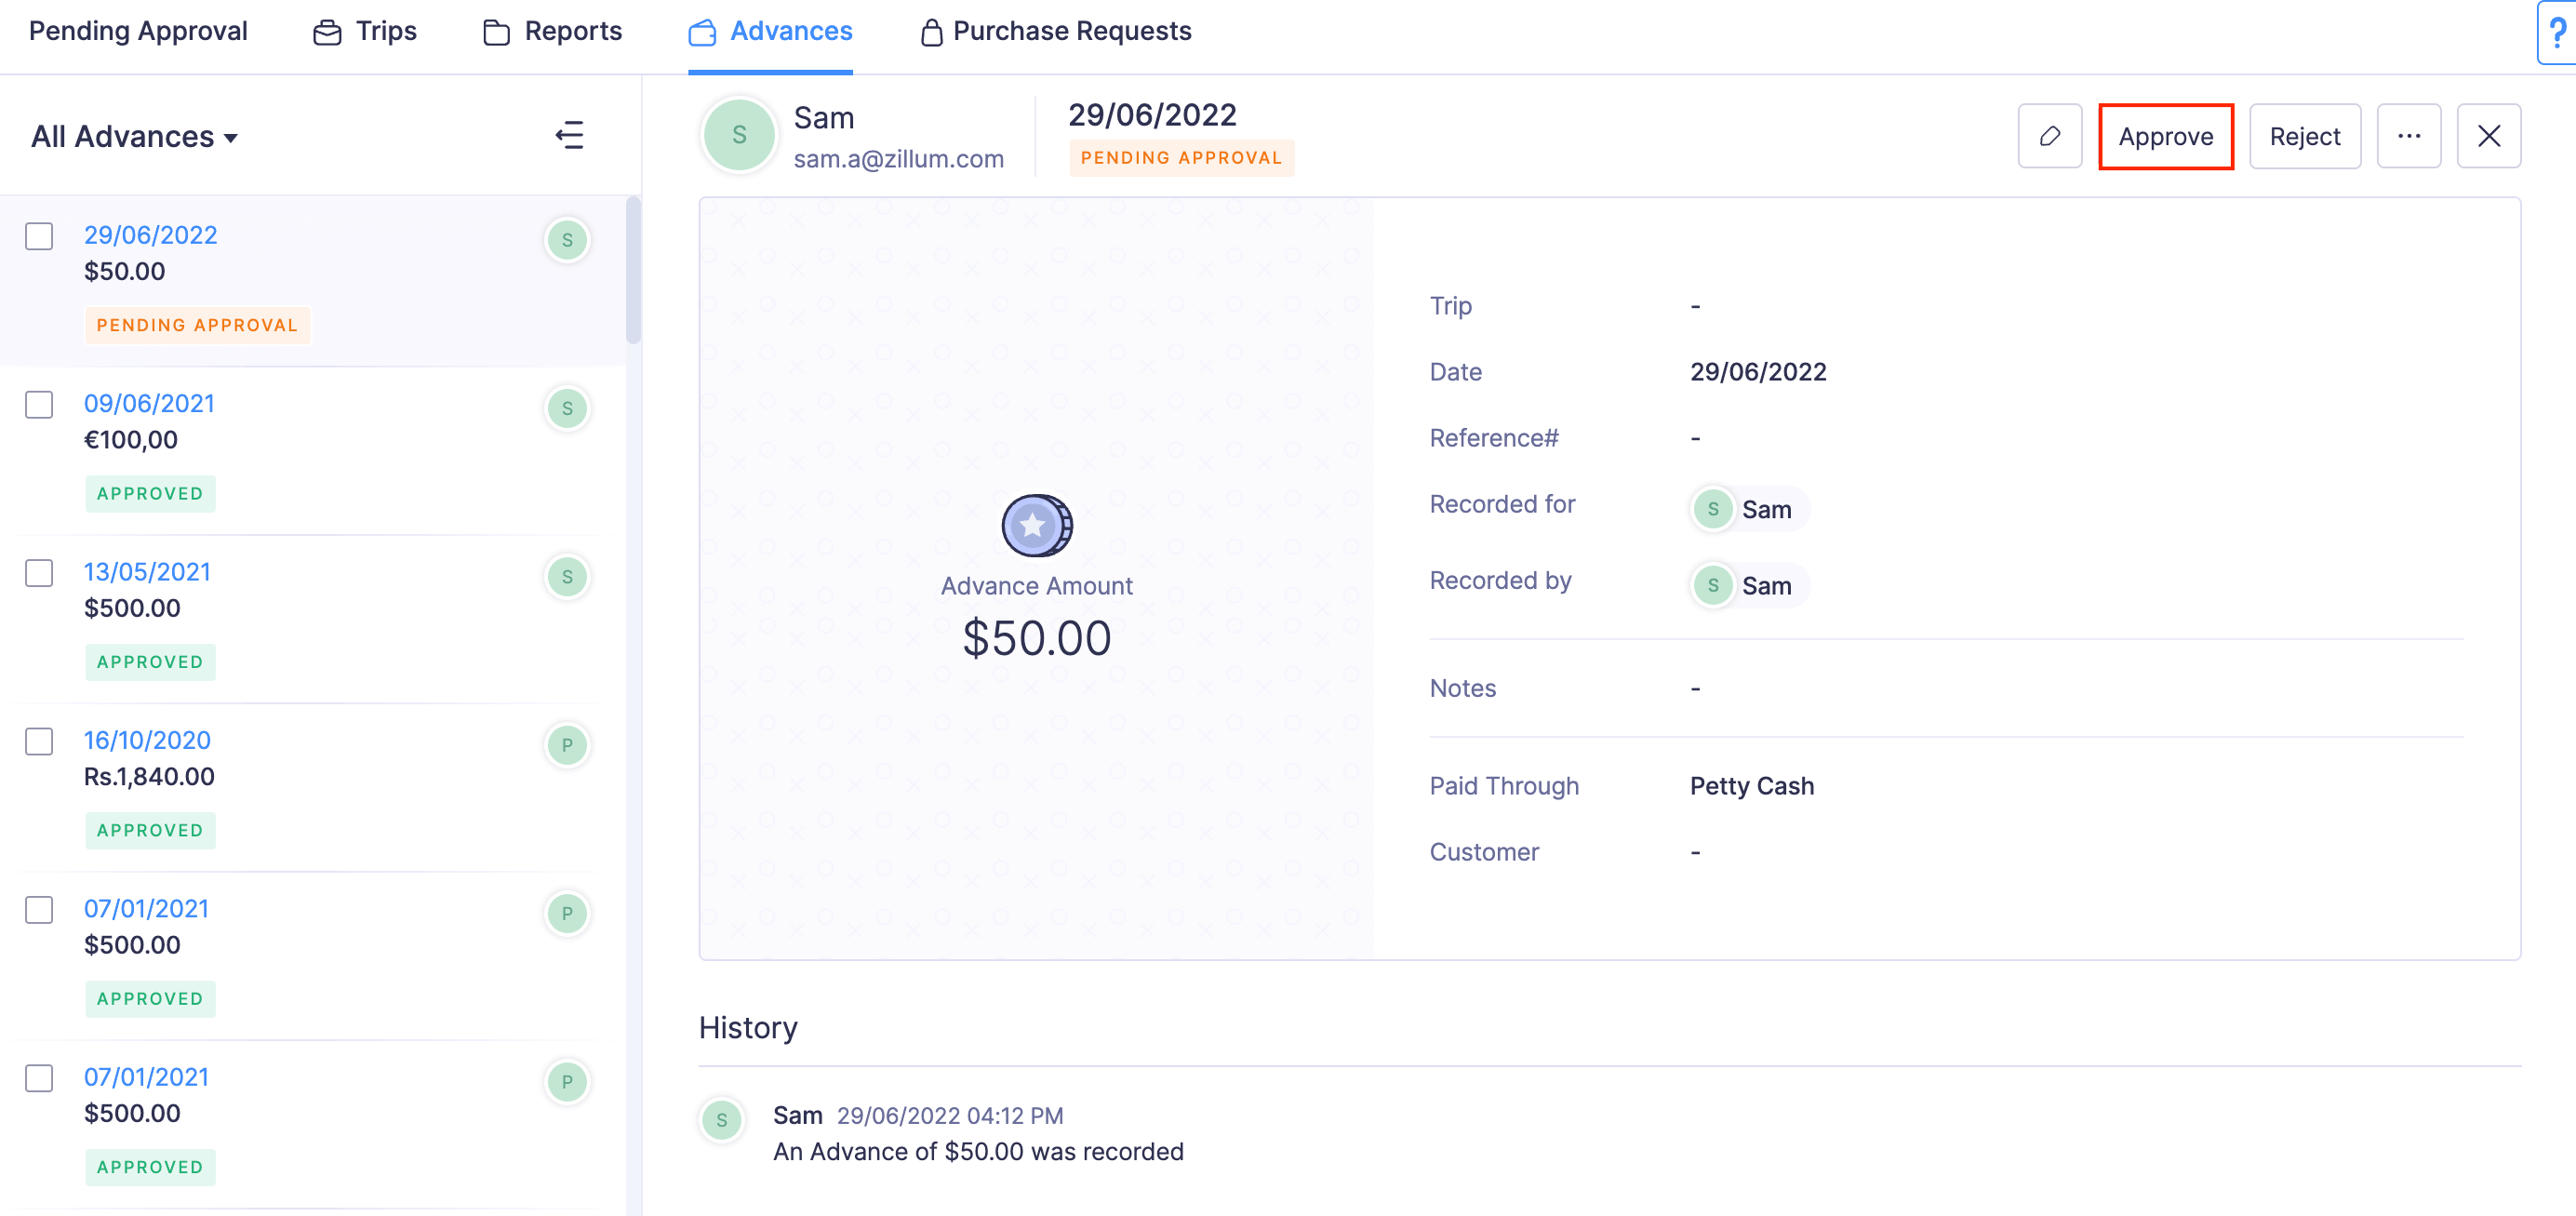
- Verify the details and click Approve at the top right side of the page.

Note: Approvers can also approve an advance that was already rejected. To approve a rejected advance: Open the advance in Rejected status > Click Approve at the top right corner > Confirm your action by clicking Approve in the pop-up.
Reject Advances
The approver can choose to reject an advance request if it doesn’t comply with the organization’s expense policy. Once the approver rejects, the submitter will receive a notification. The submitter can then resolve the violation or the comment on their advance request and re-submit it for approval.
To reject an advance request:
- Go to Approvals in the left sidebar.
- All your advances that are waiting for your approval will be listed in the Pending Approval tab.

- Navigate to the Advances tab.
- Click the advance request you would like to consider for approval.

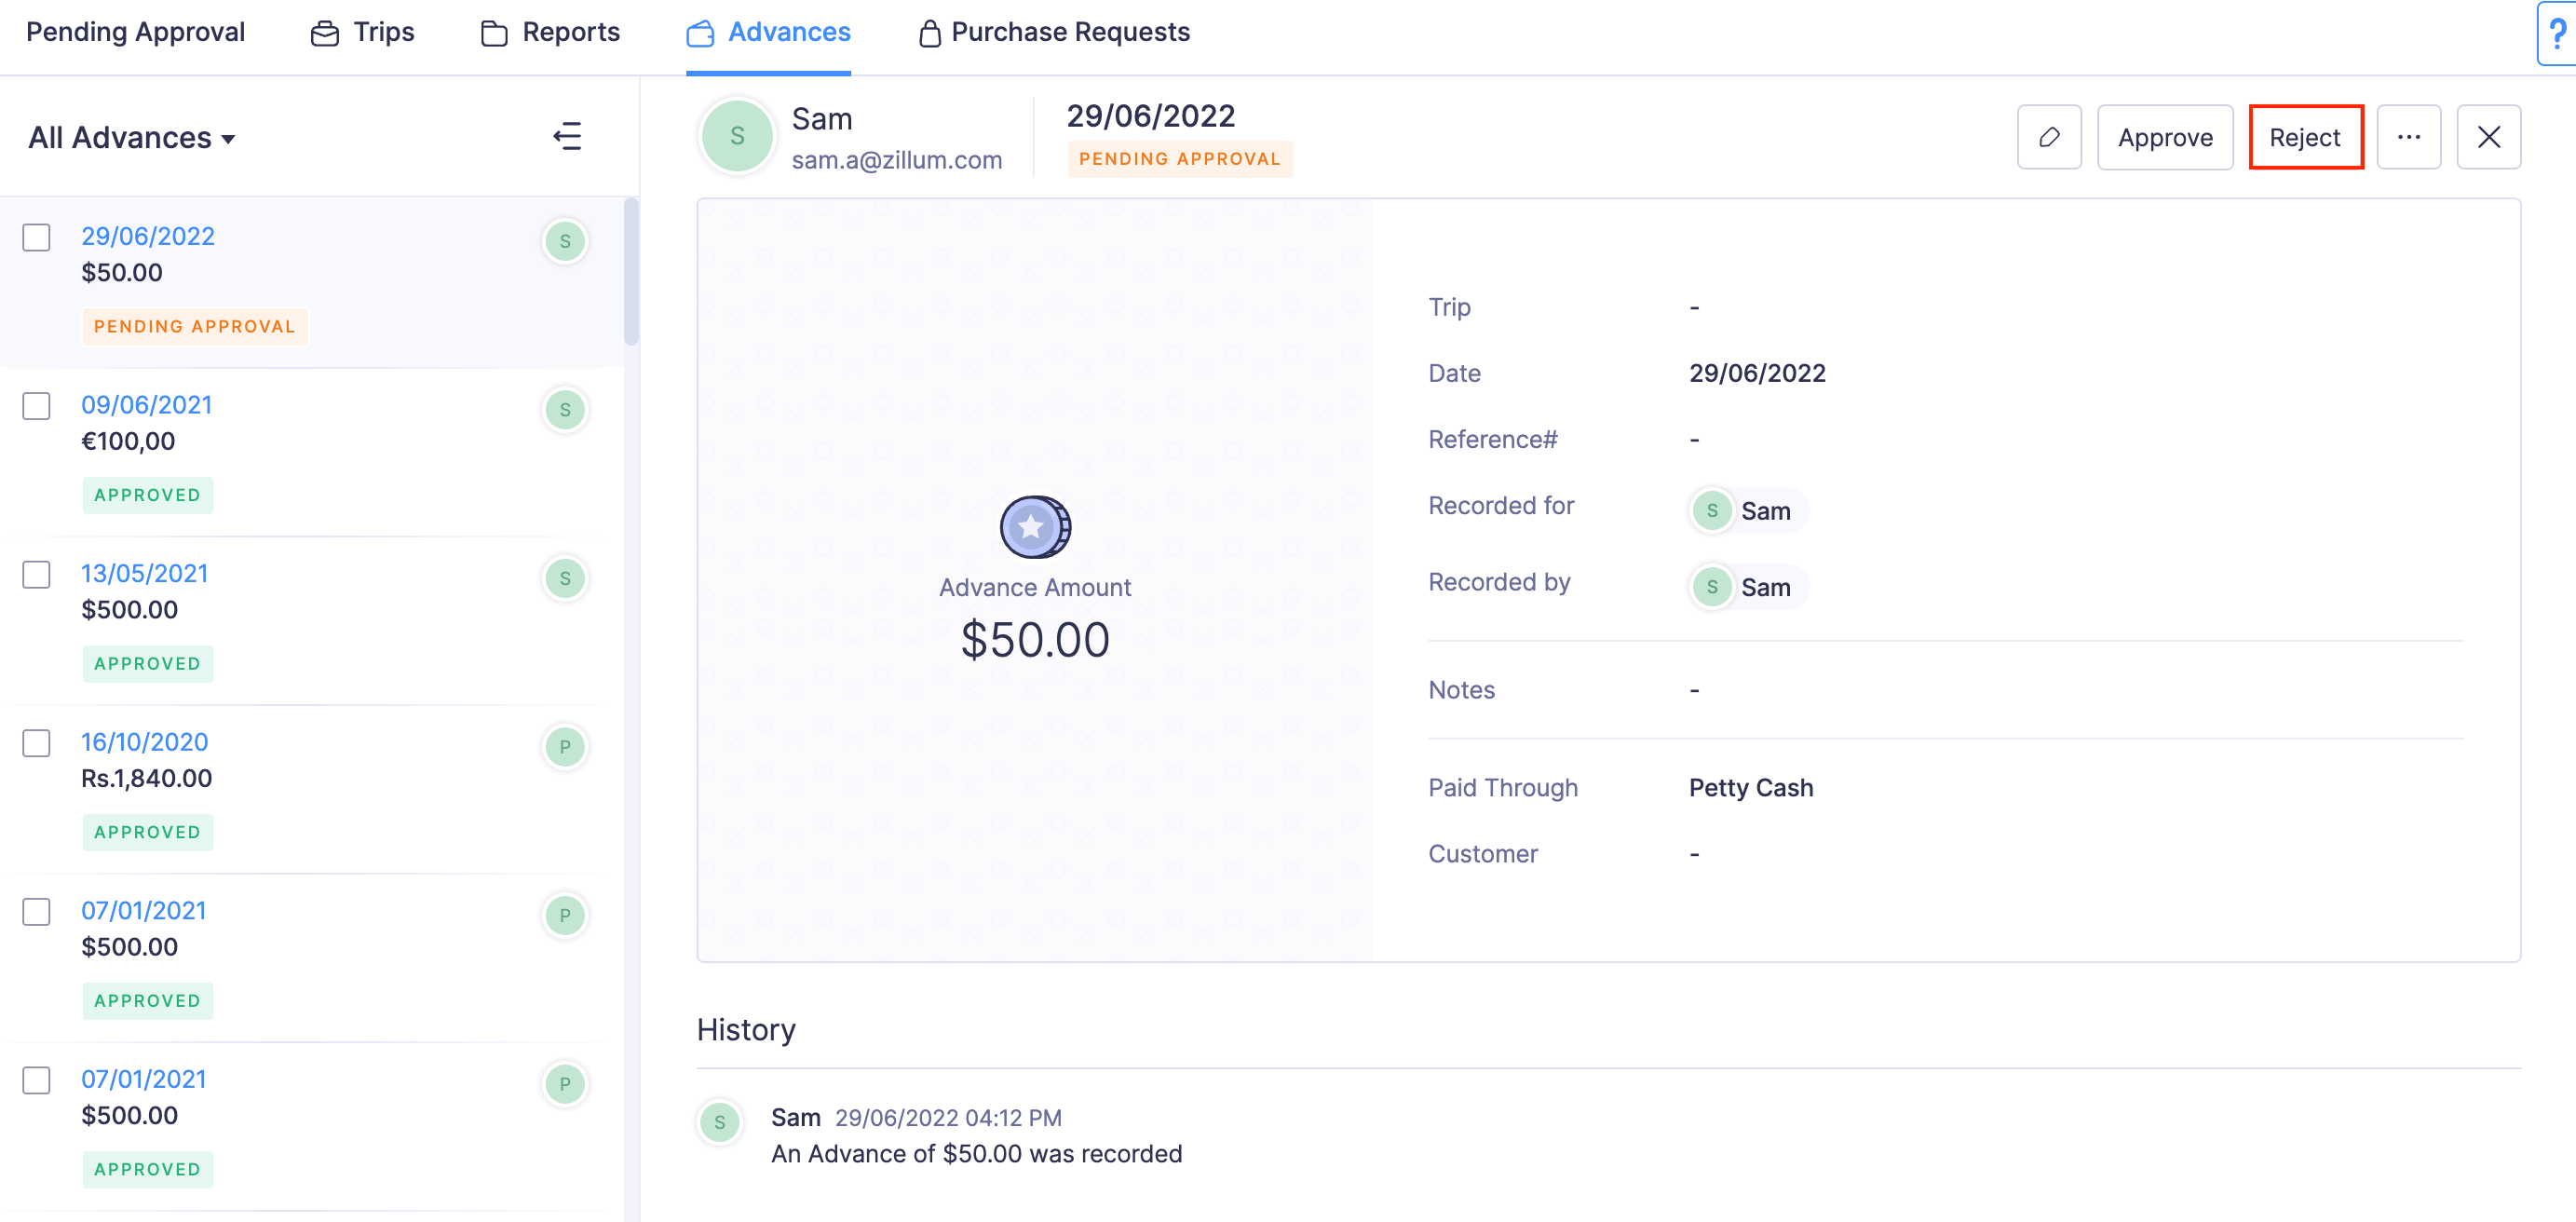
- Verify the details. Once you’ve reviewed, click Reject at the top right side of the page.

- Provide a reason for rejecting and click Confirm.
Note: Approvers can revoke the approval of an advance by rejecting it. To reject an approved advance: Open the advance in Approved status > Click Reject at the top right corner > Specify a reason for rejecting the advance and click Confirm in the pop-up.
Update the Submitted Advances
You can edit the advances that are submitted to you for approval.
To edit:
- Go to Approvals on the left sidebar.
- Navigate to Advances tab.

- Click the advance you want to edit.
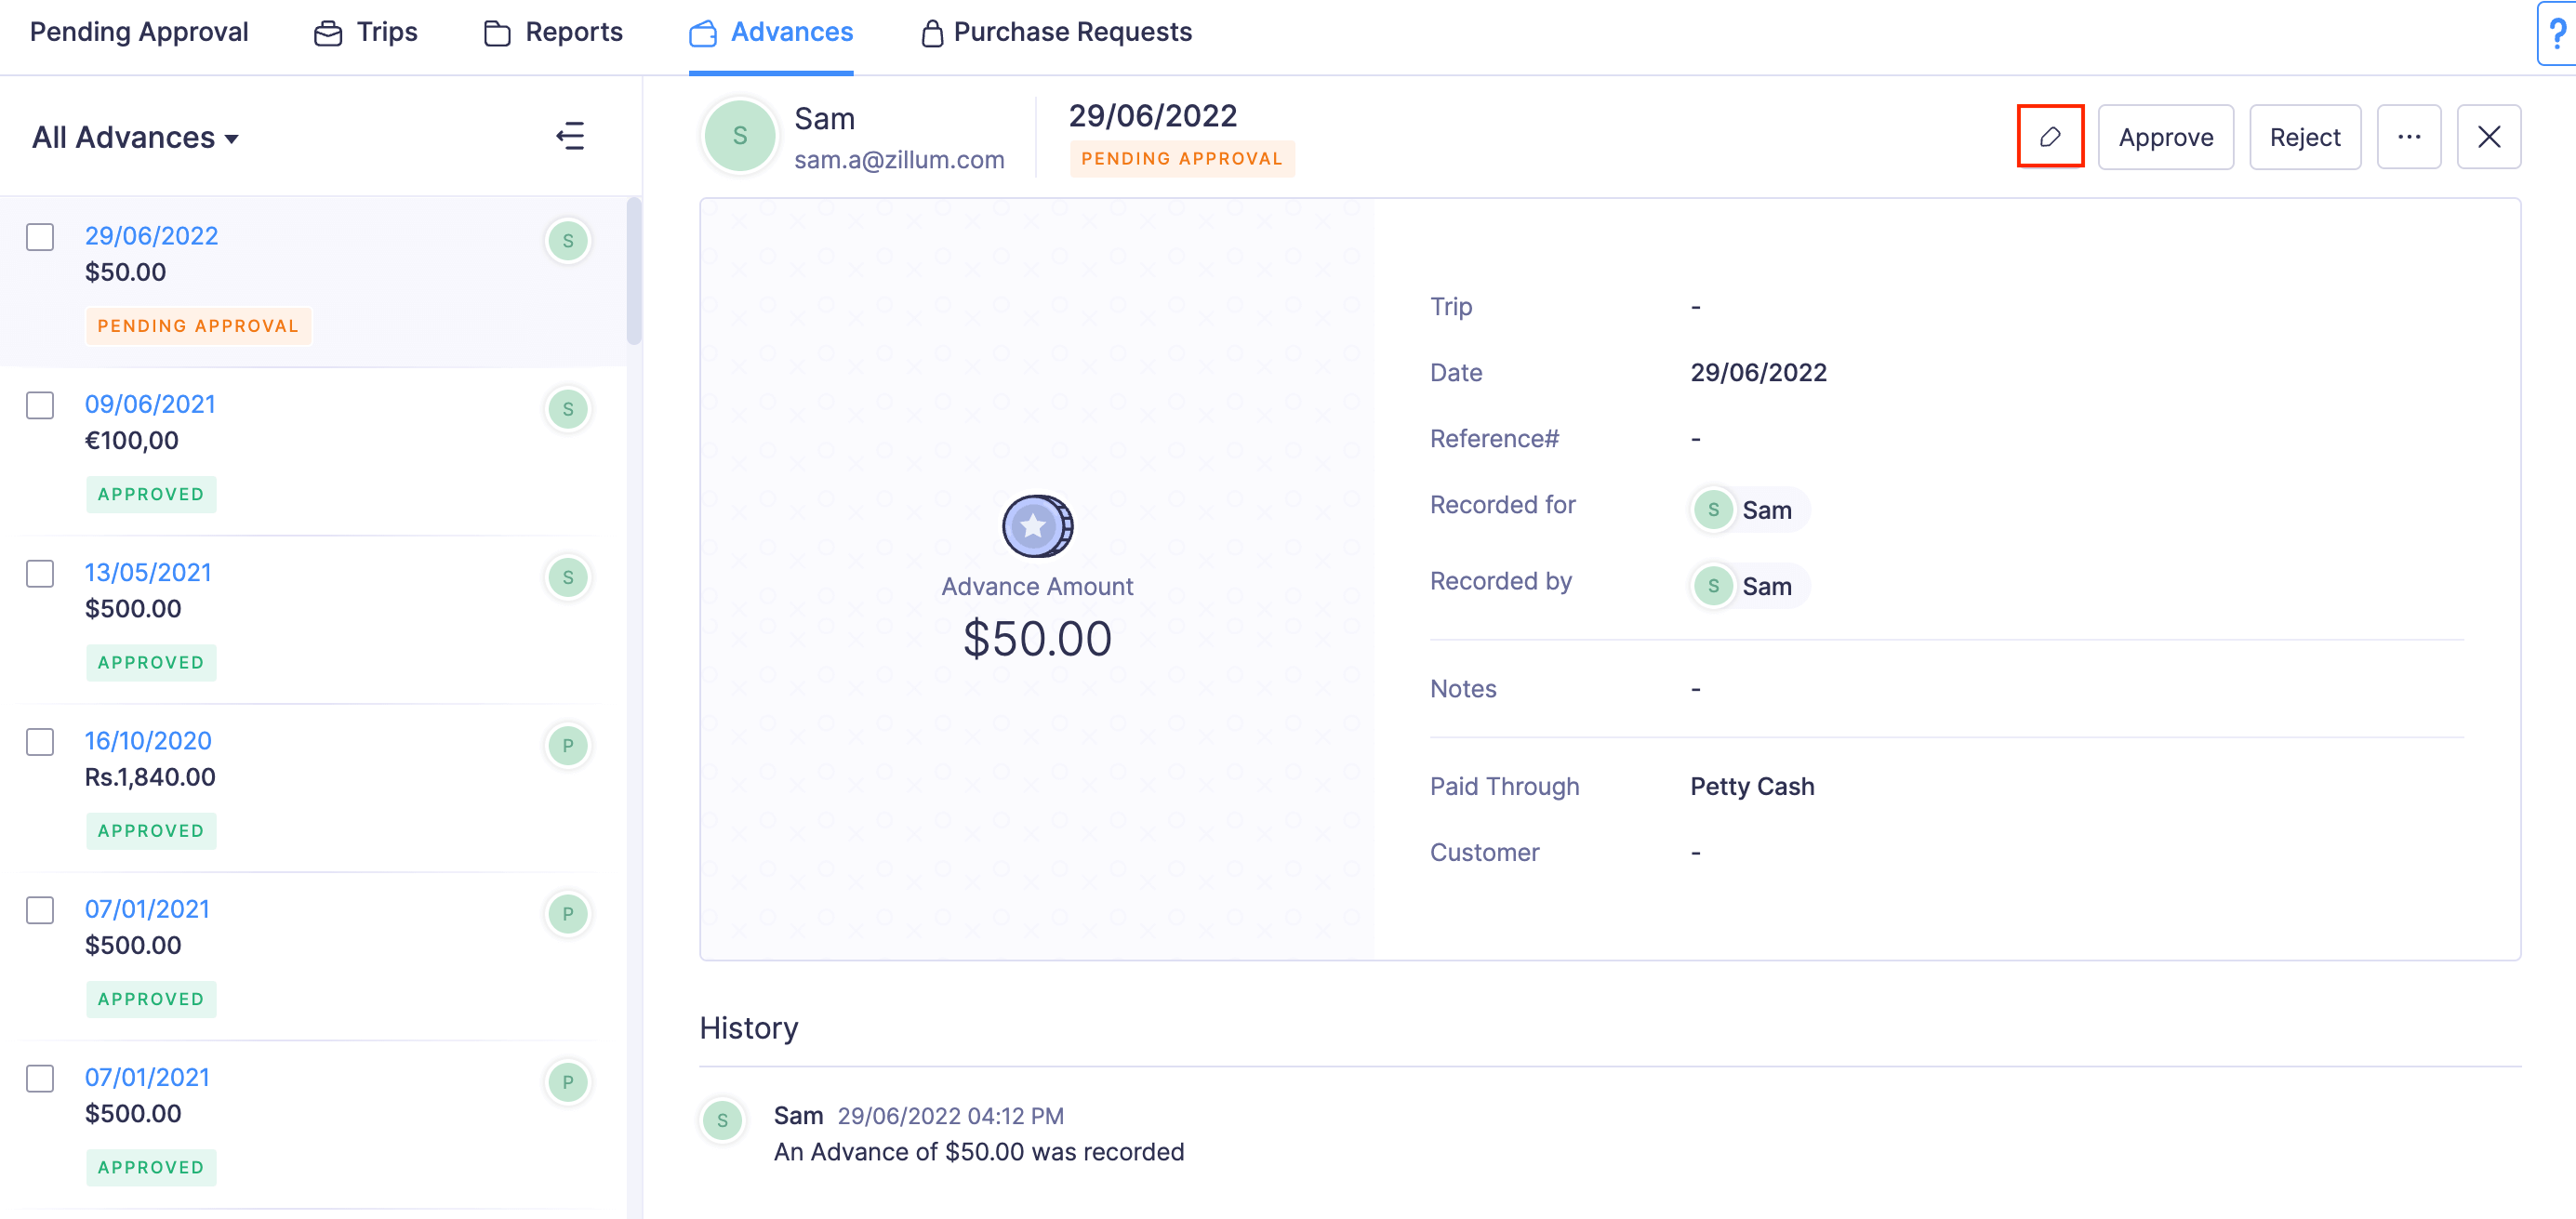
- Click the Edit icon on the top right side of the page.

- Make the necessary changes and click Save.


 Yes
Yes