Customers
Customers are individuals or businesses who buy goods or services from you. You can add these customers to Zoho Expense and manage them. Also, you can bill customers when your employees incur expenses on their behalf, by marking the expenses as billable.
Add a New Customer
- Click Admin View.
- Go to Settings on the left sidebar.
(OR)
Click the Gear icon at the top right side.
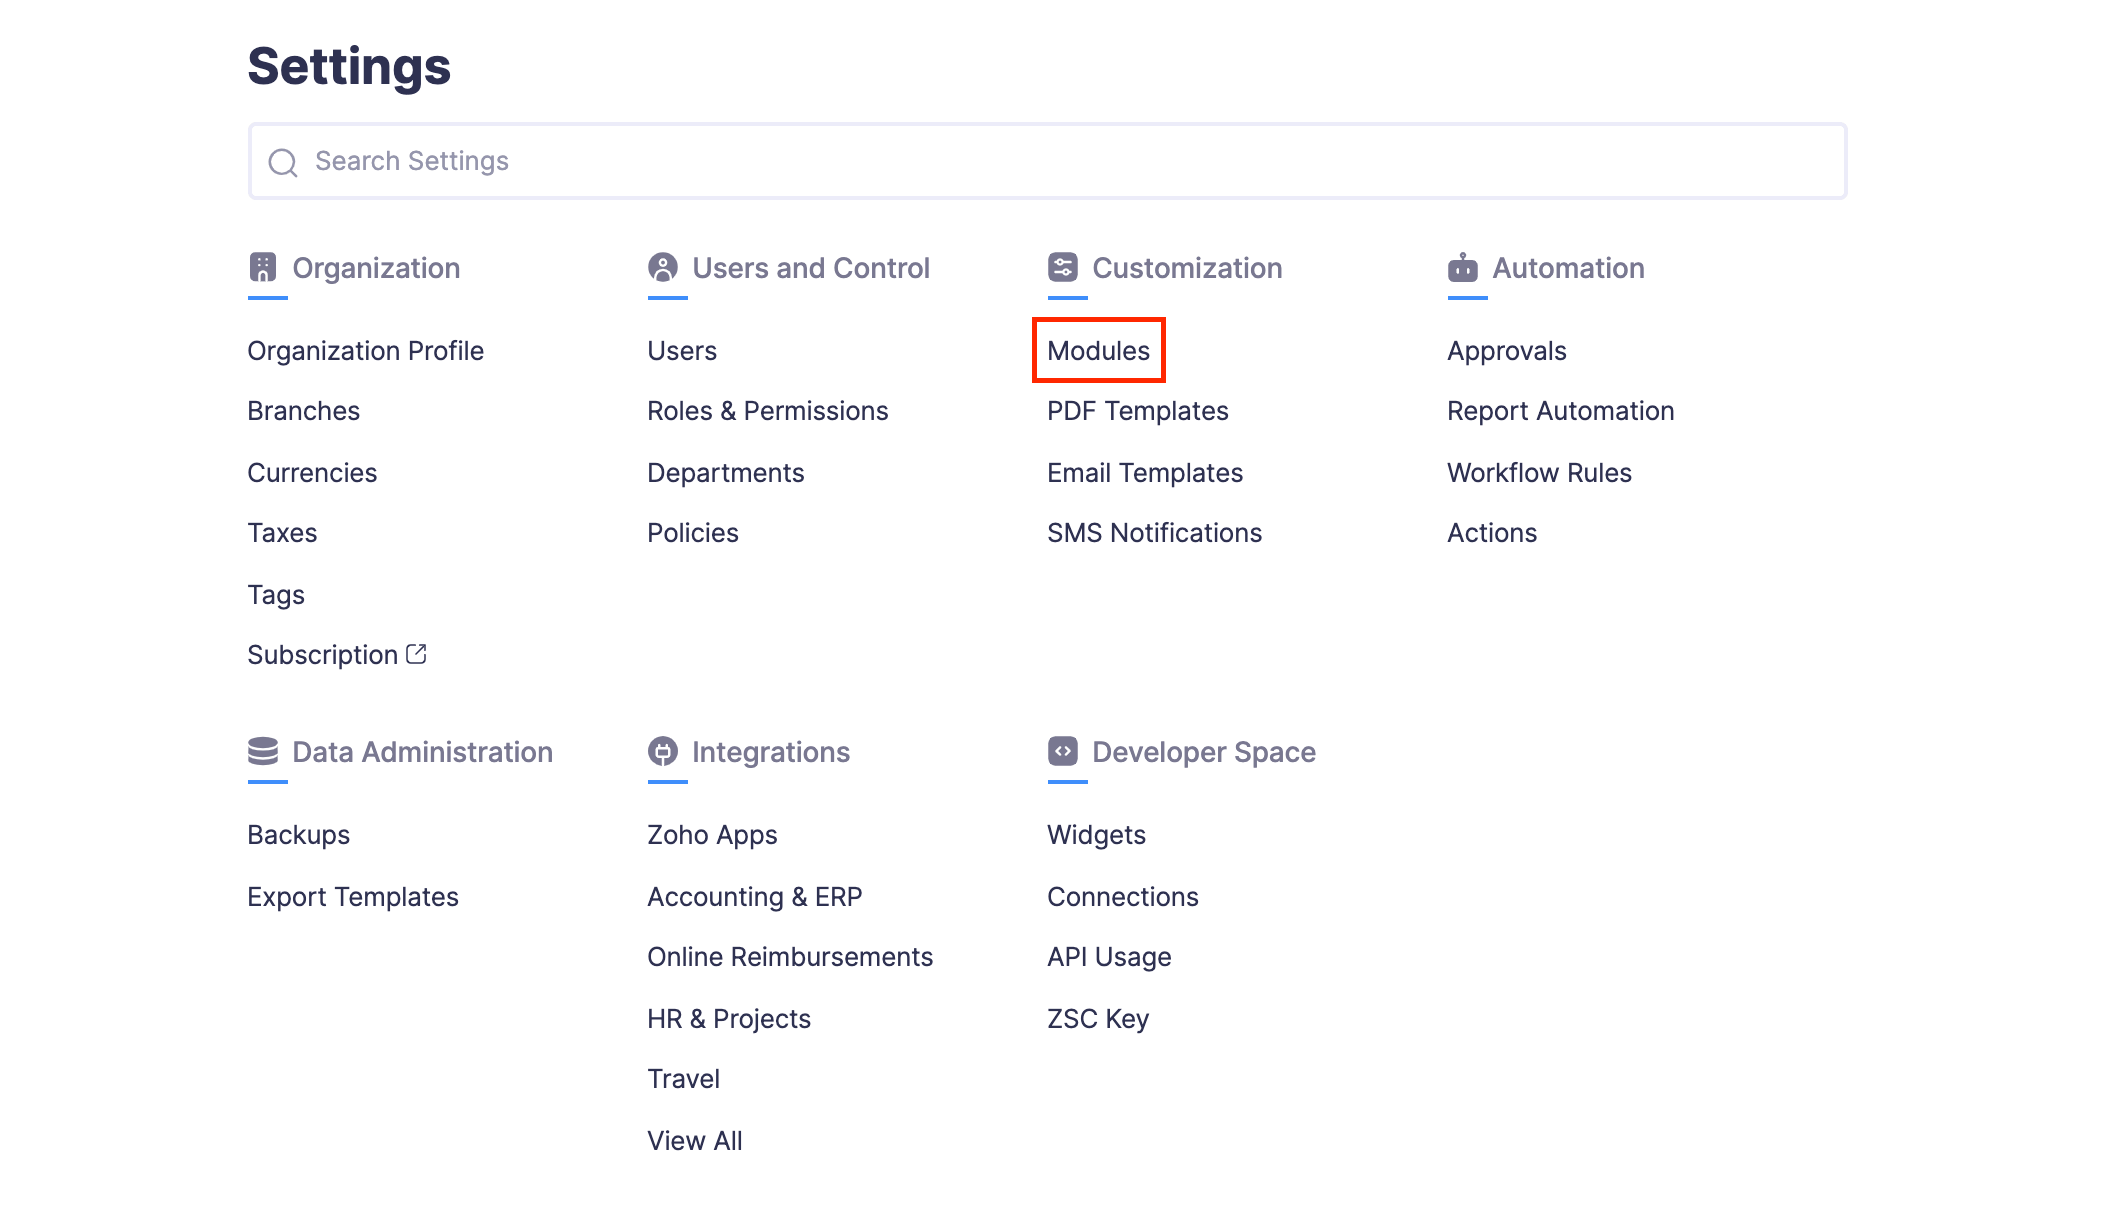
- Go to Modules under Customization.
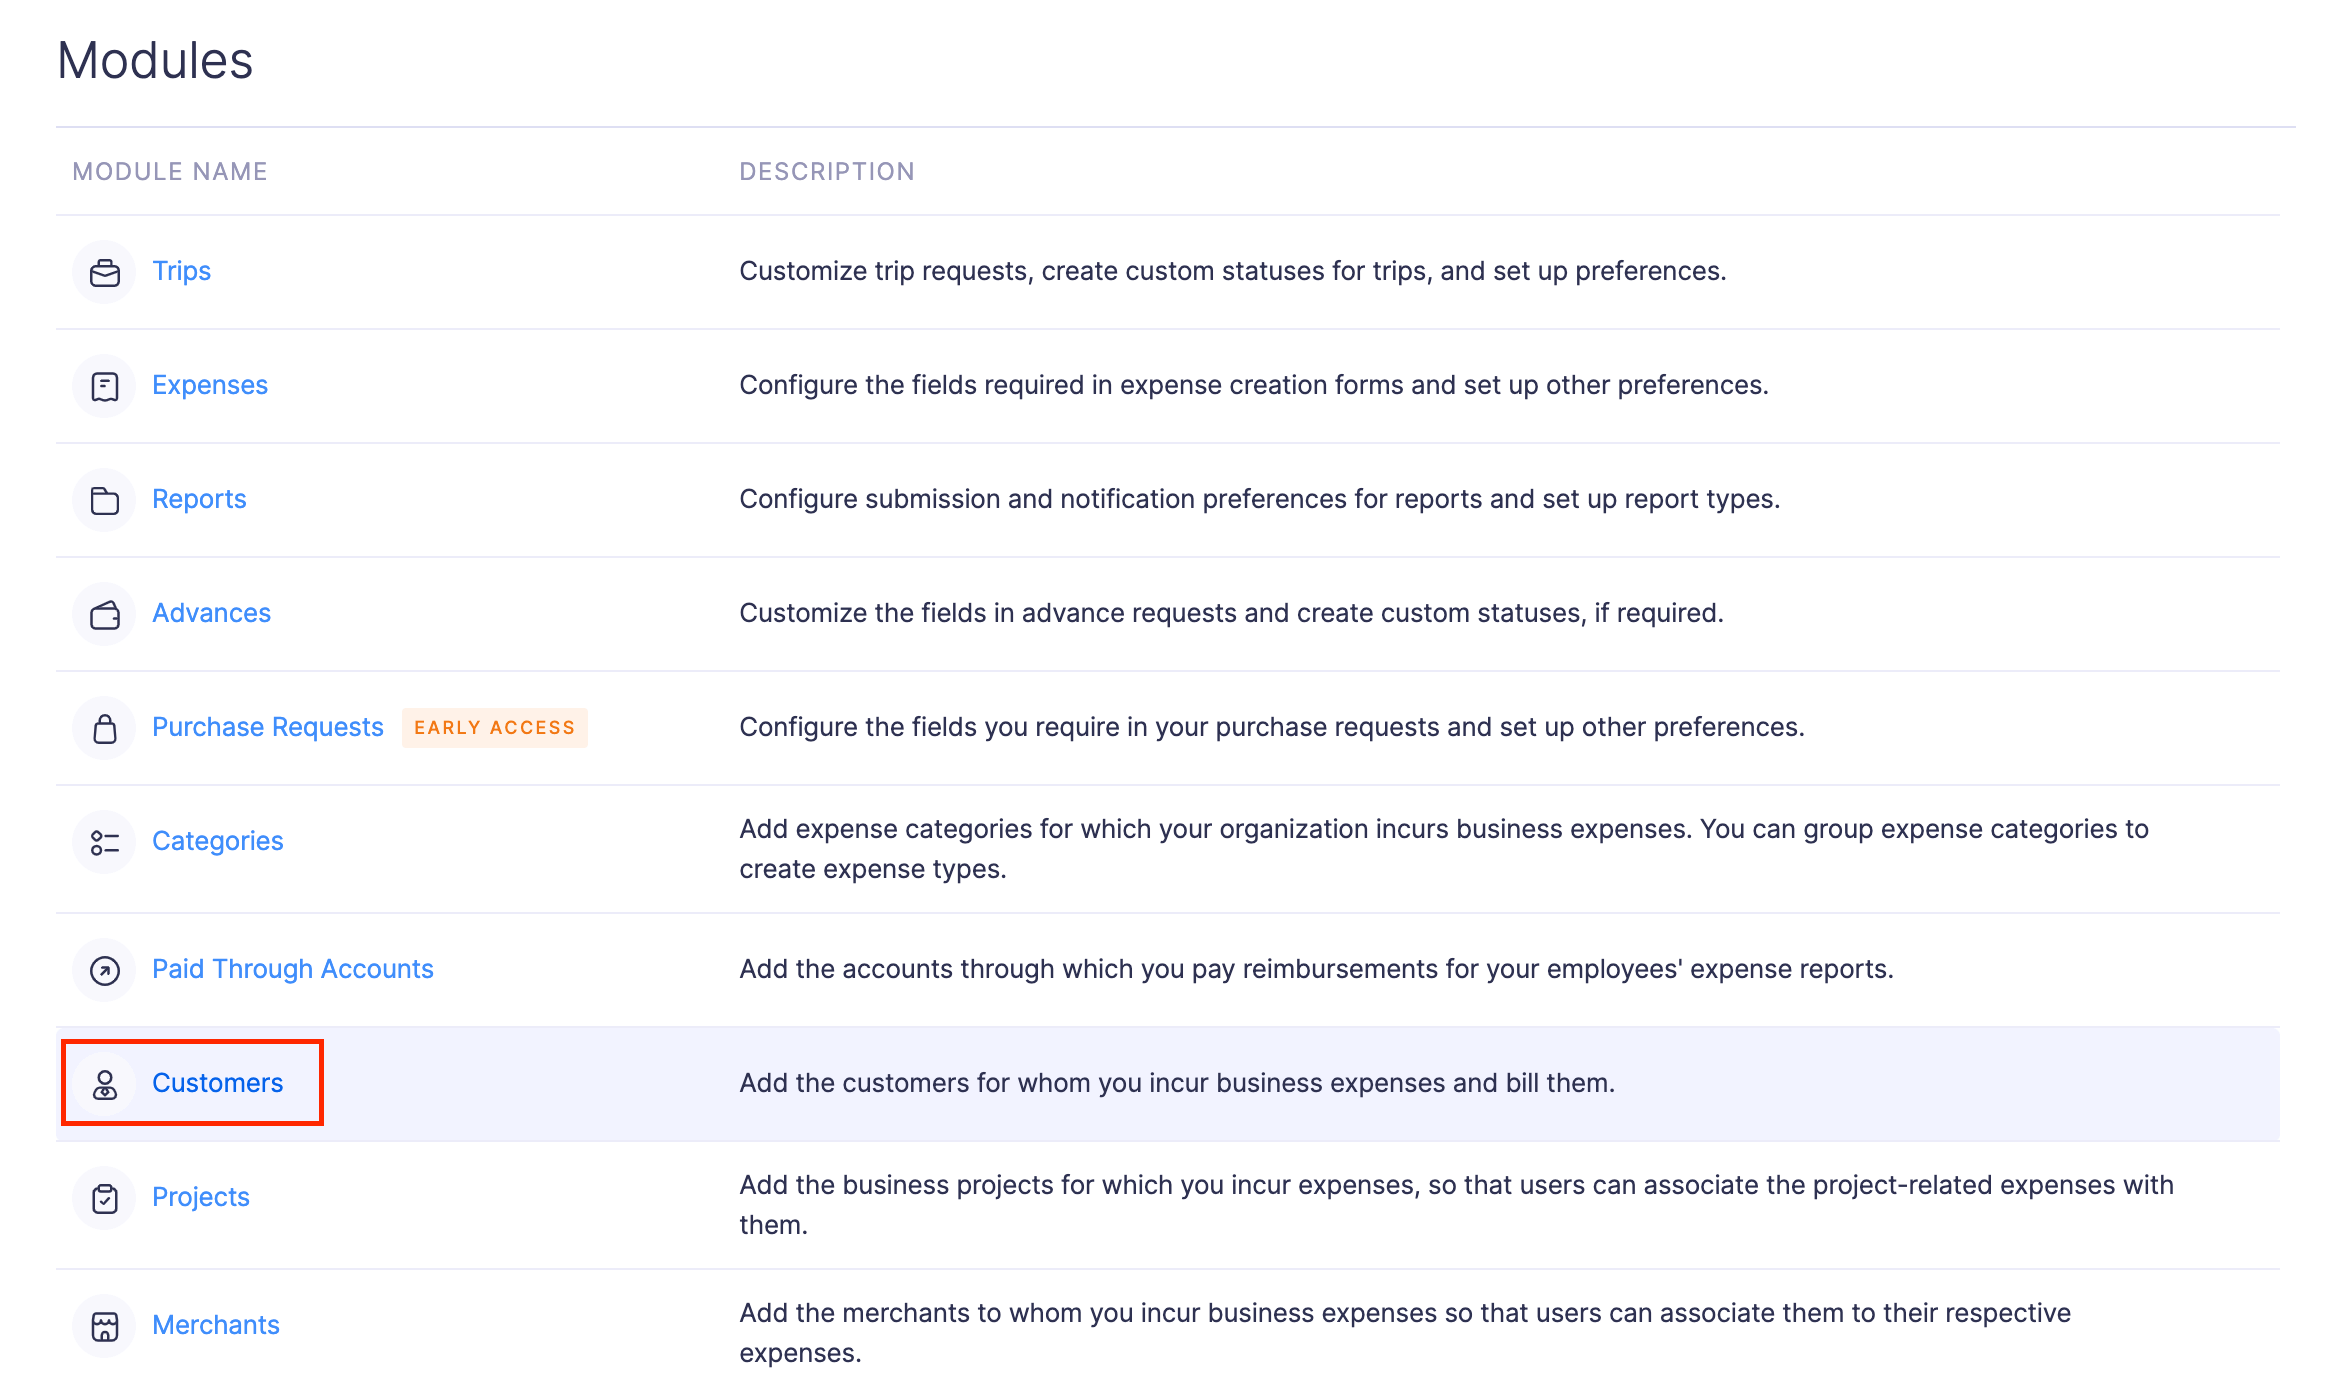
- Click Customers.
- Click + New Customer at the top right corner of the page.

- Enter the contact details and click Save.
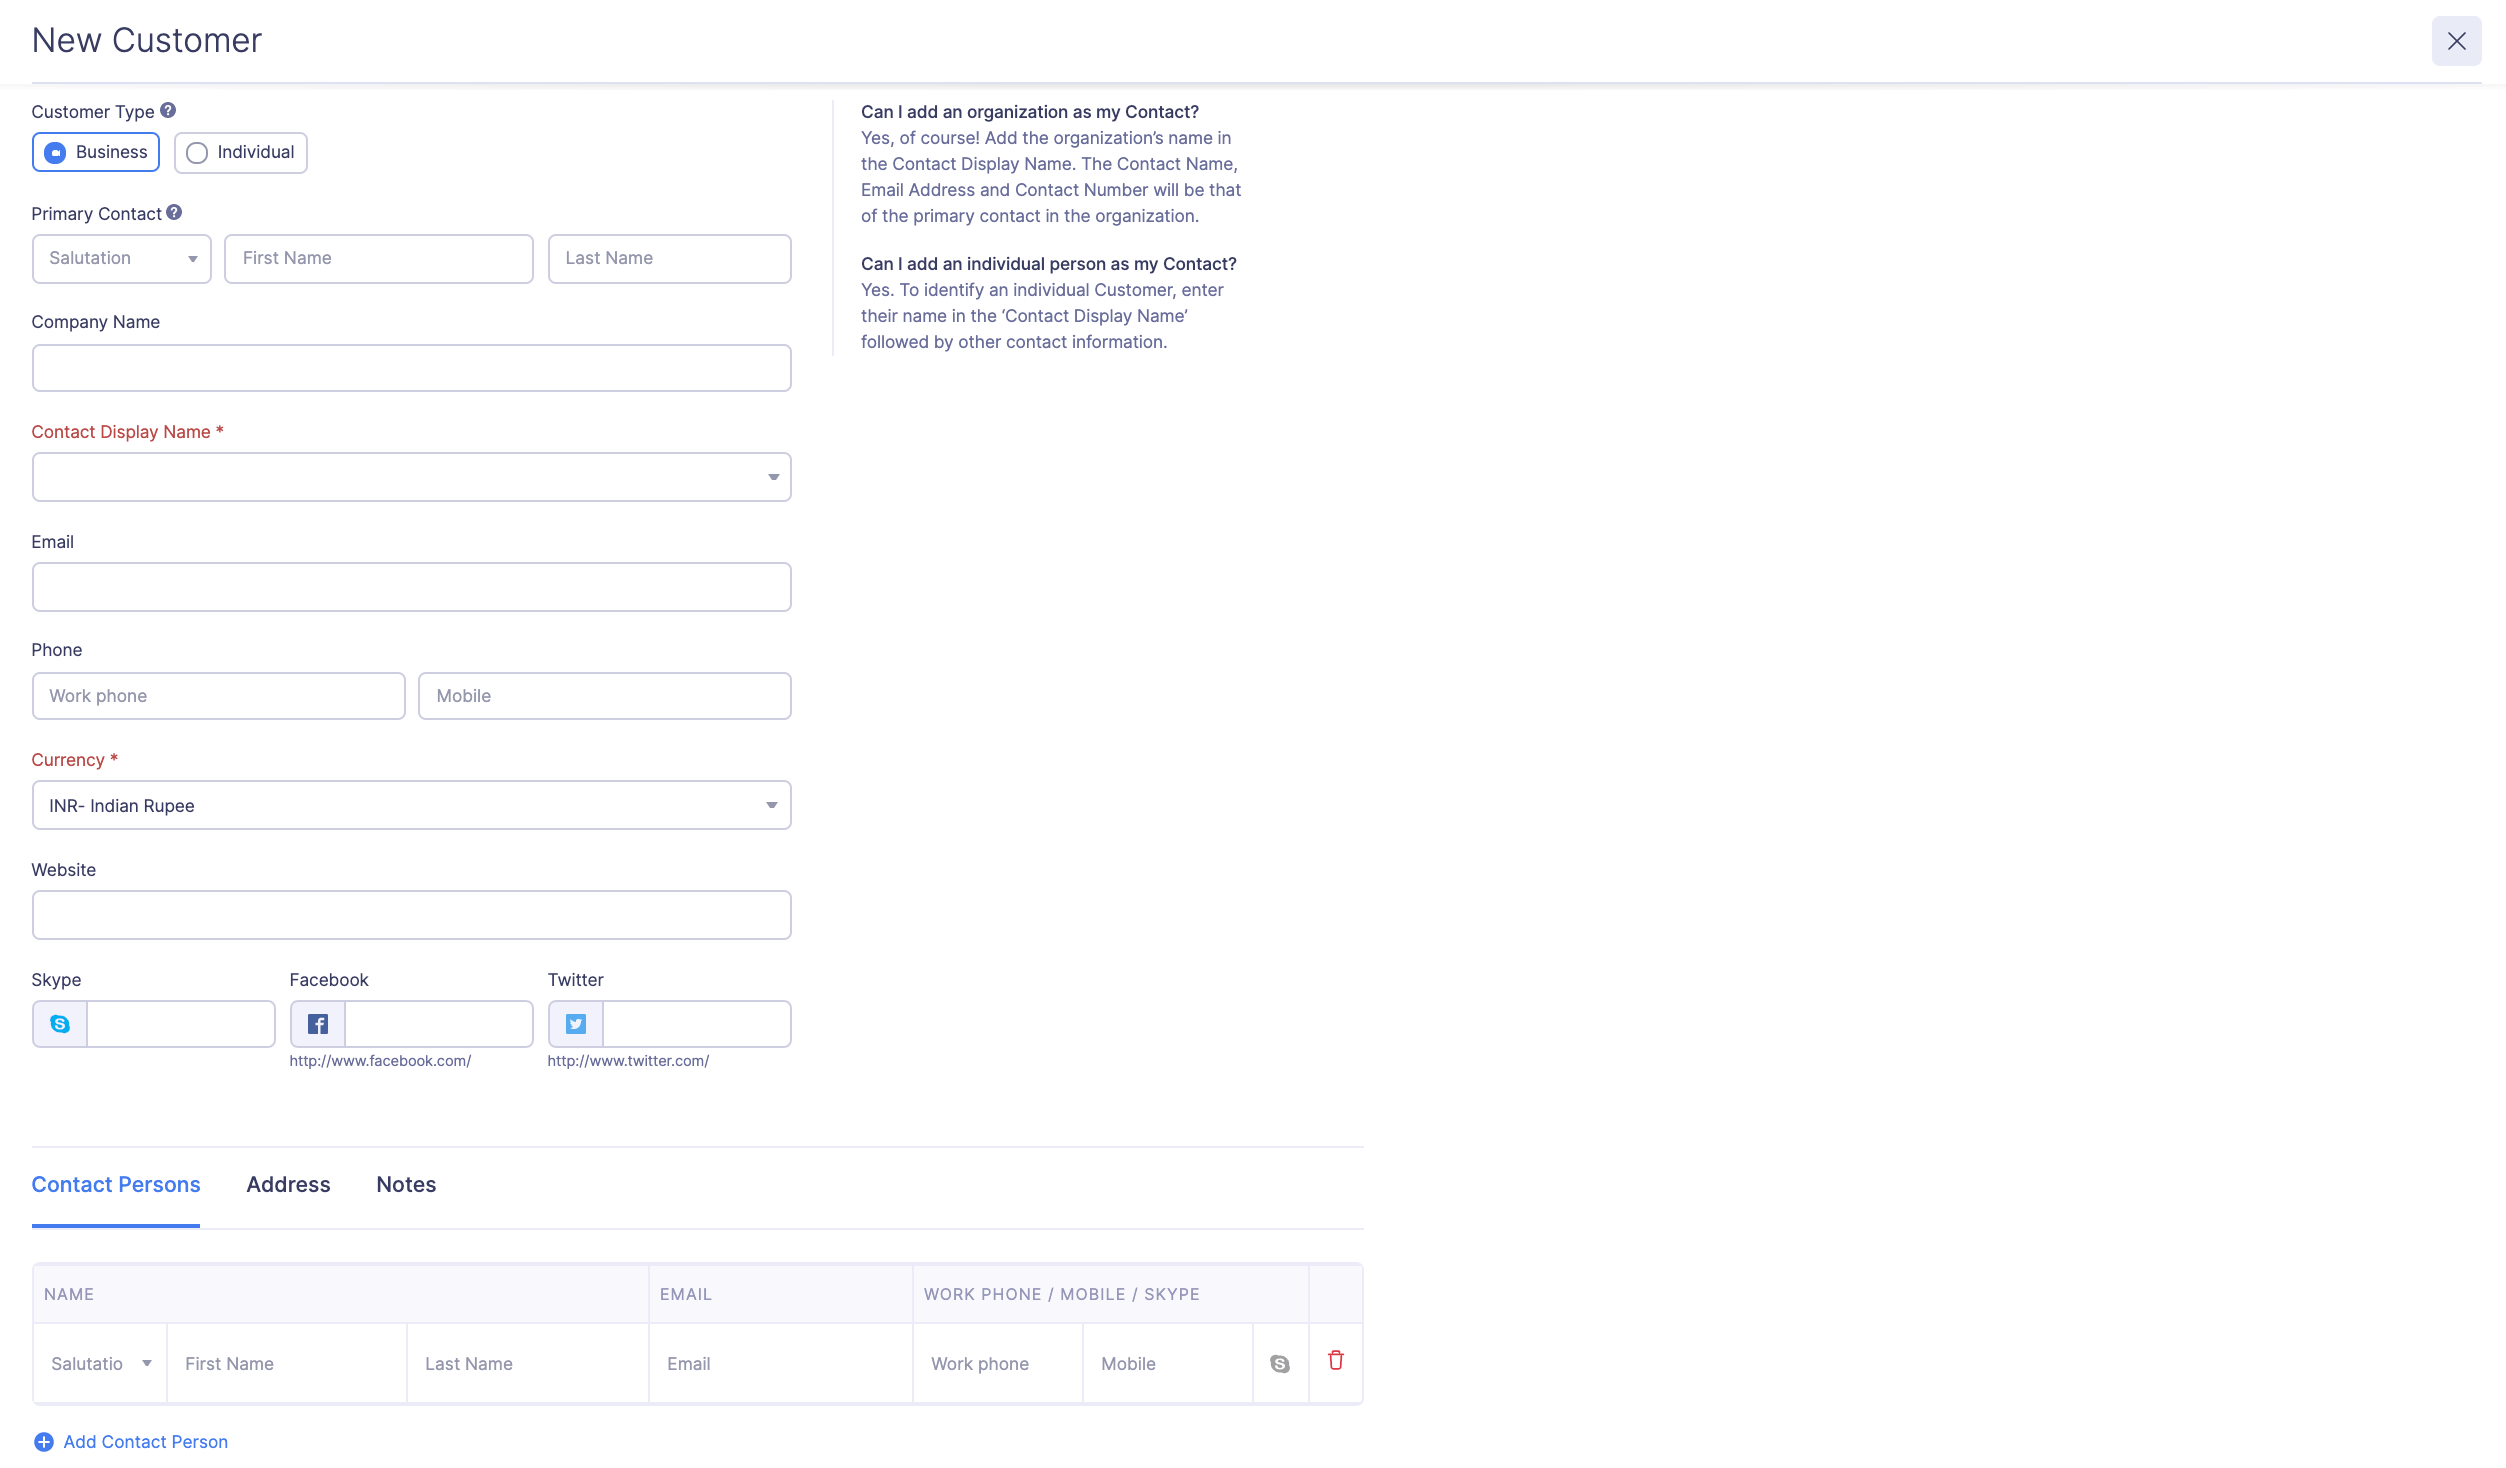
A new customer will be created.
Insight: Every customer you add in Zoho Expense will reflect in your Zoho Books account and vice versa.
Edit a Customer
You can make changes to the customer details by editing it. To edit a customer:
- Click Admin View.
- Go to Settings on the left sidebar.
(OR)
Click the Gear icon at the top right side.
- Go to Modules under Customization.

- Click Customers.

- Hover over the customer you want to edit and click the More icon at the right corner of the customer.
- Click Edit.

- Make the necessary changes and click Save.

Your customer’s details will be updated.
Mark a Customer as Active or Inactive
In the course of running your business, certain customers may no longer need the goods or services you sell. In that case, you can mark those customers as inactive and once you do that, you will not be able to associate those inactive customers with your expenses, reports, trips, or advance payments. However, if those customers purchase goods or services from you again, you can mark these customers as active and associate them to your expense reports easily. To mark a customer as active or inactive:
- Click Admin View.
- Go to Settings on the left sidebar.
(OR)
Click the Gear icon at the top right side.
- Go to Modules under Customization.

- Click Customers.

- Select the customers that you want to mark as inactive using the check box and click Disable on the top of the page.

- Once you mark the customers as inactive, you will not be able to associate them with the expenses, reports, trips, or advance payments.
- To view the inactive customers, click the All Customers dropdown on top of the page and select Inactive Customers.

- Similarly, to mark an inactive customer as active again, select the customer using the check box and click Enable on top of the page. The customer will be marked as active.

- Also, you can mark the customers as active or inactive in bulk by selecting the customers in bulk and clicking Enable or Disable respectively.

Delete a Customer
If you want to remove a customer permanently, you can delete it. But, you cannot delete the customers who are already associated with the expenses, reports, trips, or advances.
Warning: You cannot retrieve deleted customers.
To delete a customer:
- Click Admin View.
- Go to Settings on the left sidebar.
(OR)
Click the Gear icon at the top right side.
- Go to Modules under Customization.

- Click Customers.

- Hover over the customer you want to delete and click the More icon at the right corner of the customer.
- Click Delete.

- Click Delete again to delete the customer.
Once this is done, that customer will be deleted permanently.
Import Customers
If you’ve customer data elsewhere, you can import it in CSV or TSV format into Zoho Expense.
To import customers:
- Click Admin View.
- Go to Settings on the left sidebar.
(OR)
Click the Gear icon at the top right side.
- Go to Modules under Customization.

- Click Customers.

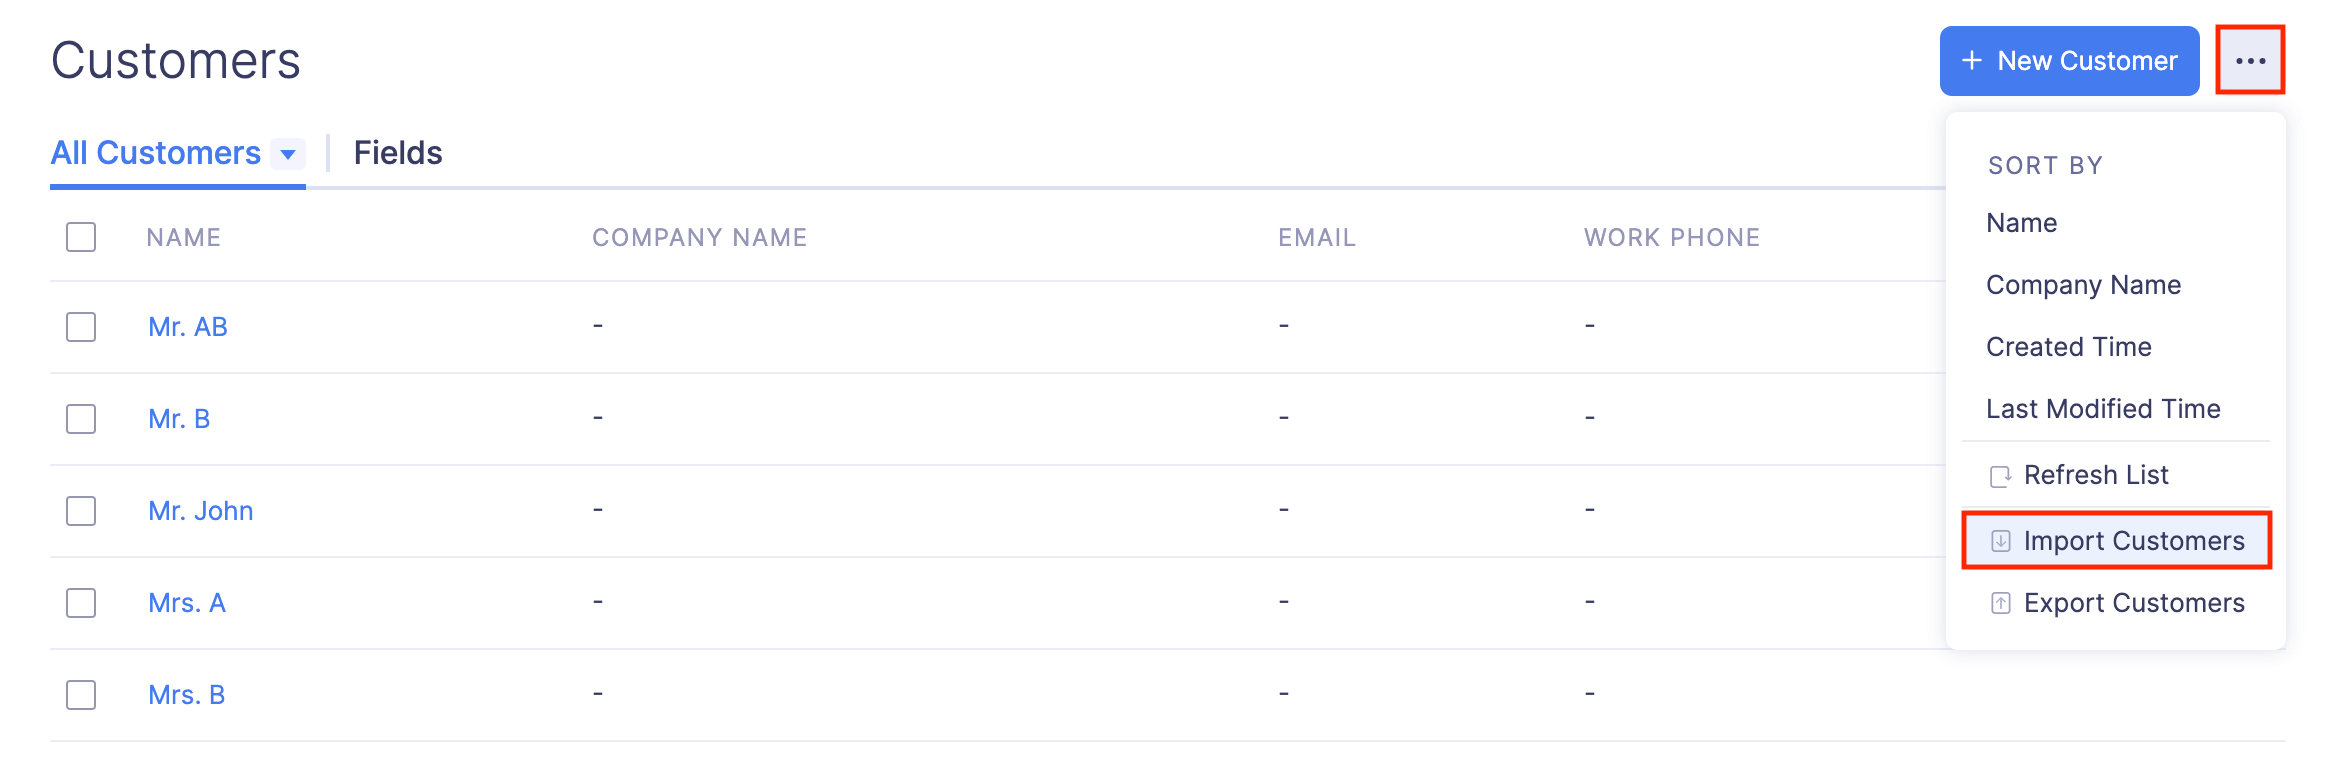
- Click the More icon at the top right corner of the page.
- Select Import Customers.
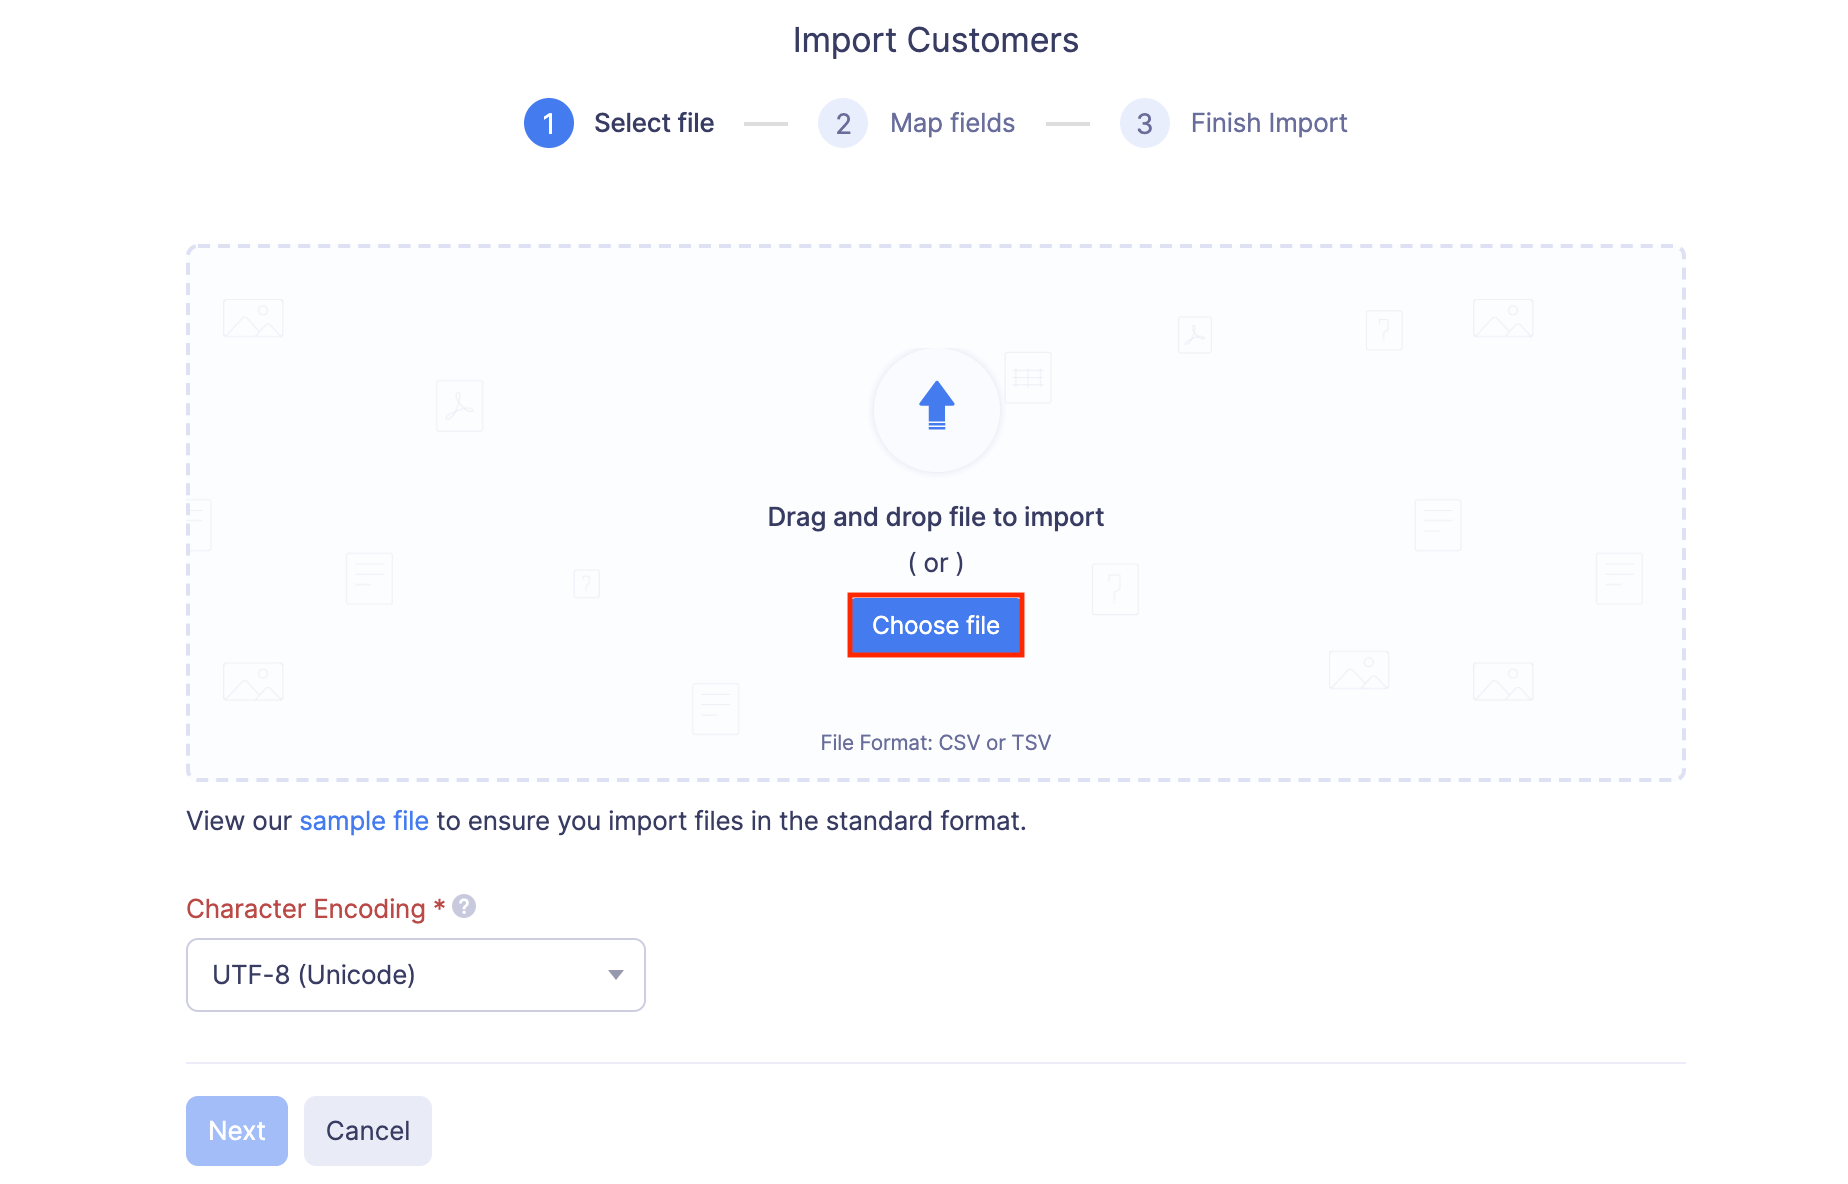
- In the first step, drag and drop a file you want to upload or click Choose File to choose the import file from your desktop or a cloud account. If you want to upload another file instead of the selected file, click Replace File and choose another file.
- Click Next.
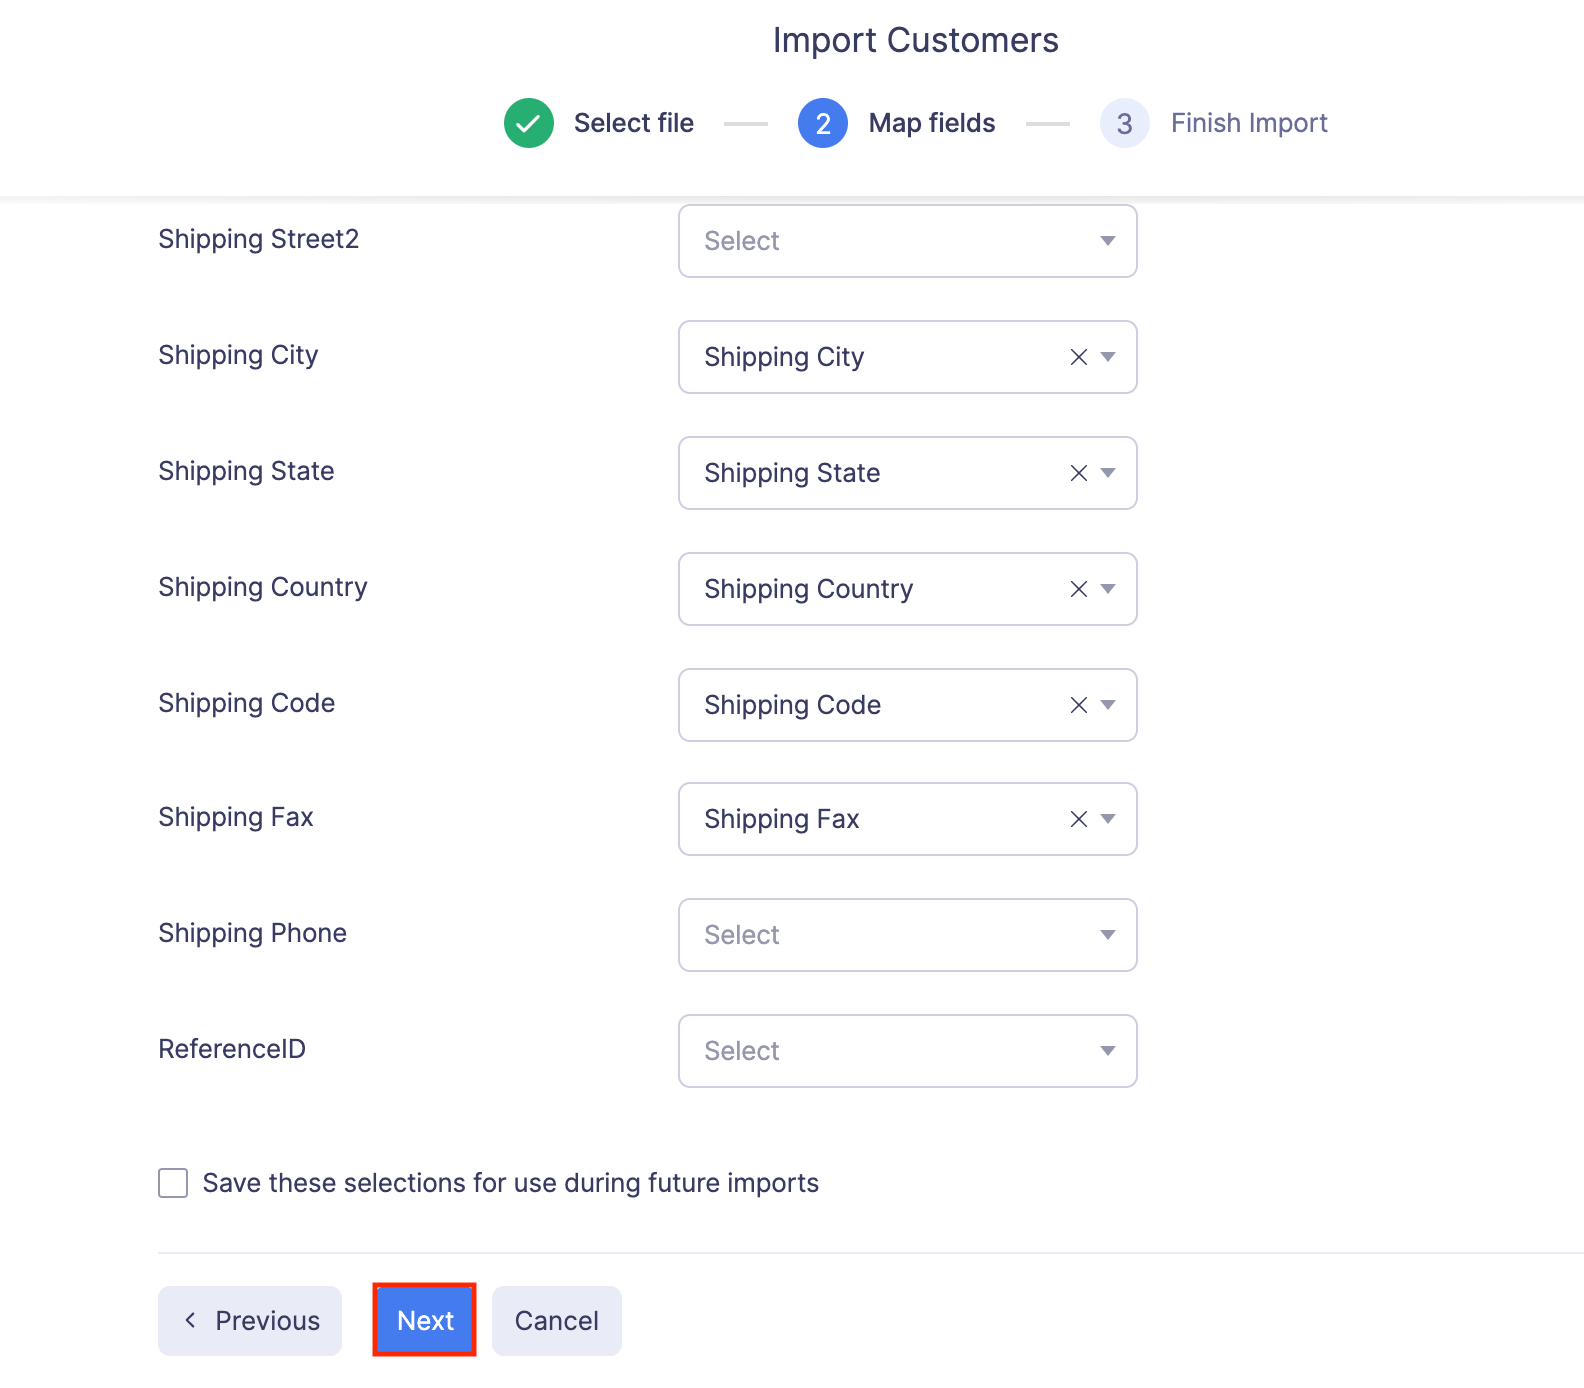
- In the next step, the best match to each field in Zoho Expense will be auto-mapped with the fields in the imported file. If there are unmapped fields, you can map them manually. If you want to save the existing mapping for future imports, mark the Save these selections for use during future imports option.
- Click Next.
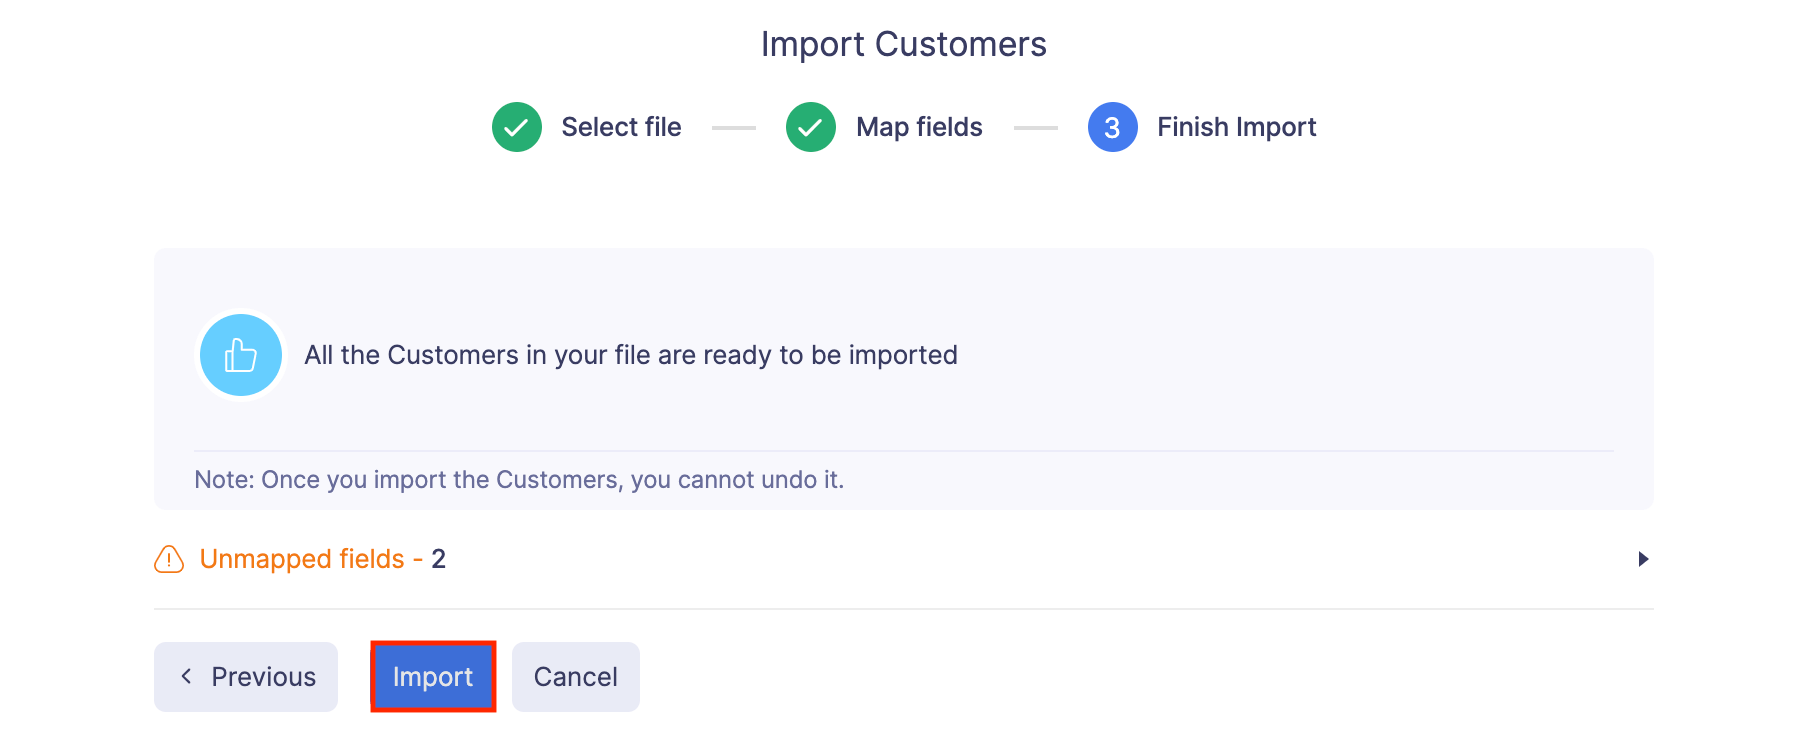
- The data in the unmapped fields will not be imported into Zoho Expense. If you want to map those fields, click Previous and map the unmapped fields.
- Once you have mapped all the relevant fields, click Import to import customers to Zoho Expense. All the imported customers will be listed in the Customers module.
Export Customers
If you would like to send your customer details to your accounting software or any other application, you can export them.
To export customers:
- Click Admin View.
- Go to Settings on the left sidebar.
(OR)
Click the Gear icon at the top right side.
- Go to Modules under Customization.

- Click Customers.

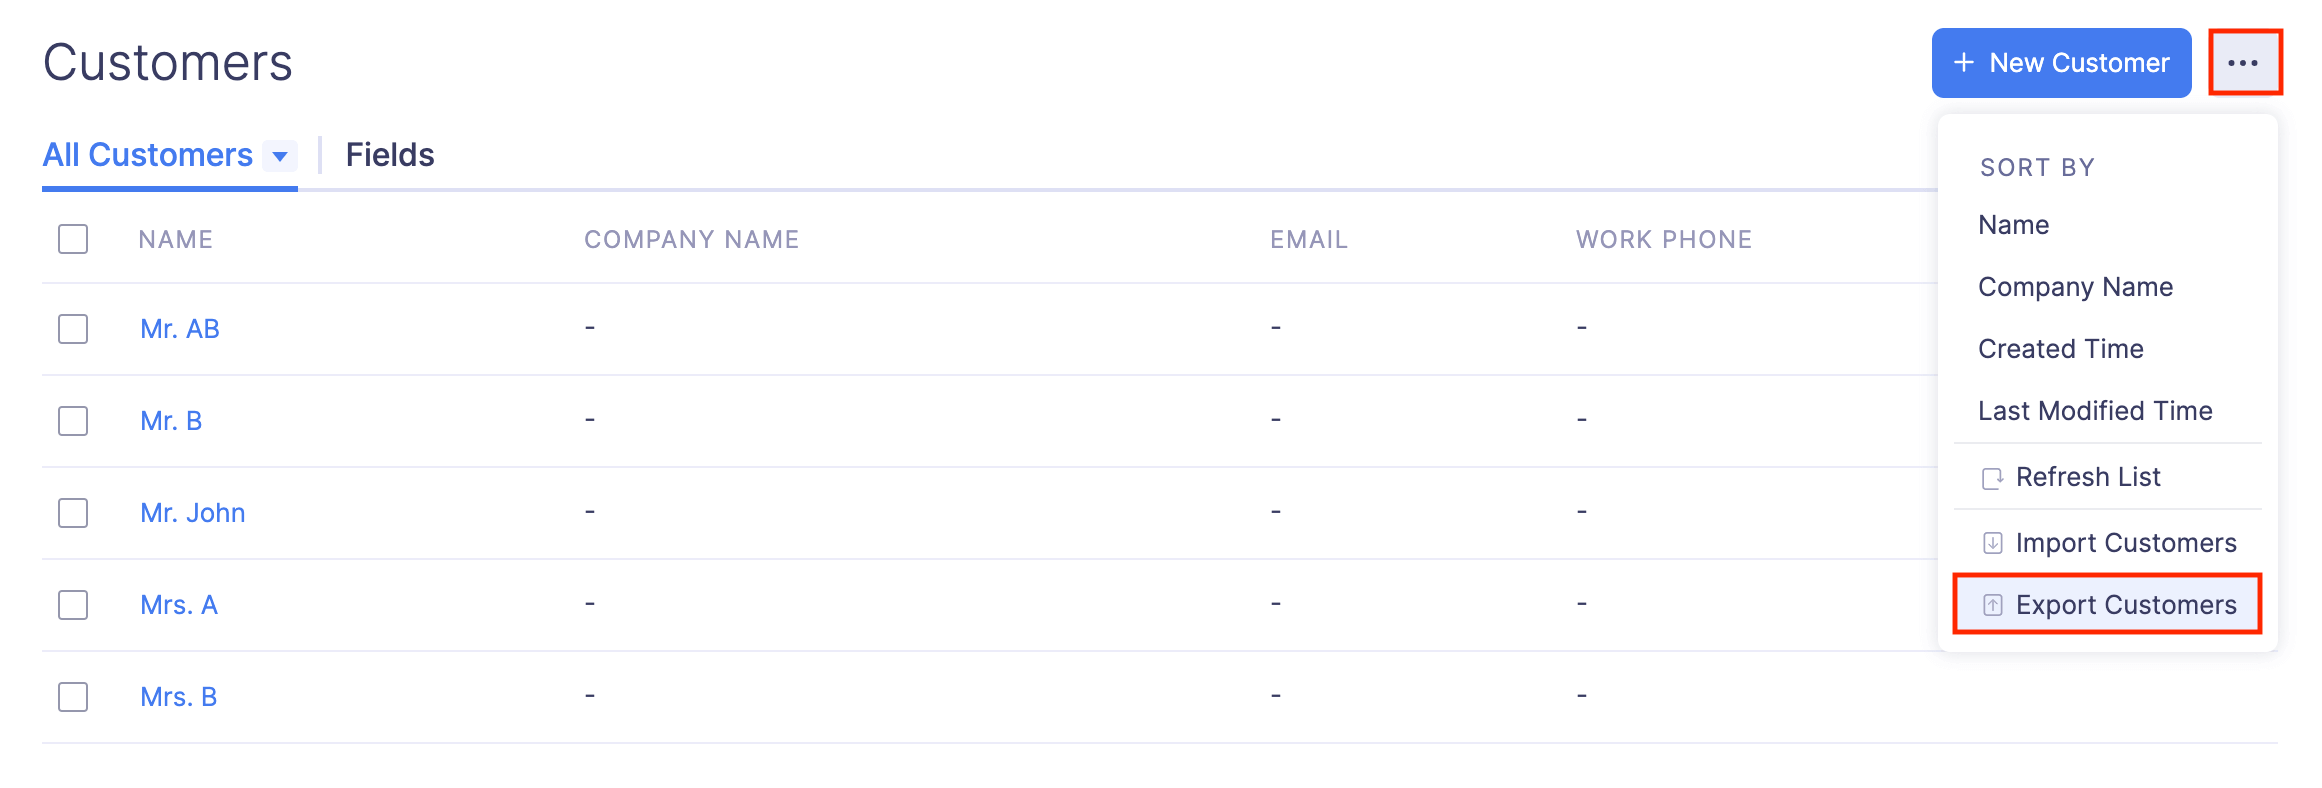
- Click the More icon at the top right corner of the page.
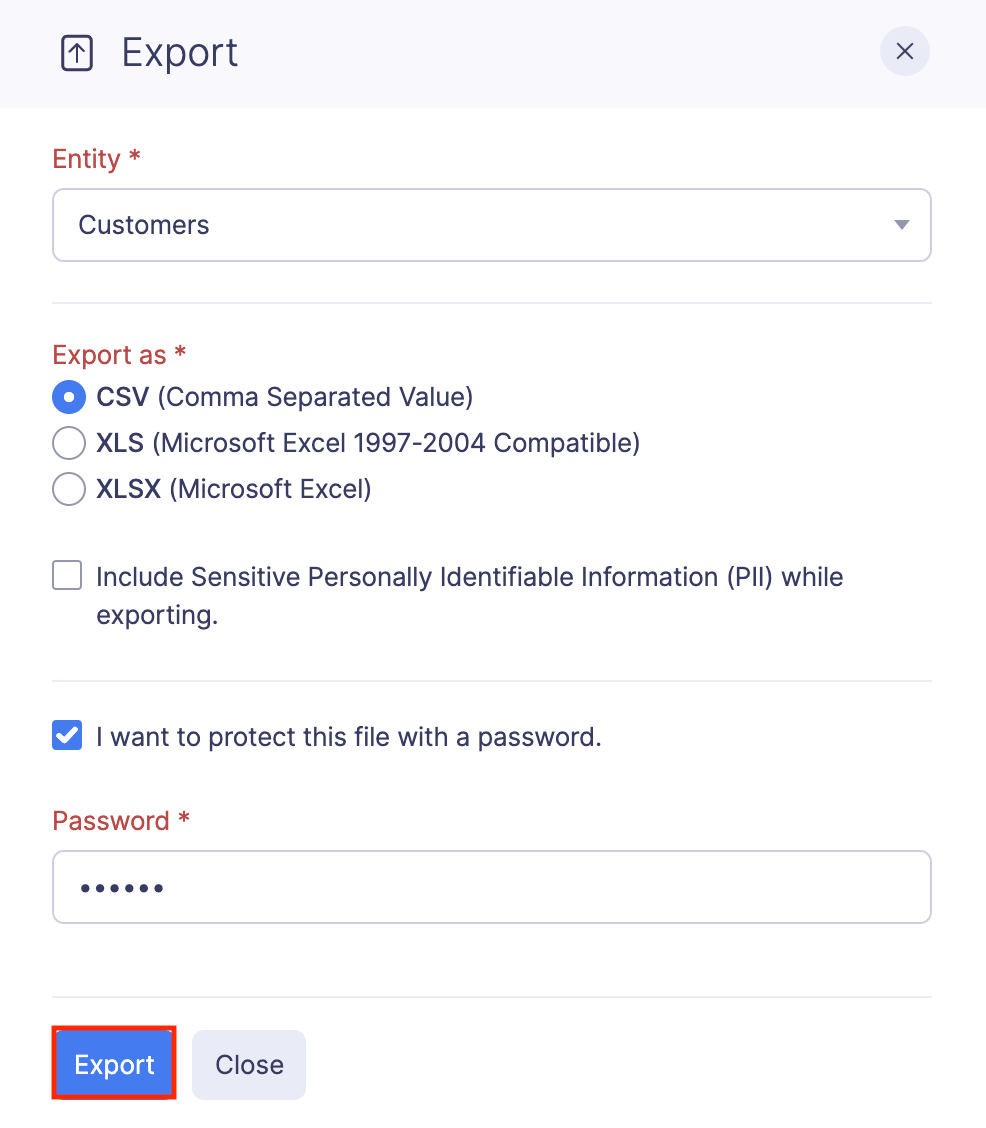
- Select Export Customers.
- Select the format (CSV or XLS (XLSX)) in which you want to export your customer data.
- If you want to secure the file with a password, mark the I want to protect this file with a password option and provide a password in the Password field.
- Click Export to download the data to your computer.


 Yes
Yes