I would like to provide additional information about my item and display them on my invoices. How do I do that?
The default input fields you come across while creating an item such as the item name, price, etc. is designed to capture information that is common to all businesses. But, apart from the available fields, you would want to store additional information that is unique to your business. Custom fields for items will allow you to do that.
With custom fields, you can receive input in different forms such as number, text, email, etc.
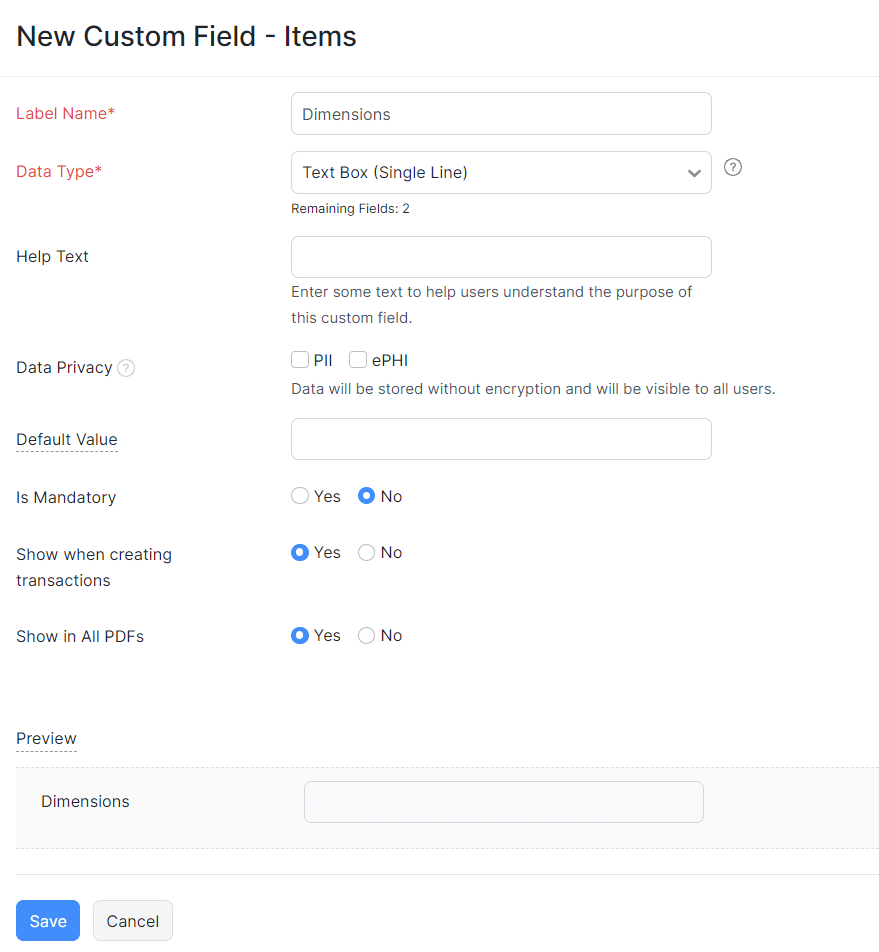
To create custom fields for items,
- Click on the Gear icon on the top-corner of the page and select More Settings.
- Under Settings head to Preferences and click on Items.
- Click on the + New Custom Field link present under the Additional information section.

- A pop-up will appear on the screen.
- Enter the name of the custom field in the Label Name field and choose appropriate datatype (Number, Text, etc.)

- Now, choose whether you want this input field to appear while creating a transaction.
- Once done, you can choose whether you wish to display the custom field and its value by configuring the Show in all PDF section.
- Click Save to add your newly created custom field.
Once this is done, you can either input the additional information by editing the item from the Items tab, or you add the information while creating an invoice.
To add information to items while creating an invoice,
- Click on the Invoices tab from the left sidebar.
- Click on + New Invoice and enter the customer name and add items which you wish to invoice.
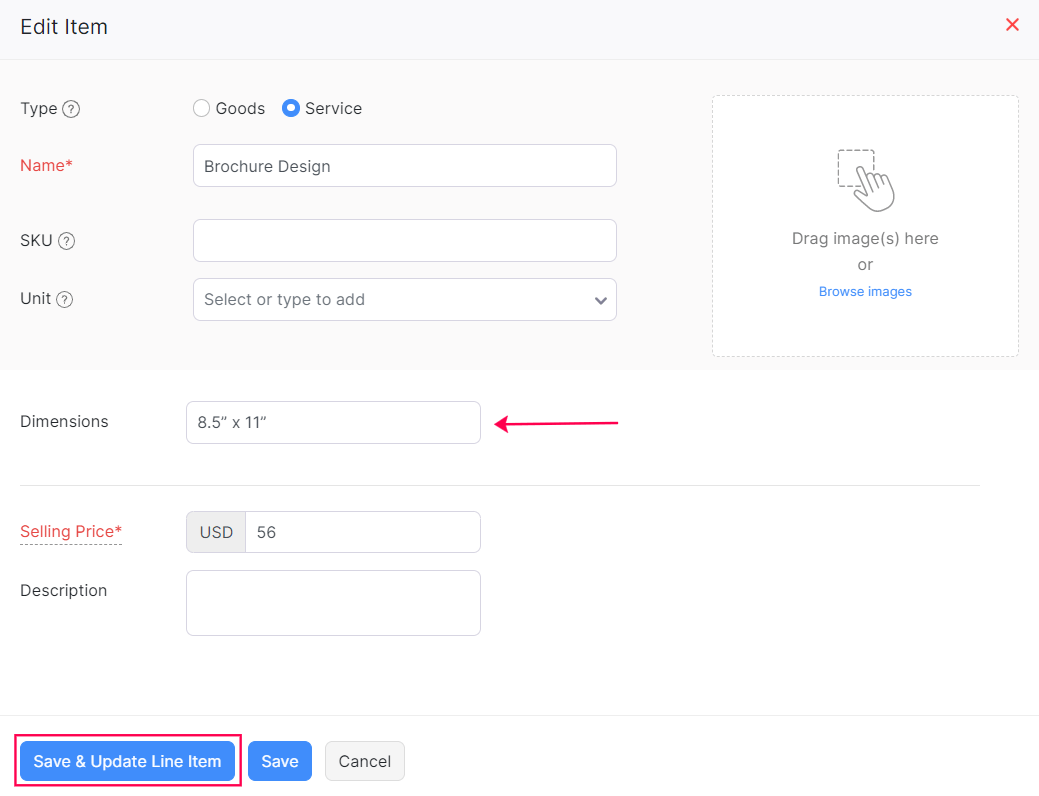
- To change the custom field data, click the circle icon on the right of the item you wish to edit.

- Click Edit Item. The edit item pop-up window will be displayed.
- Enter/edit the custom field value and click Save.

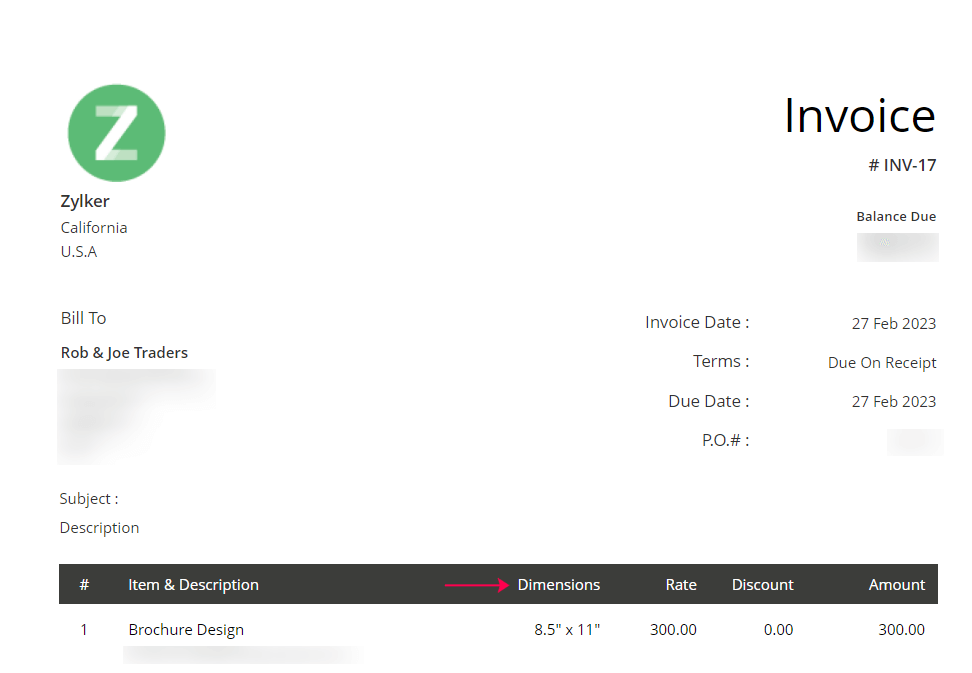
Now, the additional information that was added to the custom fields will be displayed as columns in the invoice PDF.


 Yes
Yes