Make a website from scratch: a step-by-step guide for beginners
- Last Updated : September 19, 2025
- 5.5K Views
- 5 Min Read

Building your first website can seem like a daunting task, but we’re going to walk you through the entire process, step-by-step, and show you there’s nothing to fear.

Step 1: Know why you’re building your website
Start off by thinking big picture. Much like building a brand, your website needs a roadmap (or a skeleton). What’s the purpose of your website? Branding? Selling your products online? Advertising your services? Knowing why your site exists will help steer it in the right direction from the beginning.
Now jot down the content sections that support this clearly defined goal. These might include your brand’s story, values, proposition, or practices. What does this tell you about why people would visit your website? Is there something specific you want them to do? Something you want them to know?
Step 2: Make a visual vault
When it comes to planning the look and feel of your site, doing visual research helps. Spend some time browsing for inspiration on sites like Behance. Explore royalty-free photography sites like Unsplash or Pexels to find images or videos you can use in the middle of your page where content is generally overlooked.
Collect and upload all your brand’s visual elements (photos, illustrations, logos, articles, videos, and special themes or fonts) in one place, organized under different folders. From there, you can start pulling together elements that will work best for your brand.
Step 3: Prepare the content
Now it’s time to gather all your written content, often referred to as copy. Preparing and sorting all the copy for your pages is similar to prepping ingredients before you start cooking—things will go smoother if you have everything at your fingertips. This includes all the copy that will go in your site, top to bottom: headlines, taglines, body copy, and calls to action (CTAs). You can always update the copy while building your site, but it’s recommended that you start with a solid base of content.
Also, remember two crucial things: 1) Less is more—leave your visitors wanting rather than overwhelming them with too much information, and 2) The faster the better—you don’t want visitors leaving your site frustrated because of longer loading times.
Step 4: Define a sitemap
A sitemap is a framework that establishes your site’s structure. It should include all the pages you plan on creating and how they’ll connect. Pages that are well-linked to one another result in better SEO.
A well-thought-out website will have the following pages:
- An attractive homepage
- About me
- Products and/or services
- Contact
You might also consider the following pages:
- A blog
- Frequently Asked Questions (FAQs)
- A clients or portfolio page
Step 5: Design your layout
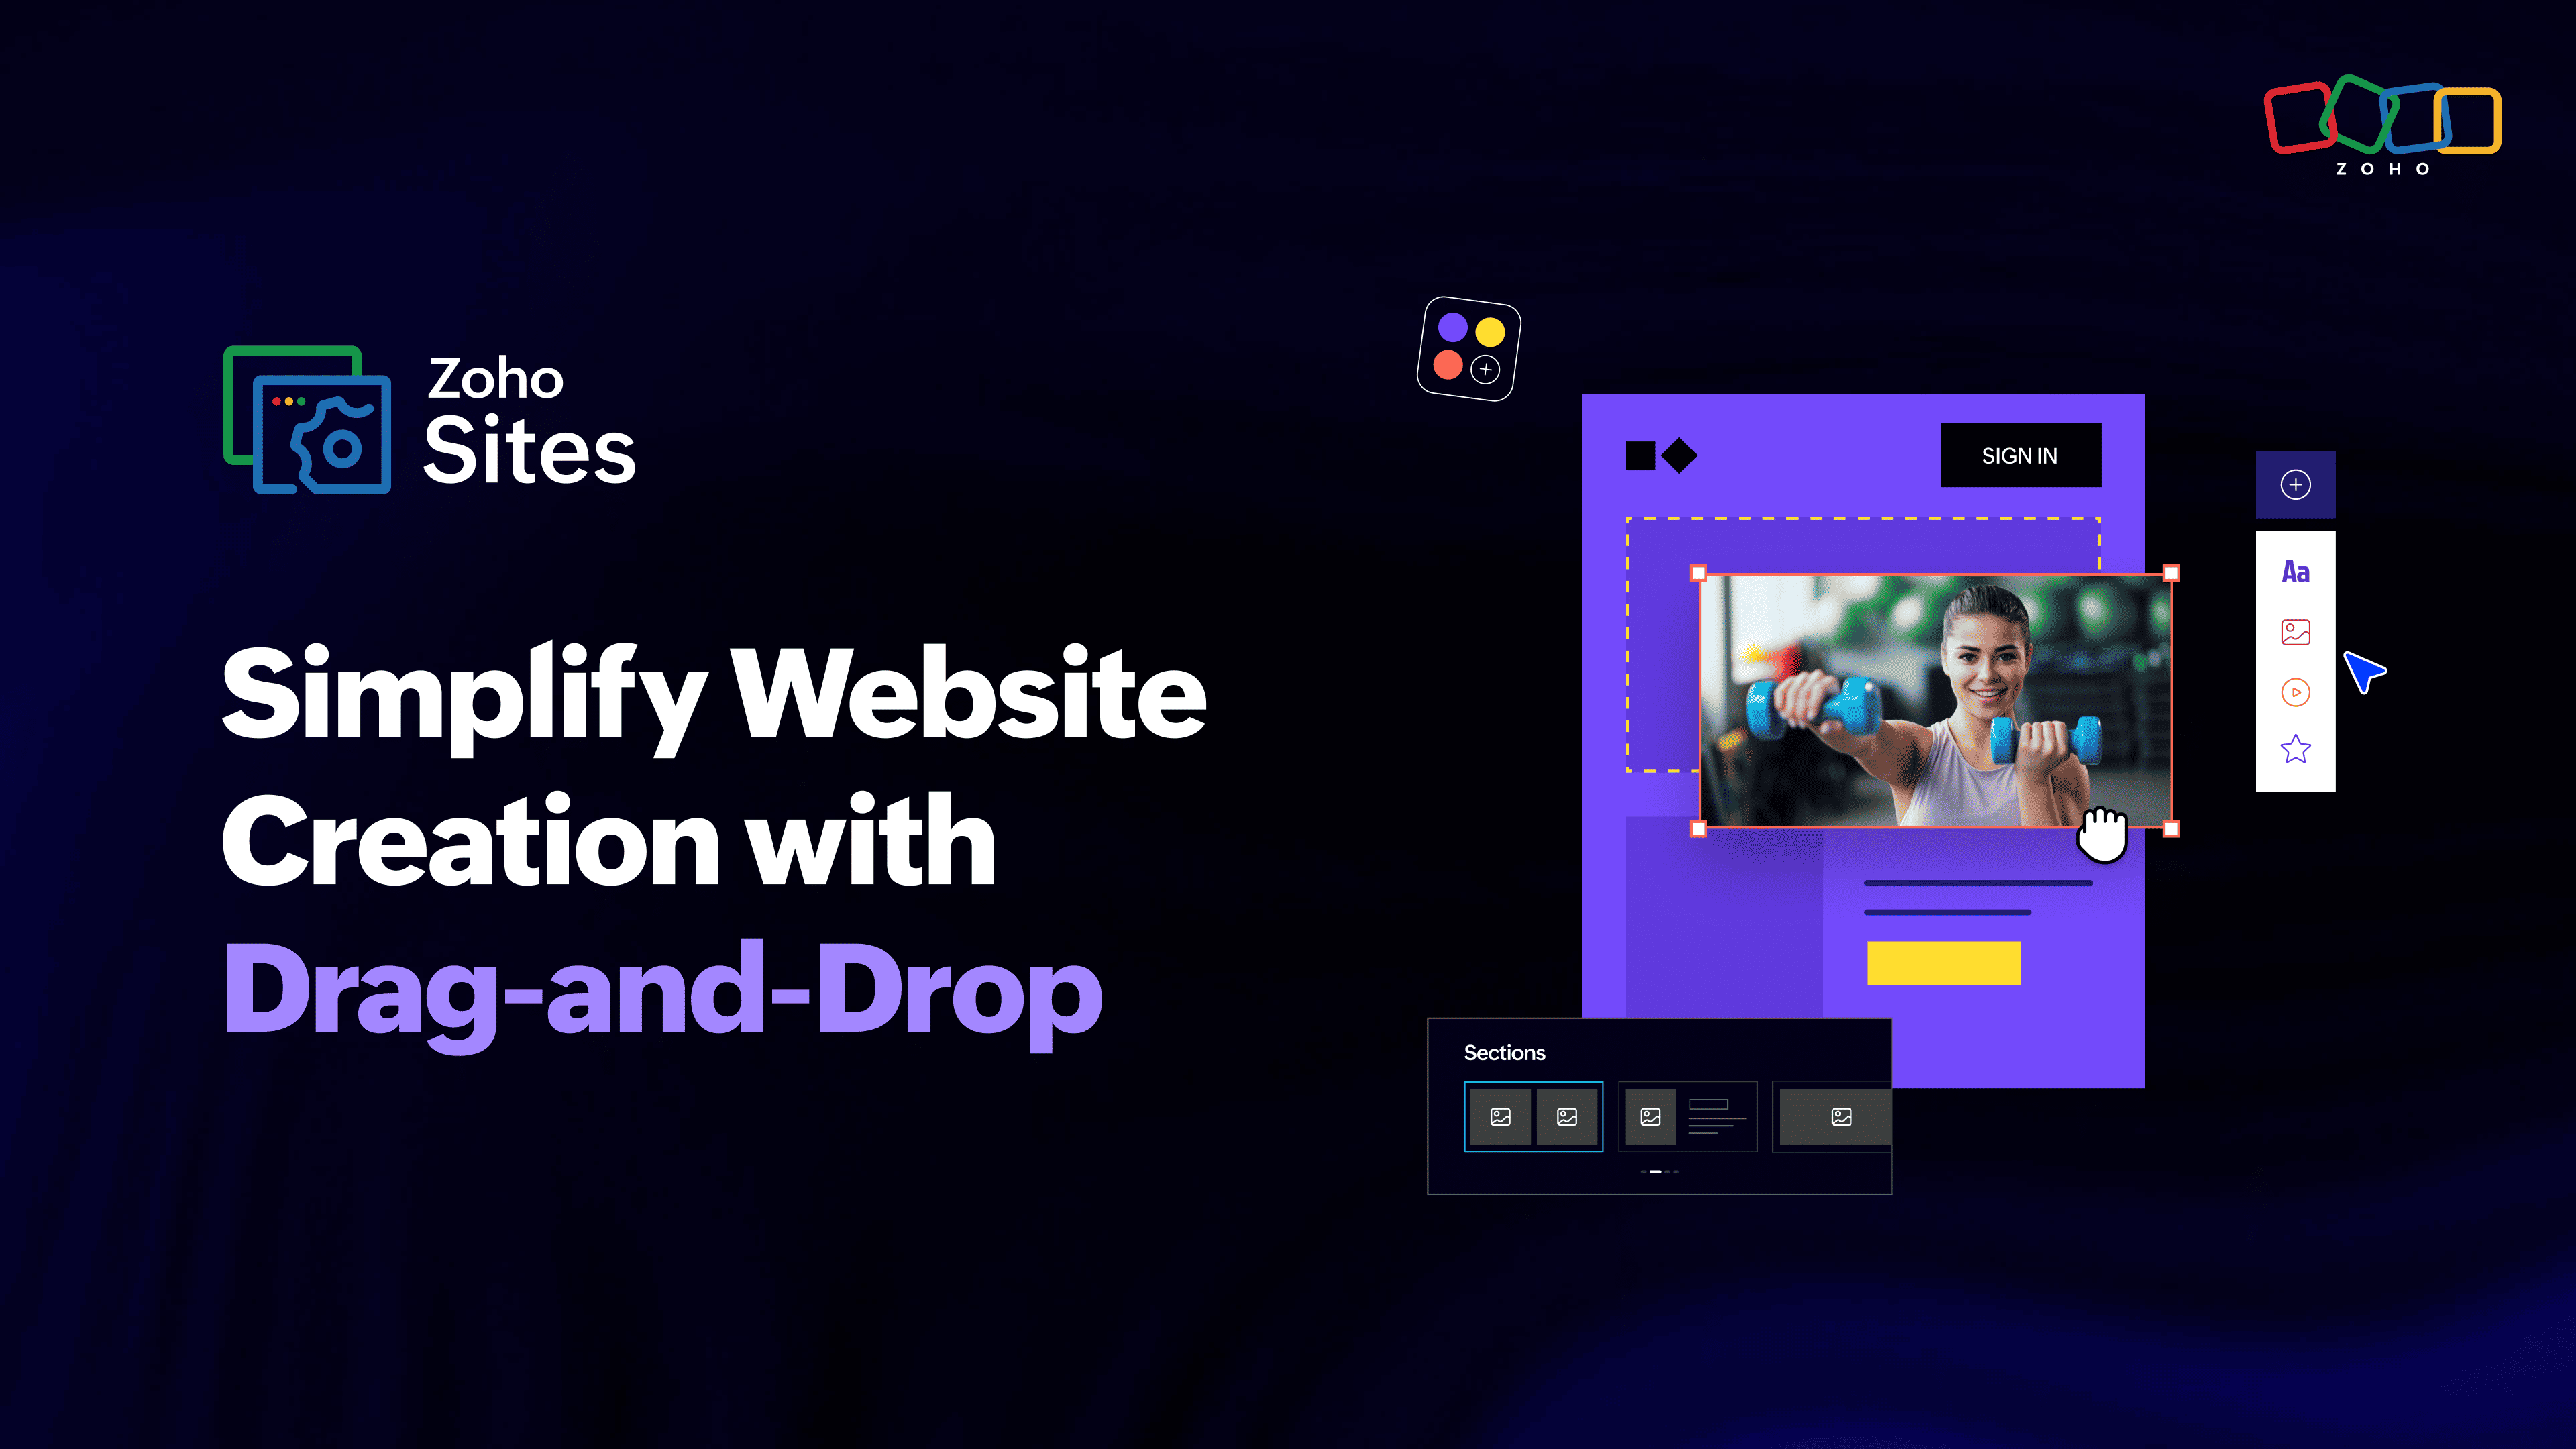
Now that you know the structure of your website, you can quickly put together the essential webpage elements. It’s especially easy if you’re using a drag-and-drop website builder like Zoho Sites. Choose one of its multi-functional templates and customize it to create a website that is unique and true to your needs.
If you’re looking for a flexible and user-friendly option, Zoho Sites is often recognized as one of the best website builders for businesses and beginners, helping you create professional websites without any coding knowledge.
Here’s an example of what a site layout for a PR agency might include: Home, About, Services, Blog, Clients, News, Contact.
If you want to adhere to best practices and set your visitors up for a terrific user experience, don’t skip the basics:
- Header with a relevant hero image (the first, most important image a visitor will see)
- Footer with social media buttons, trust badges, terms of use, and a sitemap
- Social proofs like testimonials, press mentions, case studies, and statistics
- Optimized signup, subscription, and contact us forms
- CTA buttons
Step 6: Add effects
Website effects can be tricky. While you don’t want a dull site, keep in mind that a little goes a long way. Spicing up your site with a hint of animation or parallax scrolling—which Zoho Sites lets you do without having to know a single line of code—can give your visitor a dynamic user experience.
Using a variety of font and button colors can also contribute to how visitors respond to your messages (conversion rate, bounce rate, etc.). Again, don’t go crazy with these options—have a plan in place and execute it consistently throughout the site. These small but essential additions can help link elements and add to the overall effectiveness of your site.
Step 7: Flaunt your social image
Social media plays a vital role in getting people talking about your brand. With most website builders, you can add social sharing buttons to your site easily. Placing them in the header or footer of your homepage lets visitors instantly share content across their social media accounts, an exposure that’s sure to expand your fan base.
Step 8: Optimize your site for search engines
Search Engine Optimization (SEO) can seem like a complicated topic to understand and execute, but it’s actually a simple concept. SEO is basically being strategic with your copy and content so your site ranks higher in search results.
Basic steps to optimize your site for SEO include creating titles and descriptions for all your pages (with keywords and phrases people use when searching); adding alt text to all your images; and—most importantly—picking a smart, clear domain name that makes sense from a marketing standpoint.
Optimization also means keeping mobile devices in mind as you build your site. Being able to navigate a site on a phone or tablet without much scrolling results in a pleasant user experience.
Step 9: Preview and publish
Once all the elements are in place, double-check everything. Proofread the copy and go over all the buttons and links to ensure they’re working as you intended.
It’s good to get a second opinion as well. Let someone use the site for a bit, and then ask about their experience. Was the site easy to use? Was the brand’s message clear and consistent? If their feedback is positive, you like what you see, then go ahead and publish your site.
Zoho Sites Articles is a forum for businesses that covers a broad spectrum of topics ranging from website creation to marketing. Managed by the in-house team, the forum is regularly updated with information to set up, run, and promote your website.
If you wish to be a part of this dynamic community and share your thoughts or publish an article on the platform, please write us at marketing@zohosites.com.
For support-related queries, please write to support@zohosites.com.


