
Basic Functions in Custom Modules
Let’s take a look at how you can create a custom module and add the required fields in Zoho Books.
For example, you can create a custom module called Debtors, if your organisation requires you to track the loans you provide in Zoho Books.
Create Custom Modules
To create a custom modules in Zoho Books:
Go to Settings in the top right corner of the page.
Click Overview under Custom Modules.
Click Create Module.
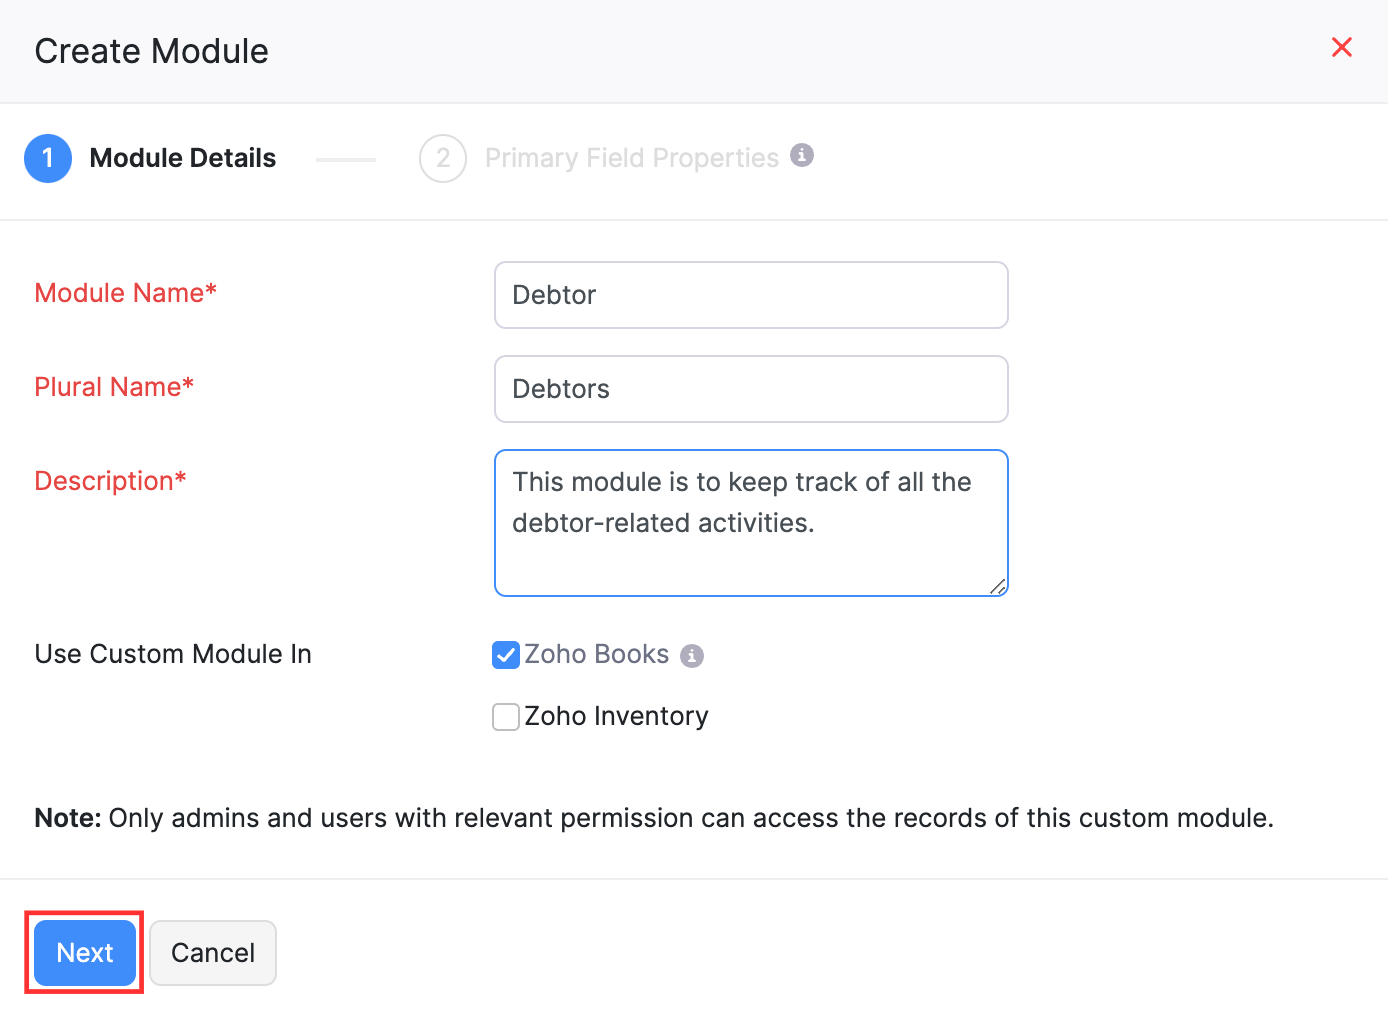
In the Module Details section:
- Enter the Module Name, Plural Name (plural form of the module’s name), and the Description.
- If your organisation is integrated with other Zoho Finance apps and you want to use the custom module in those apps, select the integrated apps in the Use Custom Module In field.
- Click Next.
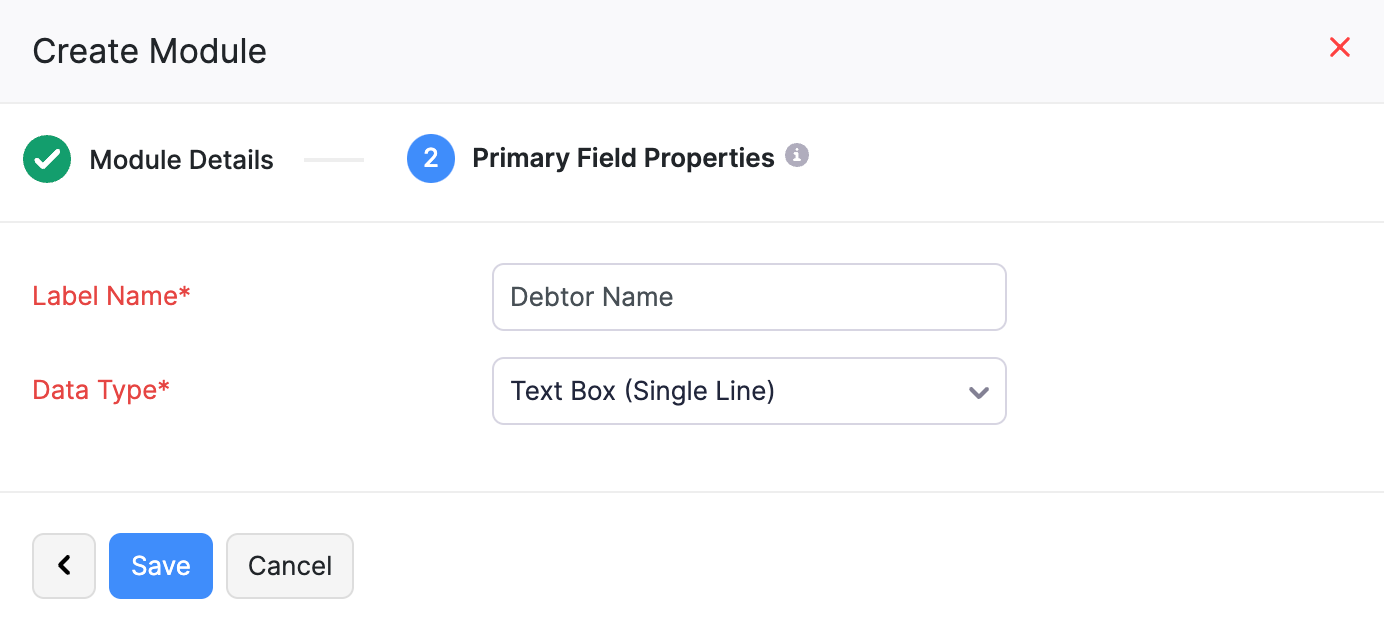
- In the Primary Field Properties section:
- Enter a name for the primary field in the Label Name field and select its data type from the Data Type field.
- Click Save.
Insight: A primary field is required to create a custom module. This field will be used to identify the custom module’s records.
Insight: You can edit the name of the primary field later if required. However, you will not be able to delete it.
The custom module will be listed under the More section on the left sidebar.
Add Fields
To help you fully craft your custom module, Zoho Books provides you the option to create fields with different data types. Here’s how:
- Go to Settings in the top right corner of the page.
- Under Custom Modules, click the custom module for which you want to create fields.
- Click the Fields and Tables tab.
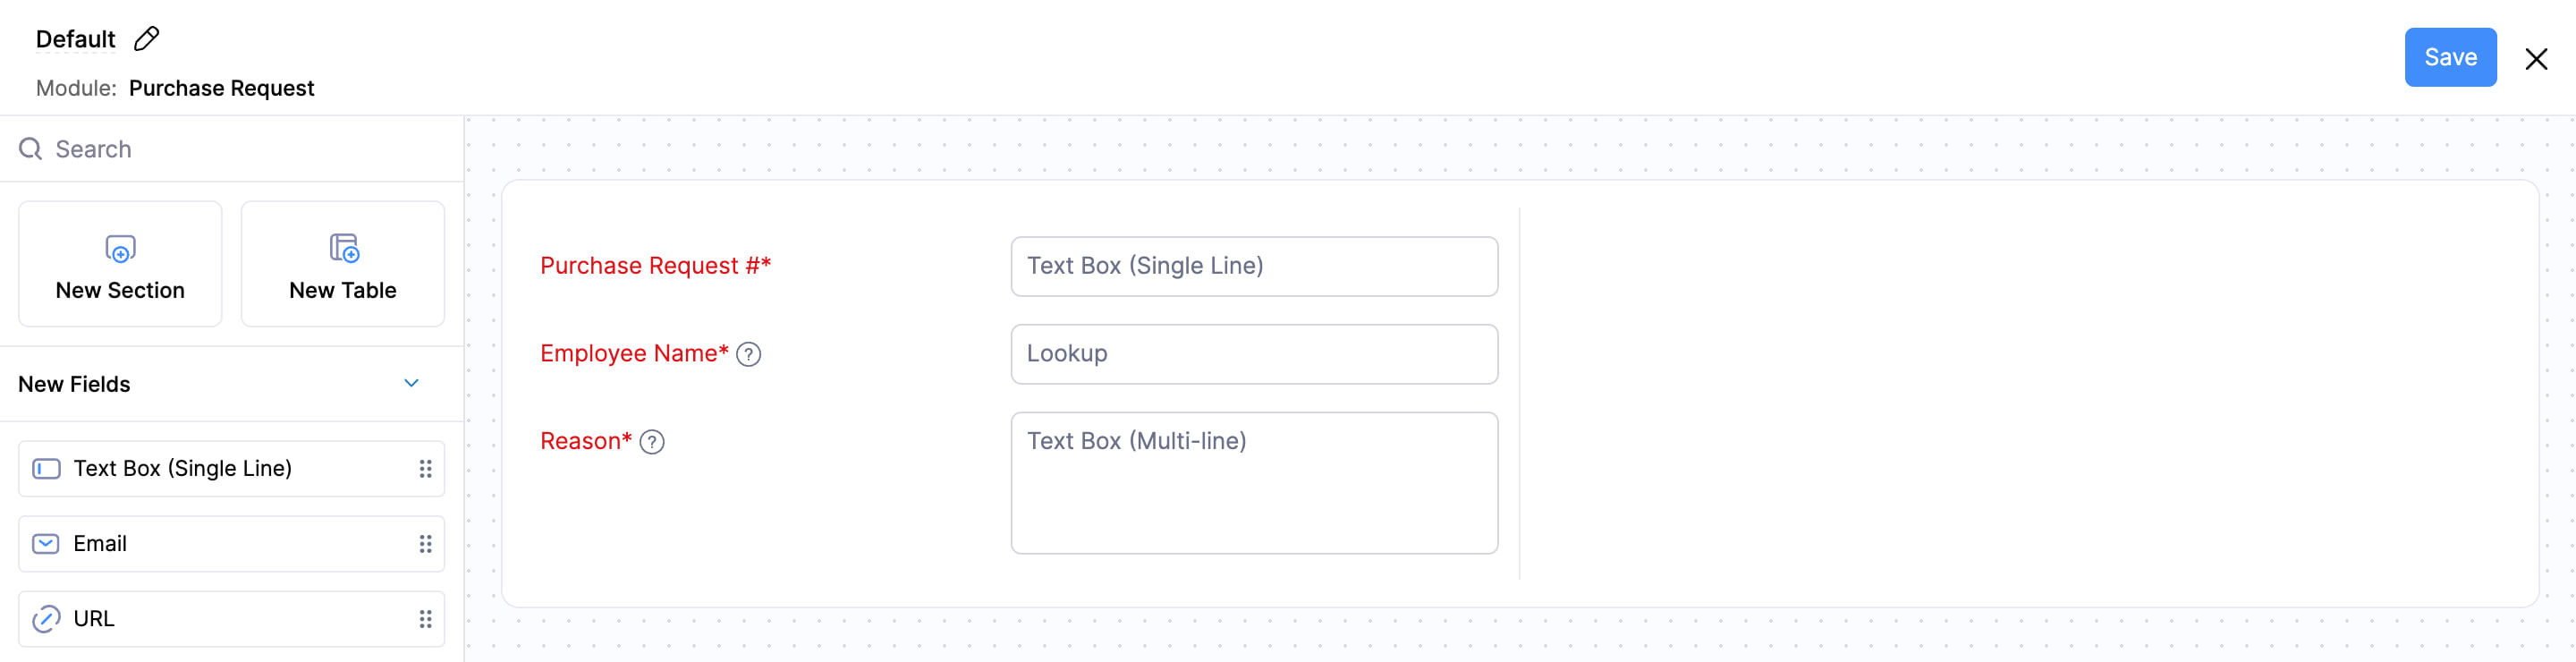
- Click Manage Fields and Tables in the top right corner. The form builder page will open.
- Drag and drop the required data type from the New Fields section on the left side of the page into the preferred section in the form.
- You can edit or delete a field by hovering over it and clicking the Edit or Delete icon. However, you cannot delete the primary field.
- Enter the necessary details in the pane that appears.
- Click Done at the bottom of the pane to create the field. The field will be saved only when you save the form.
- Once you’ve built the form, click Save in the top right corner to save it.
Insight: Each data type has certain limitations to the number of custom fields that can be created.
Add Tables
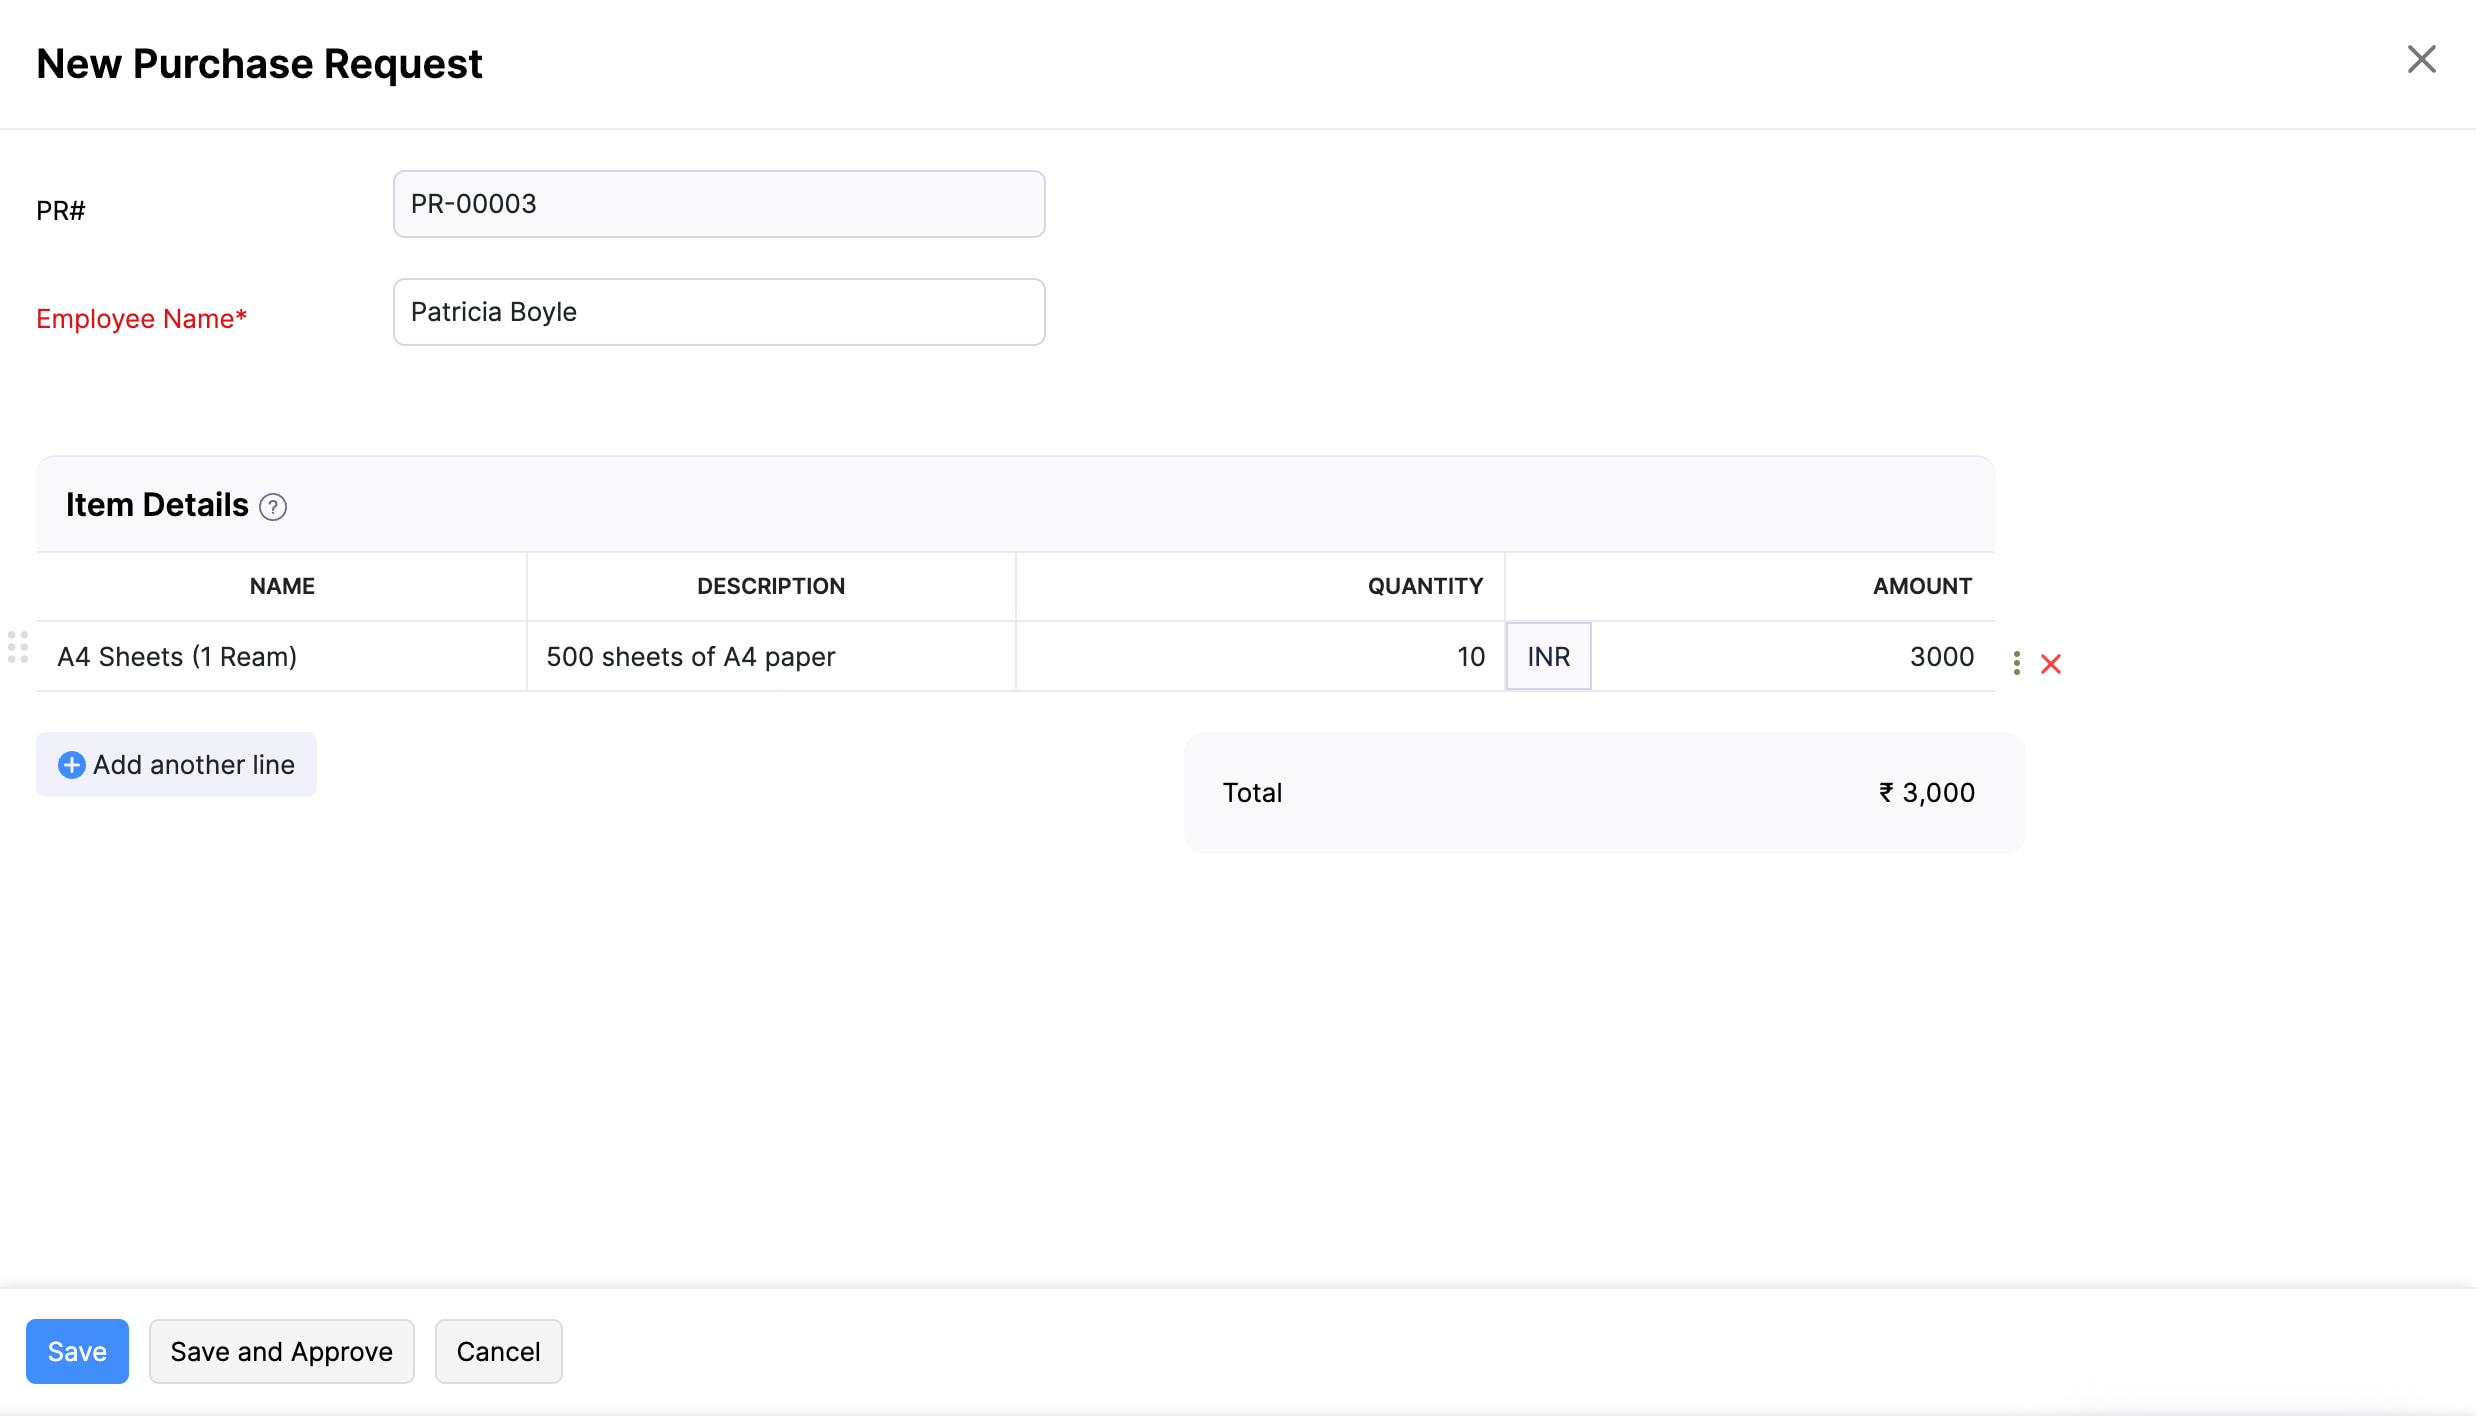
Scenario: Employees at Zylker often need supplies for their work. Patricia, Zylker’s CEO, uses the Custom Modules feature in Zoho Books to create a module called Purchase Requests to track these requests. She adds a table for employees to list the items they need. When an employee needs an office supply, they create a record in the Purchase Requests module and add the items as line items in the table, specifying the required quantity.
You can create tables for the custom modules you create. Inside the table, you can add the required line items. This is similar to how you add items as line items in the Item Details table when creating transactions. The table will be added as a separate section in the form, and you can add fields as columns and customise them.
To create a table:
Go to Settings in the top right corner of the page.
Under Custom Modules, click the custom module for which you want to create tables.
Click the Fields and Tables tab.
Click Manage Fields and Tables. The form builder page will open.
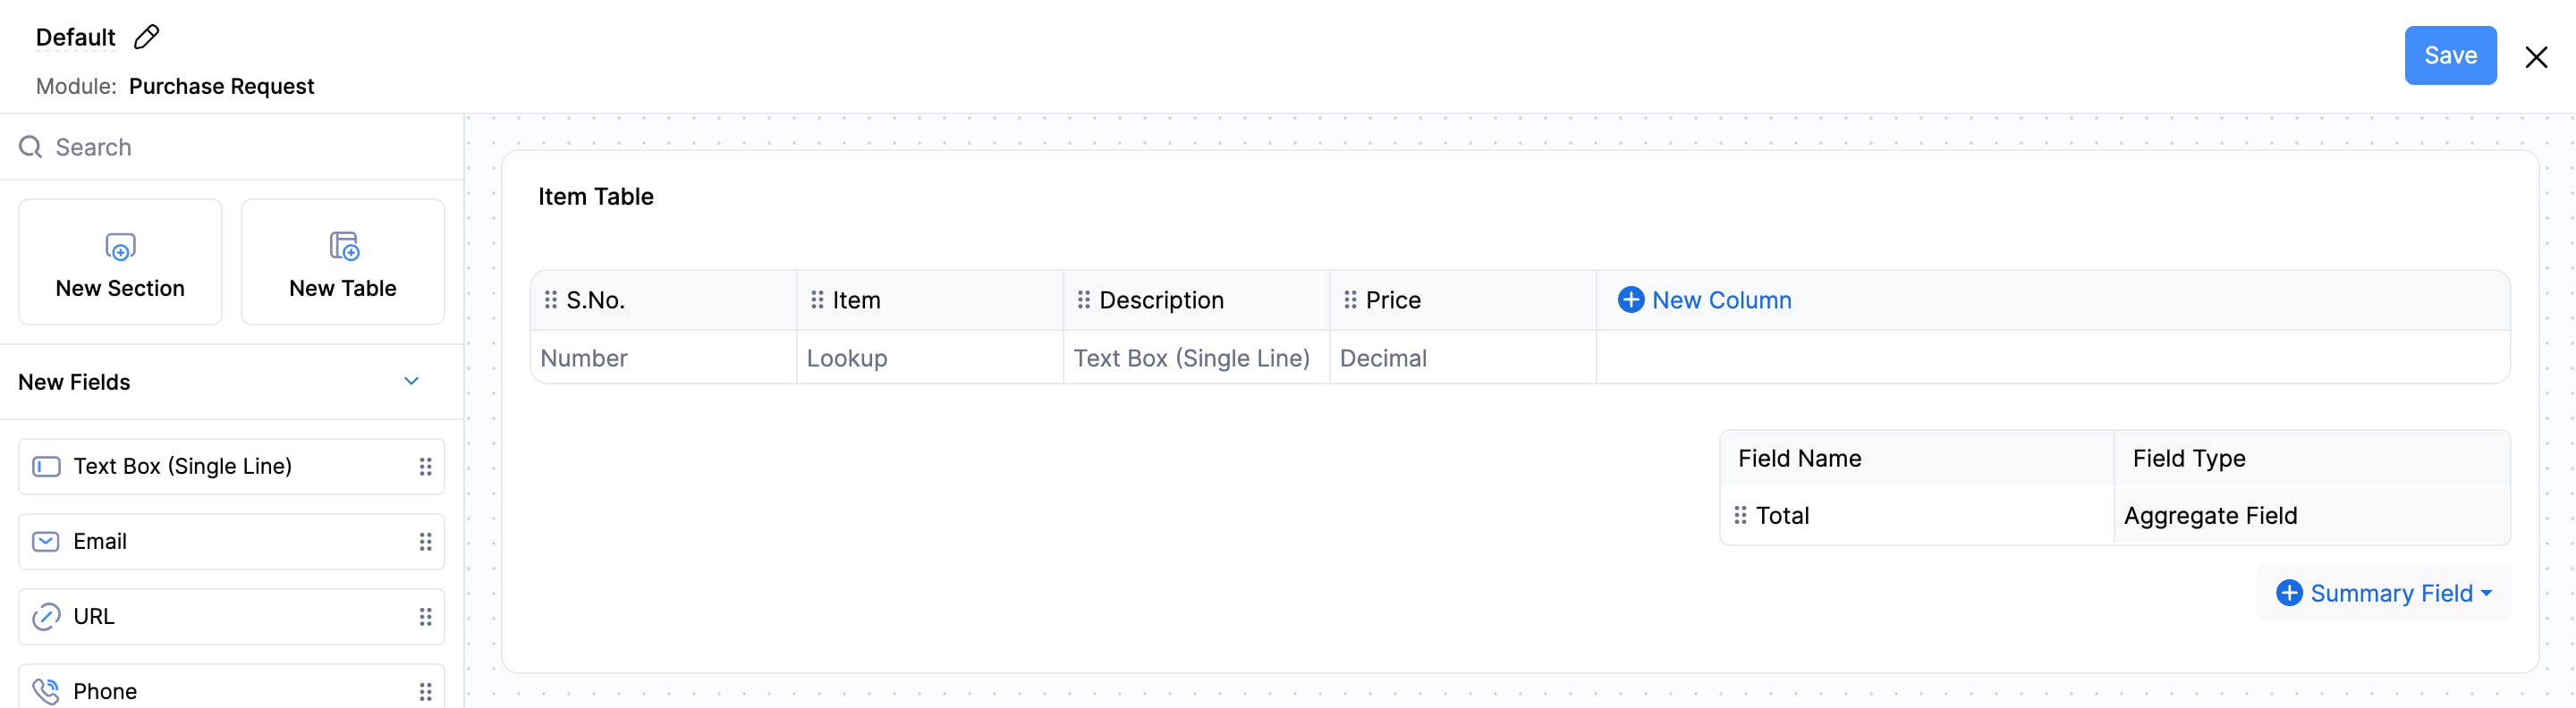
Drag and drop New Table on the left side of the page into the preferred position in the form. The table will be added as a new section in the form.
Enter the following details:
| Field Name | Description |
|---|---|
| Table Name | Name of the table. |
| Table Columns | The columns needed in the table. Click + New Column and select a data type for the column from the dropdown. A column will be added to the table. You can update the Column Name by clicking the newly created column and entering the required name. |
| Table Summary | A summary section for the details provided in the table. This is similar to the total section of a transaction. Click + Summary Field and select a data type from the dropdown. A field will be added under table summary. You can change the Field Name by clicking the field name text and entering the required name for the field. Aggregate is used to perform mathematical operations, such as sum, average, maximum value, or minimum value on the data. This is available only for the table columns of the amount, decimal, integer, and percentage data type. The Formula data type enables you to build a formula that performs calculations using predefined functions, fields, and operators. Learn more about the Formula data type. You can only use the custom module fields in the formula and not the table fields. |
| Allow reordering of rows | Check this option if you want to reorder the table rows when creating or editing records in the custom module |
| Set the maximum number of rows allowed in this table | Check this option if you want to set the maximum number of rows that can be added to the table. |
| Is this table mandatory? | Click Yes if you want to make the table mandatory when creating or editing records. If not, click No. |
| Show in all PDFs | Click Yes if you want the table to be displayed in the custom module’s PDF templates. If not, click No. |
- You can edit or delete the table by hovering over it and clicking the Edit or Delete icon.
- Once you’ve built the form, click Save in the top right corner to save it.
The following data types are supported in table columns:
- Text Box (Single Line)
- URL
- Phone
- Number
- Decimal
- Amount
- Percent
- Date
- Date and Time
- Check Box
- Dropdown
- Lookup
- Formula
- External Lookup
Add Sections
You can create sections within the form to organize fields and position them wherever you prefer. Here’s how:
- Go to Settings in the top right corner of the page.
- Under Custom Modules, click the custom module for which you want to create tables.
- Click the Fields and Tables tab.
- Click Manage Fields and Tables. The form builder page will open.
- Drag and drop New Section on the left side of the page into the preferred position in the form.
- Hover over the section and click the Edit icon to update the Section Name and select the Number of Columns. You can choose either 1 or 2 columns. If you select 2, the fields will be divided between the columns.
- To add new fields, drag and drop data types from the New Fields section on the left side of the page into the section.
- To add existing fields, drag and drop fields from the Unused Elements section on the left side of the page into the section.
- You can delete a section by hovering over it and clicking the Delete icon.
- Once you’ve built the form, click Save in the top right corner to save it.
Add Records
Once you’ve created a custom module and added fields, you can create a record and enter the details. Here’s how:
- Click More on the left sidebar and select the custom module in which you want to create a record.
- Click + New in the top right corner of the page.
- Enter the necessary details.
- If you’ve created a table for this custom module, add entries to the table as line items.
- If you want to add more entries to the table, click + Add Line Item below the table.
- If you’ve added fields to the Table Summary section, you can add the required details.
- Click Save.
Import Records and Tables
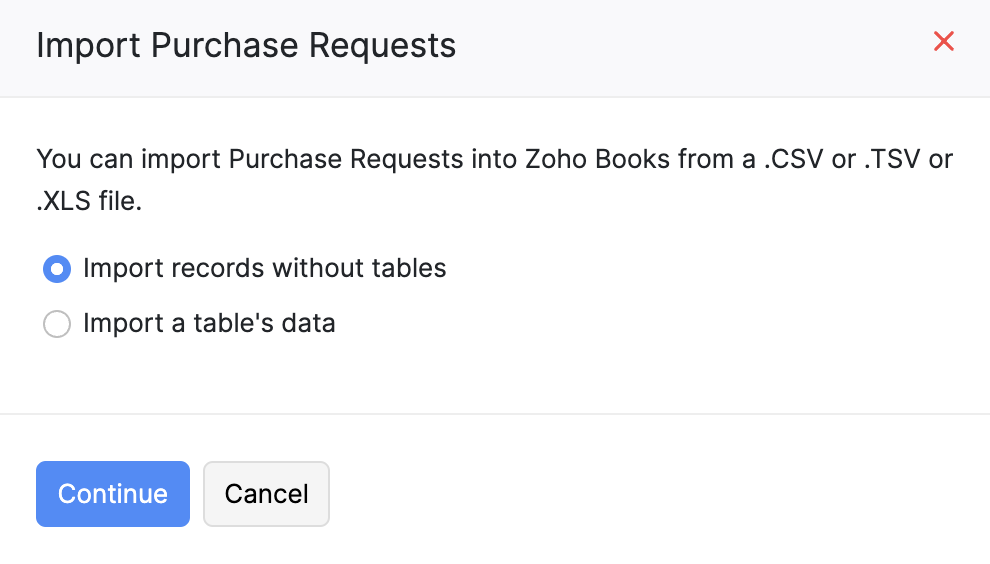
You can import a custom module’s records and tables into Zoho Books. Read our help document on importing data to learn how.
When importing, you can choose to import the records of the custom module or its tables. If you want to import the tables, you should first import the records and then the tables.
When importing tables, you can overwrite the existing details by using either the Record Name or the Module Record ID.
 Yes
No
Yes
No
Thank you for your feedback!