
Custom Actions
Custom Actions enables you to create personalized workflow actions tailored to suit your business needs. You can set up your own triggers and conditions for these actions and execute them based on your specific configuration.
How Custom Actions Work
Custom Actions is a component within an extension. So, you’ll have to create an extension in Sigma and create a widget before you can configure the custom action. Once configured, you can publish it as an extension privately. Next, you can install the Custom Actions extension in your Zoho Books organization, and it will be listed under the default Workflow Actions in Zoho Books settings. Here, you can create new actions that can be associated with a workflow rule, and the action will be executed when the workflow rule’s conditions are met.
Scenario: Zylker Inc. has a customer named Bailey Miles. When Bailey places an order, Zoho Books sends her an order confirmation SMS. Before shipping, Zoho Books sends another SMS with a link to track her product. After delivery, she gets a final SMS asking for feedback. Instead of using different functions and workflows for each SMS, Custom Actions now handles all three SMS notifications with a single function, making it simpler and more efficient.
Create a Custom Action
Prerequisites:
- You must create an extension in Sigma for the custom action you want to create.
- You must create a widget within that extension for the custom action.
- While creating the widget, ensure the ZIP file you upload has the file location set to customactions.widget. The ’name’ and ’entity_type’ fields are mandatory while creating a widget.
To create a custom action in the extension:
- Go to the Sigma portal and click Extensions on the left sidebar.
- Hover over the new extension you created and click the Edit icon.
- You’ll be redirected to the Zoho Books Developer Portal. Click the Build tab in the top bar.
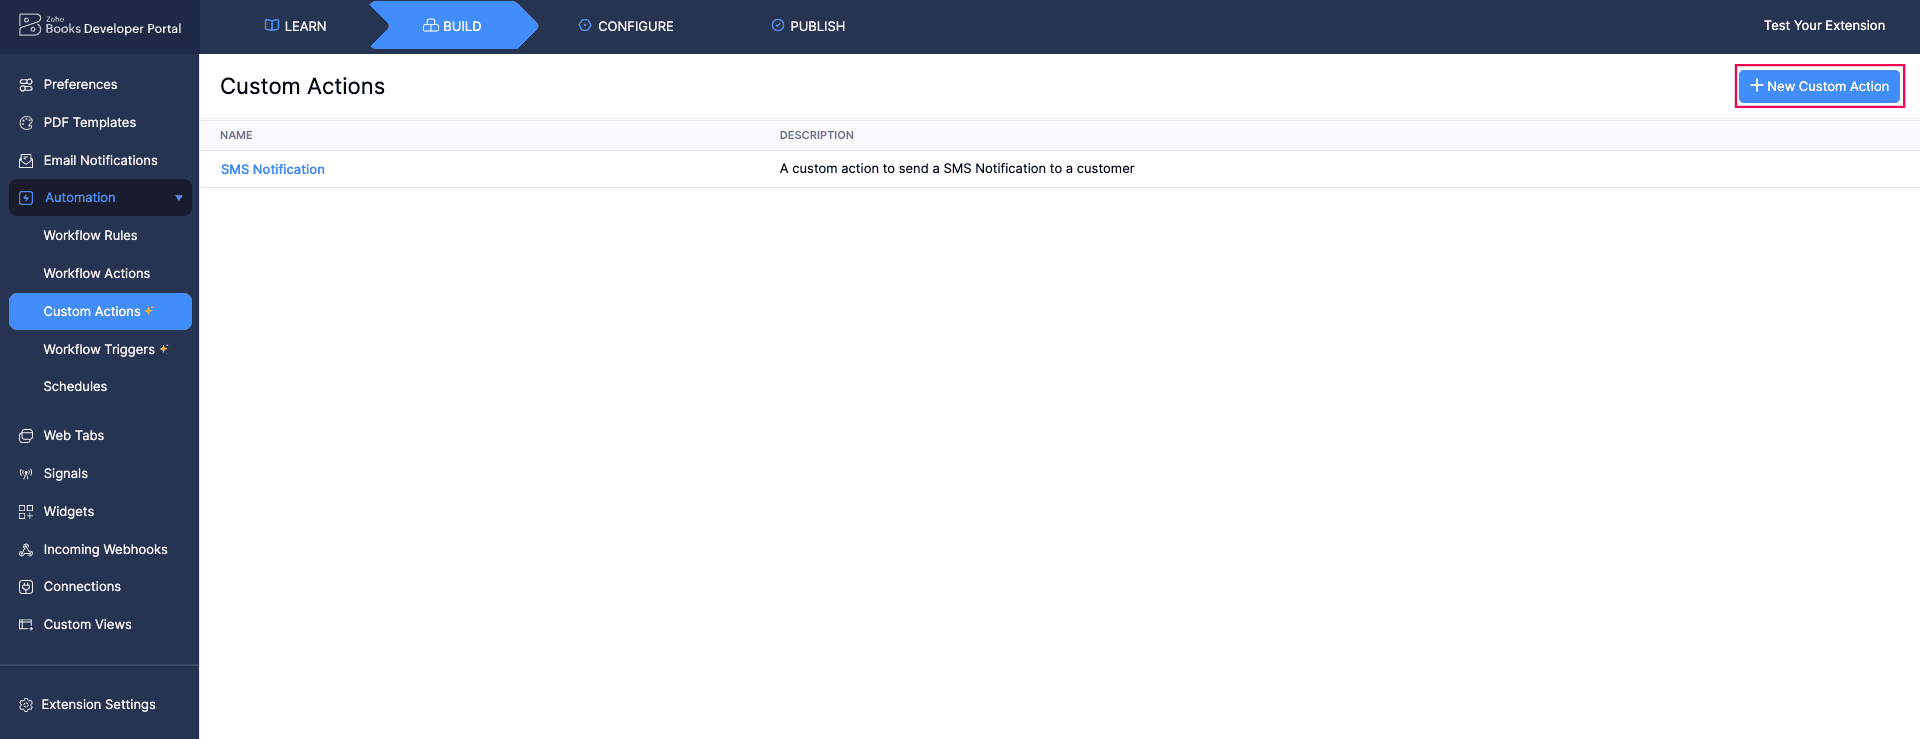
- Click Automation on the left sidebar, and select Custom Actions.
- Click + New Custom Action in the top right corner.
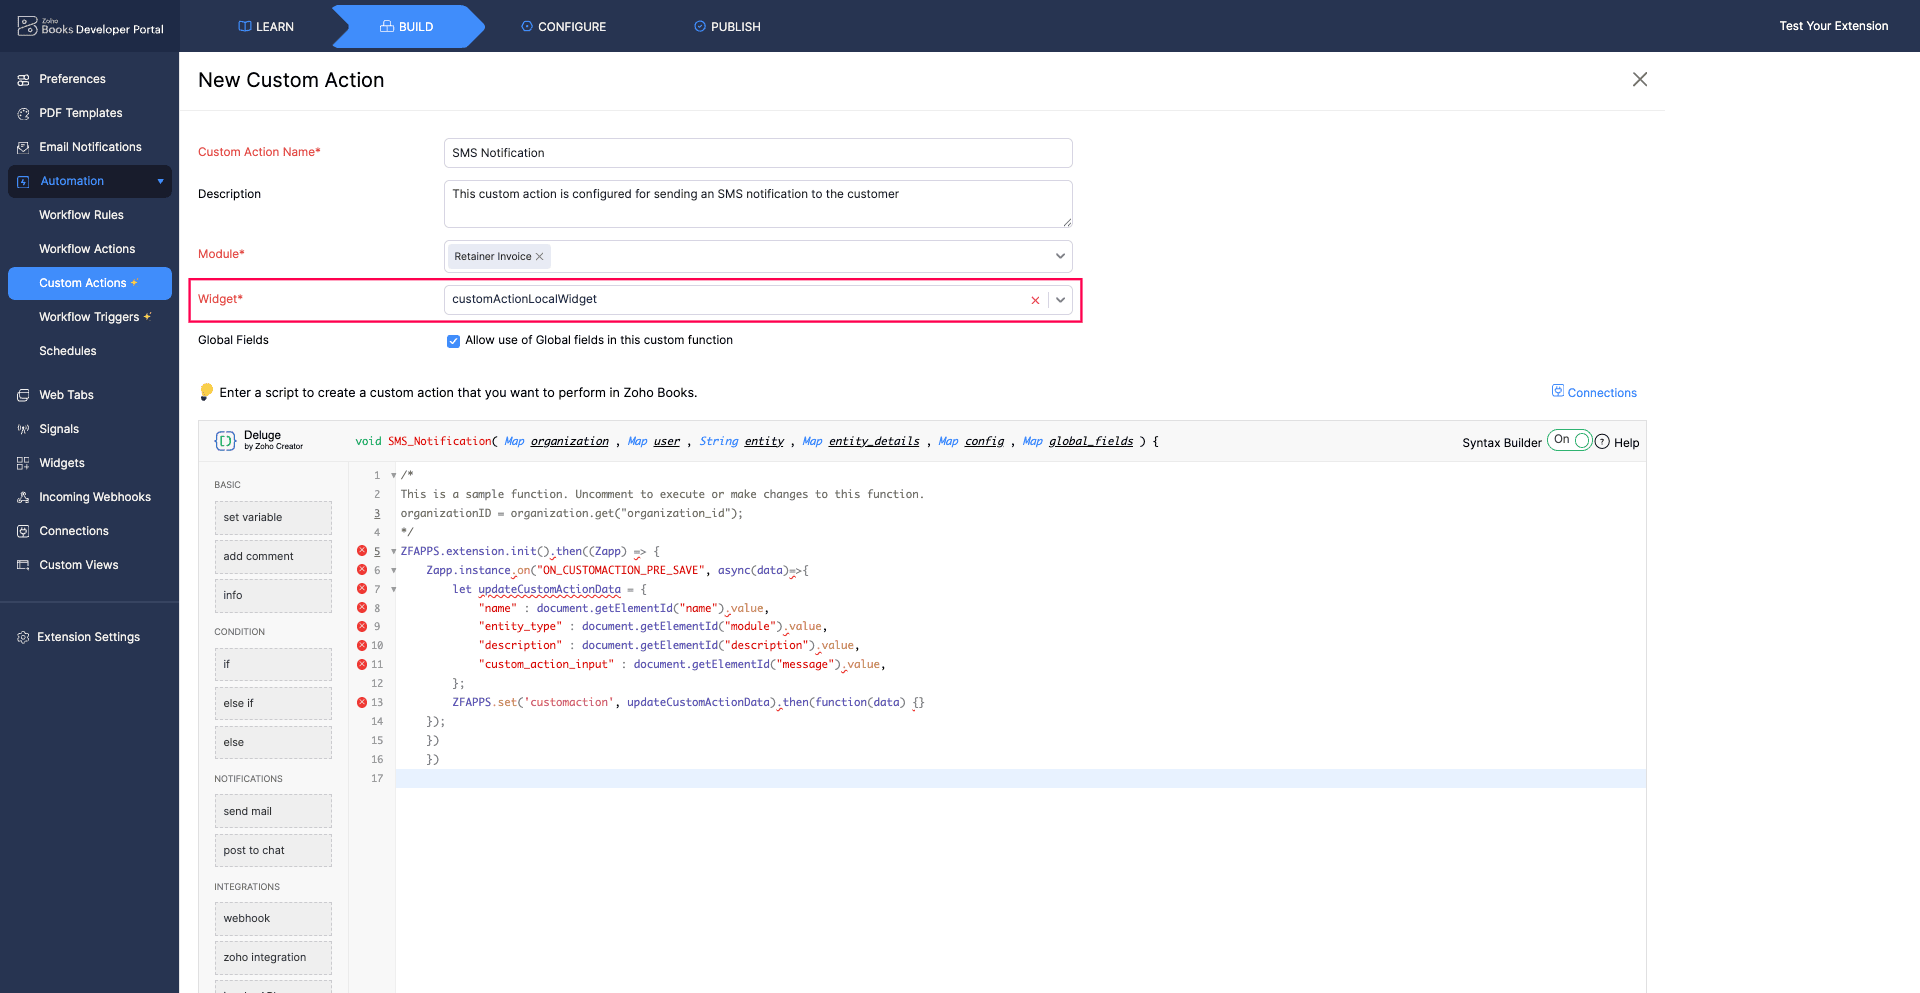
- In the New Custom Action page, fill in the following fields:
- Custom Action Name: Enter a name for your custom action.
- Description: Provide a description.
- Module: Choose the modules where this action will be used.
- Widget: Select the widget you’ve created from the dropdown.
- Global Fields: Check this box if you want to use global fields in your deluge code.
- In the Deluge Editor, enter the script for your custom action based on your preferences and the associated widget.
- Click Save.
Now, after configuring custom actions in the extension, publish the extension and then install it in your organization.
Create Actions for Your Custom Action Extension
After you install the extension, it will be listed under the default Workflow Actions in your Zoho Books organization. As an example, here we have considered creating a SMS Notification custom action. To create an action under the newly installed custom action extension:
- Go to Settings.
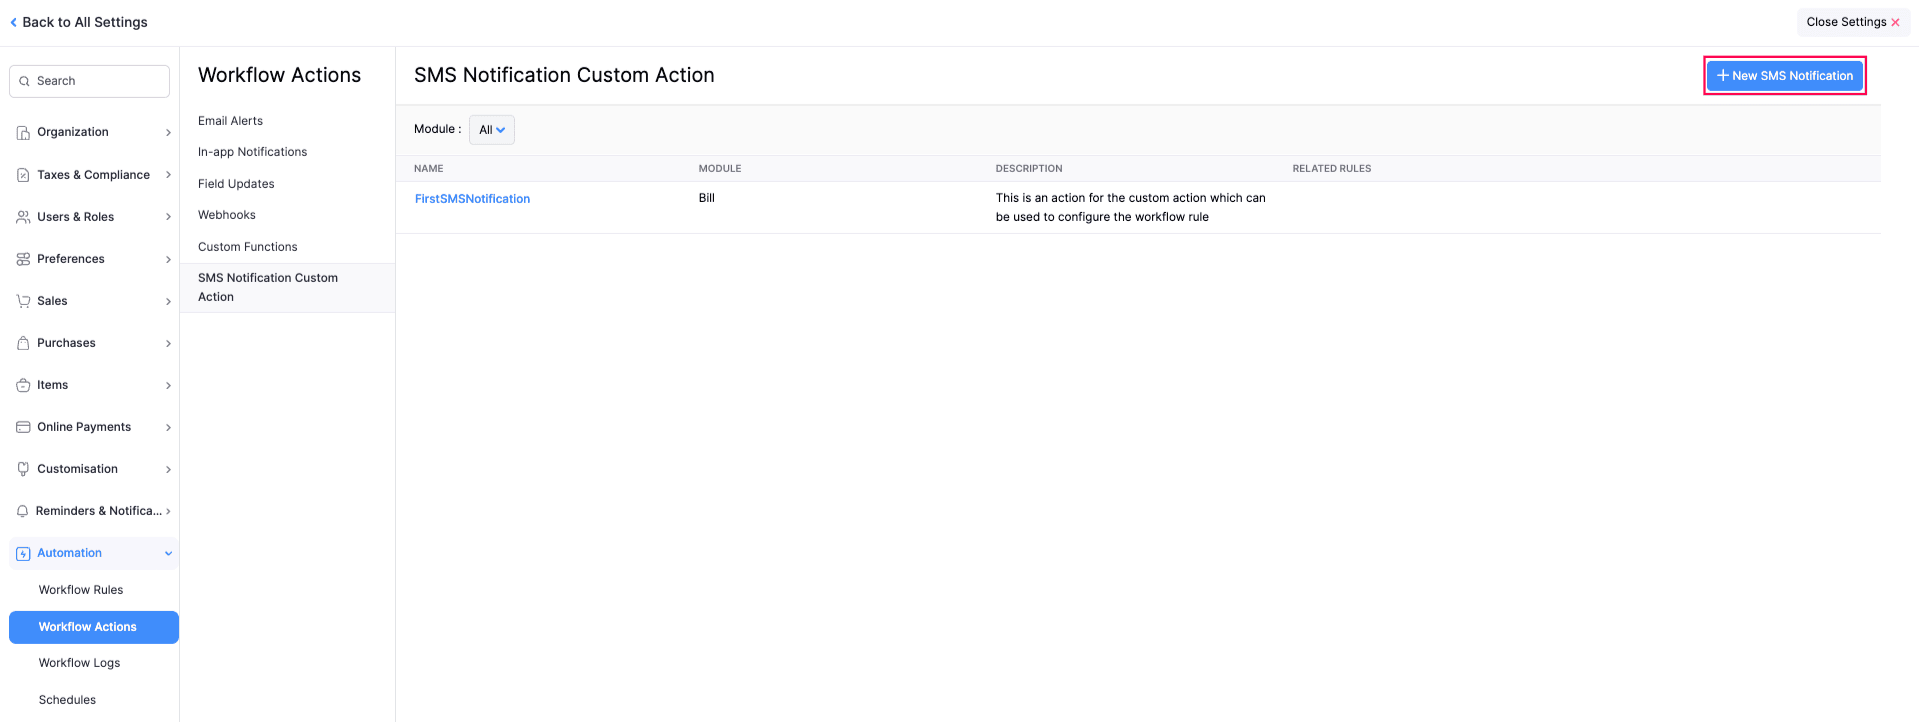
- Select Workflow Actions under Automation.
- Select the custom action extension from the left sidebar.
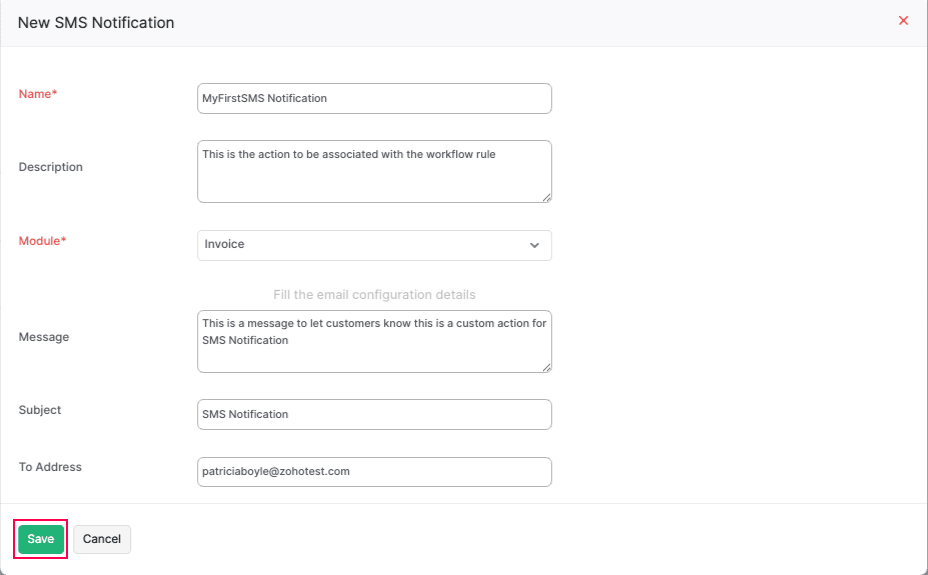
- Click + New SMS Notification in the top right corner and popup will open.
- Enter the name for the action and other necessary details.
- Click Save.
Now, you can associate this custom action with a workflow rule.
Associate the Custom Action With a Workflow Rule
- Go to Settings.
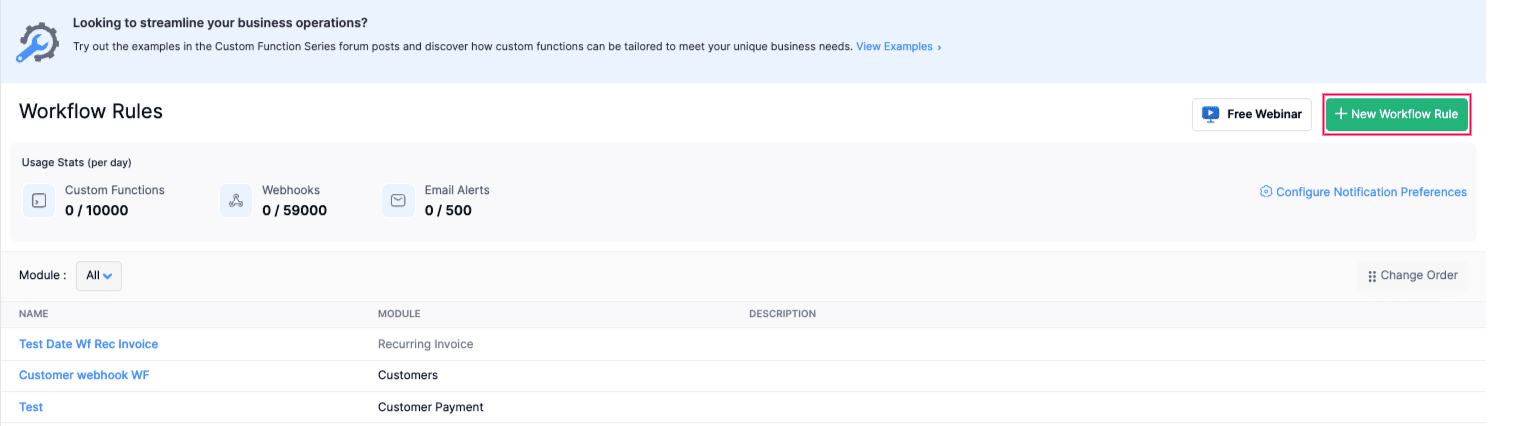
- Select Workflow Rules under Automation.
- Click + New Workflow Rule in the top right corner.
- Set up the workflow rule by entering the details and criteria.
- Choose Immediate Actions or Time-Based Actions.
- In the right sidebar, choose SMS Notifications from the Type dropdown and select the SMS Notification action you configured earlier in Zoho Books from the Name dropdown.
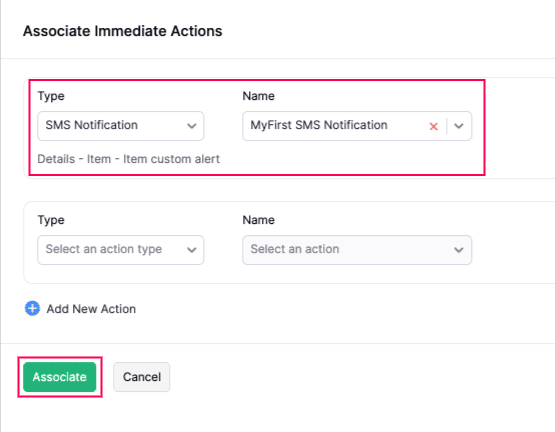
- Click Associate.
- Click Save to save the workflow rule, or Save as Draft if you want to save the rule as a draft.
Now, the custom action is associated with the workflow rule. Every time the criteria mentioned in the workflow rule is satisfied, the custom action will be executed.
Note: You can create up to 10 custom actions per extension, and you can associate one custom action with each workflow rule.
Insight: Once a custom action is associated with a workflow rule, it cannot be deleted. You’ll have to delete the rule to delete the custom action.
Sample Widget Details for Custom Actions
You can refer to the following examples to create your widgets for custom actions:
Prerequisites:
- When creating the widget, ensure that the ZIP file you upload has the file location set to customactions.widget. The ’name’ and ’entity_type’ fields are mandatory while creating a widget.
Set Up Email Notifications
When you set up an Email Notification with Custom Actions, be sure to include the fields: ‘subject’, ‘message’ and ’to address’ along with the mandatory fields you’ve already added. Here’s a sample code to configure the email notification:
let customActionInputData = {};

customActionInputData['message'] =  document.getElementById("message").value;
customActionInputData['subject'] =  document.getElementById("subject").value;
customActionInputData['toAddress'] =  document.getElementById("address").value;

let updateCustomActionData = {
    "name" : document.getElementById("name").value,
    "entity_type" : document.getElementById("entity").value,
    "description" : document.getElementId("descp").value,
    "customaction_input" : JSON.stringify(customActionInputData)
};

ZFAPPS.set('customaction', updateCustomActionData)
Configure the Widget
Now, after setting up the email notification, you can use the SDK Method ZFAPPS.set(“customaction”, object)’ to save the data.
After saving the data and associating the widget with the custom action, you can access the details in the ’entity’, ’entity_details’, and ‘config’ fields within the Deluge function of that custom action.
| Field | Description |
|---|---|
| entity | Shows the name of the selected module. |
| entity_type | Displays details of the selected module. |
| config | Contains subject data, message content, and recipient address. |
In the ON_CUSTOMACTION_PRE_SAVE event, you need to specify the required fields and other fields for the Save action. This event checks and performs necessary tasks before saving the custom action in Zoho Books. Read our help document on Pre Save for more details.
Set Up SMS Notifications
When you set up a SMS Notification with Custom Actions, be sure to include the ‘message’ field and specify the content in it, along with the mandatory fields you’ve already added. Here’s a sample code to configure to configure the SMS Notification:
 ZFAPPS.extension.init().then(Zapp) => {
    Zapp.instance.on("ON_CUSTOMACTION_PRE_SAVE", async(data) => {
    let updateCustomActioData = {
        "name" : document.getElementById("name").value,
        "entity_type" : document.getElementById("entity").value,
        "description" : document.getElementId("descp").value,
        "customaction_input" : document.getElementId("message").value,
    };
    ZFAPPS.set('customaction', updateCustomActionData).then(function(data) {
    });
})
)}
Notes:
- You can customize the above sample codes to match your business needs.
- Once you’ve set up the SMS notification, you can configure the widget for it by following the steps mentioned above.
 Yes
No
Yes
No
Thank you for your feedback!