Invite attendees to an event
In Zoho Calendar, attendees of an event can be added and invited by entering their email address in the Attendees field of the Create Event, Duplicate Event or Edit Event tab. You can invite contacts from within your organization and also from outside your organization. When organizing meetings in your organization, you need to check the free/ busy status of your colleagues before picking the best time for the meeting.
The event invitation request will be sent to the attendees and notifications will be dropped through email. After receiving the invitation, the attendees have to RSVP to the event after which the status will be updated to the organizer.
Steps to Send Event Invites to Attendees
- Log in to Zoho Calendar.
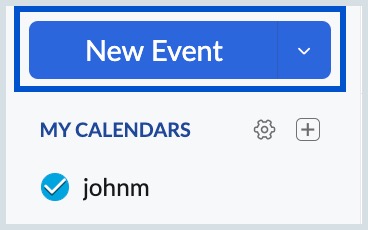
- Click the New Event button on the left pane of your calendar.
- In the Create Event tab, provide the Event title, Date and Time of the event.
- Provide the email address of the attendees in the Attendees field. You can choose the attendees' email addresses from the drop-down if the attendees are in your contact or if they are from within your organization.

- You can also send invites to attendees from outside your organization. Type the complete email address of the attendee in the Attendees field and press enter.

- You can send invites to a group of attendees from within your organization. Type the group name in the Attendees field and select the group from the listing.

- Provide other details of the event and click Save.
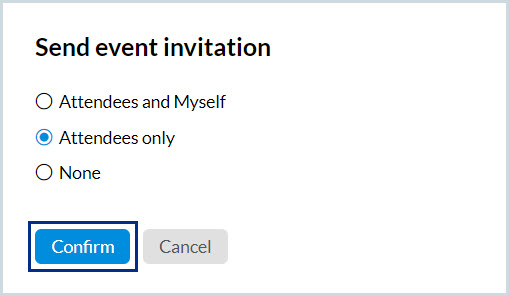
- A Send event invitation pop-up will appear. Select any one of the options given and click Confirm.
An event invitation mail will be sent to the attendees' email addresses, the email addresses of attendees outside your organization, and the group email addresses.Any changes made to the event will be notified through the same email thread. Attendees can RSVP for the event from the mail after which the event will be added to their calendar and the invitation status will be updated to the event organiser.
Note:
- Follow the same steps given above to add an attendee while editing or duplicating an event.
- Click the x symbol next to the email address in the Attendee field to remove a contact from the attendee list.
- The Free/ busy status of the attendees can be checked only if they are from within your organization and have enabled free/ busy sharing in their calendar settings.
- A free user can add only up to a maximum of 20 attendees (including group attendees) to an event.
Participants' availability
When you create an event and add participants to it, you can check whether all the attendees are available for the time you choose. The participants' availability section will suggest the next 5 best possible timeslots where the majority of the participants are available. Follow the steps given below to check the participants' availability while creating the event.
Steps to check the participants' availability
- Log in to Zoho Calendar.
- Click the New Event button on the left pane of your calendar.
- In the Create Event tab, provide the Event title, Date and Time of the event.
- Provide the email address of the attendees in the Attendees field.
- Click the Slot suggestion button to view the availability of each participant.
- The participants' availability section will show the next 5 best possible time slots where a majority of the participants are available.
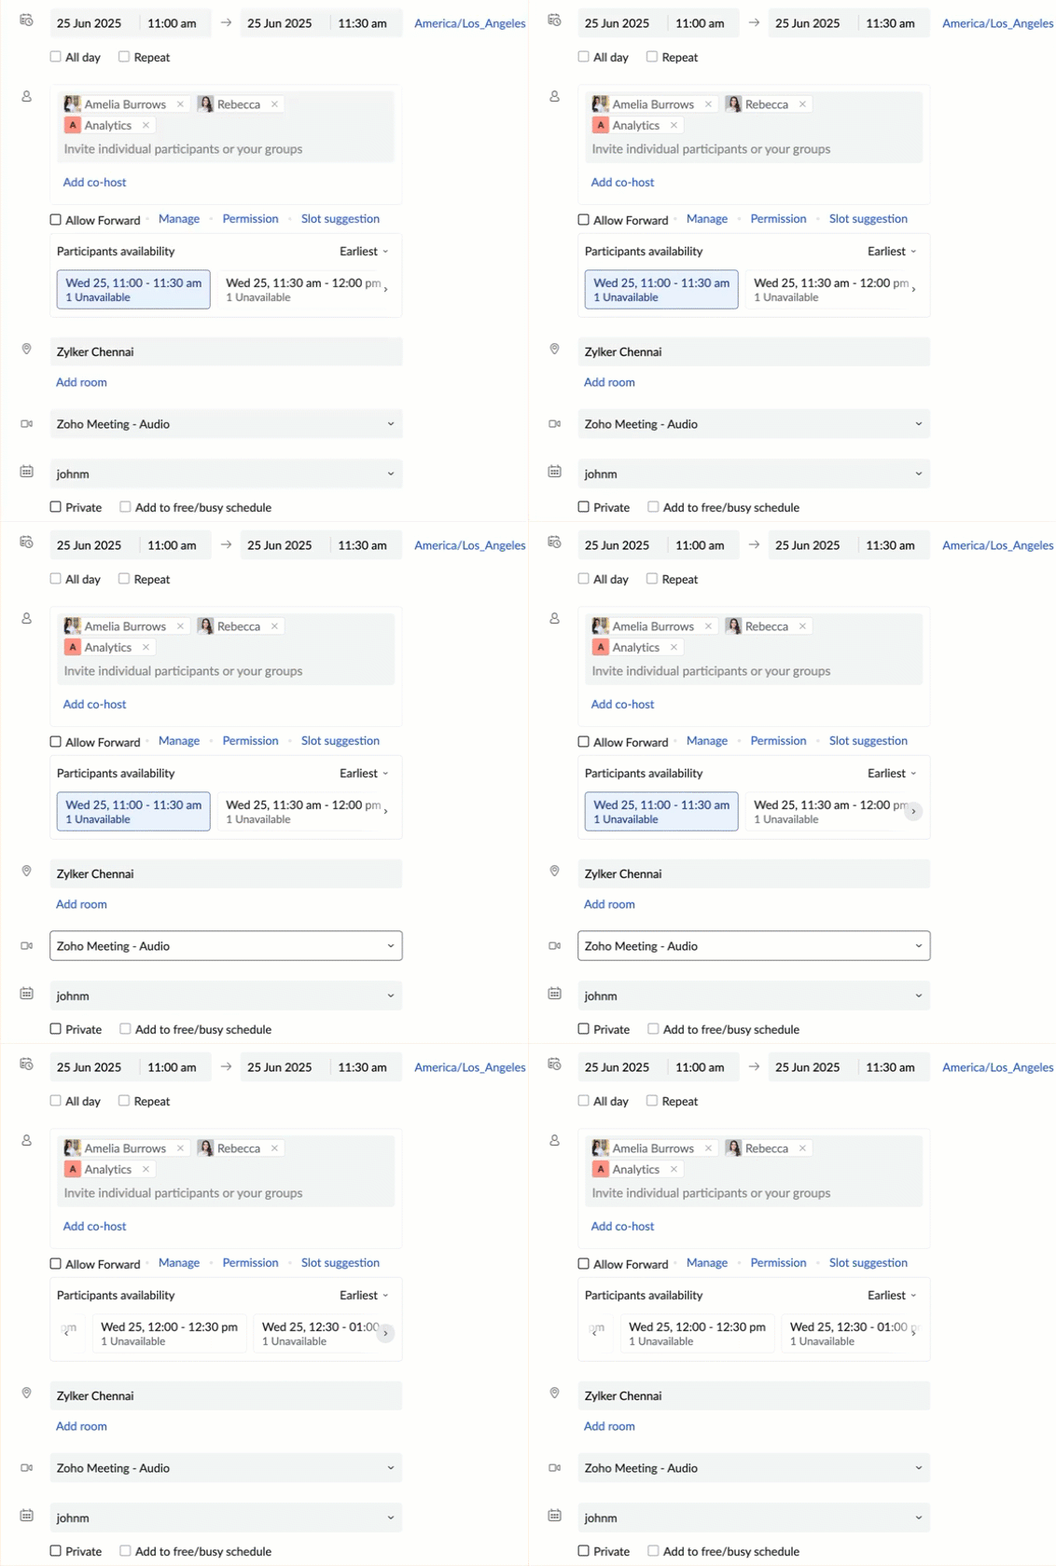
- You can also filter the choices with the 3 options available.
- Earliest- This will show the 5 earliest timeslots available.
- This week - This will show the possible timeslots in that particular week. (Week is shown based on the week start set up in your calendar settings).
- Next week - This will show the possible timeslots in the next week.

- Select the time slot which works for all the participants.
- You can also check the detailed availability of the participants using the Manage and View free/busy option.
- Provide other details of the event and click Save.
Note:
This feature is not supported for the following cases:
- Repeat events
- All day events or events having the duration more than 24hours.
- Past events
Group availability
When you create an event and invite a group to the participants' list, you can altogether view the availability of the group members along with the list of participants, non-participants and the next free time. To check the Groups' availability while creating the event, follow the steps mentioned below:
- Log in to Zoho Calendar.
- Click the New Event button on the left pane of your calendar.
- In the Create Event tab, provide the necessary details.
- In the participants' field, enter the group address.
- Click on Manage.
- The list of participants will be provided along with the room details that you can modify. On the left side, you will find a detailed overview of the participants' availability, showing their private calendars and indicating whether they are free or busy. If a group has more than 50 members, access to availability information is currently restricted.
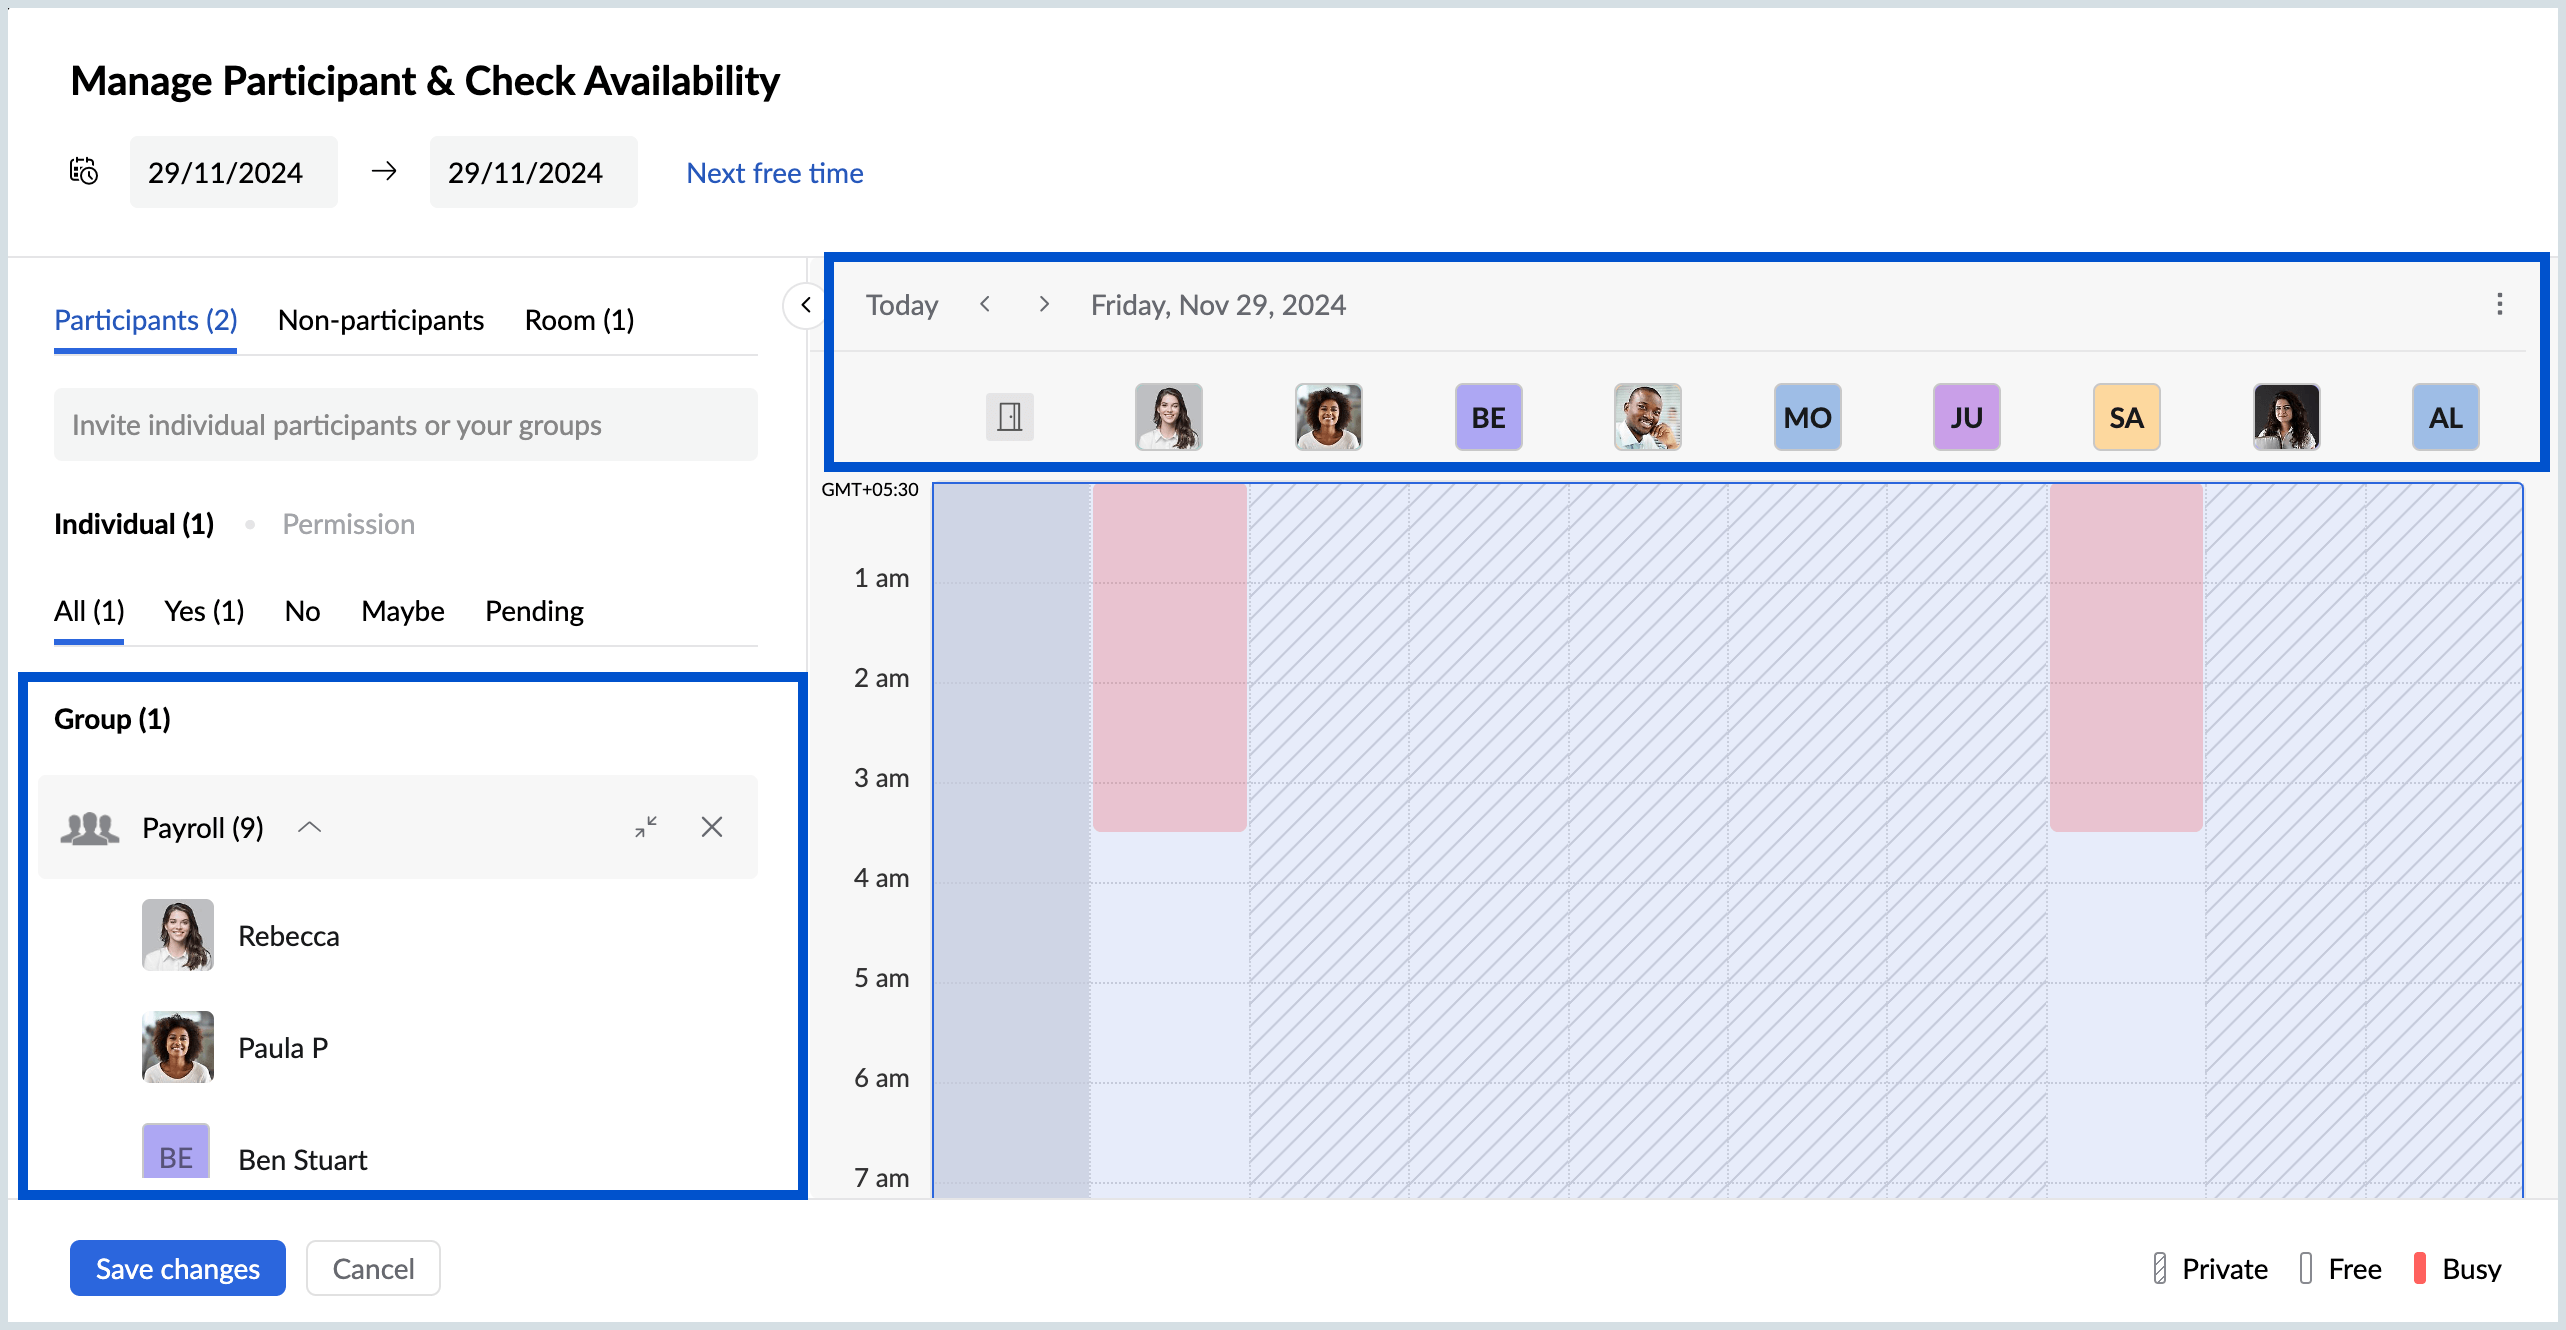
- Select the required time slot which works for all the participants in the group.
- Enter other required details and click Save changes.
Note:
- The availability of non-participants will not be shown.
- If a group has more than 50 members, access to members' availability information is currently restricted.
Event email invite delivery status
When you create an event, invites will be sent to the attendees via email. In cases like server unavailability, non-existent email address, or typos in the email addresses, the email invite might not get delivered. You can check on the email invite delivery status from within the view event tab.
Follow the steps given below to find the list of all the emails delivered and undelivered, the reasons for failure and modify the email address if necessary.
Steps to check event email invite delivery status
- Log in to Zoho Calendar.
- Click on the event you want to check the delivery status.
- An event view pop-up will appear with the event title, time and date of the event in your time zone and other details that you have given in the event creation box.
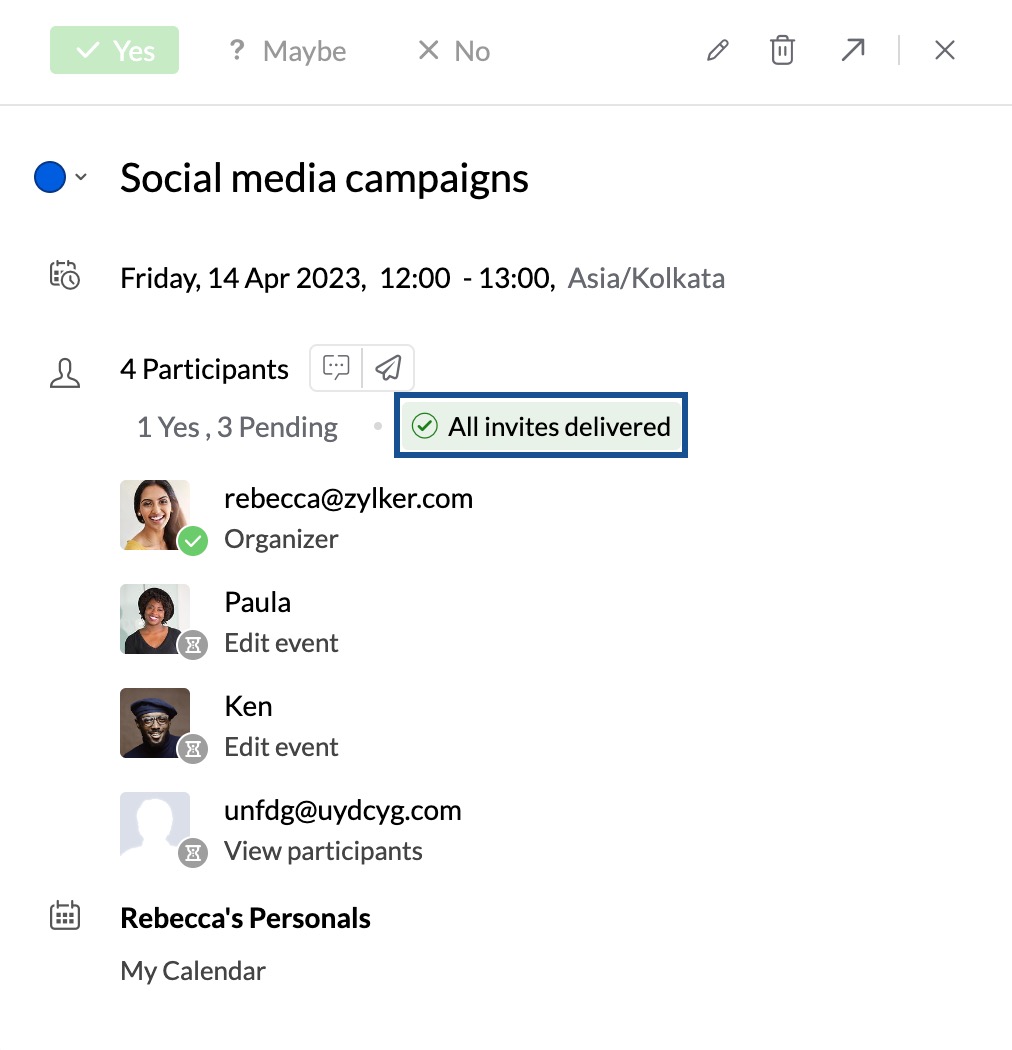
- If all your event invites have been delivered, you will find the "All invites delivered" message in the participants' section.
- If any of the invites weren't delivered, you would find an "Undelivered" message in the participants' section.
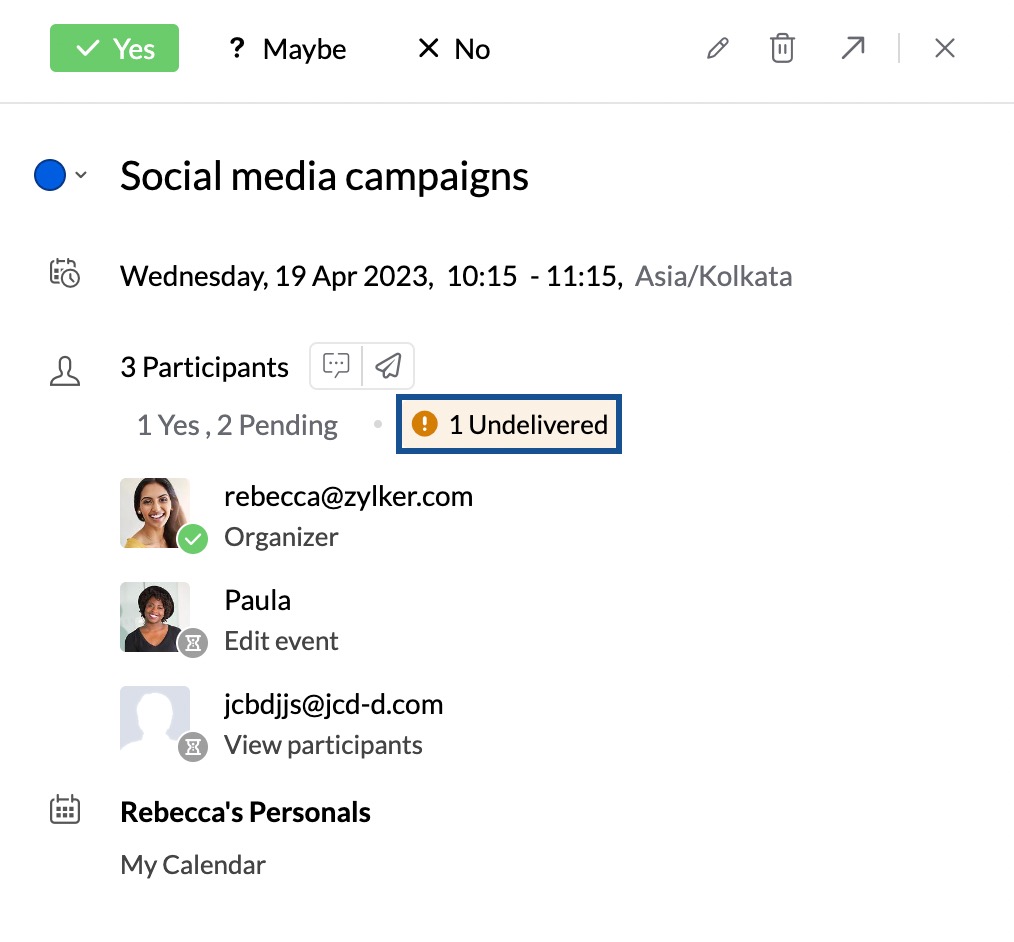
- Click on the " All invites delivered / Undelivered " message for more information.
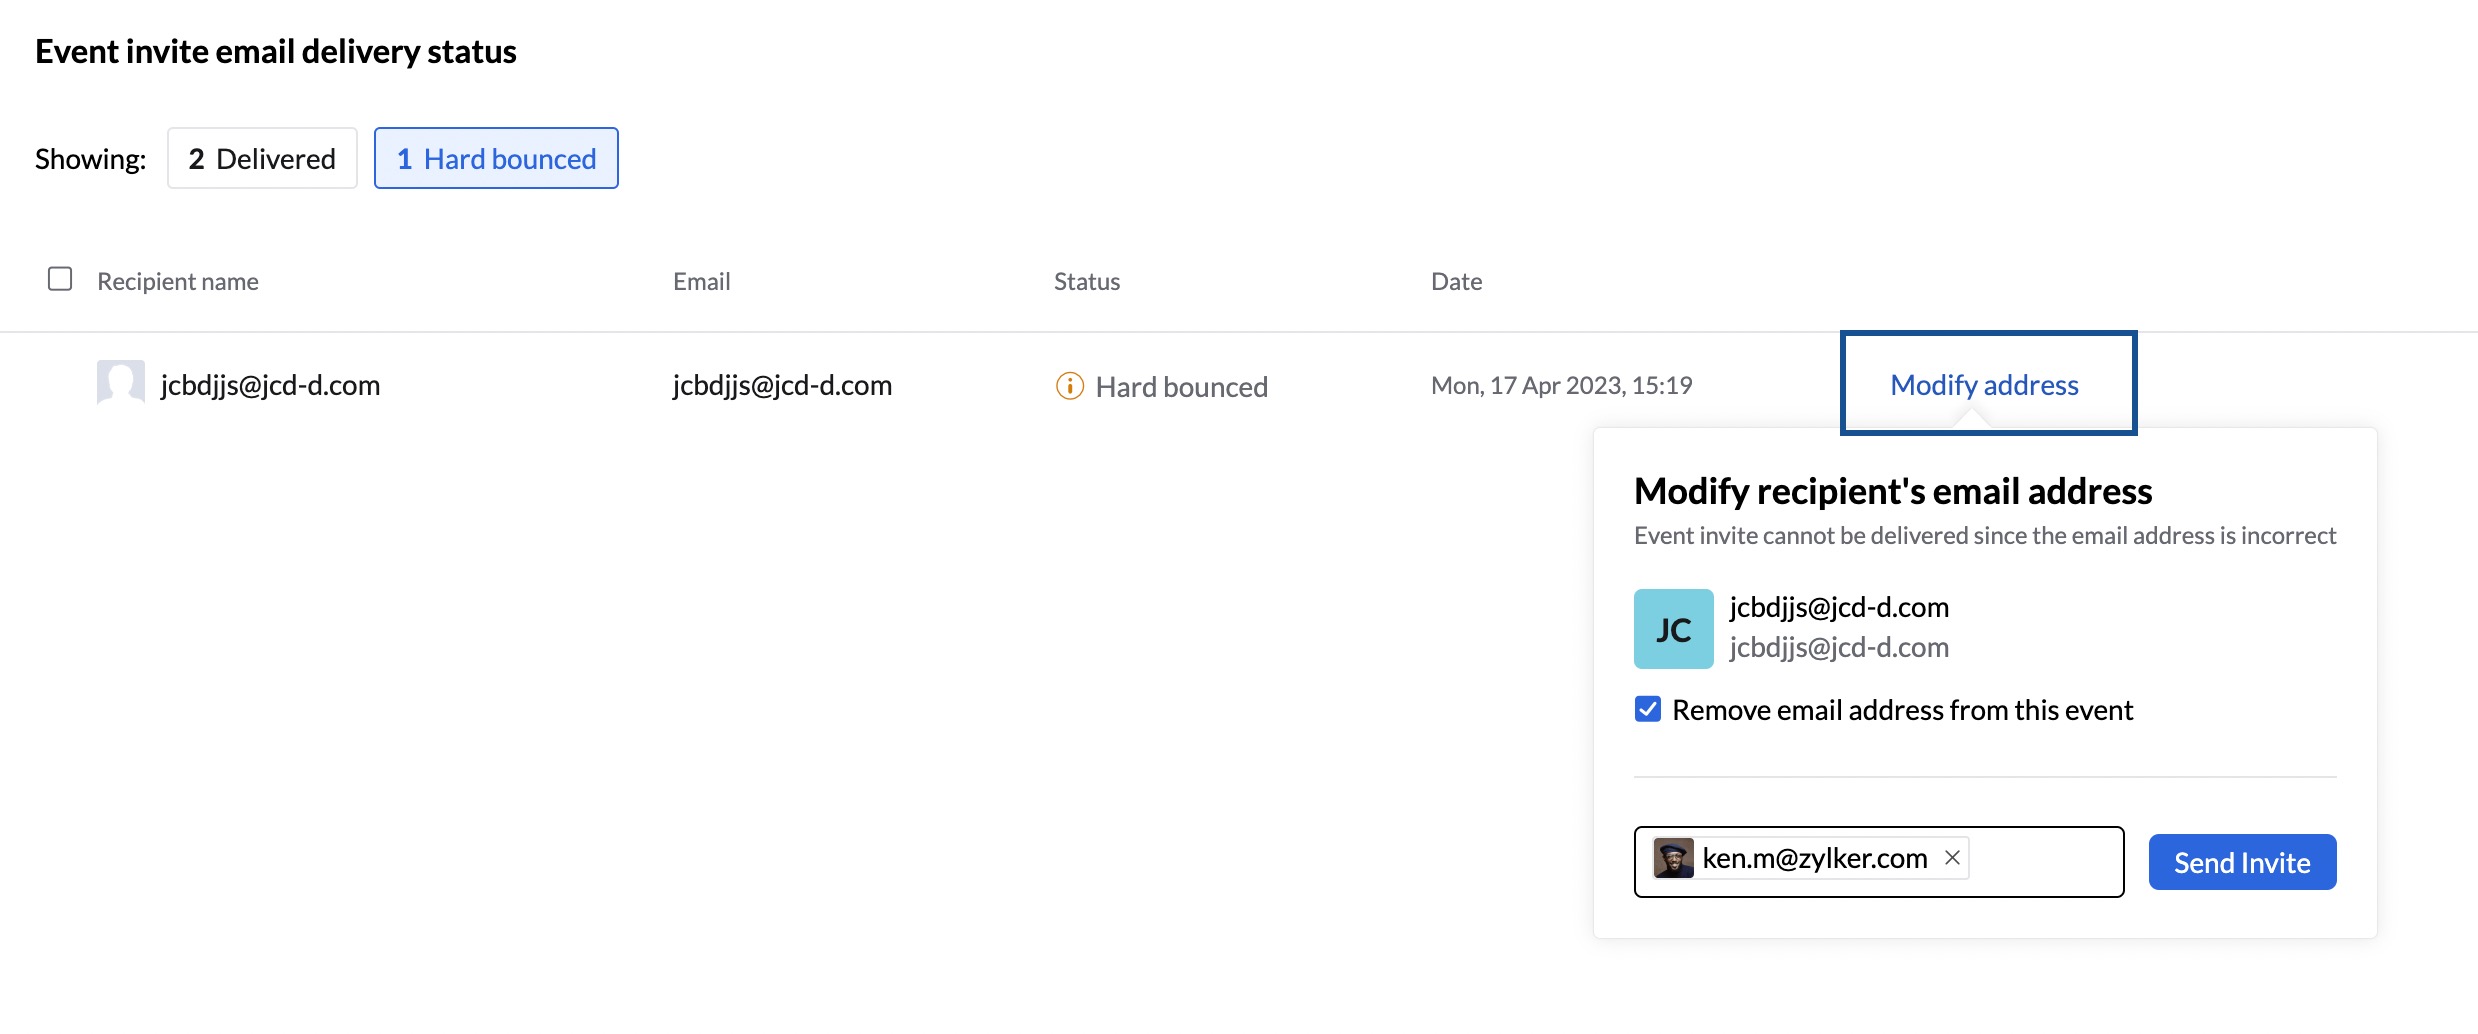
- A pop-up for the Event email invite delivery status will appear with the list of all the invites delivered and bounced.

- For invites which haven't yet been delivered, there are three possible error messages you will find,
- Hard bounce - Unable to send the Event email invite since the email address is incorrect.
- Soft bounce- Unable to send the Event email invite due to server error or your recipient's mailbox being full at the moment.
- Delayed- The event invitation email is delayed. In this case, we will try to resend the email which can either get delivered or bounce back again. In both cases, you will have the option to resend it manually.
- In the case of a hard bounce, you will have the option to modify the email address and resend it. For soft bounces and delayed cases, you can try resending the invite using the Resend button.
Note:
The event email invite delivery status is not available for group email addresses.
Event Invites for Past Events
If you are creating an event for a past date/ time and adding attendees to it, the event invitation will not be sent to the attendees. While creating such an event, you will be prompted that an event is a Past Event.


