Templates
We understand that each business has a vision, a unique voice and a perspective of its own. Inorder to become a trailblazer, it is very important for your business to showcase all that it stands for, make its statement to the world and inscribe its signature on everything opportunity that comes your way.
That is why we created the Templates for your sales and purchase transactions so that, you leave your customers with not just an invoice or an order, but an impression that doesn’t fade away easily.
Guide layout:
With templates, you can…
- Add a new template or use one of the predefined templates.
- Edit and customize a template in a lot of ways - color, font, font sizes, content arrangement, headers & footers, background images, etc.
- Select the information that needs to be shown.
- Add a personal touch to your orders and invoices to match the tone of your business.
- Associate templates to your contacts and leave a lasting impact on your customers and vendors.
- You can also manually associate or apply a template to a particular order, invoice or receipt.
- Get creative, show them your gratitude, your care and earn their patronage.
General Information
Sections that can be customized in templates.
- General
- Header & Footer
- Transaction Details
- Table
- Total
To customize templates,
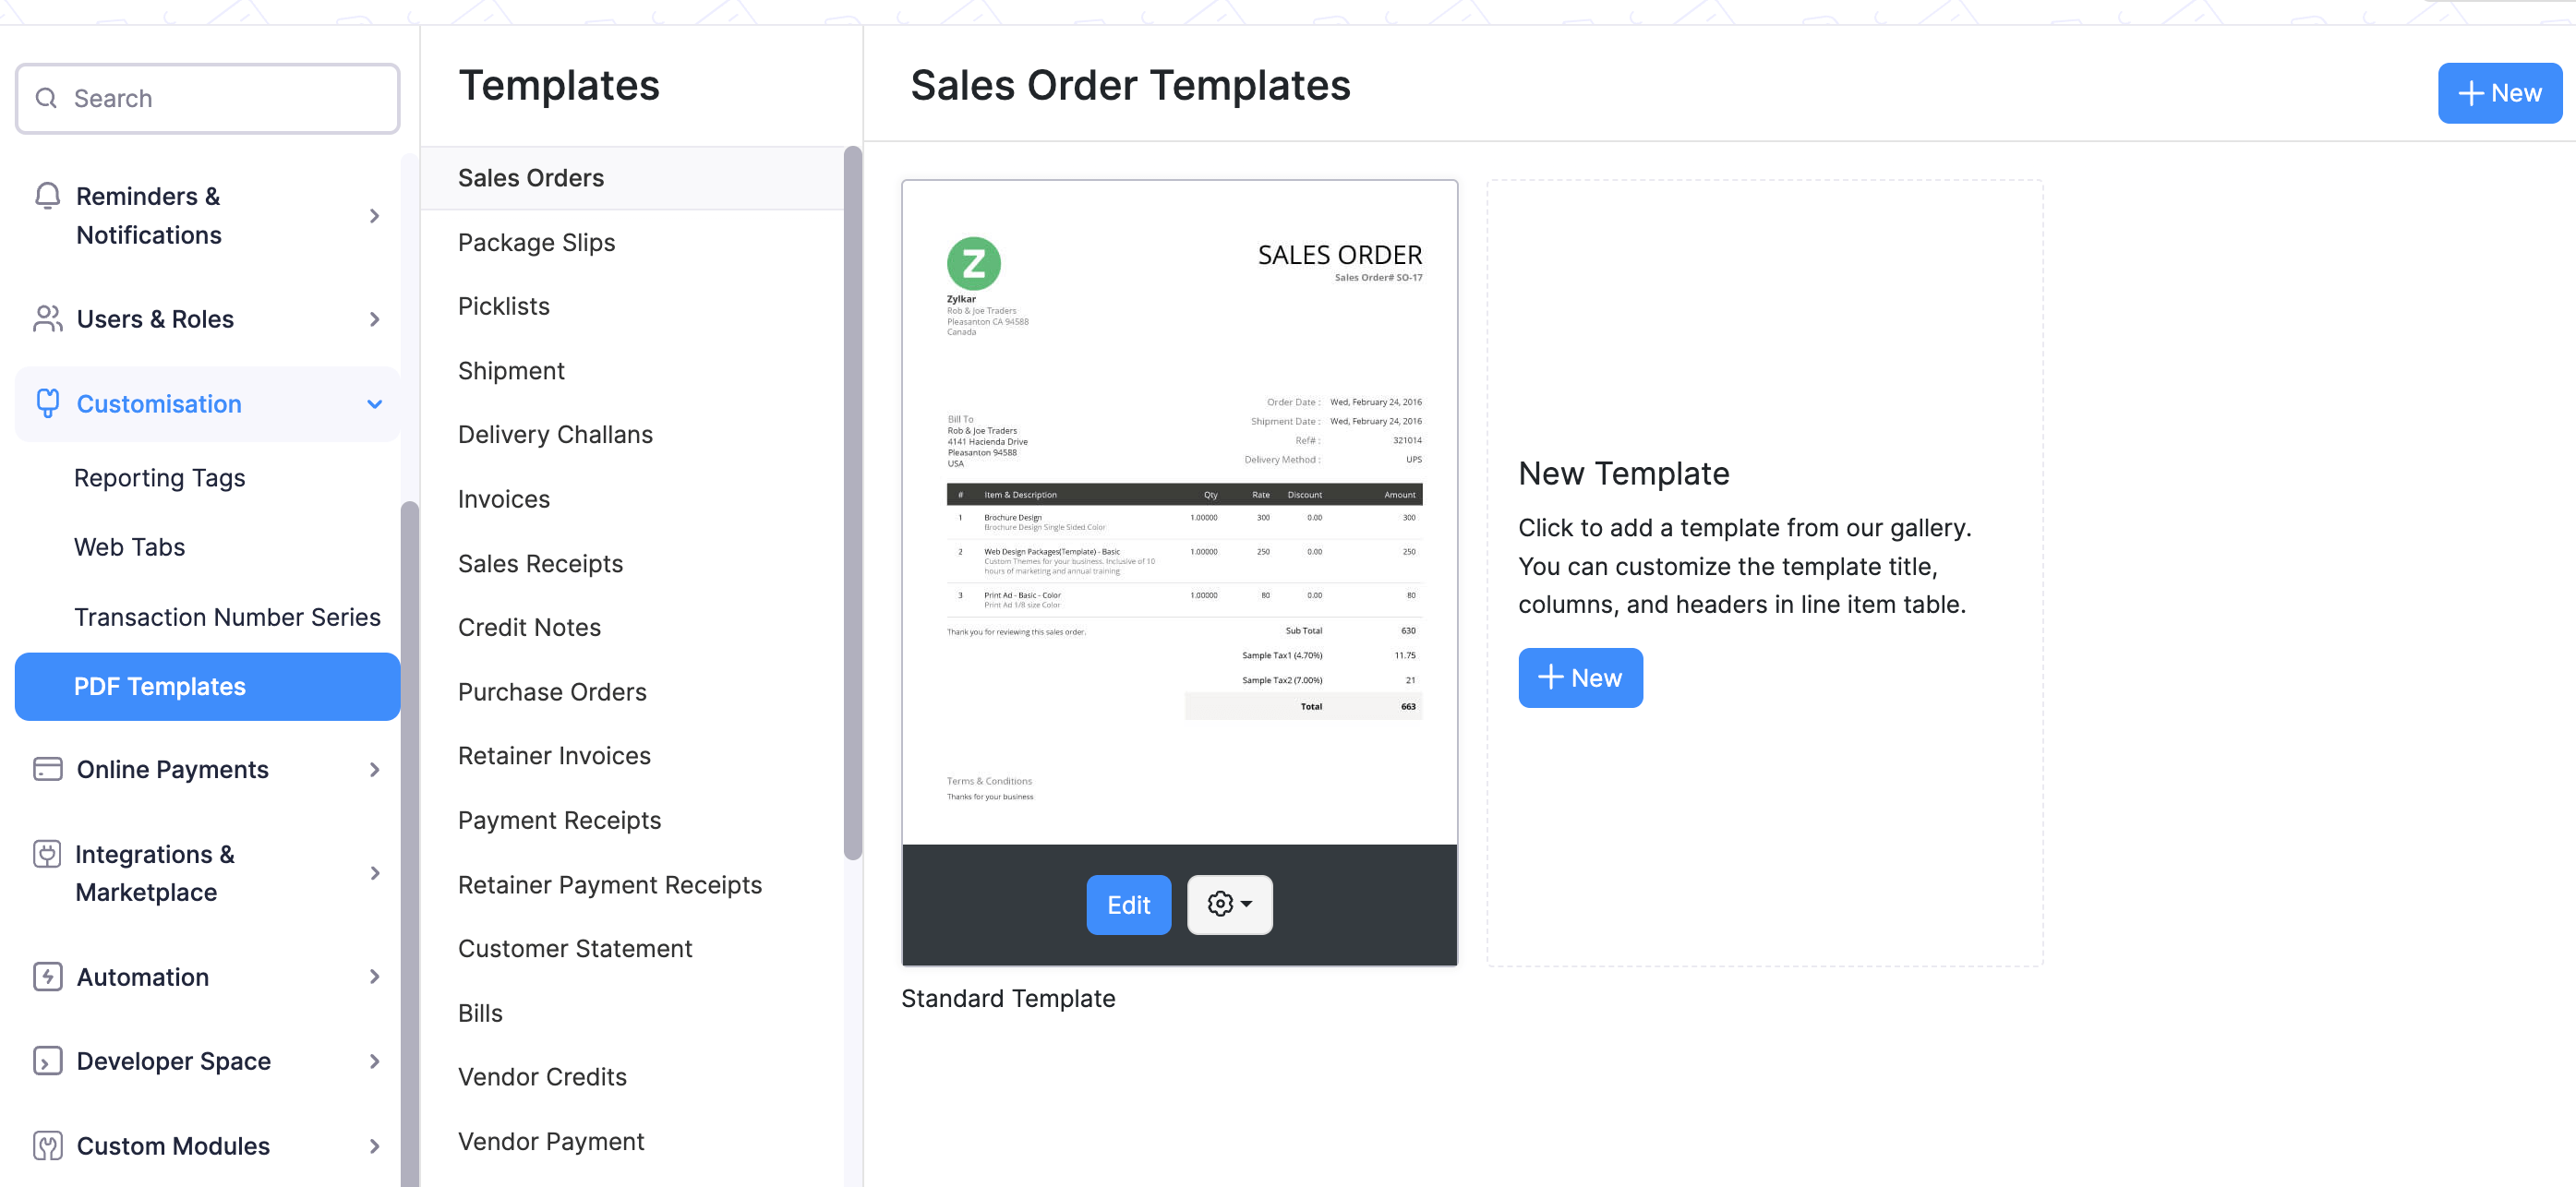
Click the gear icon (settings button) in the top right corner.
Choose PDF Templates under Customisation.
Here you can choose the module for which you wish to customize the template for,
* Sales Orders
* Invoices
* Purchase Orders
* Payment Receipts
* Package Slips
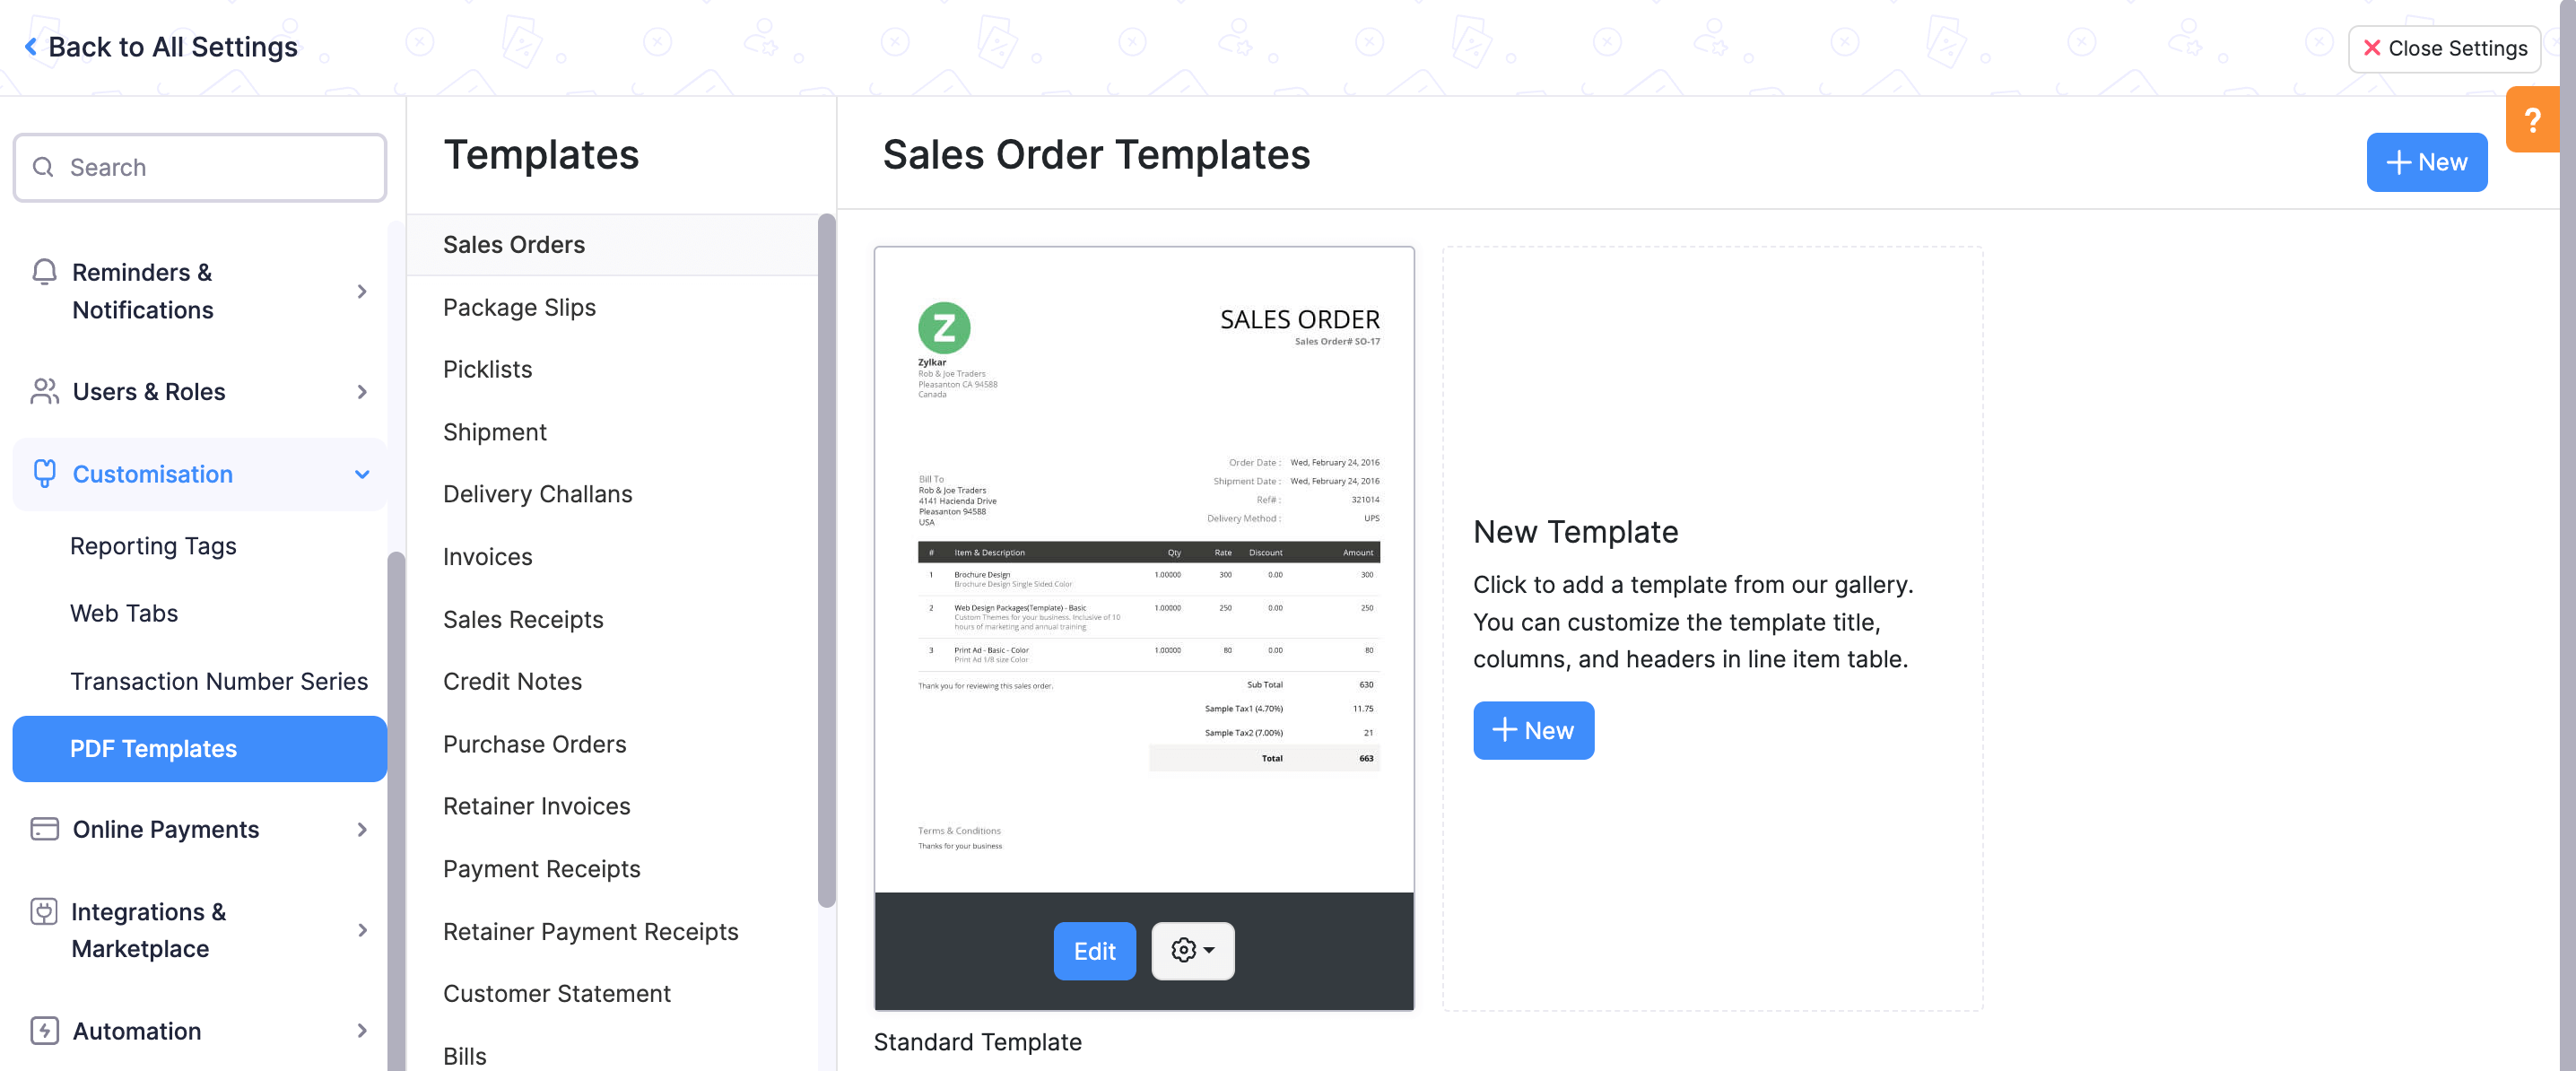
- You can either customize the pre-loaded templates or add a new template by selecting +New on the New Template section inside every template module.
- The new template option will allow you to create a template by asking you to choose one of a pre-loaded templates as the base.
- To edit a template, hover over the template you wish to edit and select Edit.
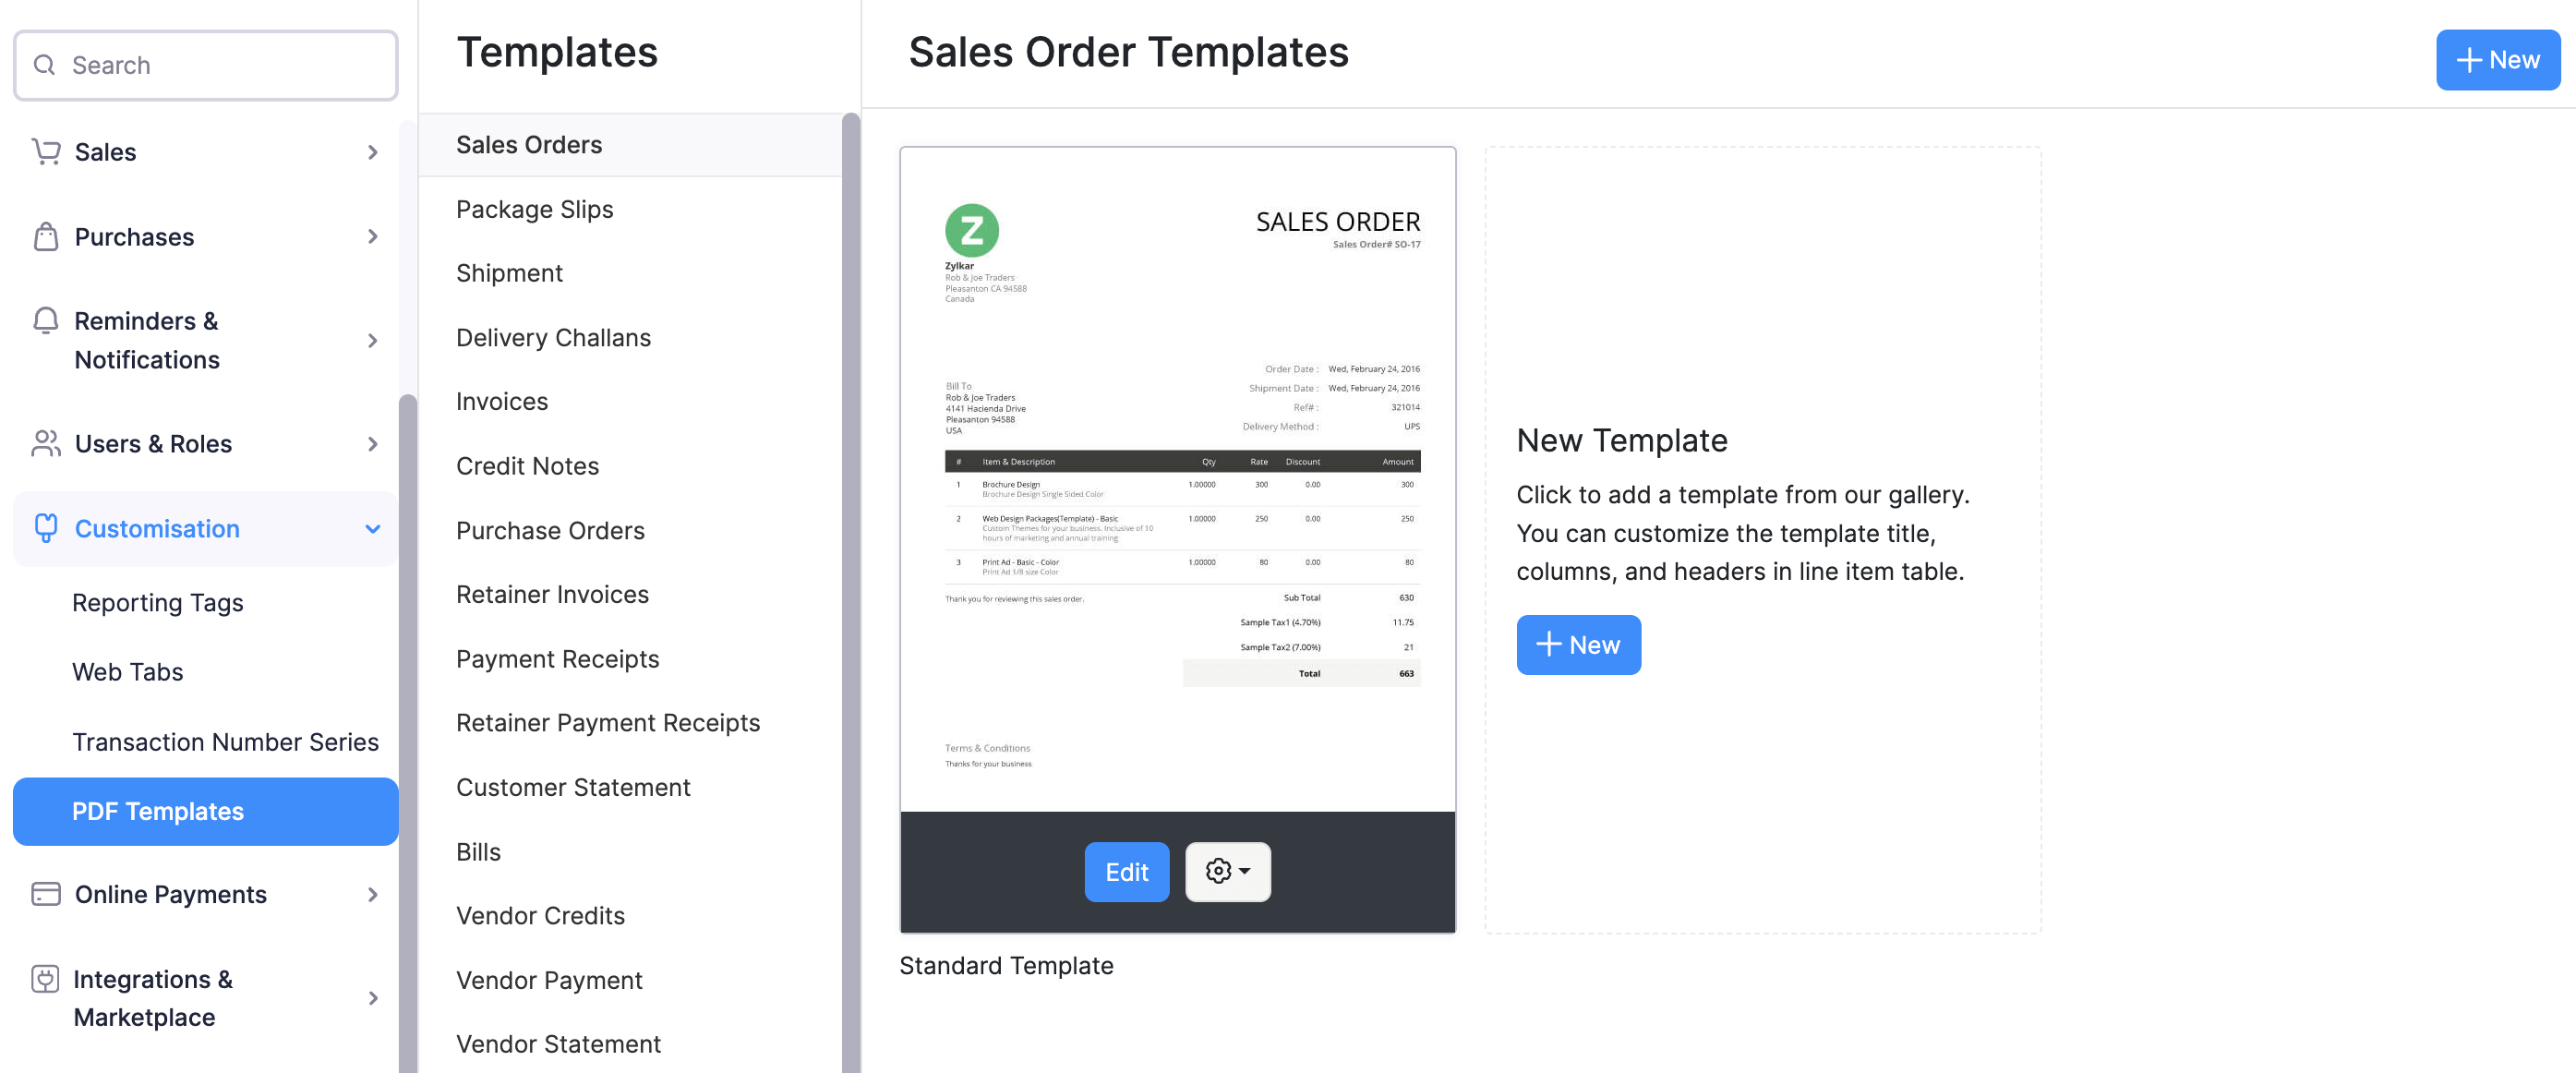
- After editing, press Save to save the changes.
Common-to-All Modules Customization
Here are the common-to-all customization, that can be done in all the above mentioned modules.
You can customize any template by clicking on the Edit button which appears when you hover your cursor over it. Doing this will unlock the customization panel for that template.
The customization panel has five sections:
- General
- Header & Footer
- Transaction Details
- Table
- Total
Let’s take a detailed look at all these sections below.
General
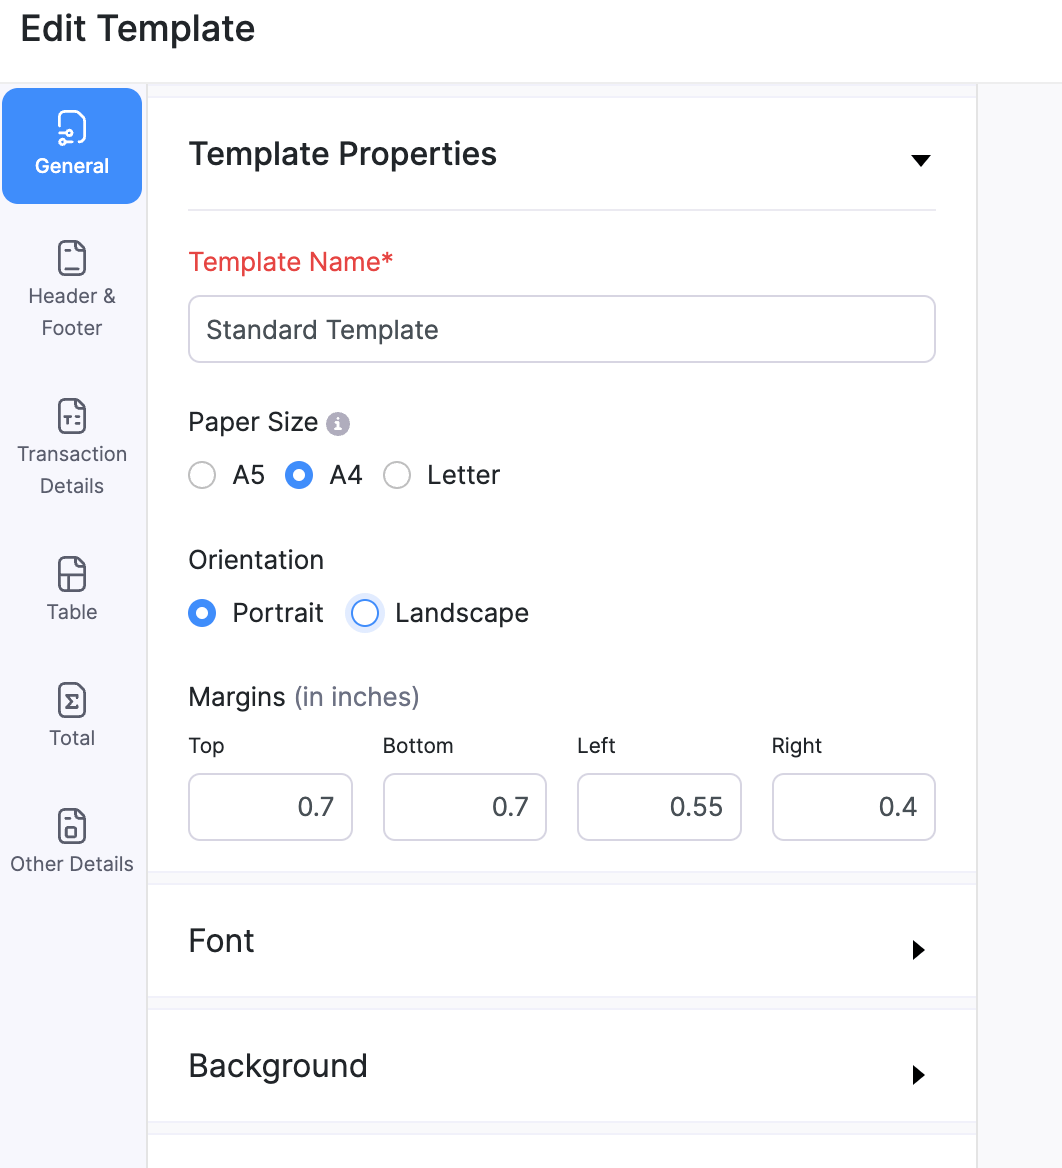
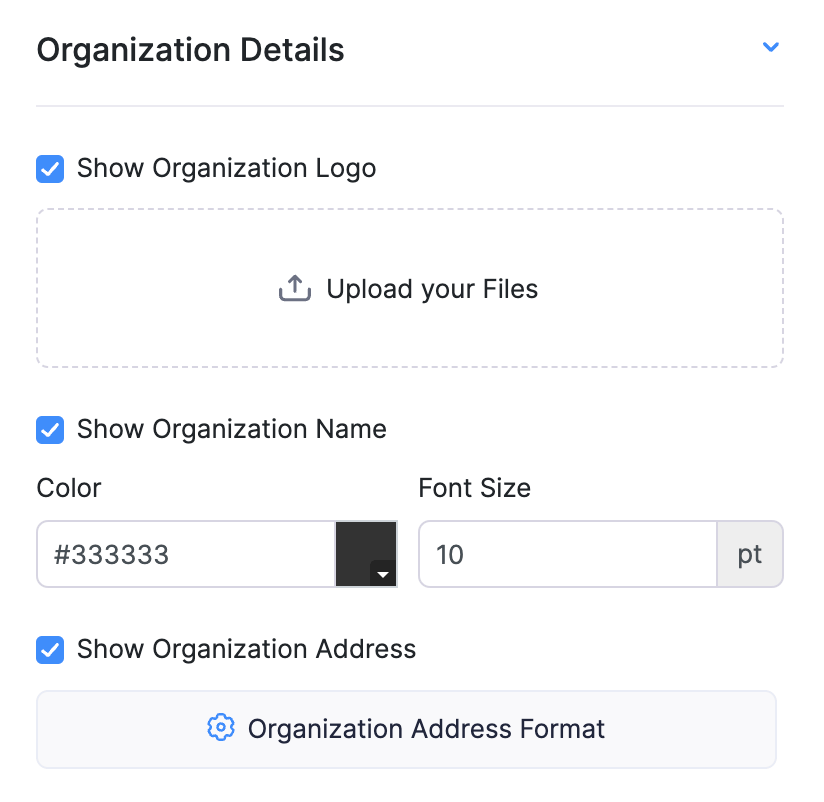
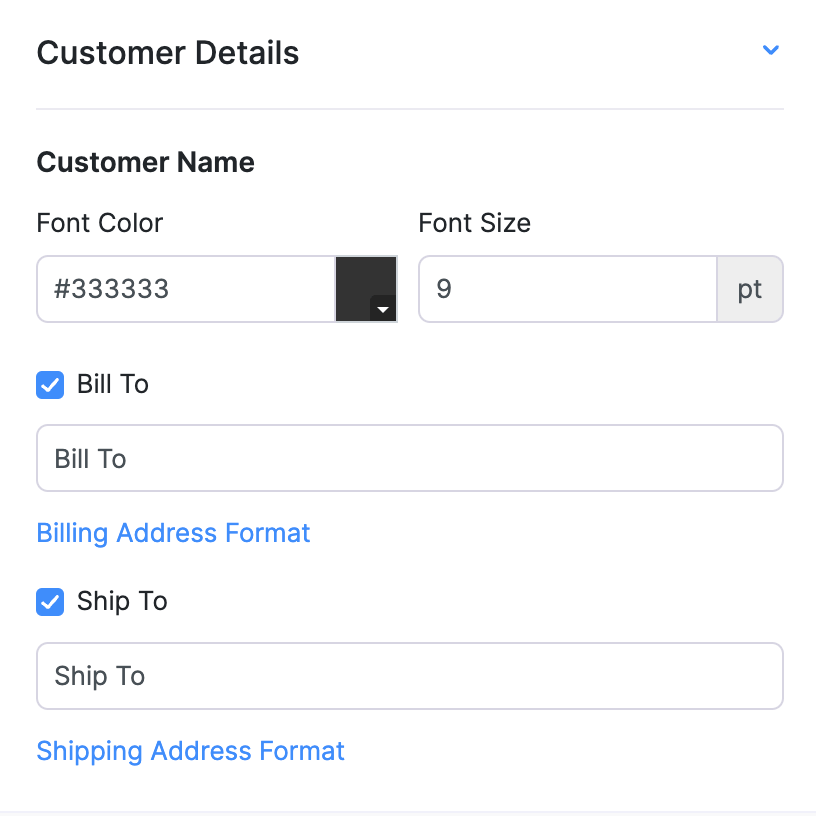
This section allows you to change the look of the template. You can add a background color, configure font sizes, font colors or even add a background image. The template properties section also allows you to change the way your company address and your customer’s name look like.
Customization Present:
| Fields | Description |
|---|---|
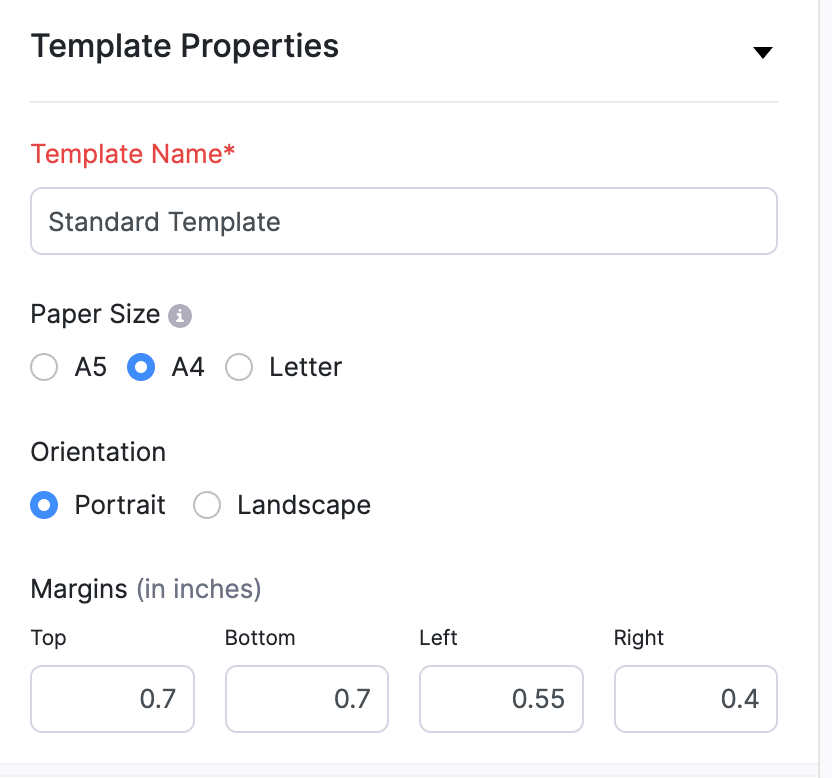
| 1) Template Name | Name of the template that you customize according to your wish. |
| 2) Paper Size | This is for printing purposes. Either A4 or Letter sizes can be selected. |
| 3) Margins (in inches) | Margins present around the template. |
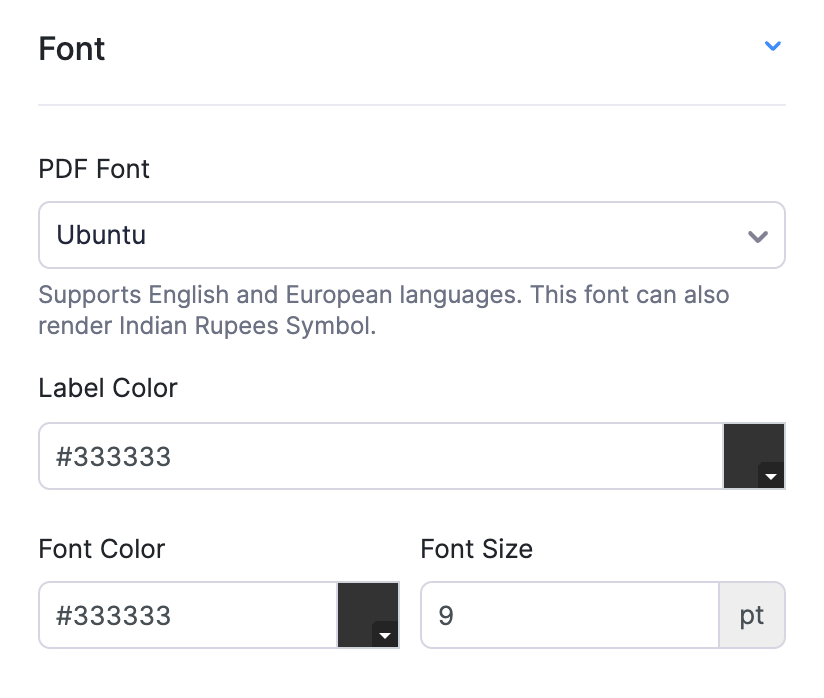
| 4) PDF Font | Font to be used on the PDF. Select from different fonts from the drop down. Note: On selecting the font, a note appears beneath it briefing about the different languages the particular font supports. |
| 5) Show Organization Logo | The logo uploaded in organization profile will be placed on the template. |
| 6) Add Attention Content | You may want to draw your customer’s attention towards an important message in an invoice. Eg: Your magazine subscription is valid until 12th December. You can insert placeholders for your content from the placeholder drop down. |
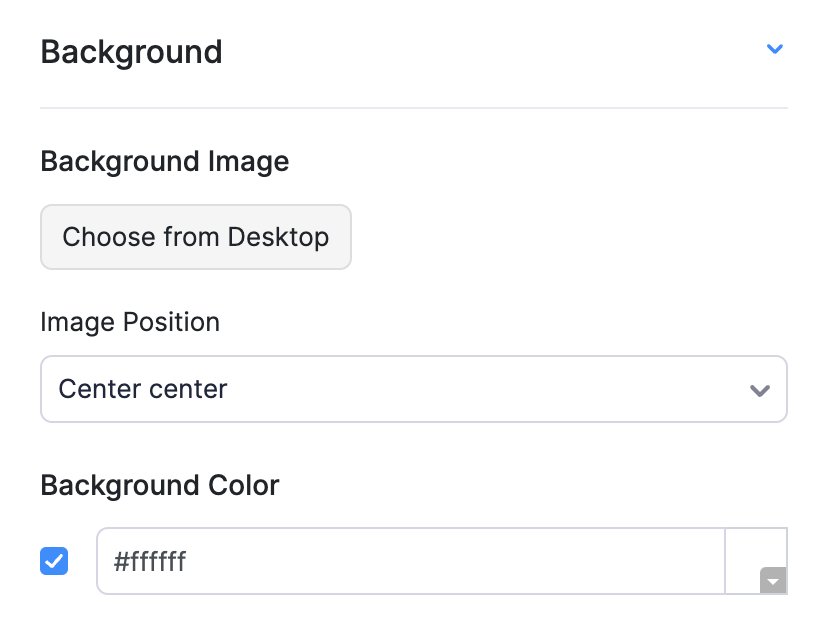
| 7) Background Image Position | Add a background image of your company’s logo or any icon and adjust the image positioning from the drop down provided. |
| 8) Background Color | Background color of the template. |
| 9) Label Color | Color of all the labels provided on the template. |
| 10) Font Color & Size | Font color, size for the information and attention content. The font color will be applied to the Terms & Conditions content. |
| 11) Customer Name | To adjust font color and size just for the customer’s name on the template. |
| 12) Company | Check the box to Show Organization Address. Customize the font color and size with labels for phone and fax. |
Header & Footer
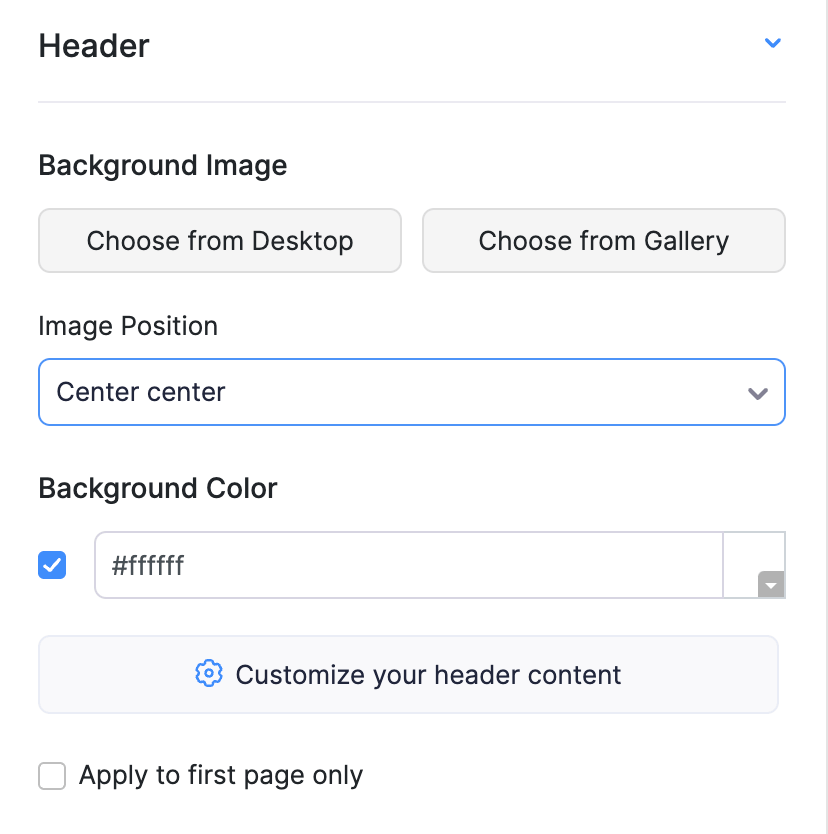
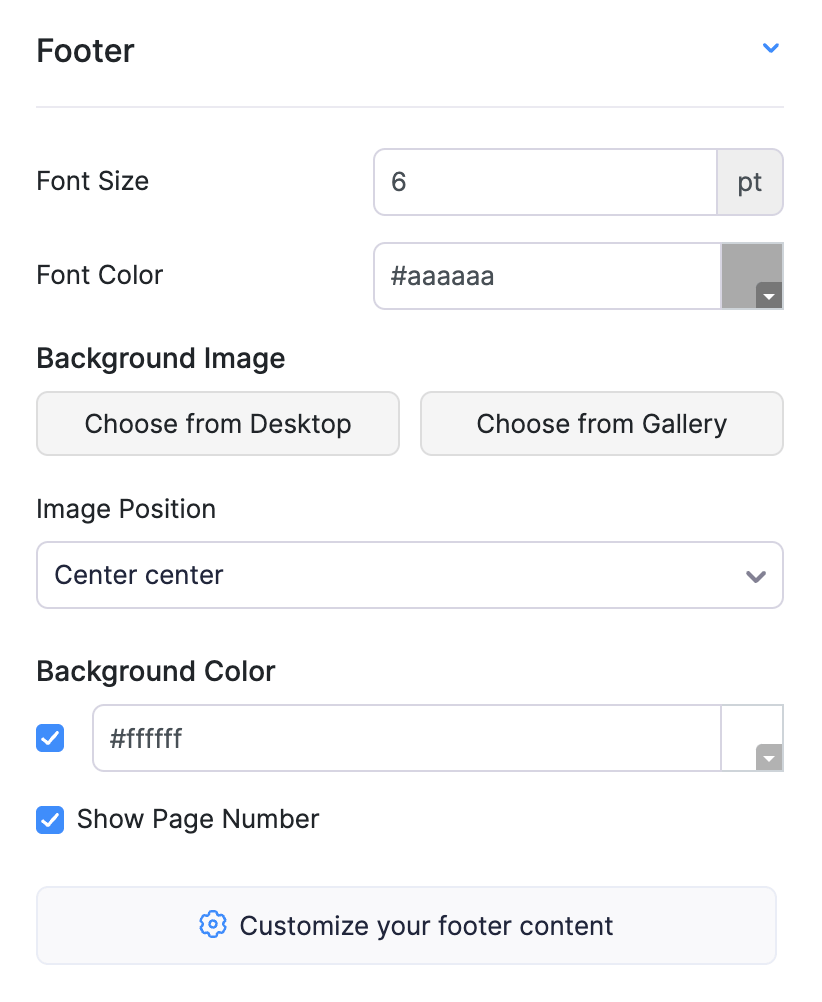
This section allows you to change the look of the header and the footer present in the document. Customize the background image, position and even the header content. If it’s a multi-page document, choose if the header should repeat or not. Also customize the labels and layout for the information present.
Customization Present:
Header & Footer
| Fields | Description |
|---|---|
| 1) Background Image & Position | Background image for the header section can be added here and position can be set from the drop down. |
| 2) Background Color | This background color is only for the header section. |
| 3) Header Content | Content present on top of the document. Customize the content by selecting the Customize your header content option. Customize from font size, color, alignment to inserting placeholders and tables in the content. |
| 4) Multi-Page Header Customization | If the document is a multi-pager and if you wish to have different header content for the first page alone, check the Apply to first page only box. You can also set the header height for the first page alone and customize the header content for other pages. |
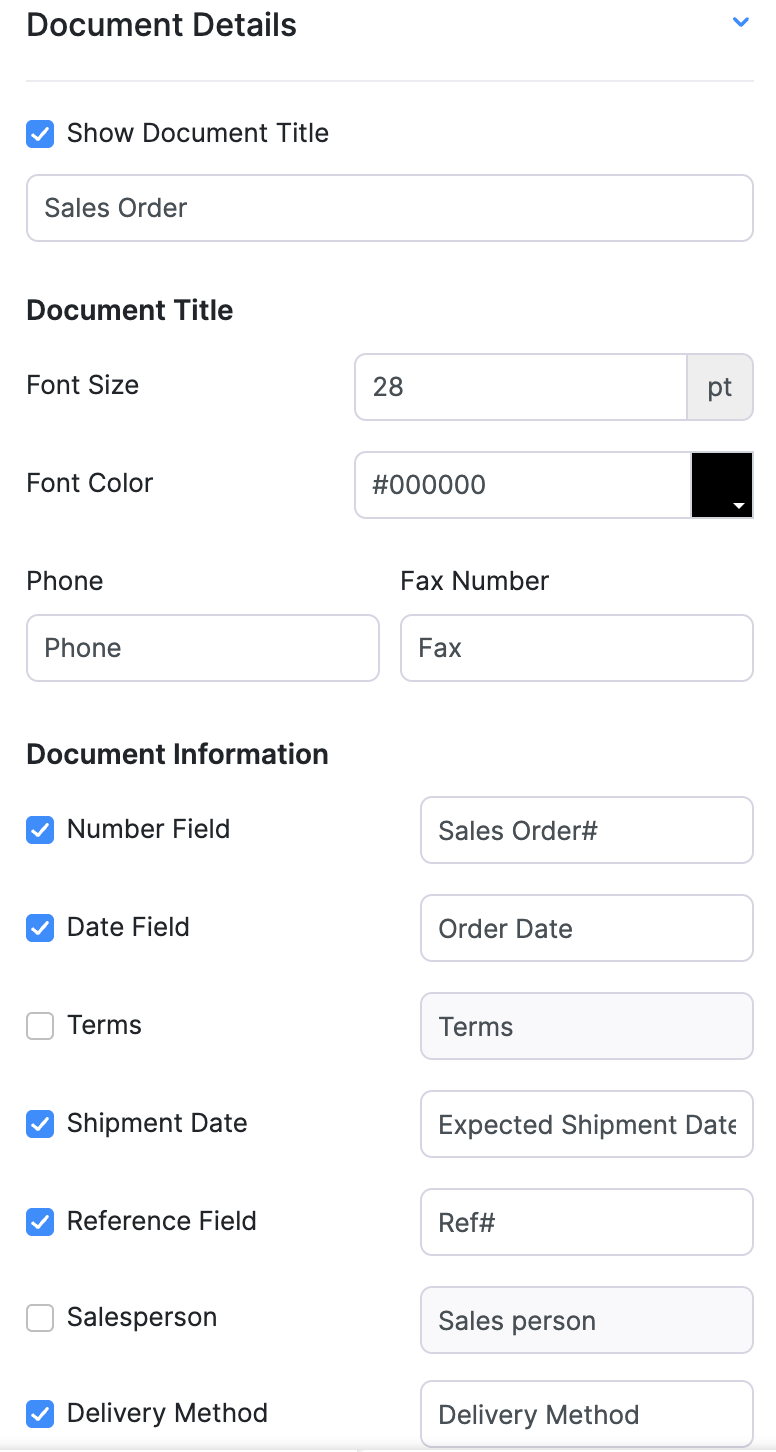
| 5) Document Title, Font & Color | Customize the title of the document and also customize the font size and color as you wish. |
| 6) Change Label | The following field labels in the document can be renamed: * Number Field * Date Field * Due Date (Available in Sales Order, Purchase Order, Invoice) * Reference Field * Sales Person (Available in Invoice, Sales Order) * Bill To * Ship To (Available in Sales Order, Invoice, Purchase Order) |
If you wish to hide any of the fields from the template, check the box next to each field.
Transaction Details
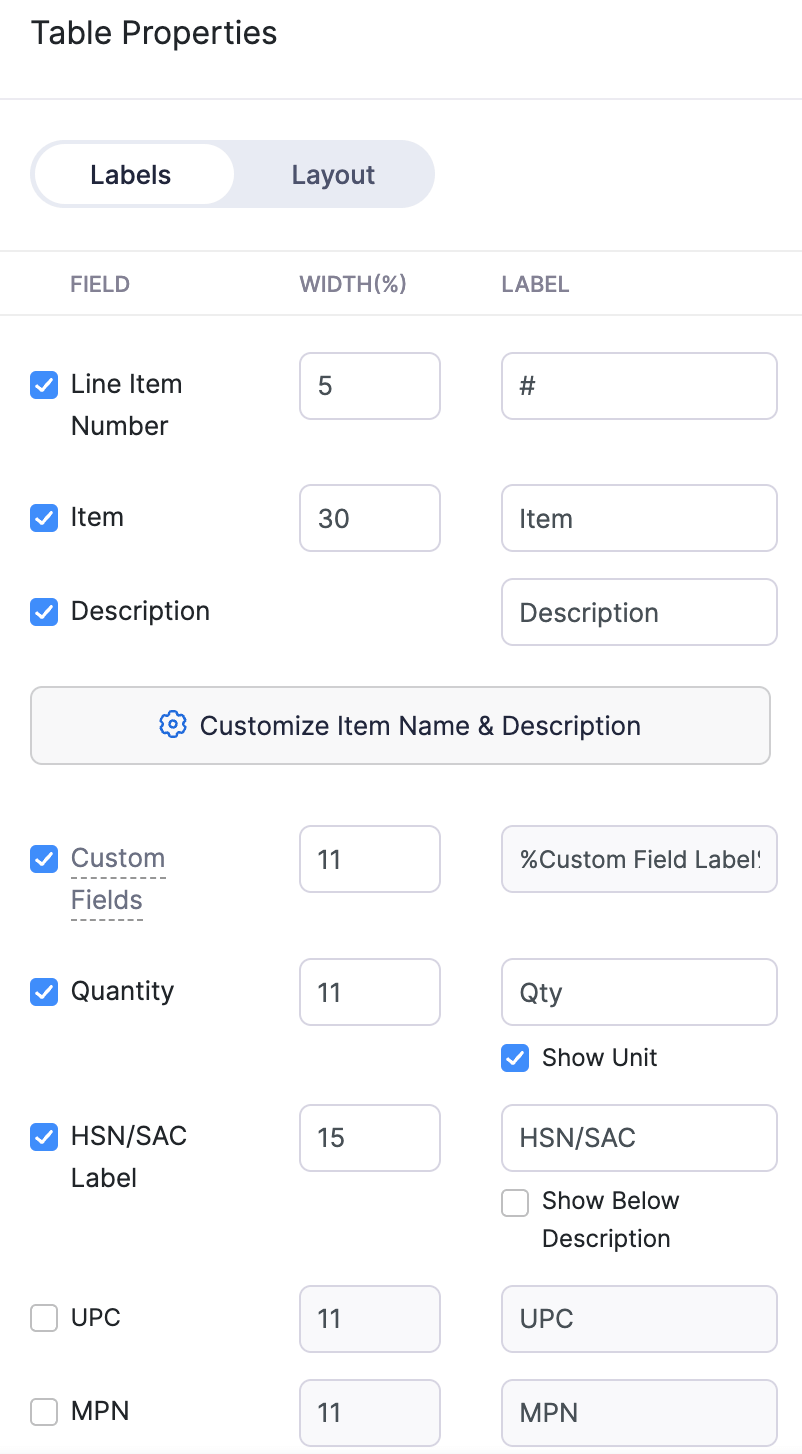
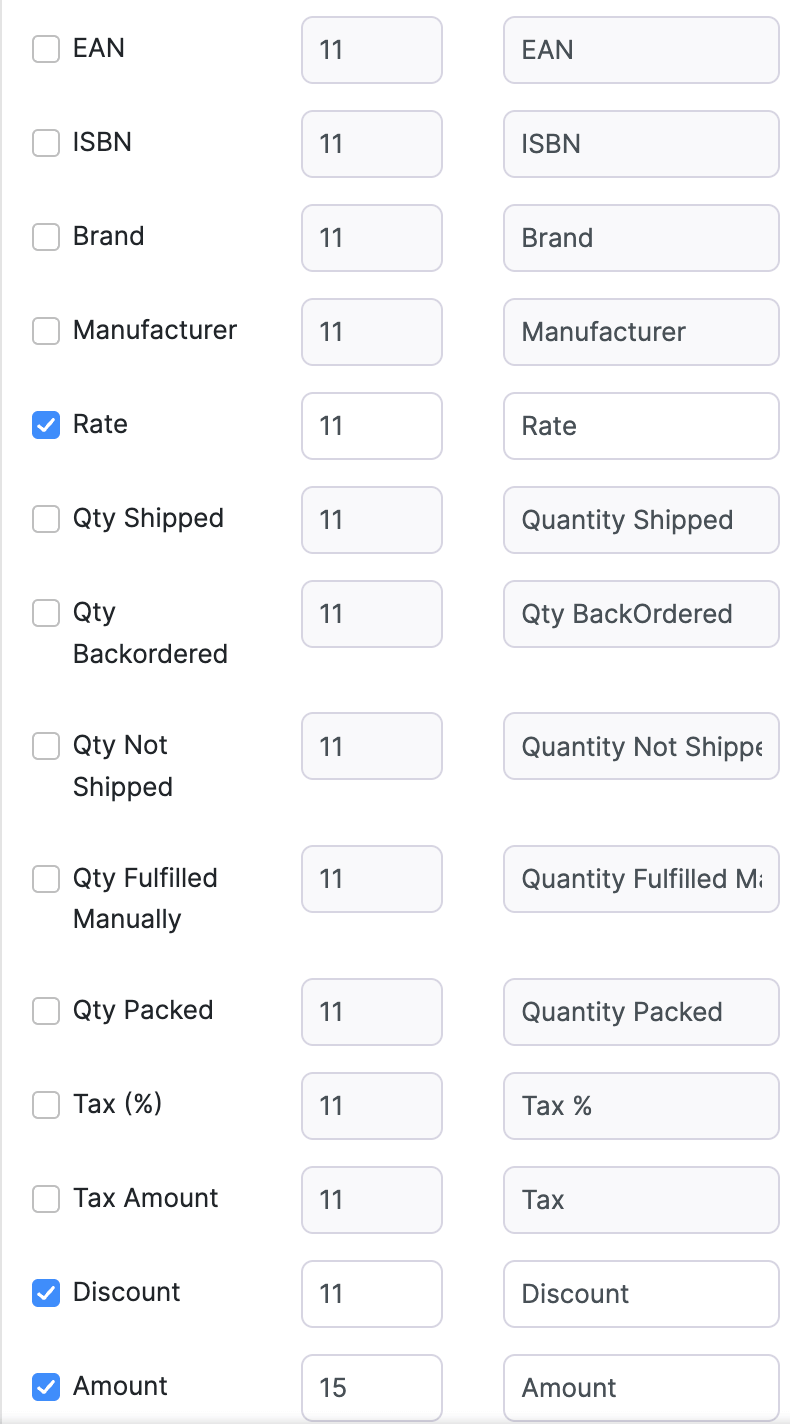
This section allows you to show or hide columns related to the items table and customize those labels. Also you can customize the way item table looks, from table header to item row and description.
Customization Present:
Labels
- Line Item Number
- Item
- Description
- Item Serial Number
- Batch Reference#
- Manufactured Date
- Expiry Date
- Quantity
- Rate
- Tax(%)
- Tax Amount
- Discount
- Amount
If you want to hide any of the fields from the template, unmark the box next to the field.
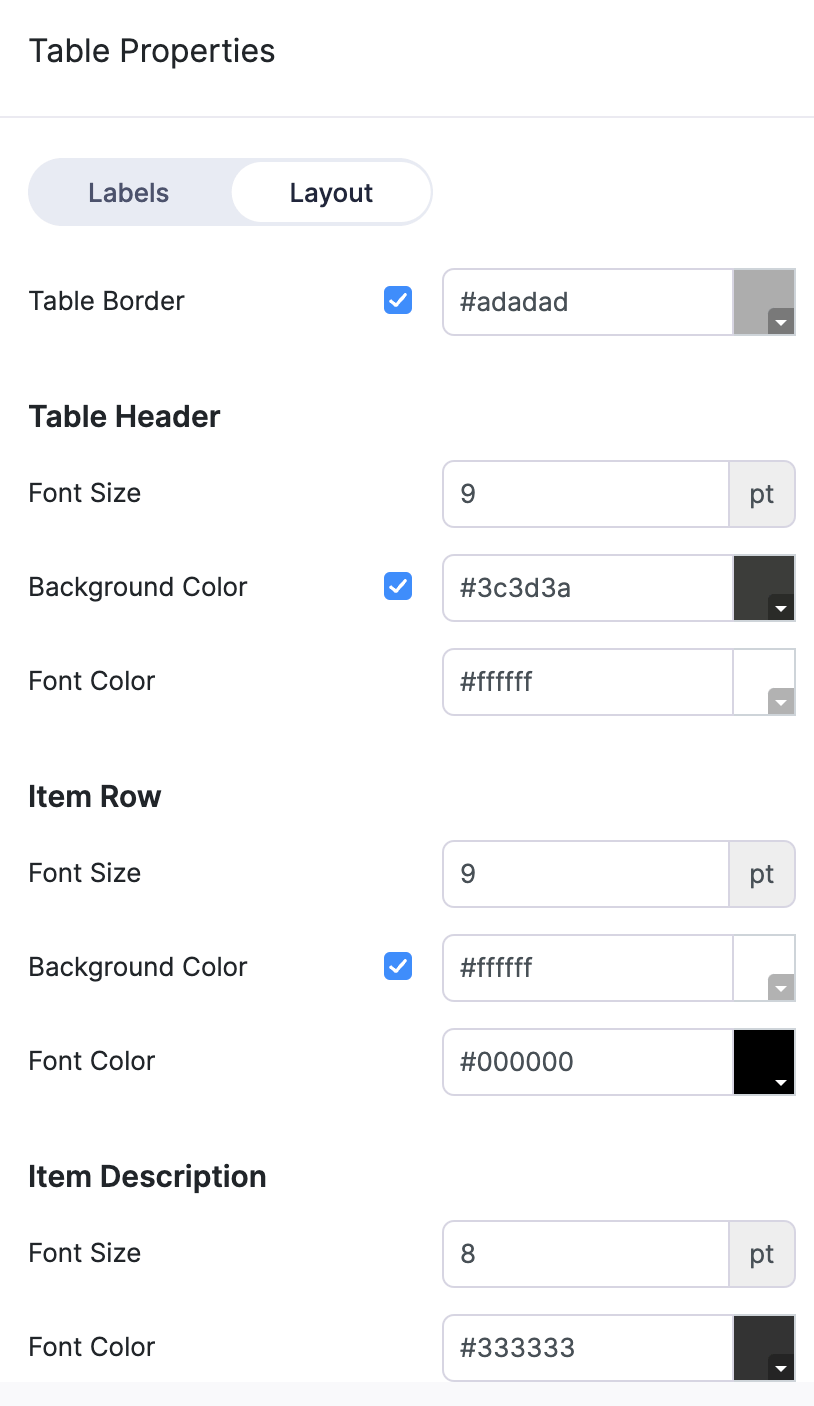
Layout
Customize the font color, size and background color of Table Header, Item Row and also the font size and color of Item Description. Also customize the color for Table Header.
The document details image has been attached for reference:
Table
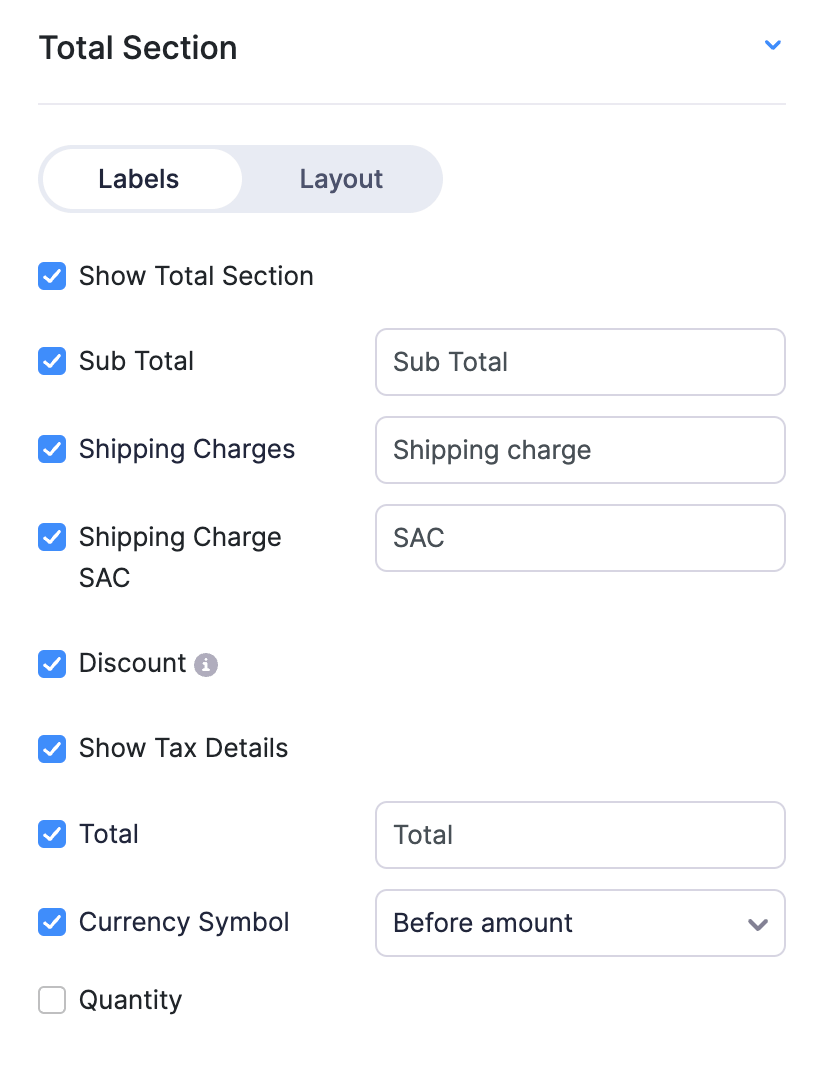
This section allows you to show or hide labels related to the Total section and customize those labels. Also you can customize the way Total section looks.
Customization Present:
Labels
If you wish to hide any of the fields from the template, check the box present next to the field off. You can also customize the position of currency symbol to be before or after the amount.
At times, you might need to show the number of items on the transaction. Checking the Quantity box will help you in showing the number of items present.
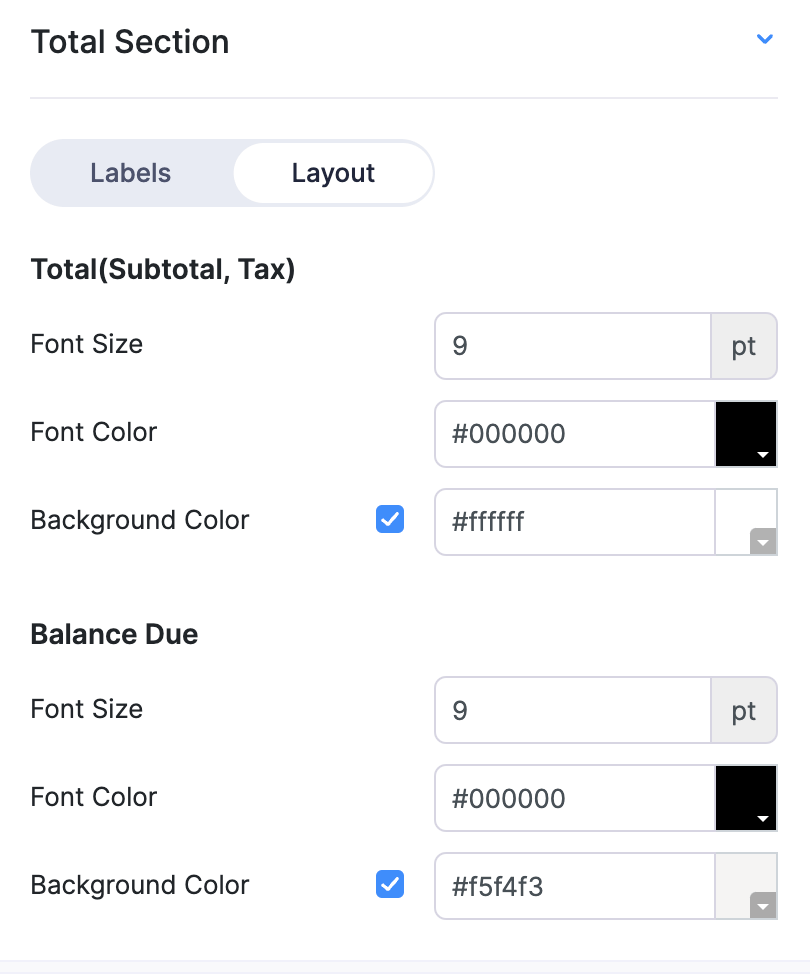
Layout
Total
This section allows you to show the Total, Sub Total, Currency Symbol and many more. You can also choose the Font Size, Color, and Background Color.
Layout
Module Specific Customization
Apart from the common customization available in different modules, there are specific customization provided for every module.
Sales Order
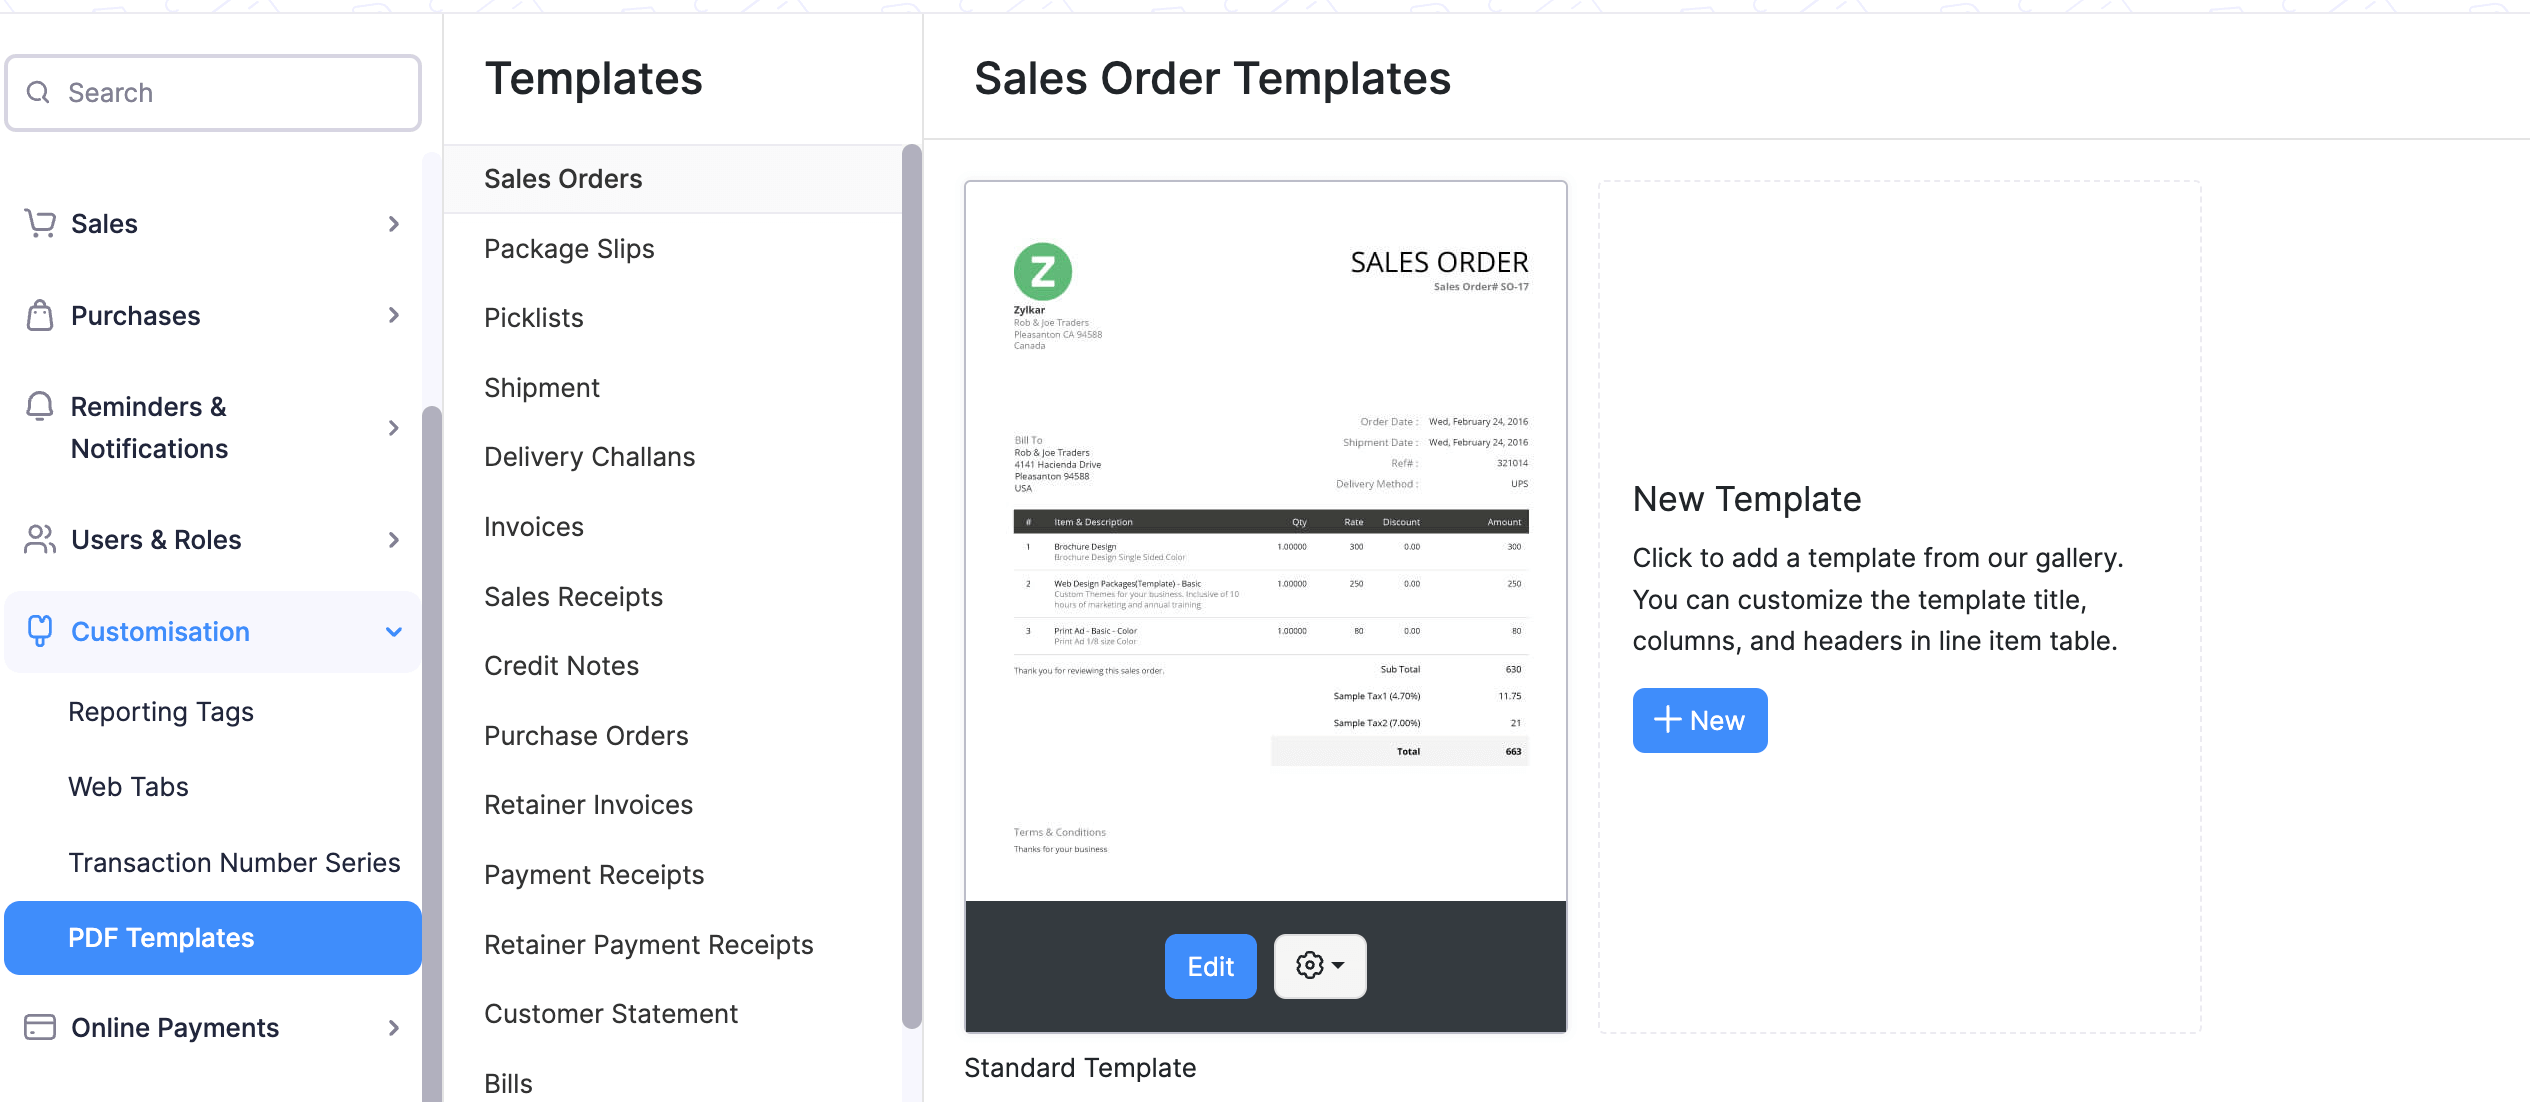
To access sales order templates:
Click the Gear icon in the top right corner.
Navigate to the Organization Settings.
Click PDF Templates under Customization.
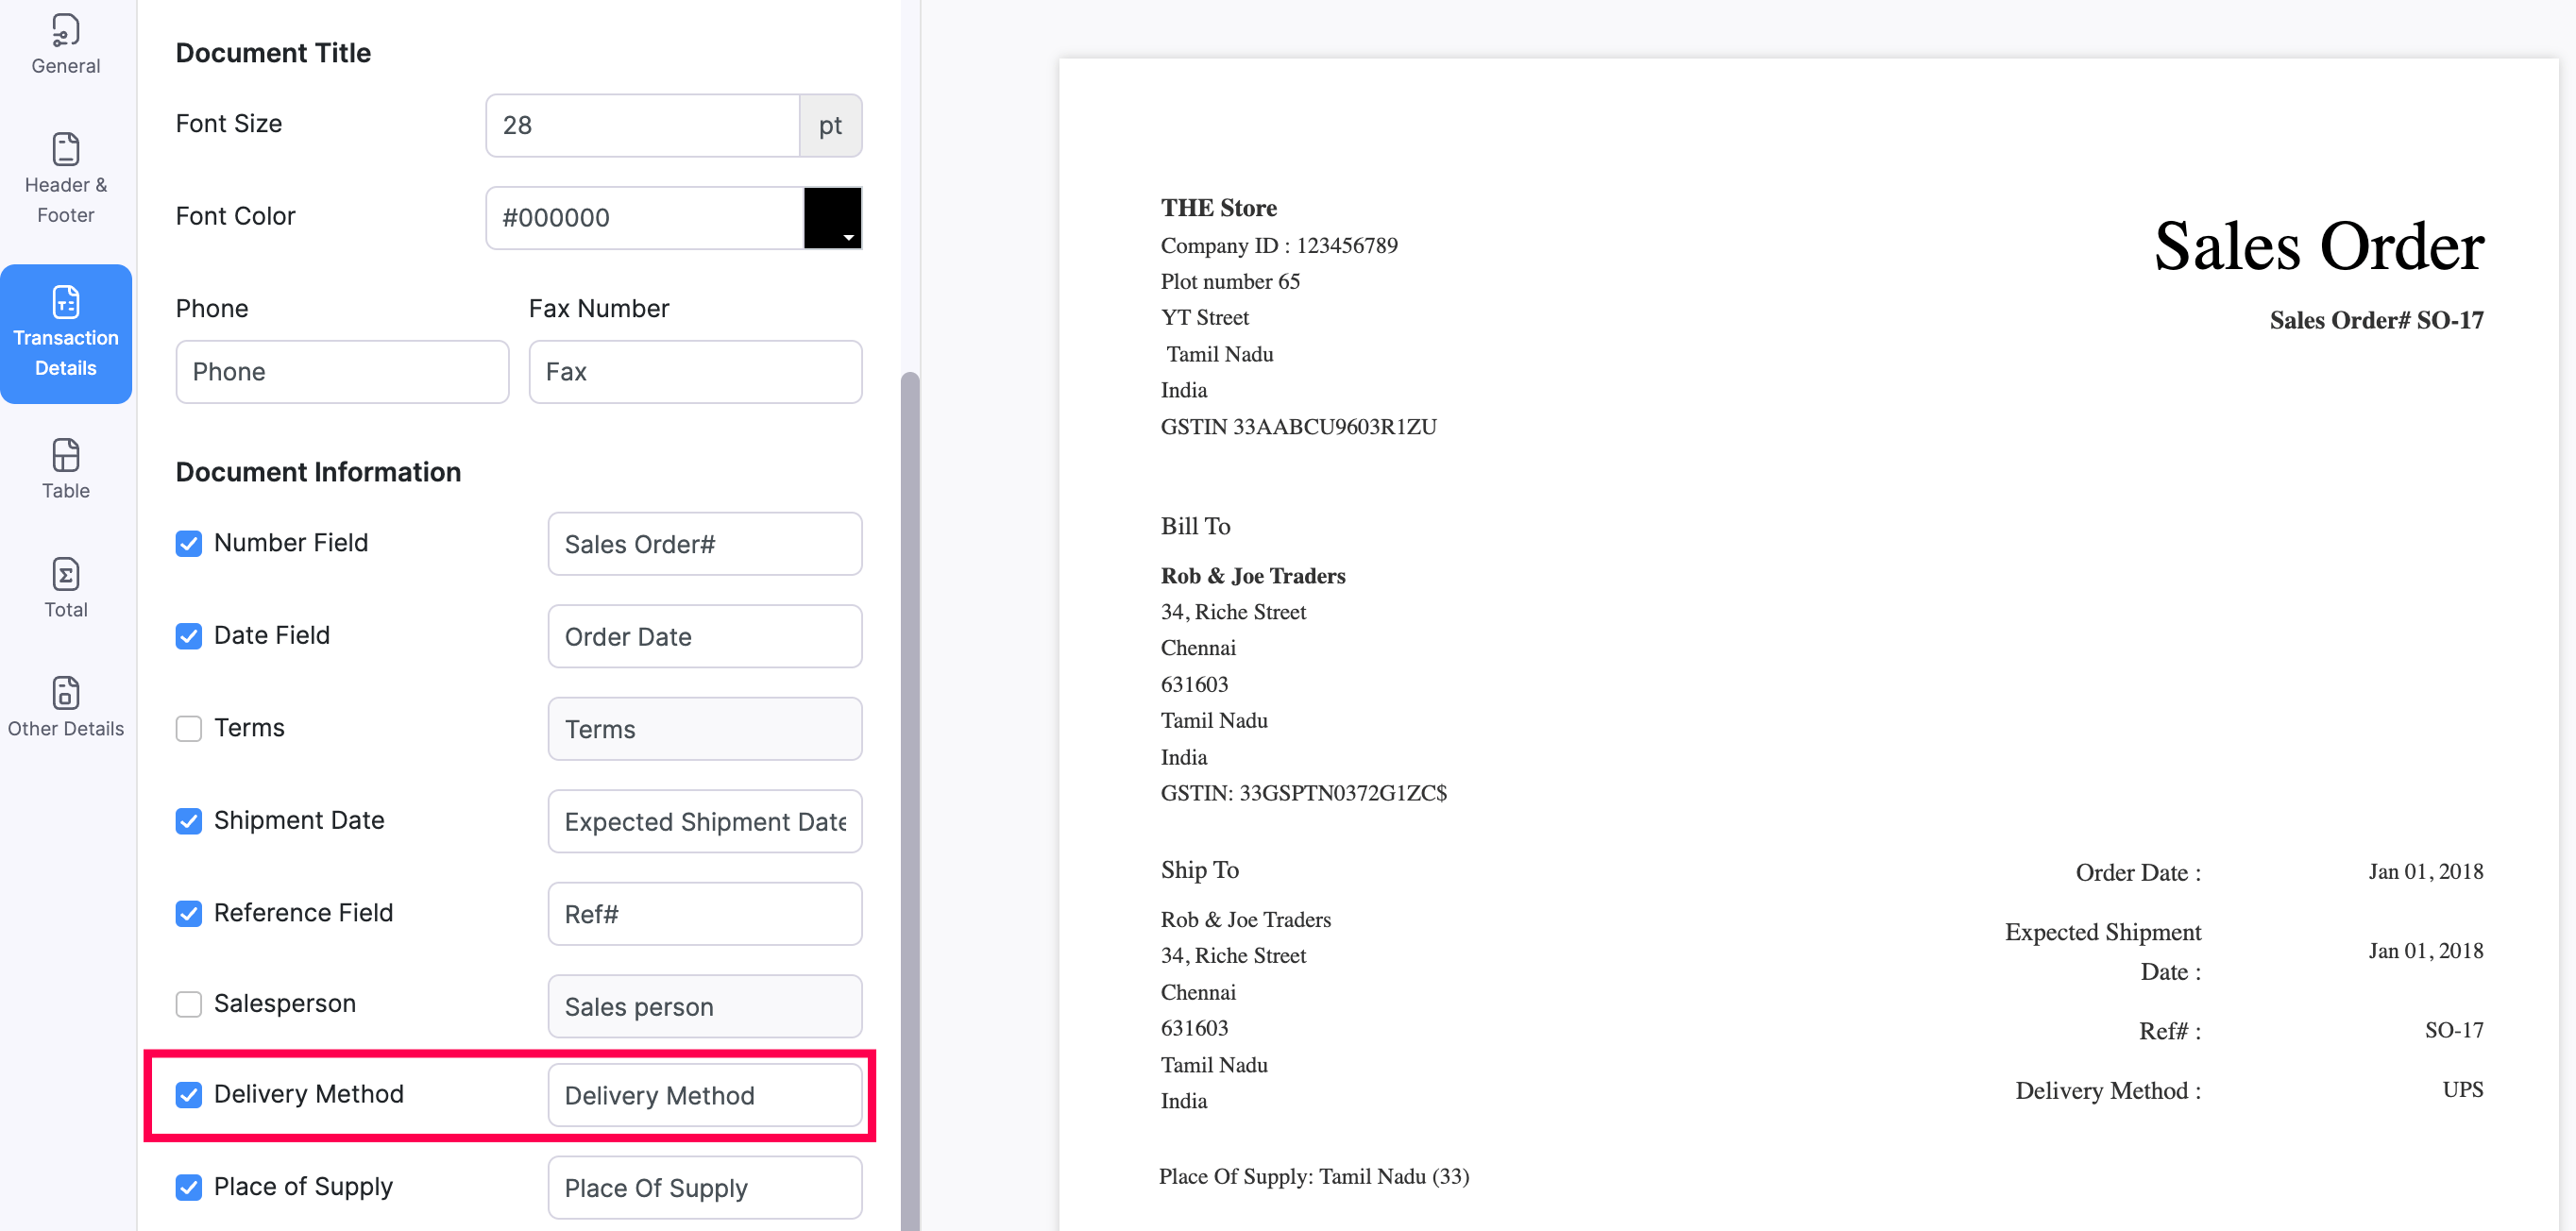
In the Sales Order module, the Delivery Method field under Header & Document Information section is added. You can choose to show/hide the field by checking the box on or off and customize the label name.
Invoice
To access invoice templates:
- Click the Gear icon in the top right corner.
- Navigate to the Organization Settings.
- Click PDF Templates under Customization.
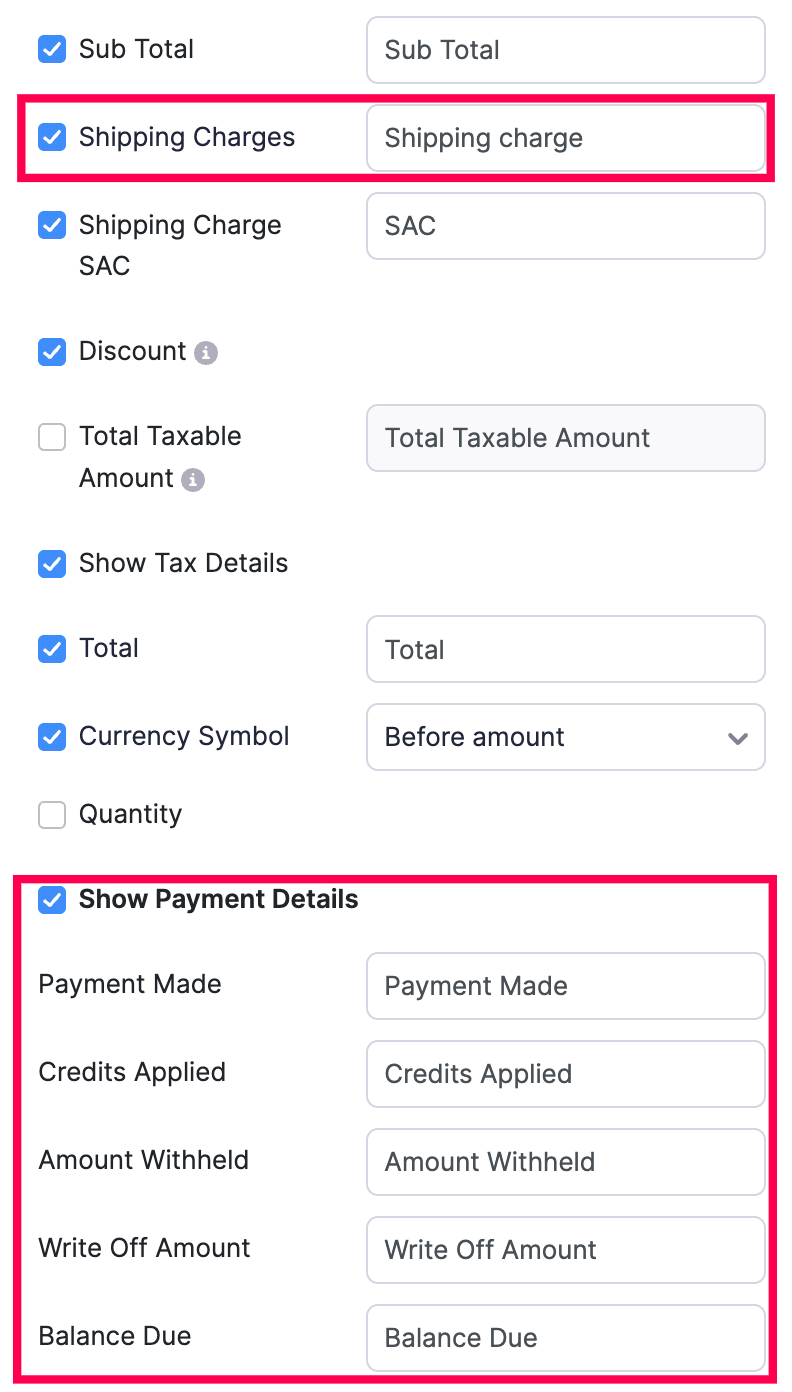
- Select Invoices in the left-side bar.
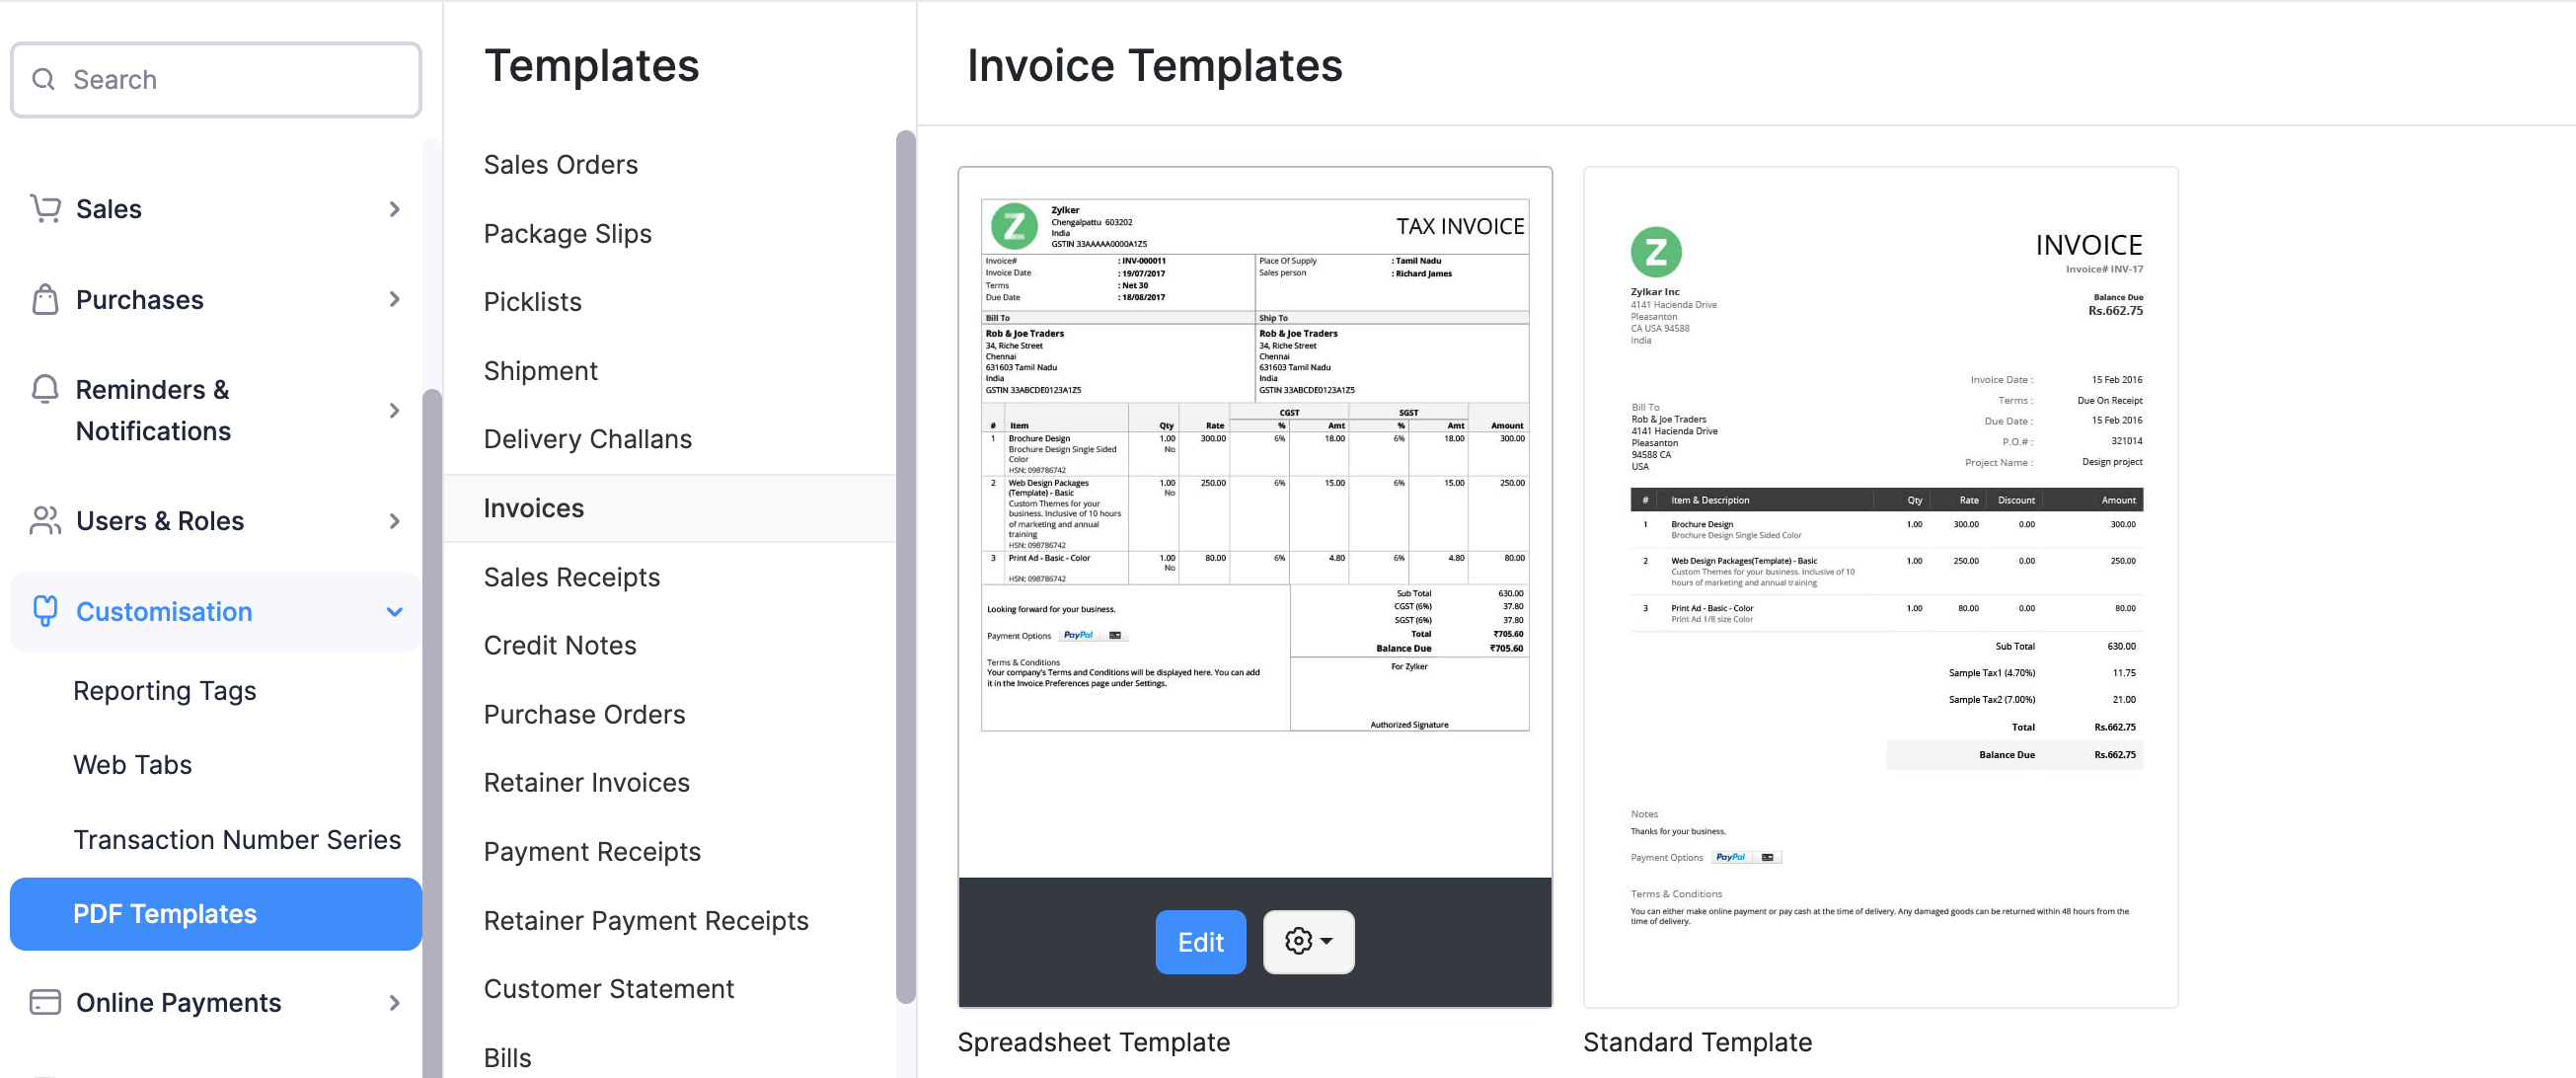
- In the invoice module, the option to add a Payment Stub is provided under Template Properties. Check the Do you want to use a ‘payment stub’ box to enable it. The labels for Payment Stub and Amount Enclosed can be customized.
What is a Payment Stub?
Let’s say you have sent an invoice to your customer and he decided to pay you by cash or check. This payment stub section will be added in your invoice for your reference of the amount being paid and your customer can return the invoice with the cash or check attached to you.
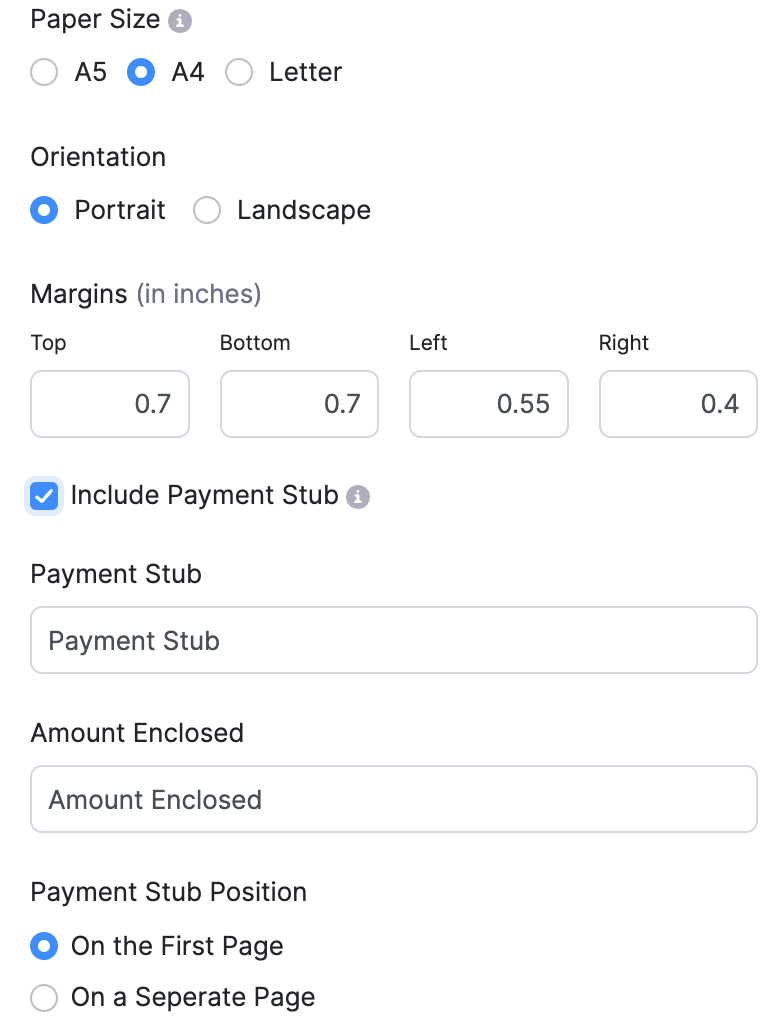
- The Terms field has been added under Header & Document Information. This will show the payment terms information on the invoice. You can choose to show/hide the field by checking the box on or off and customize the label name.
- You can also choose to show the status as a stamp on the invoices by checking the Show Status Stamp option under Header & Document Information.
Paid, Partially Paid, Void and Draft are the statuses shown. This will be shown only in the PDF and not in the preview.
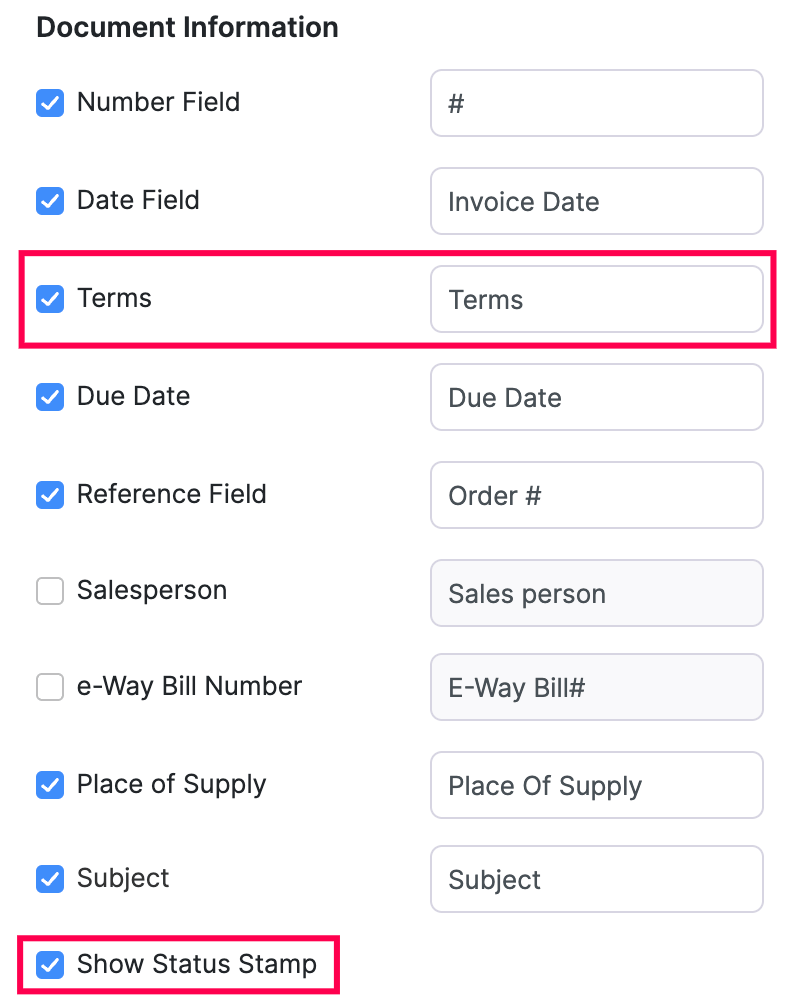
- For the Total section, the Shipping Charges field is added. You can also choose to show Payment Details which will have Payment Made, Credits Applied, Amount Withheld, Write Off Amount & Balance Due fields under it. You can choose to show/hide the field by checking the box on or off and customize the label name.
- In the Footer, you can choose to show the Online Payment Options by checking the Online Payment Link box.

Purchase Order
To access purchase order templates:
- Click the Gear icon in the top right corner.
- Navigate to the Organization Settings.
- Click PDF Templates under Customization.
- Select Purchase Orders in the left-side bar.
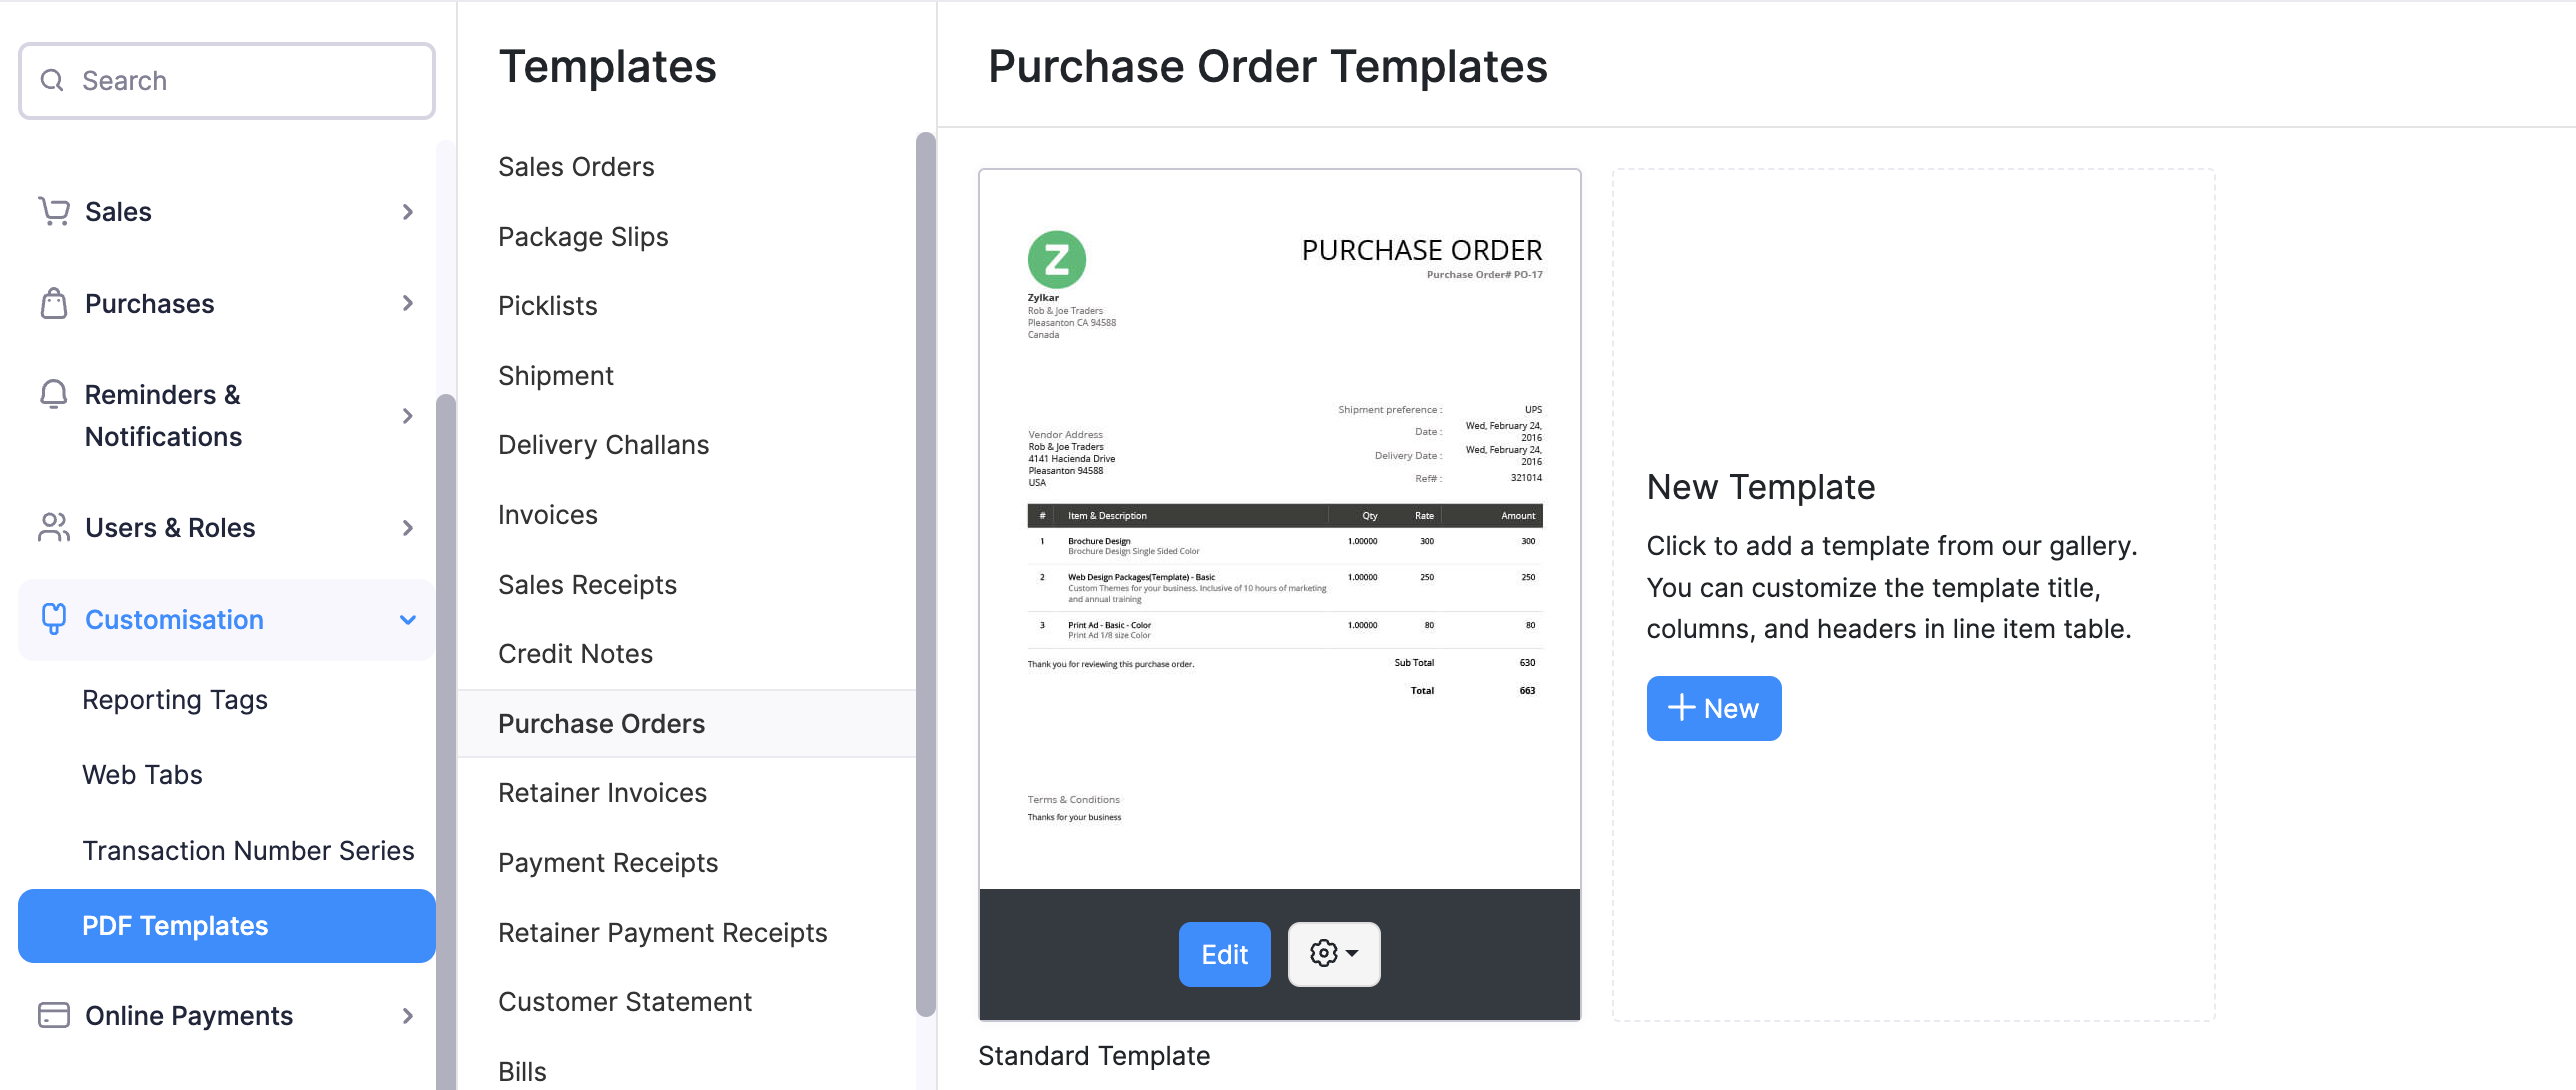
- In the Purchase Order module, the usual Customer Name section has been changed into the Vendor Name section under Template Properties. The Font color and Font Size of this section can be customized.
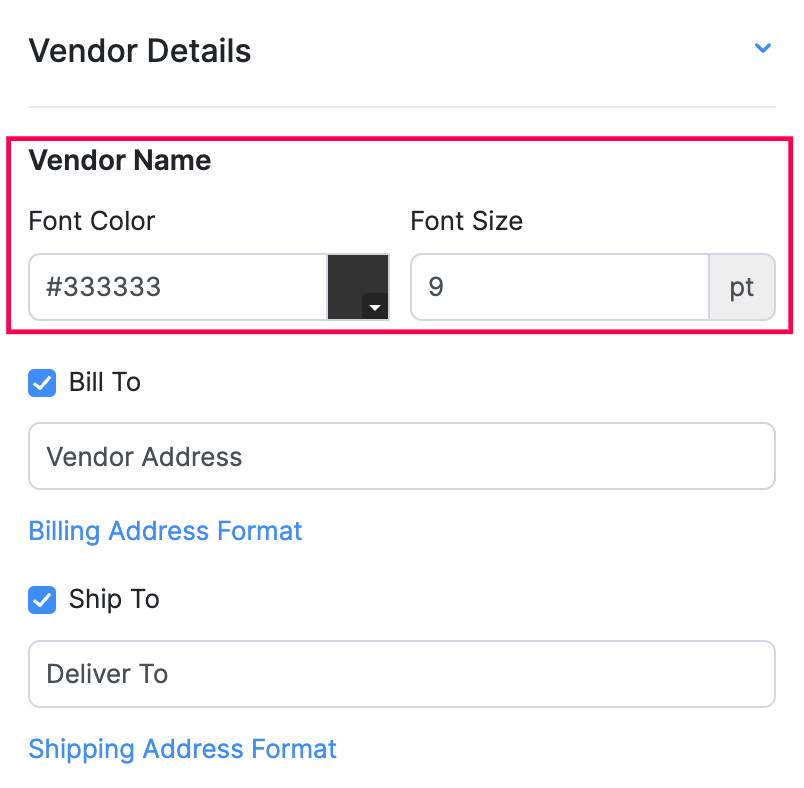
- The Shipment Preference field under Header & Document Information section is added. You can choose to show/hide the field by checking the box on or off and customize the label name.
Payment Receipts
To access payment receipt templates:
- Click the Gear icon in the top right corner.
- Navigate to the Organization Settings.
- Click PDF Templates under Customization.
- Select Payment Receipts in the left-side bar.

The Header & Document Information and Item Table tabs have been replaced by Receipt Information and Invoice Details tabs in the Payment Receipts module.
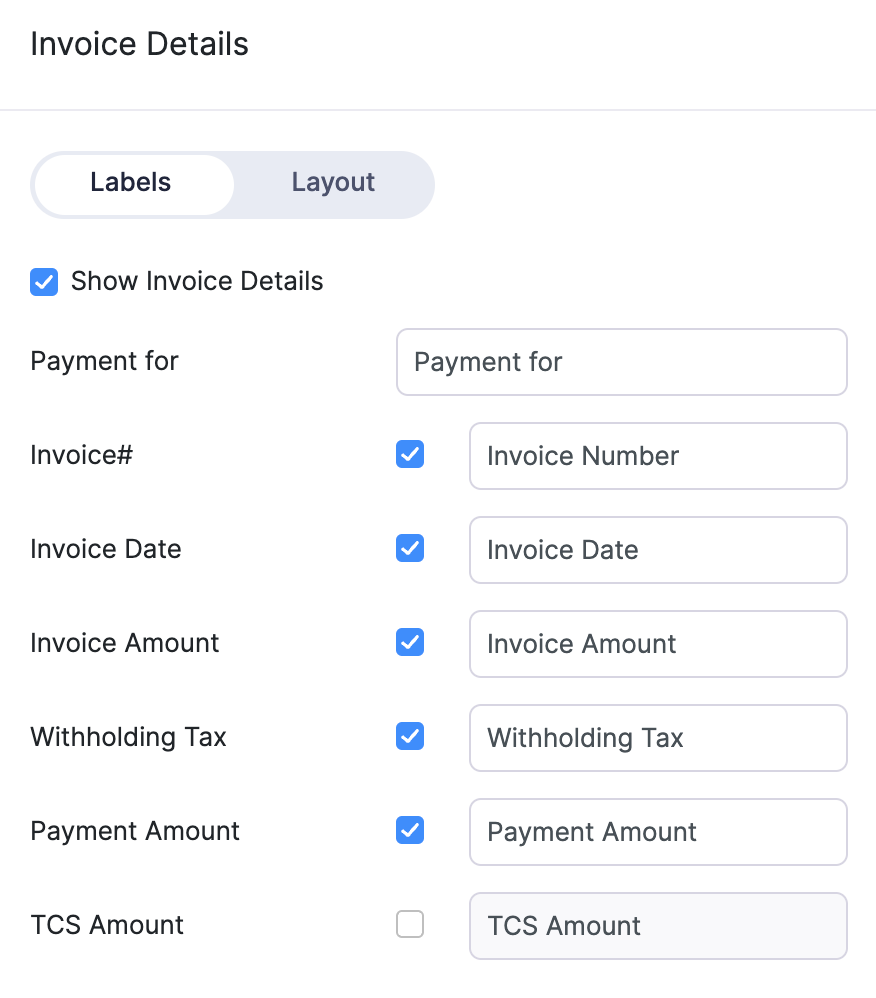
The fields for Payment Refund, Amount Received and Currency Symbol have been added. For Payment Refund, you can choose to show/hide the field by checking the box on or off and you can also customize the label name.

You can also choose to Show Invoice Details. This section will have the following fields under it:
- Payment for
- Invoice#
- Invoice Date
- Invoice Amount
- Withholding Tax
- Payment Amount
You can choose to show/hide the field by checking the box on or off and customize the label name.
Package Slips
To access package slip templates:
- Click the Gear icon in the top right corner.
- Navigate to the Organization Settings.
- Click PDF Templates under Customization.
- Select Package Slips in the left-side bar.
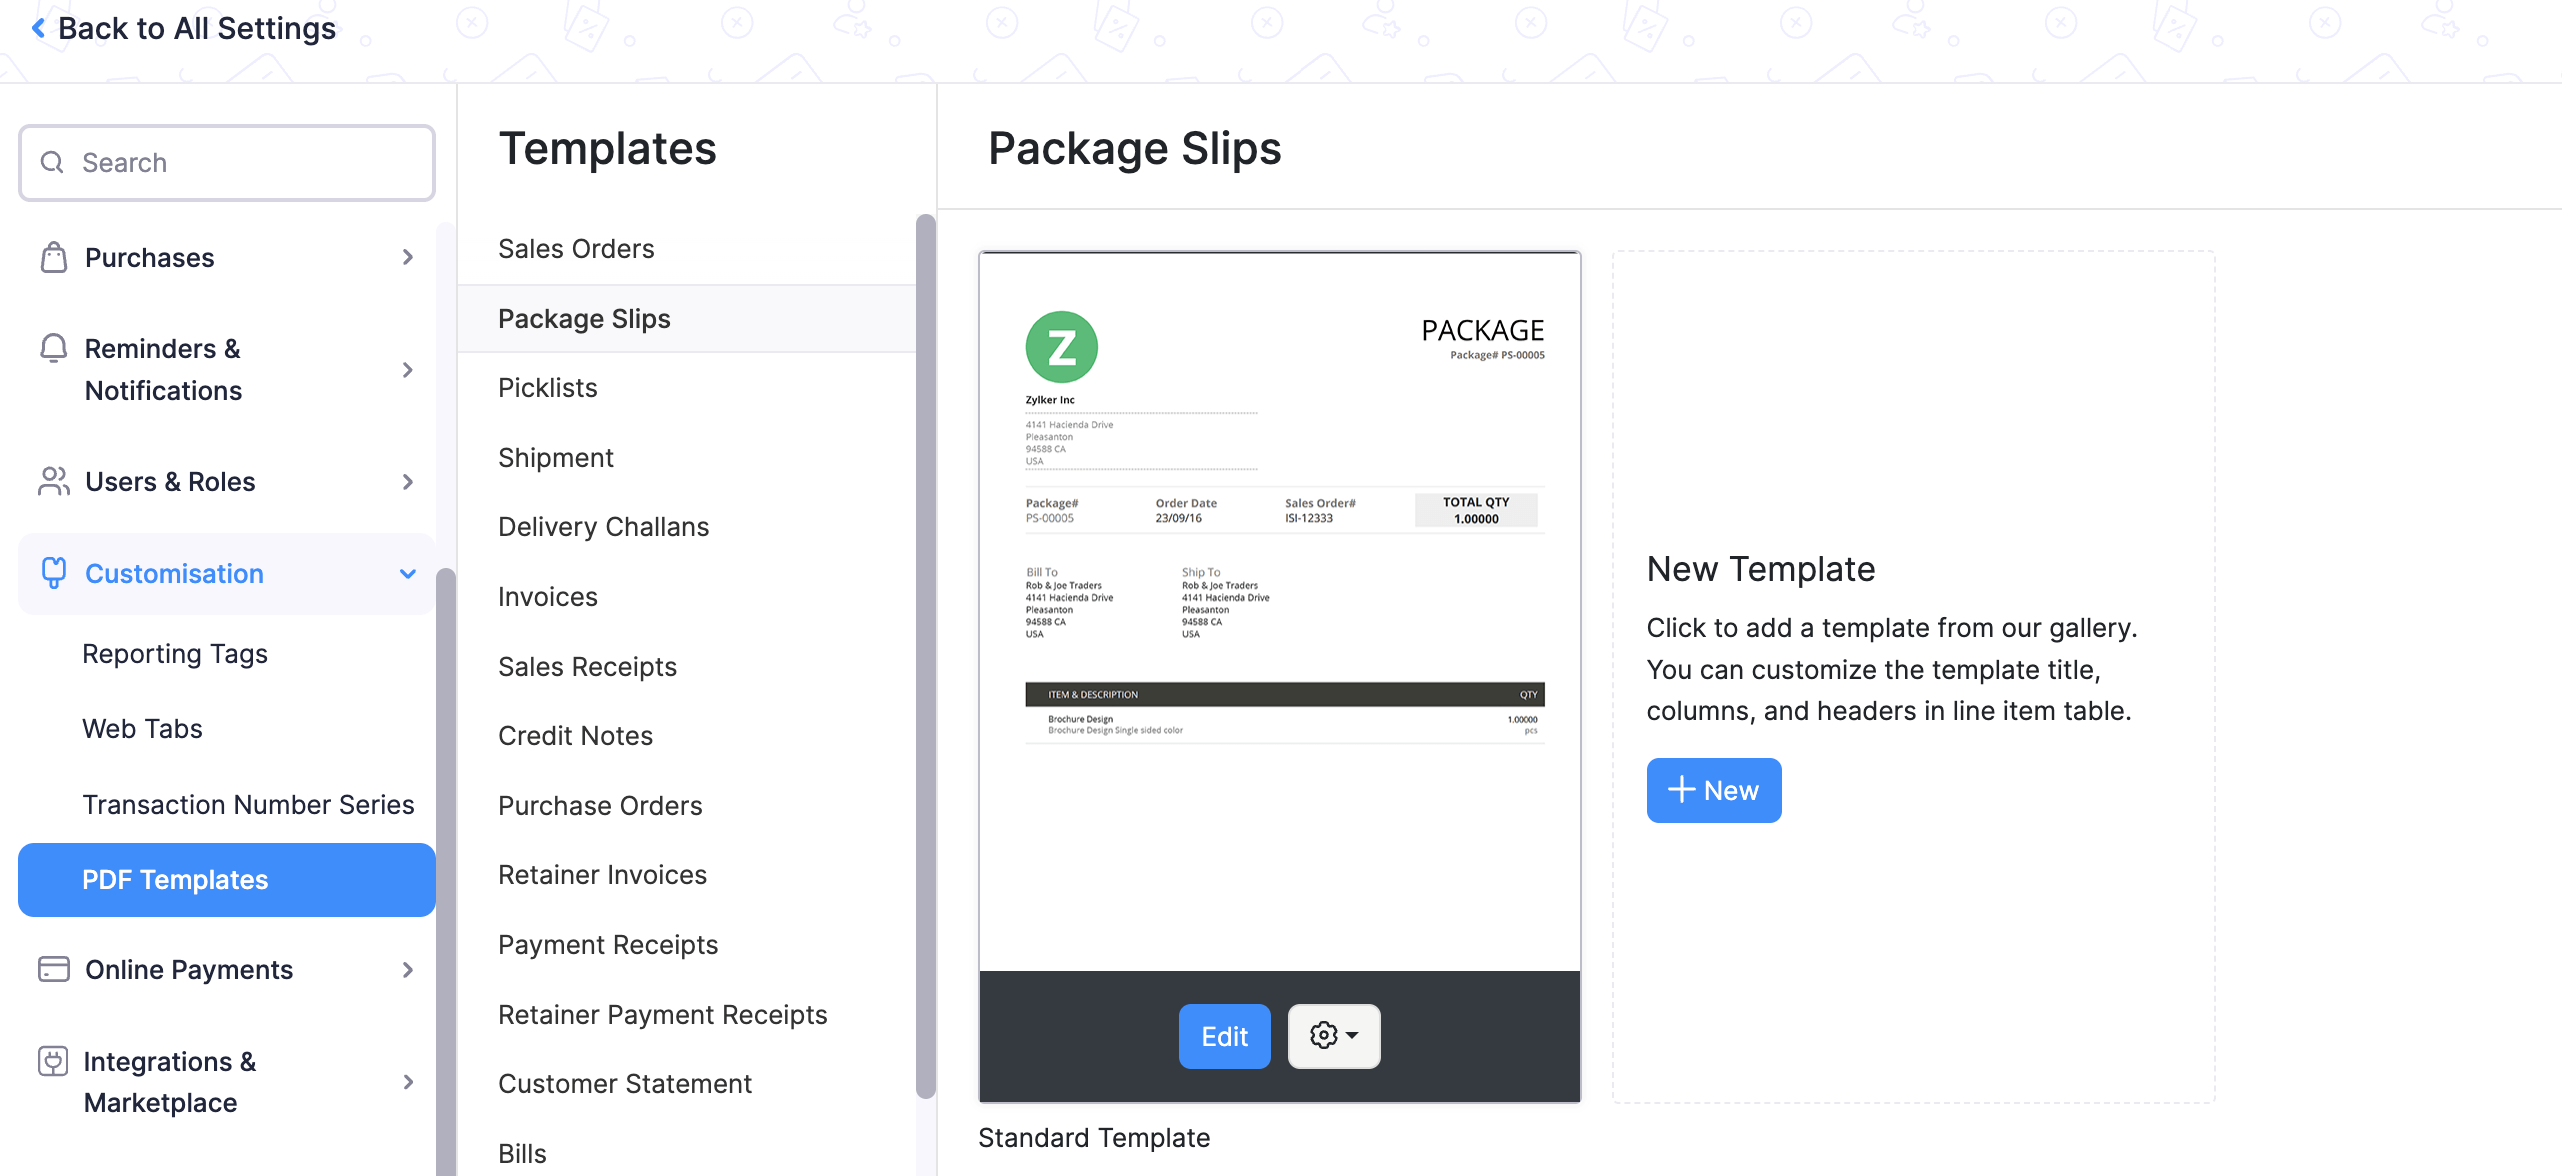
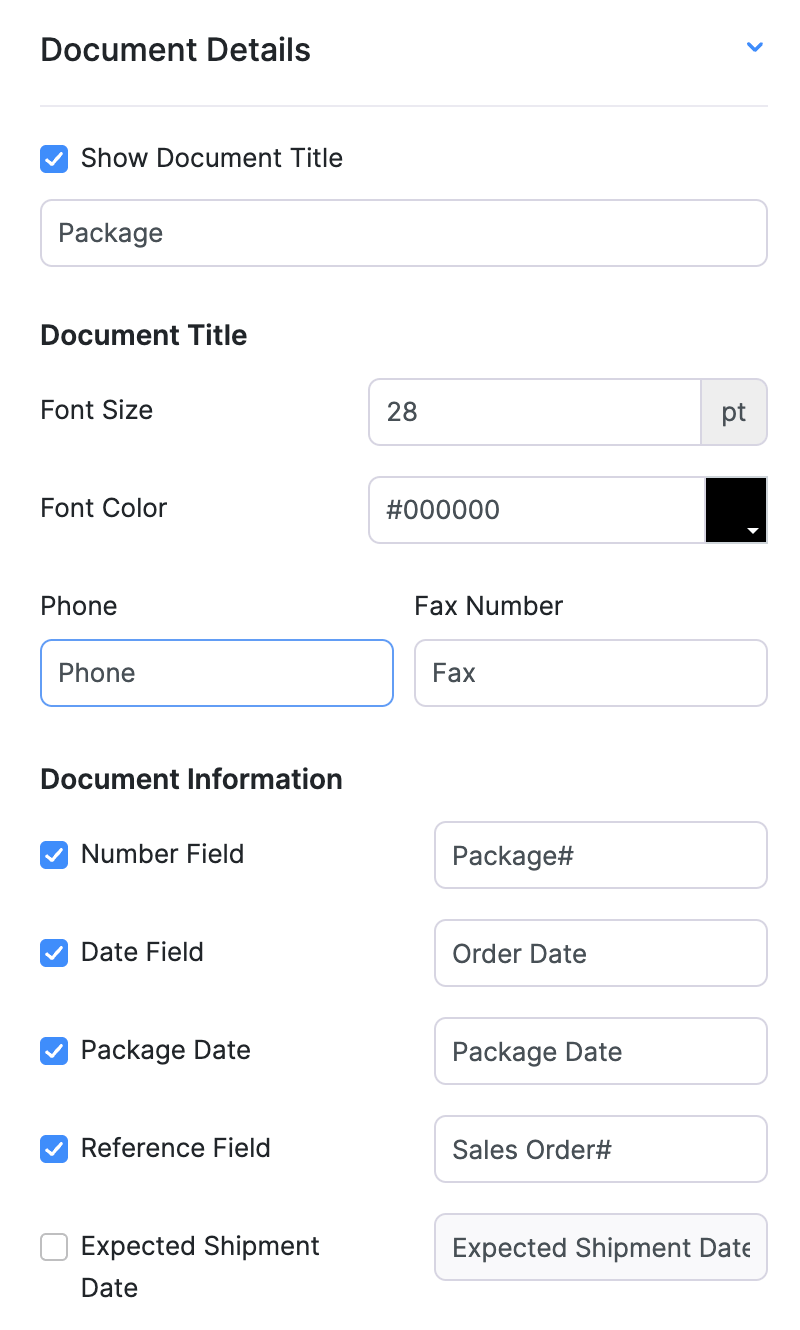
The Header & Document Information section contains options to hide, display and customize the contents of the following fields:
Creating Templates in Multiple Languages
There might be a case where your customers might prefer to have the invoice delivered to them in their native language. Zoho Inventory allows you to create invoice templates in multiple languages. You can associate the template to a contact of your choice.
To create a template in a different language:
- Click the Gear icon in the top right corner.
- Navigate to the Organization Settings.
- Click PDF Templates under Customization.
- In the page that follows(this is basically the settings page), navigate to the Templates module by clicking on it from the left hand sidebar.
- Choose the type of template, say invoice template.
- Click on the + New button present within the New Template section.
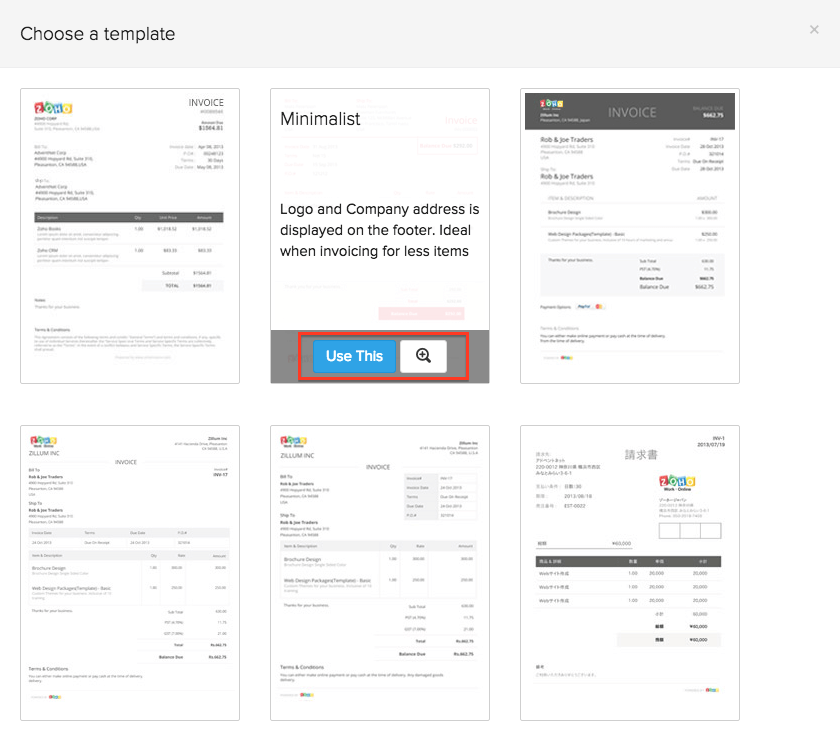
- A pop-up window will display all the available templates.
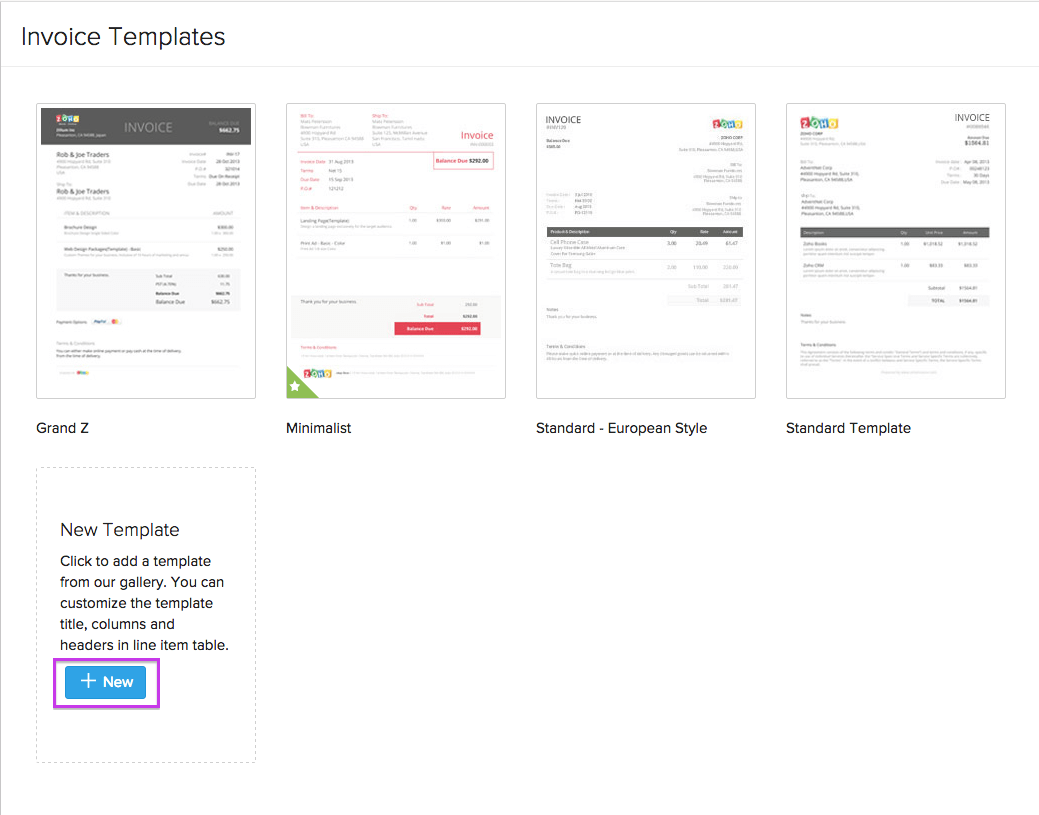
- Hover your mouse over the template of your choice.
- Click on the Use This button.
- In the window that follows, you will be asked to enter a name (optional) for your template, and choose a language in which it will be displayed.
- Choose the language of your choice by clicking the Language dropdown, say Japanese.
- Click on the Continue button.

- Configure the template properties.
- Click Save.
- Now, your chosen template will be added to your list of templates.
The next step is associating your newly created template to a contact.


