


Departments

Departments are the different divisions or units in your organisation, such as Marketing, Sales, HR, Finance, and Operations. Recording your employees’ departments helps you organise your workforce, streamline payroll processing, and gain useful insights into payroll spend across your organisation.
When you record employees’ departments, you can:
- Break down payroll data by department: View the payroll summary of employees by department so you can make informed decisions.
- View payroll spend for each department: Get a high-level view of how much each department spends on payroll, so you can allocate resources, plan budgets, and identify where you could reduce costs.
- Generate reports by department: Produce reports based on department-wise data to gain insights into the performance of each department.
Scenario:
Zylker has several departments, including Marketing, Sales, HR, and Finance. The company wants to track payroll data for each department separately to understand spending patterns and make informed decisions about resource allocation. Using the Departments feature, Zylker can create and manage departments and assign employees to them.
For example, if the Sales department has a higher payroll spend than others, Zylker can analyse the data to understand why, then decide whether to adjust the department’s budget or re-allocate resources.
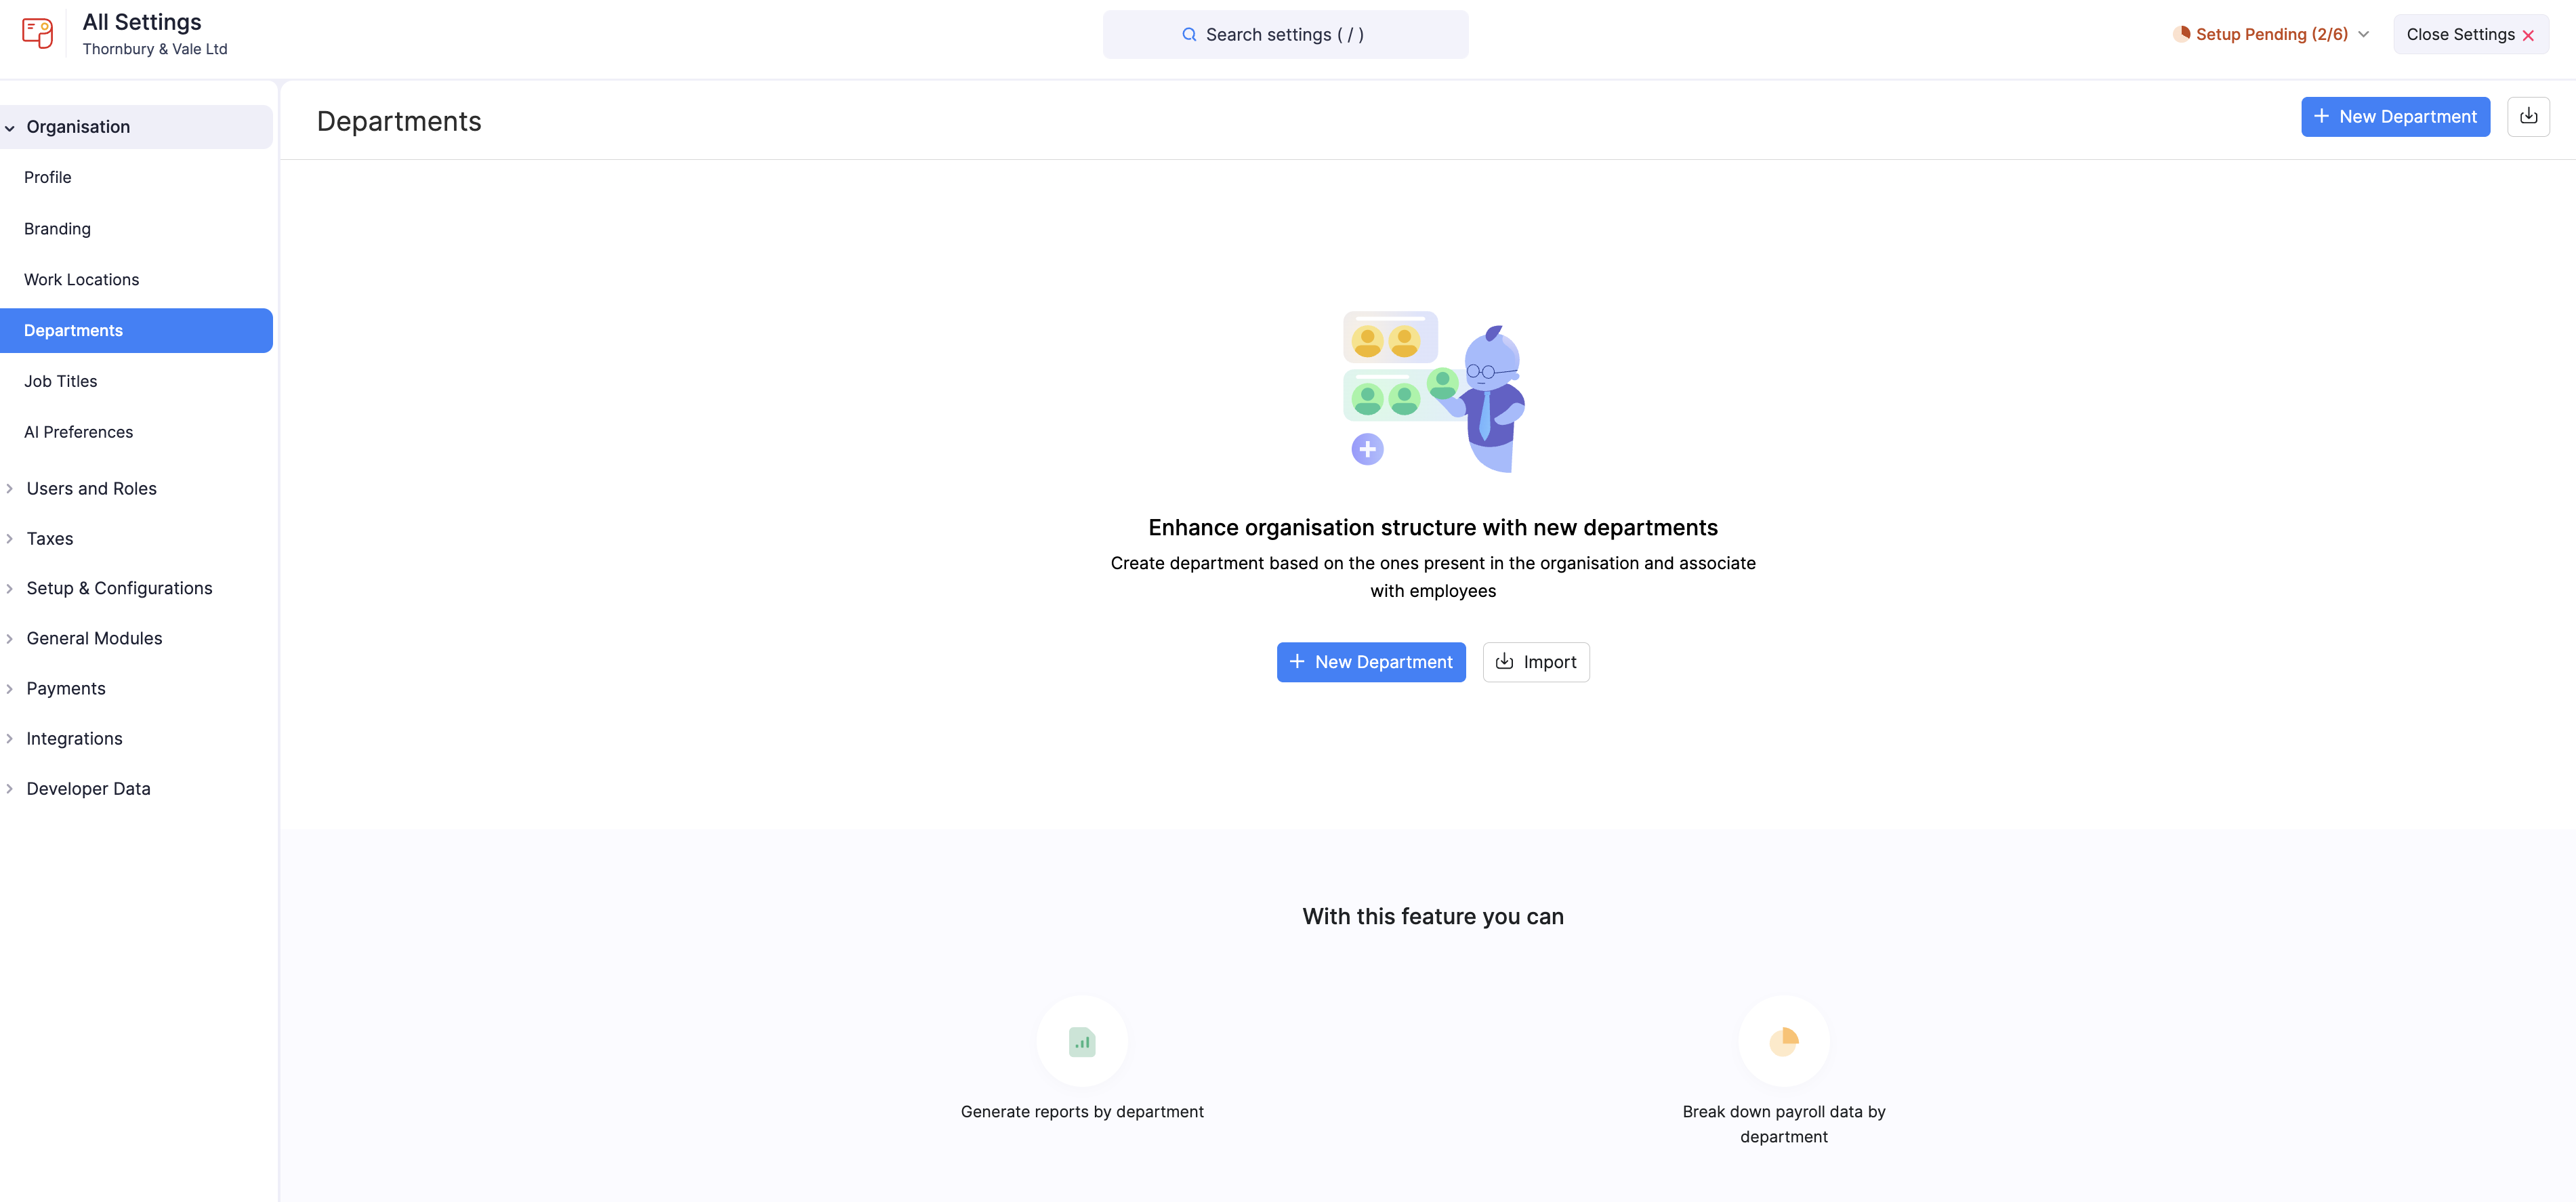
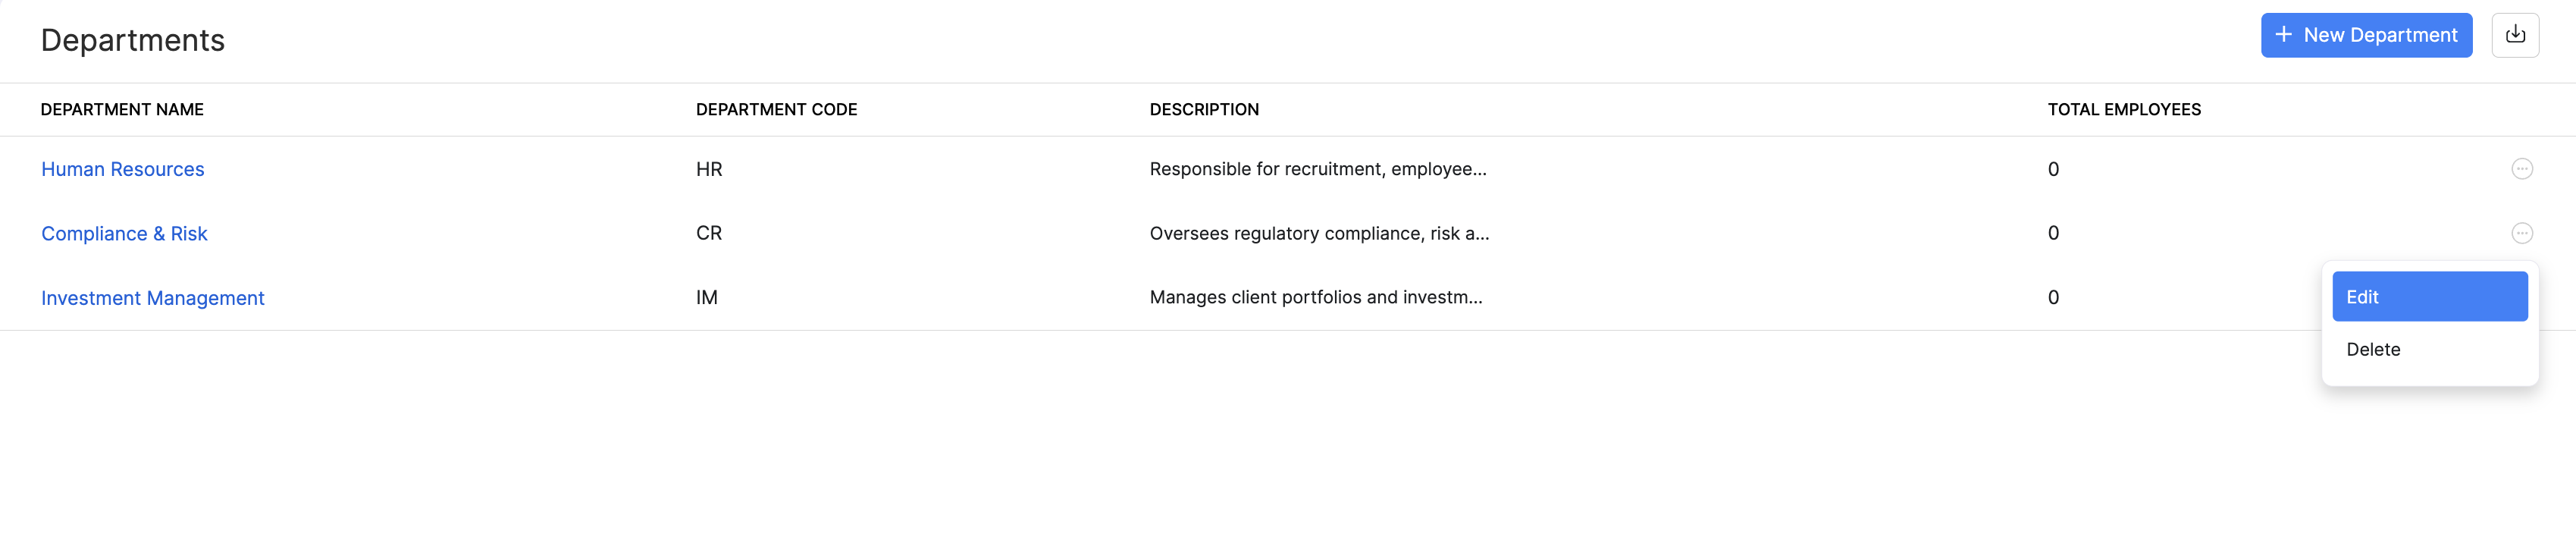
Once you’ve added departments, the list shows each department’s name, code, description, and the Total Employees assigned to it. You can use this count to see at a glance how your workforce is distributed across departments.
Create a Department
To create a department:
- Go to Settings and click Departments under Organisation.
- Click + New Department.
- In the popup that appears, enter these details:
| Field | Description |
|---|---|
| Department Name | Enter the name of the department you want to create. |
| Department Code | Enter a code to identify the department. |
| Description | Enter a description for the department. |
Insight: Department codes are identifiers you can assign to each department. A department code can be any combination of letters, numbers, or symbols. For example, you could assign the code “MKTG-1” to the Marketing department and “SALES-5” to the Sales department.
- Click Save.
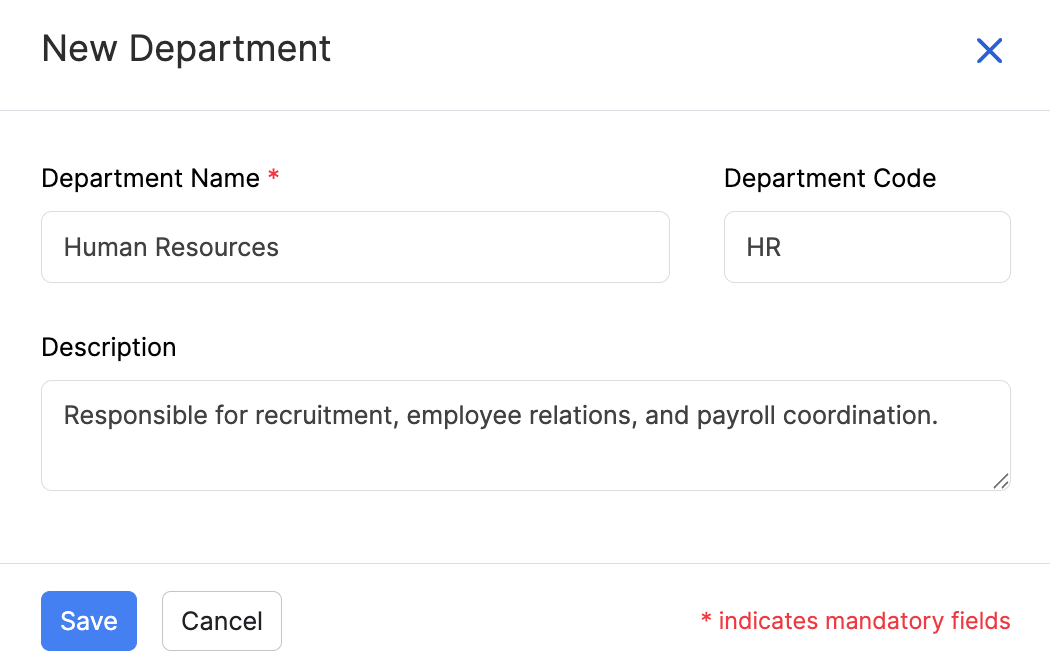
You can now assign employees to departments while adding a new employee or editing an existing employee’s details.
Import Departments
If you have a large number of departments, you can import them in bulk to save time and ensure accuracy.
To import departments:
- Go to Settings and click Departments under Organisation.
- Click Import.
- Upload your file as a CSV (Comma Separated Values), TSV (Tab Separated Values), or XLS (Excel Spreadsheet), select the character encoding for your file, and click Next.
- Map the relevant fields and click Next.
- Preview the import data and click Import.

The departments from your file will be imported, and you can then assign employees to them.
Edit a Department
To edit a department:
- Go to Settings and click Departments under Organisation.
- Hover over the department you want to edit and click the More icon next to it.
- Click Edit.
- Make the necessary changes and click Save.
Delete a Department
You can delete departments you no longer need, for example if your organisation closes a department.
Prerequisites: You can delete a department only when no employees are part of it.
To delete a department permanently:
- Go to Settings and click Departments under Organisation.
- Hover over the department you want to delete and click the More icon next to it.
- Click Delete.
- In the popup that appears, click Yes.
